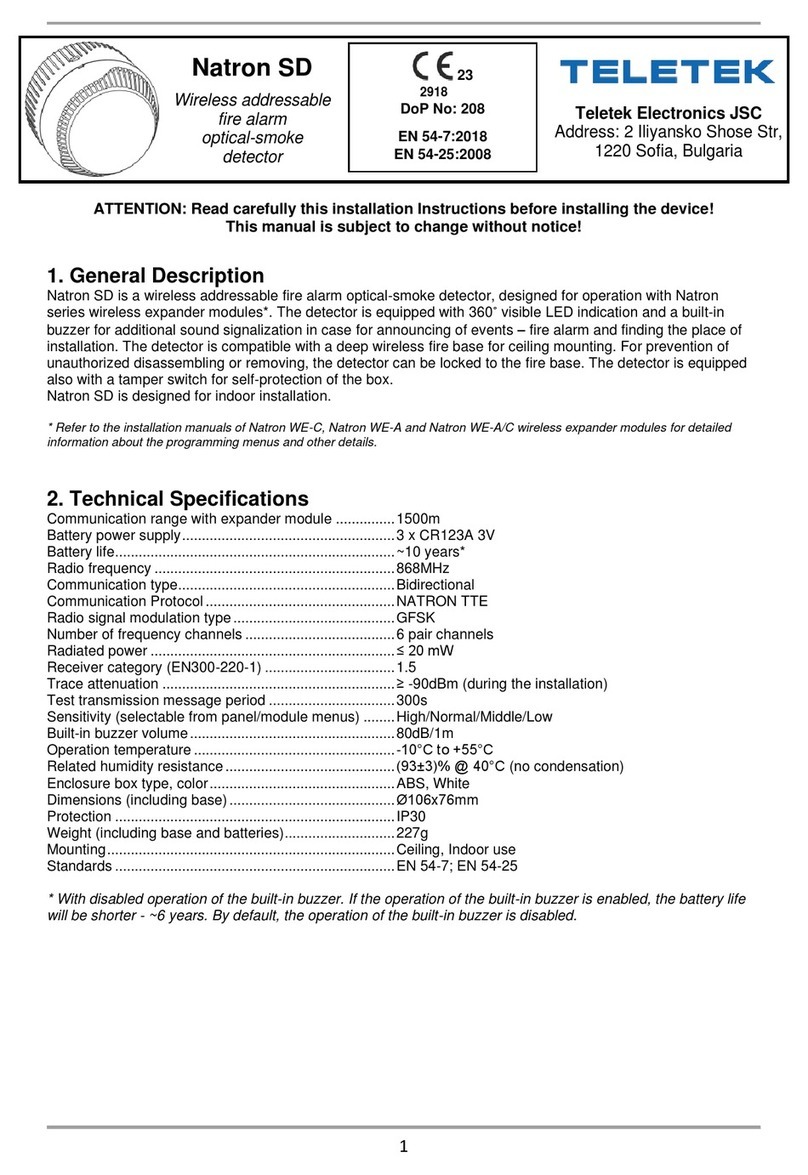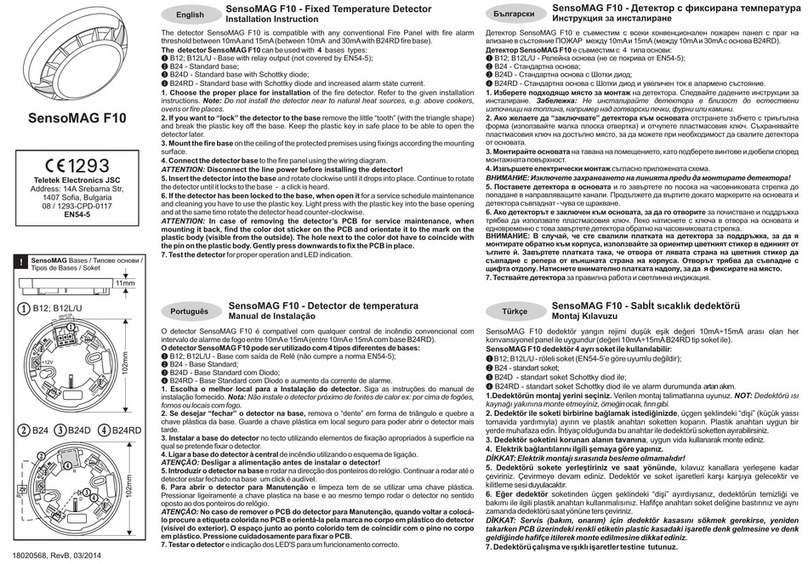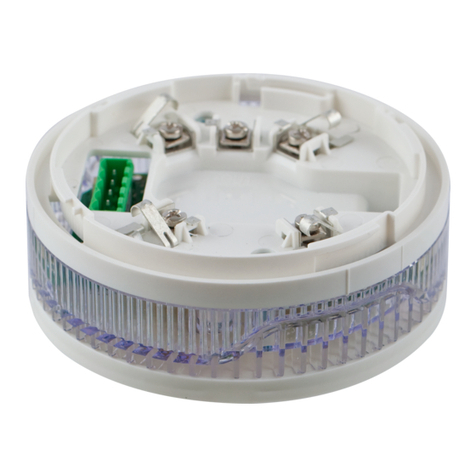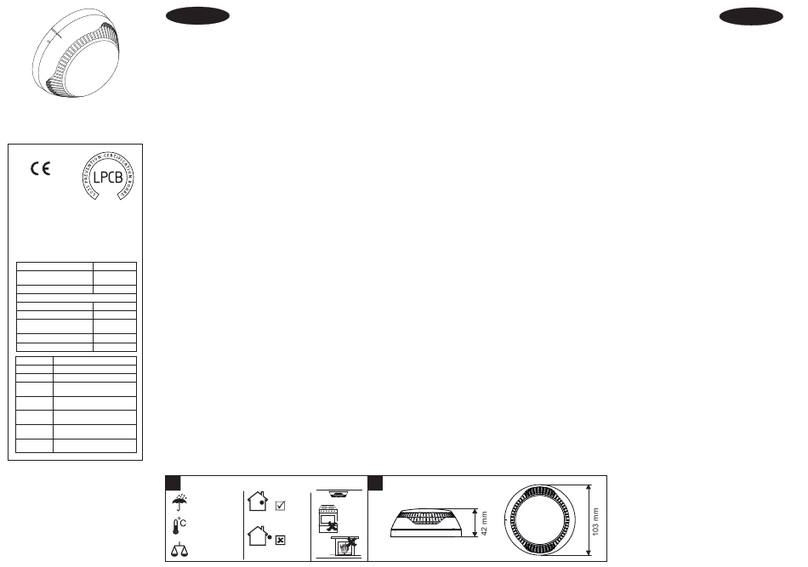
SensoIRIS S130
ATTENTION: Read carefully this installation Instructions before installing the device!
This manual is subject to change without notice!
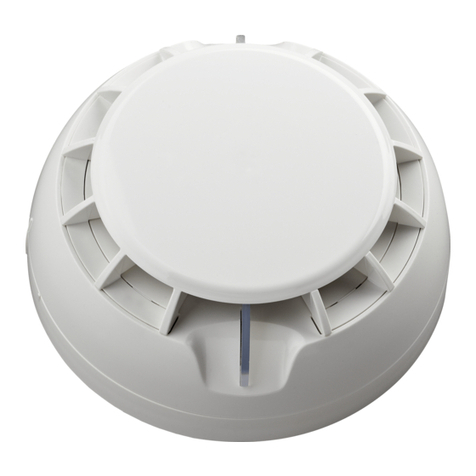
SensoIRIS S130 is аn addressable optical-smoke detector designed for installing in
addressable fire alarm systems supporting TTE communication protocol. The detector is
powered on from the panel and can be controlled via the communication protocol.
The detector SensoIRIS S130 is compatible with fire base B124.
ATTENTION: SensoIRIS S130 must be connected only to fire
panels, which support TTE communication protocol!
Installation Instructions
1. Choose the proper place for installation of the fire detector. Refer to the given
installation instructions. Note: Do not install the detector near sources of steam, condensation
or smoke, e.g. from cigarettes.
2. If you want to “lock” the detector to the base remove the little “tooth” on the top of the
locking mechanism (located in the narrow part).
3. Mount the fire base on the ceiling of the protected premises using fixings according the
mounting surface.
4. Connect the detector base to the fire panel using the wiring diagram.
ATTENTION: Disconnect the loop power before installing the detector!
5. Insert the detector into the base and rotate clockwise until it drops into place - the short
mark on the base fits with that on the detector body. Continue to rotate the detector until the
detector mark coincides with the long mark on the base - a click is heard.
6. Test the detector for proper operation and LED indication.
ATTENTION: The blinking of the two LEDs can be managed from the control panel (ON/
OFF).To turn the blinking on/ off you have to be a User with Access control level 3.
Choose in consecutiveness from the control panel: INSTALLER menu - DEVICE SETUP
menu. Find the installed detector, as enter address, loop and zone number - the panel
automatically will recognize the type of the detector. Choose the button MORE to enter in the
additional settings menu. The blinking of LEDs is turned on/ off with pressing the ON/OFF
button in the “Led Blink” field.
7. If the detector has been locked to the base, when open it for a service schedule
maintenance and cleaning you have to use a plain screw-driver. Light press with the screw-
driver into the base opening and at the same time rotate the detector head counter-clockwise.
Warranty
All detectors carry on a warranty valid from the date of manufacture. The date of manufacture
can be checked by the code sticker label on the back of the detector. The date is printed with
white numbers into a black area.
The first two numbers represent the year and the last two - the month.
For example: The date code “15 07”, means the detector is manufactured in July, 2015.
To return goods for warranty service, please contact with your local distributer for details.
Intelligent analogue addressable
fire alarm optical smoke detector
18020913, RevA, 10/ 2017
Operating Voltage Range . . . . . . . . . . . . . . . . . . . . . . . . 15 - 32VDC (Nom. 27VDC)
Consumption in quiescent state, no communication . . . < 160μA@27VDC
Consumption in quiescent state, with communication . . < 200μA@27VDC
Consumption in alarm state, with communication . . . . . 6.5mA
Sensitivity level (in accordance with EN54-7*) . . . . . . . . High/ *Normal/ Middle/ Low
Output in alarm state at terminal RI (terminals 4/ 1). . . . 7.5 mA (max)/ 7.5V
2 2
Wire Gauge for terminals . . . . . . . . . . . . . . . . . . . . . . . . 0.4mm ё 2.0mm
Relative humidity resistance. . . . . . . . . . . . . . . . . . . . . . (93 ± 3)% @ 40°C
Material......................................flame retardant ABS
TECHNICAL SPECIFICATIONS
Teletek Electronics JSC
Address: 14A Srebarna Str,
1407 Sofia, Bulgaria
EN 54-7:2000/ A2:2006
DoP No: 023
1293-CPR-0452
1293 15
1139b/01
Essential characteristics
Performance under fire
conditions
Operational reliability
Performance
Pass
Pass
Temperature resistance
Humidity resistance
Corrosion resistance
Resistance to ingress
Shock and vibration
resistance
Durability:
Pass
Pass
Pass
Pass
Pass
English Installation Instructions
תירִבעִ
הבכרה תוארוה
יטפוא ןשע יאלג – SensoIRIS S130
יללכ רואית
.TTE תרושקת לוקוטורפב תכמותה תיתבותכ שא תוכרעמב הנקתהל דעוימ יאלגה
.שאה תכרעמ י"ע טלשנו לעפומ יאלגה
.B124 סיסבל םיאתמ יאלגה
.תזכרל תרבוחמ אל האלולה רשאכ ,עצבתת רזיבאה תנקתה :בל םיש
.1
רזיבאה תנקתהל יואר םוקמ רחב
. ןשע וא םידא תורוקמ תברקב יאלגה תא ןיקתהל ןיא :הרעה
.2
"ןש" ה תא רסה ,סיסבל יאלגה תא "לוענל" ךנוצרב םא
(רצה קלחב םקוממה) הליענ ןונגנמ לש ןוילעה קלחה לע הנטקה
.
.3
.טוטרשל םאתהב האלולל סיסבה תא רבחו הרקתה לע שאה סיסב תא בכרה
.תזכרל תרבוחמ אל האלולה רשאכ ,עצבתת רזיבאה תנקתה :בל םיש
.5
לענייש דע ,ןועשה ןוויכ תא בבוסו סיסבל יאלגה תא סנכה
.יאלגה ףוגל םיאתמ ,סיסבה לע רצקה ןמיסה - ומוקמב
לענייש דע ,ןועשה ןוויכ תא בבוסו סיסבל יאלגה תא סנכה
.יאלגה ףוגל םיאתמ ,סיסבה לע רצקה ןמיסה - ומוקמב
.4
.1-250ןיב רדגות תבותכה .תזכרה י"ע וא תנכתה י"ע לודומה תבותכ תא רדגה
.םיניפ יקדה 5 לבכב שמתשה – (תנכתב) תבותכ תונכת
.6
.יאלגה תירונ – יאלגה דוקפת תוניקת קודב
,LED הרקבה חולמ תלהונמ תויהל הלוכי -ה תוירונ יתש לש בוהבה :בל םיש
.(ON/OFF)
.3 השיג תרקב תמר םע שמתשמ תויהל ךילע ,בוהבה ליעפהל ידכ
.ןקתה רפסמ שופיח , םינקתה תרדגה :הרקבה חולמ ףצרב רחב
.יאלגה גוס תא ההזי יטמוטוא ןפואב חולה - רוזא רפסמו האלול ,תבותכה תא ןזה
- ה תירונ .תופסונ תורדגה טירפת תלבקל 'דוע' ןצחלב רחב
LED
היובכ/תבהבהמ
.“LED Blink” הדשב ON/OFF רותפכ לע הציחל תועצמאב
תוירחא
ידי לע קודבל ןתינ רוצייה ךיראת .רוצייה דעוממ ,הפקת תוירחא םיאשונ םיאלגה לכ
חטש לע םינבל םירפסמ םע ספדומ ךיראתה .יאלגה בג לע דוק-תקבדמ תיוותה
- םינורחאה ינשו הנשה תא םיגציימ םינושארה םירפסמה ינש .YY MM - רוחש
.2015 ילוי שדוחב רצוימ יאלגהש ושוריפ ,"07 15 " ךיראתה דוק :המגודל .שדוחה
ימוקמה ץיפמה םע רשק רוצ אנא ,תוירחאה תורישל הרוחסה תא ריזחהל ידכ
.םיטרפ תלבקל
םיינכט םיטרפ
15÷32 VDC (Nom. 27VDC) . . . . . . . . . . . . . . . . . . . הדובע יחתמ םוחת
< 160µА@27VDC. . . . . . . . . . . תרושקת ןיא ,טקש בצמב תכירצ
< 200µА@27VDC . . . . . . . . . . . תרושקת שי ,טקש בצמב תכירצ
6.5mA .........תרושקת שי ,הקעזא בצמב תכירצ
(EN54-7 יפל) כומנ/עצמא/תילמרונ/ההובג ........................תושיגר תמר
7.5 mA (max)/ 7.5V . . . . (1/4 םיקדה)RI יקדהב הקעזא בצמ אצומ
2 2
0.4mm ÷ 2.0mm .......................יוליגה וק יטוח
≤93% @ +40°C ............................ תוחל
ABS הריעב בכעמ.......................קיטסלפ)רמוח
IP30
-10°C ÷ +60°C
~125g
Indoor use /
Outdoor use /
!Installation / הנקתה !Dimensions / תודימ
– תימינפ
הנבמ ךותב
– תינוציח
הנבמל ץוחמ
םייתוהמ םינייפאמ
שא יאנתב םיעוציב
תילועפת תונימא
בוכיעו תילועפת תונימא לש תודימע
הרוטרפמט תודגנתה :הבוגת
:תילועפת תונימא לש תודימע
תוחל תודימע
םיעוציב
רבע
רבע
רבע
רבע
רבע
:תילועפת תונימא לש תודימע
טטרו םלה תודגנתה
רבע
רבע
:תילועפת תונימא לש תודימע
היזורוק ינפב תודימע
:תילועפת תונימא לש תודימע
הרידחל תודגנתה
42 mm
103 mm
.7
גרבמה לע הלק .ליגר חוטש גרבמב שמתשהל ךירצ ,סיסבה לע לוענ יאלגה םא
ןועשה ןוויכ דגנ יאלגה שאר תא בבוסל ןמז ותואבו סיסבה חתפ ךותל
