Telex TDI User manual

TDI
Telephone Dispatch Interface
Technical Manual
Version 2.000
LIT000164000 Rev D 09/2009

PROPRIETARY NOTICE
The product information and design disclosed herein were originated by
and are the property of Bosch Security Systems, Inc. Bosch reserves all
patent, proprietary design, manufacturing, reproduction, use and sales
rights thereto, and to any article disclosed therein, except to the extent
rights are expressly granted to others.
COPYRIGHT NOTICE
Copyright 2009 by Bosch Security Systems, Inc. All rights reserved.
Reproduction, in whole or in part, without prior written permission from
Bosch is prohibited.
WARRANTY NOTICE (LIMITED)
All Bosch manufactured signaling products are guaranteed against
malfunction due to defects in materials and workmanship for three (3)
years, beginning at the original date of purchase.If such a malfunction
occurs, the product be repaired or replaced (at our option) without
charge during the three (3) year period, if delivered to the Bosch factory.
Warranty does not extend to damage due to improper repairs, finish or
appearance items, or malfunction due to abuse or operation under other
than the specified conditions, nor does it extend to incidental or
consequential damages. Some states do not allow the exclusion or
limitation of incidental or consequential damages. Some states do not
allow the exclusion or limitation of incidental or consequential damages,
so the above limitation may not apply to you. This warranty gives the
customer specific legal rights, and there may be other rights which vary
from state to state.
FACTORY SERVICE CENTER
Factory Service Center
Bosch Security Systems, Inc.
Radio Dispatch Products
8601 East Cornhusker Highway
Lincoln, Nebraska, 68507
PHONE NUMBERS
Sales:
Phone ...................................................................(800) 752-7560
Fax........................................................................(402) 467-3279
E-mail...........................................T[email protected]om
Customer Service Repair:.................................................(800) 553-5992
Technical Support:
Phone ...................................................................(800) 898-6723
E-mail......................... TelexDispatc[email protected]h.com
Web ................................................................................. www.telex.com
CLAIMS
No liability be accepted for damages directly or indirectly arising from
the use of our materials or from any other causes. Our liability shall be
expressly limited to replacement or repair of defective materials.
FCC PART 68 COMPLIANCE
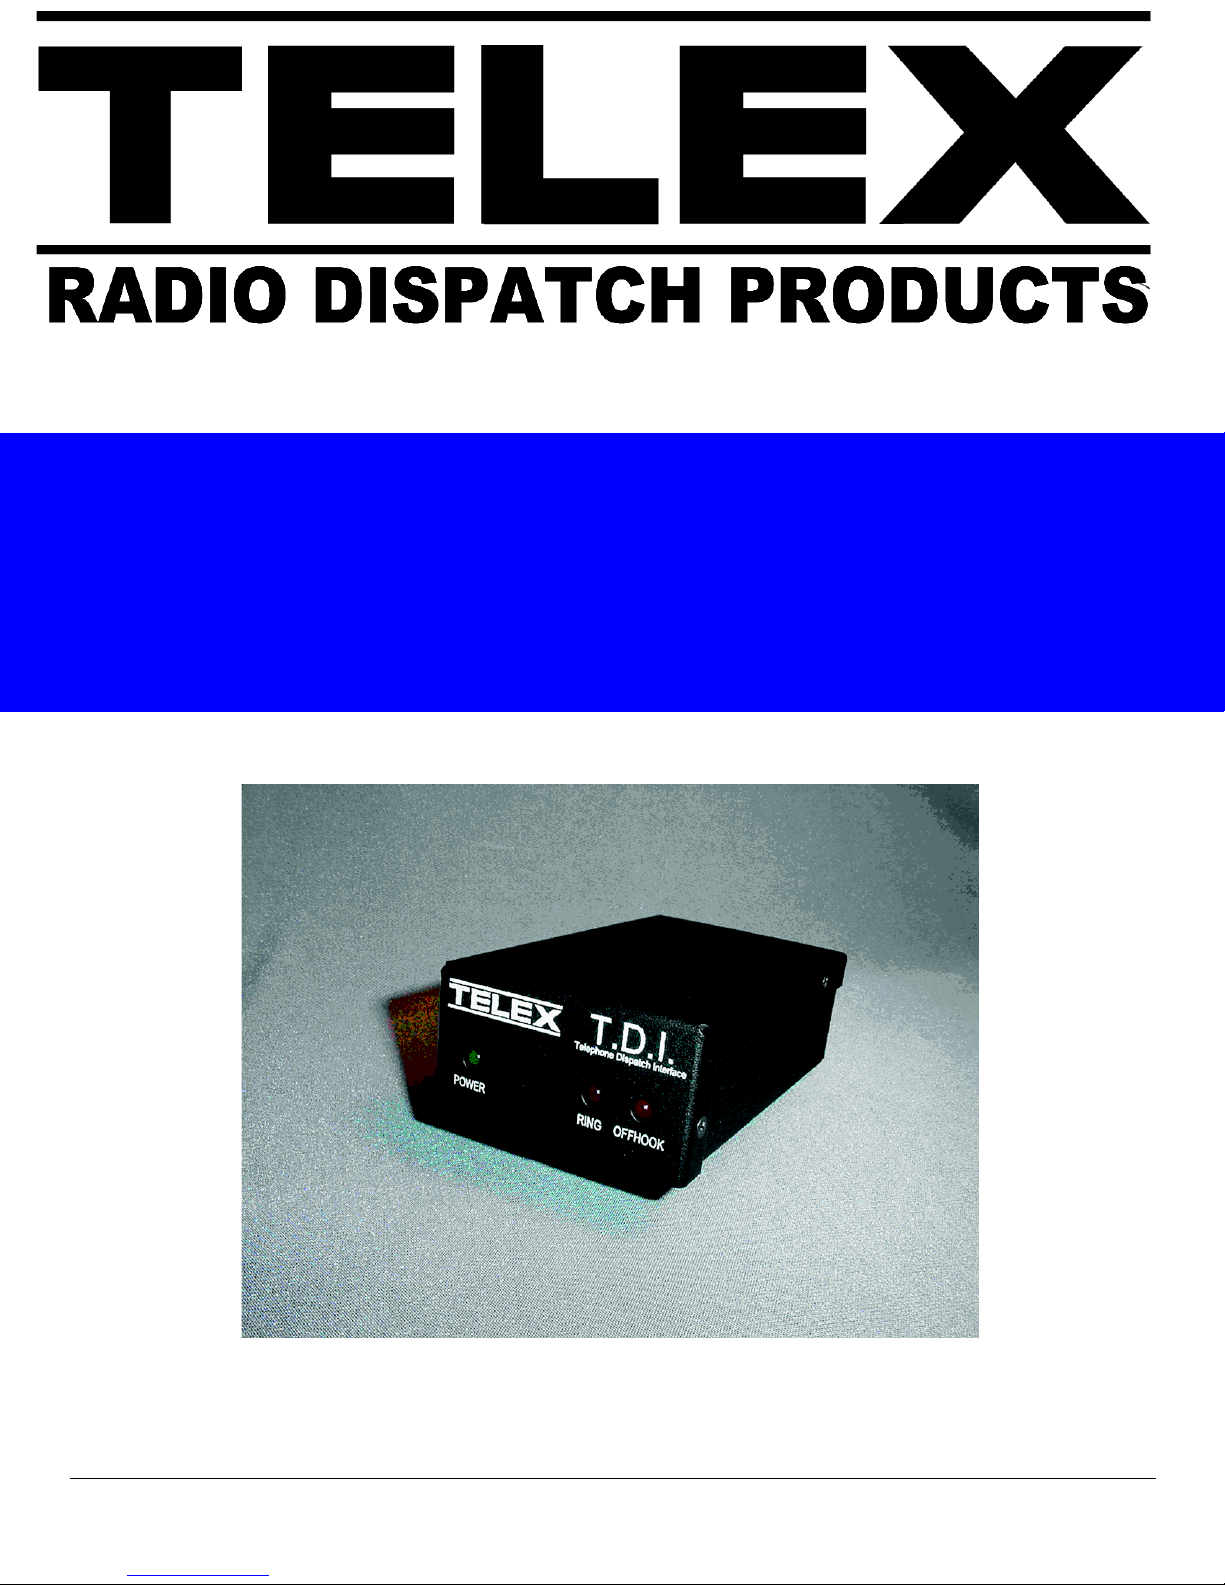
The TDI complies with Part 68 of the FCC (Federal Communications
Commission) rules and the requirements adopted by the
ACTA (Administrative Council for Terminal Attachments). On the
bottom of the unit is a label that contains, among other information, the
product identifier: TLXNI00BTDI
The USOC (Universal Services Ordering Code) for the TDI is RJ11C.
A plug and jack used to connect this equipment to the premises wiring
and telephone network must comply with the applicable FCC Part 68
rules and requirements adopted by the ACTA. A compliant telephone
cord and modular plug is provided with this product. It is designed to be
connected to a compatible modular jack that is also compliant. See
“Supervisory Indications” on page 8 for details.
The REN (Ringer Equivalence Number) is used to determine the
number of devices that may be connected to a telephone line. Excessive
RENs on a telephone line may result in the device not ringing in
response to an incoming call. In most but not all areas, the sum of RENs
should not exceed five (5.0). To be certain of the number of devices that
may be connected to a line, as determined by the total RENs, contact
your local telephone company.
The REN for this product (00B) is part of the product identifier number
(TLXNI00BTDI) given on the label located on the bottom of the unit.
For REN 00B the 00 indicates no current is drawn and the Bindicates
the type of ringer used.
If the TDI causes harm to the telephone network, the telephone company
will notify you in advance that temporary discontinuance of service may
be required. But if advance notice isn’t practical, the telephone company
will notify the customer as soon as possible. Also, you will be advised of
your right to file a complaint with the FCC if you believe it is necessary.
The telephone company may make changes in its facilities, equipment,
operations, or procedures that could affect the operation of the
equipment. If this happens, the telephone company will provide advance
notice in order for you to make necessary modifications to maintain
uninterrupted service.
If you experience trouble with the TDI please contact the Factory
Service Center, Customer Service Repair for repair or warranty
information. If the equipment is causing harm to the telephone network,
the telephone company may request that you disconnect the equipment
until the problem is resolved.
Repairs to the TDI must be completed by the factory. Contact the
Factory Service Center, Customer Service Repair for details.
Connection to party line service is subject to state tariffs. Contact the
state public utility commission, public service commission, or
corporation commission for information.
If the installation site has specially wired alarm equipment connected to
the telephone line, ensure the installation of a TDI does not disable your
alarm equipment. If you have questions about what will disable alarm
equipment, consult your telephone company or qualified installer.
CAUTION: To protect against damage to equipment from power
surges Telex recommends using a power surge arrestor. Telephone
companies report that electrical surges, typically lightning transients, are
very destructive to terminal equipment connected to AC power sources.

Table
of
Contents
INTRODUCTION ......................................................................................................................................7
General ...................................................................................................................................................................7
Indicators and Connectors .....................................................................................................................................8
FRONT PANEL LEDS..............................................................................................................................................................8
Operational Indications .....................................................................................................................................................8
Supervisory Indications ....................................................................................................................................................8
TDI Reset .......................................................................................................................................................................8
Telephone Line Monitor ................................................................................................................................................8
REAR PANEL CONNECTIONS ...................................................................................................................................................9
Equipment Connection and Setup ........................................................................................................................10
TDI SETUP ..........................................................................................................................................................................10
IP-223 SETUP .....................................................................................................................................................................10
Jumper Settings ...............................................................................................................................................................10
IP-223/TDI CONNECTIONS ..................................................................................................................................................11
INSTALLATION ......................................................................................................................................13
IP-223 Web Page Configuration ..........................................................................................................................13
MULTICAST ADDRESS SETUP PAGE ......................................................................................................................................13
PER LINE SETUP WINDOW DEFINITIONS ..............................................................................................................................14
Heading ...........................................................................................................................................................................14
Ring Setup .......................................................................................................................................................................15
Serial Port Mode .............................................................................................................................................................15
Delay Setup .....................................................................................................................................................................16
LAM Setup .....................................................................................................................................................................16
Options ............................................................................................................................................................................16
AUDIO LEVEL SETUP ...........................................................................................................................................................17
SAVE TO EEPROM PAGE ....................................................................................................................................................18
C-Soft Setup ..........................................................................................................................................................18
SETUP IP MULTICAST LIST ..................................................................................................................................................18
SET GLOBAL PARAMETERS ...................................................................................................................................................19
C-SOFT PHONE CONTROL BUTTONS ....................................................................................................................................19
Audio Alignment Procedure .................................................................................................................................20
GENERAL GAIN SETUP WINDOW ..........................................................................................................................................20
RECEIVE AUDIO ALIGNMENT ...............................................................................................................................................20
TRANSMIT AUDIO ALIGNMENT ..............................................................................................................................................21
TDI Specifications ................................................................................................................................................22
Accessories ...........................................................................................................................................................22


List
of
Figures
FIGURE 1. TDI System Setup . . . . . . . . . . . . . . . . . . . . . . . . . . . . . . . . . . . . . . . . . . . . . . . . . . . . . . . . . . . . . . . . 7
FIGURE 2. TDI Front Panel . . . . . . . . . . . . . . . . . . . . . . . . . . . . . . . . . . . . . . . . . . . . . . . . . . . . . . . . . . . . . . . . . 8
FIGURE 3. TDI Rear Connections . . . . . . . . . . . . . . . . . . . . . . . . . . . . . . . . . . . . . . . . . . . . . . . . . . . . . . . . . . . . 9
FIGURE 4. Multicast Setup Page—Phone Mode Configuration . . . . . . . . . . . . . . . . . . . . . . . . . . . . . . . . . . . . . . 14
FIGURE 5. Per Line Setup Window—Heading . . . . . . . . . . . . . . . . . . . . . . . . . . . . . . . . . . . . . . . . . . . . . . . . . . . 14
FIGURE 6. Per Line Setup—Ring Setup Section . . . . . . . . . . . . . . . . . . . . . . . . . . . . . . . . . . . . . . . . . . . . . . . . . . 15
FIGURE 7. Per Line Setup Window— Serial Port Mode Section . . . . . . . . . . . . . . . . . . . . . . . . . . . . . . . . . . . . . 15
FIGURE 8. Per Line Setup—Delay Setup Section . . . . . . . . . . . . . . . . . . . . . . . . . . . . . . . . . . . . . . . . . . . . . . . . . 16
FIGURE 9. Per Line Setup—LAM Setup Section . . . . . . . . . . . . . . . . . . . . . . . . . . . . . . . . . . . . . . . . . . . . . . . . . . 16
FIGURE 10. Per Line Setup—Auto Answer Setup Section . . . . . . . . . . . . . . . . . . . . . . . . . . . . . . . . . . . . . . . . . . 16
FIGURE 11. General Gain Setup Window—Line Gain Setup Section . . . . . . . . . . . . . . . . . . . . . . . . . . . . . . . . . . 17
FIGURE 12. Save to EEPROM Page . . . . . . . . . . . . . . . . . . . . . . . . . . . . . . . . . . . . . . . . . . . . . . . . . . . . . . . . . . . 18
FIGURE 13. Setup IP Multicast List—Phone Mode Configuration . . . . . . . . . . . . . . . . . . . . . . . . . . . . . . . . . . . 18
FIGURE 14. Set Global Parameters—Phone Ring Multicast and Port . . . . . . . . . . . . . . . . . . . . . . . . . . . . . . . . 19
FIGURE 15. C-Soft Phone Control Buttons Setup . . . . . . . . . . . . . . . . . . . . . . . . . . . . . . . . . . . . . . . . . . . . . . . . . 19
FIGURE 16. General Gain Setup Window . . . . . . . . . . . . . . . . . . . . . . . . . . . . . . . . . . . . . . . . . . . . . . . . . . . . . . . 20


7
CHAPTER 1
Introduction
General
The TDI (Telephone Dispatch Interface) is a telephone interface device designed to connect the IP-223 Ethernet Adapter
Panel to a standard PSTN phone service. The IP-223/TDI combination makes the PSTN phone line a network asset to any
Telex IP-based console (i.e., C-Soft, C-6200, IP-1616, or IP-2002) allowing telephone calls to be placed or received at the
dispatch position. Advanced circuitry and DSP (Digital Signaling Processing) software algorithms learn each side of a
telephone conversation and react to changing telephone line impedances resulting in minimal adjustments and clear
communications.
NOTE: TDI configuration is only available in IP-223 software version 4.100 or higher.
FIGURE 1. TDI System Setup

8
Indicators and Connectors
Front Panel LEDs
The three (3) LEDs located on the front panel are used to indicate normal telephone line control and supervisory conditions.
Operational Indications
POWER: Green LED indicates power to the TDI.
RING: Red LED indicates an incoming ring.
OFFHOOK: Red LED indicates the IP-223 has taken the TDI offhook.
Supervisory Indications
TDI Reset
When the TDI receives a reset command for any reason (i.e., power-up or Watchdog timeout) the RING and OFFHOOK
LEDs alternately flash for five (5) seconds. During this time, the DSP circuitry and algorithms are initialized. Telephone
line access is disabled during this time.
Telephone Line Monitor
The TDI continuously monitors the telephone line for faults (i.e., line open or short). When a fault on the line is detected,
the RING and OFFHOOK LEDs flash together as long as the telephone line fault exists. When the fault is cleared, the
LEDs stop flashing.
NOTE: The IP-223 front panel displays LLM when a telephone line fault is detected.
FIGURE 2. TDI Front Panel

9
Rear Panel Connections
1. Power: Nominal 12VDC 1A max filtered power is applied to the TDI to the 2-pin screw lug connector. The input
voltage range is 10-16VDC. Pin 1 is the positive terminal. There is an additional ground lug for chassis ground
connections.
2. IP-223: A Hi-Density DB15 connector provides all of the required connections between the TDI and the IP-223.
FIGURE 3. TDI Rear Connections
Pin Description
1RX+
2
3 HOOK
4DTRa
a. Pins not used at this time.
5 GND
6TX+
7RX-
8LLM
9PROGENa
10 TXD
11 TX-
12 GND
13 RING
14 RTSa
15 RXD

10
3. Phone: A standard RJ-11 connects the PSTN phone line to the TDI. All telephone signaling and audio is present on
the Tip and Ring pair.
Equipment Connection and Setup
TDI Setup
There are no internal jumpers or adjustments in the TDI enclosure.
IP-223 Setup
Jumper Settings
Pin Description
1
2
3RING
4TIP
5
6
Jumper Position Jumper Function
“B” Balanced 600 Ohm
Line 1: J3, J9, J11, J16, J21
Line 2: J25, J28, J29, J19, J20
“A” 600 Ohm Rx Termination
Line 1: J14
Line 2: J24
“A” DIGI I/O Pull Up Resistors (5V)
Line 1: J8
Line 2: J30
“B” 4-Wire Interface
Line 1: J33, J34
Line 2: J5, J6
“A”
Line 1: J35
Line 2: J26 RS232 Serial Data

11
IP-223/TDI Connections
The TDI package includes the interface cable required for connection of the TDI to the IP-223. Connect the interface cable as
follows:
1. Plug the Hi-Density male DB-15 connector labeled To TDI into the female Hi-Density DB-15 on the rear of the TDI
enclosure.
2. Plug the male DB-25 labeled To IP-223 into the Radio 1 or Radio 2 connector as determined by the installation
requirements.
3. Plug the male DB-9 connector labeled To IP-223 into the SERIAL port on the rear of the IP-223 or into the serial port
splitter (Telex P/N 30195300) as determined by the installation.
NOTE: Serial splitter cable is required when attaching two serially controlled accessories to one IP-223 or
when line 2 has a serial device attached.

12

13
CHAPTER 2
Installation
IP-223 Web Page Configuration
Multicast Address Setup Page
To operate with the TDI, the IP-223 must be initially set to Phone mode from the Multicast Address Setup page, as shown in
Figure 4.
NOTE:
•Phone Mode os only available in IP-223 software version 1.08 or higher.
•TDI configuration is only available in IP-223 software version 4.100 or higher.
•Caller ID demodulation is only available in IP-223 software version 1.10 or higher.
•User-selected ring cadence and TDI gain options are only available in TDI firmware version 2.000 and IP-223
firmware version 4.300 or later.
Each line has a drop down menu that allows selection of the Phone Mode. The Multicast Address and port numbers are
configured just as any other mode. In Phone Mode, the Multicast Address is not required, as the console connects via TCP/IP.
Make sure the Rx and Tx port numbers are unique. The ringing signal is broadcast on a unique Multicast Address. The ringing
signal address must be common to all listening IP-223s and consoles. For console configuration information, please refer to
the specific user manual for the product.

14
NOTE: Once all the lines have been set, click Submit to store the options.
Per Line Setup Window Definitions
Once the Phone Mode is selected, the TDI operating parameters may be set up from the Per Line Setup web page. The
following figures show the general setup for Phone Mode operation. The Serial Port Mode, relays, timeouts, audio levels and
various delays are setup here. Other options apply to special applications. Contact RadioDis[email protected].
for additional information.
Heading
Figure 5 shows the Per Line Setup window heading. Click Line 1 or Line 2 to select the IP-223 control line.
FIGURE 4. Multicast Setup Page—Phone Mode Configuration
FIGURE 5. Per Line Setup Window—Heading

15
Ring Setup
The Ring Setup section is used to select the ring cadence for the country of operation or enter custom timings. Once a country
is selected from the drop down menu, the default values for the specified country appear in the Ring On and Ring Off fields.
For custom timing entries, the on/off times are entered manually in the Ring On and Ring off fields.
The range for the Ring On and Ring Off fields is 100ms to 32000ms.
Serial Port Mode
Figure 7 shows the Serial Port Mode section of the Per Line Setup window.
The IP-223 detects and displays the current TDI version. See Figure 7.
Serial Port Mode - The TDI operation for the IP-223 may be selected from the drop down menu.
Serial Port Param - The IP-223 is automatically configured for communication with the TDI.
NOTE:
•Press Submit to set and display the available options for the TDI.
•TDI configuration is only available in IP-223 software version 4.100 or higher.
FIGURE 6. Per Line Setup—Ring Setup Section
FIGURE 7. Per Line Setup Window— Serial Port Mode Section

16
Delay Setup
Figure 8 shows the Delay Setup section of the Per Line Setup window.
TX Delay - The TX Delay may be set from 0 to 1000 milliseconds. This feature delays the TX audio for the
programmed period.
RX Delay - The RX Delay may be set from 0 to 1000 milliseconds. This feature records and stores the RX audio
for the programmed period before sending the packet to the console.
LAM Setup
Figure 9 shows the LAM Setup section of the Per Line Setup window.
LAM Level - LAM Level is the signal level the audio must exceed, in dBm, to trigger the RX indication and packet
generation to the console. Typical LAM levels for RX audio are -30dB.
LAM Time - LAM Time is the time the RX indication and the packet generation continues after the LAM level
threshold is exceeded.
Typical values are 2 to 3 seconds.
Options
Figure 10 shows the Auto Answer Setup section of the Per Line Setup window.
Auto Answer - The IP-223 automatically answers the phone after the number of rings entered into this field.
Auto Disconnect Time - If the LAM level threshold is not exceeded after the Auto Disconnect time has expired, the IP-
223 will automatically place the TDI Onhook to disconnect the call.
NOTE: Once all the options have been set, click Submit to store the options.
FIGURE 8. Per Line Setup—Delay Setup Section
FIGURE 9. Per Line Setup—LAM Setup Section
FIGURE 10. Per Line Setup—Auto Answer Setup Section

17
Audio Level Setup
There are no internal jumpers or adjustments inside the TDI enclosure. Advanced circuitry and DSP software algorithms react
to changing telephone line impedances resulting in minimal user setup. Each audio input to the TDI (Telco RX and IP-223
TX) is routed through a complex AGC circuit that provides 44dB of dynamic range control. A nominal 0dB input level applied
to each of the audio inputs results in ±22dB of dynamic input range control by the TDI.
The TDI audio outputs (Telco TX and IP-223 RX) are derived from the processed audio level and DSP echo canceling
algorithms to produce nominal 0dB telco and IP-223 levels. The IP-223 system gains are typically set to 0dB (depending on
system requirements). Figure 11 shows the IP-223 General Gain Setup page where the receive and transmit gains for each line
are set.
Version 2.000 allows the user to set the system gains. The TDI is initially programmed with the following default parameters:
Ring cadence - Ring on = 2000ms, Ring off = 4000ms (United States)
TDI Rx gain - +9dB
TDI Tx gain - +3dB
FIGURE 11. General Gain Setup Window—Line Gain Setup Section

18
Save to EEPROM Page
Figure 12 shows the Save to EEPROM page. Once all the operating parameters have been submitted, click Save Parameters.
C-Soft Setup
NOTE: This example shows a basic setup for C-Soft. Please refer to the user manual for other IP-based consoles, if
necessary.
Setup IP Multicast List
Figure 13 shows an example of setting two (2) lines to Phone Mode. In this example, the Line Type is selected as Phone Mode.
The Line Name is arbitrary and called Line 31 and Line 32 in the case. The RX port numbers need to be unique. Typically they
are just the next number in a standard assignment sequence. The Base Radio IP Address is the IP Address of the IP-223
connected to the TDI.
FIGURE 12. Save to EEPROM Page
FIGURE 13. Setup IP Multicast List—Phone Mode Configuration

19
Set Global Parameters
Figure 14 shows the Phone Ring Multicast and Port number setting. These values must be the same as shown in Figure 4.
C-Soft Phone Control Buttons
Figure 15 shows a few of the basic C-Soft Phone Control buttons used for telephone control. Any button can be configured for
a task by right-clicking on the button, then using the UI Element Function drop down menu. In this case, Phone - On/Offhook
was selected. The Remote Phone Line Select page shows that no specific line was selected as the Phone asset. Instead, Pool
was selected. In the case of the IP-223, Pool mode means if both lines are setup as Phone Mode, the console seizes the first free
line available for use from the two (2) line pool. This is the same function as the multi-line telephone. Also shown is an
example of a few phone control buttons. Please refer to the C-Soft manual for further details on the button configuration.
FIGURE 14. Set Global Parameters—Phone Ring Multicast and Port
FIGURE 15. C-Soft Phone Control Buttons Setup

20
Audio Alignment Procedure
Audio alignment is done in two steps. First the Rx path is aligned, then the Tx path. The IP-223 has front panel alignment
features for both Rx and Tx. Using the front panel buttons on the IP-223, press and hold the LINE button, then press the IC
button.
While continuing to hold the LINE, repeated presses of the IC button steps through several features, including the alignment
features.
LINE/IC first press: IP and Subnet mask addresses.
LINE/IC second press: Tx Alignment tone
LINE/IC third press: Receive audio signal levels are measured at the DSP level.
LINE/IC fourth press:Resets screen to normal mode.
General Gain Setup Window
The General Gain Setup window is used to set receive and transmit levels for the line.
Set the audio Rx level to 0db and the Tx audio level to -22.5dB for the line. See Figure 16.
Receive Audio Alignment
Enter the Receive alignment mode on the IP-223 by pressing and holding the LINE button, then successively pressing and
releasing the IC button three (3) times. The TDI must be connected to a live PSTN phone line and then taken offhook. This
can be done with C-Soft, or any IP-based Telex Console.
The following steps outline the TDI Rx alignment procedure:
Step 1 From the console, take the telco line offhook. A dial tone should be present.
Step 2 From the front panel Rx control, adjust the dial tone levels to -12dB.
Step 3 Place the telco line back onhook.
FIGURE 16. General Gain Setup Window
Table of contents
Other Telex Recording Equipment manuals