TERMA BIOFEEDBACK User manual

BIOFEEDBACK
USER GUIDE
V.3.0.

1. INTRODUCTION
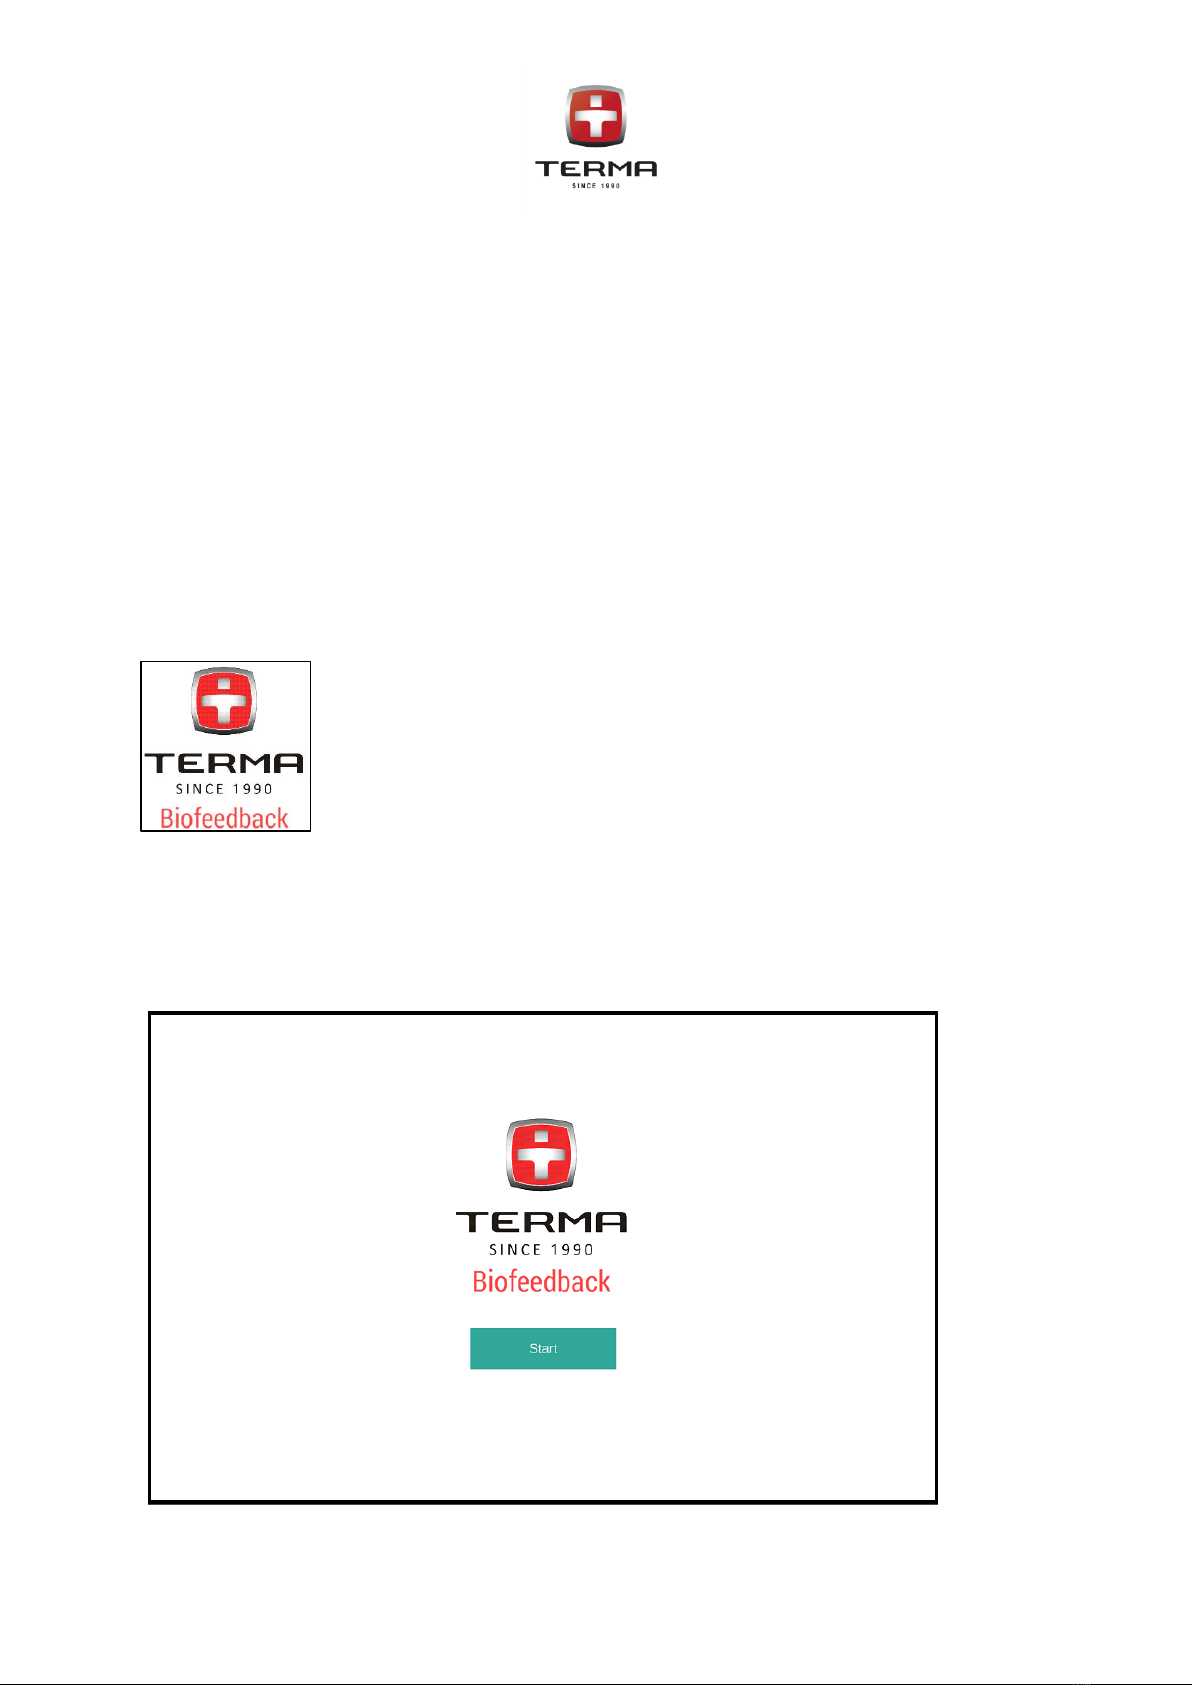
Wishing you satisfaction of BIOFEEDBACK usage, we thank you for your choice.
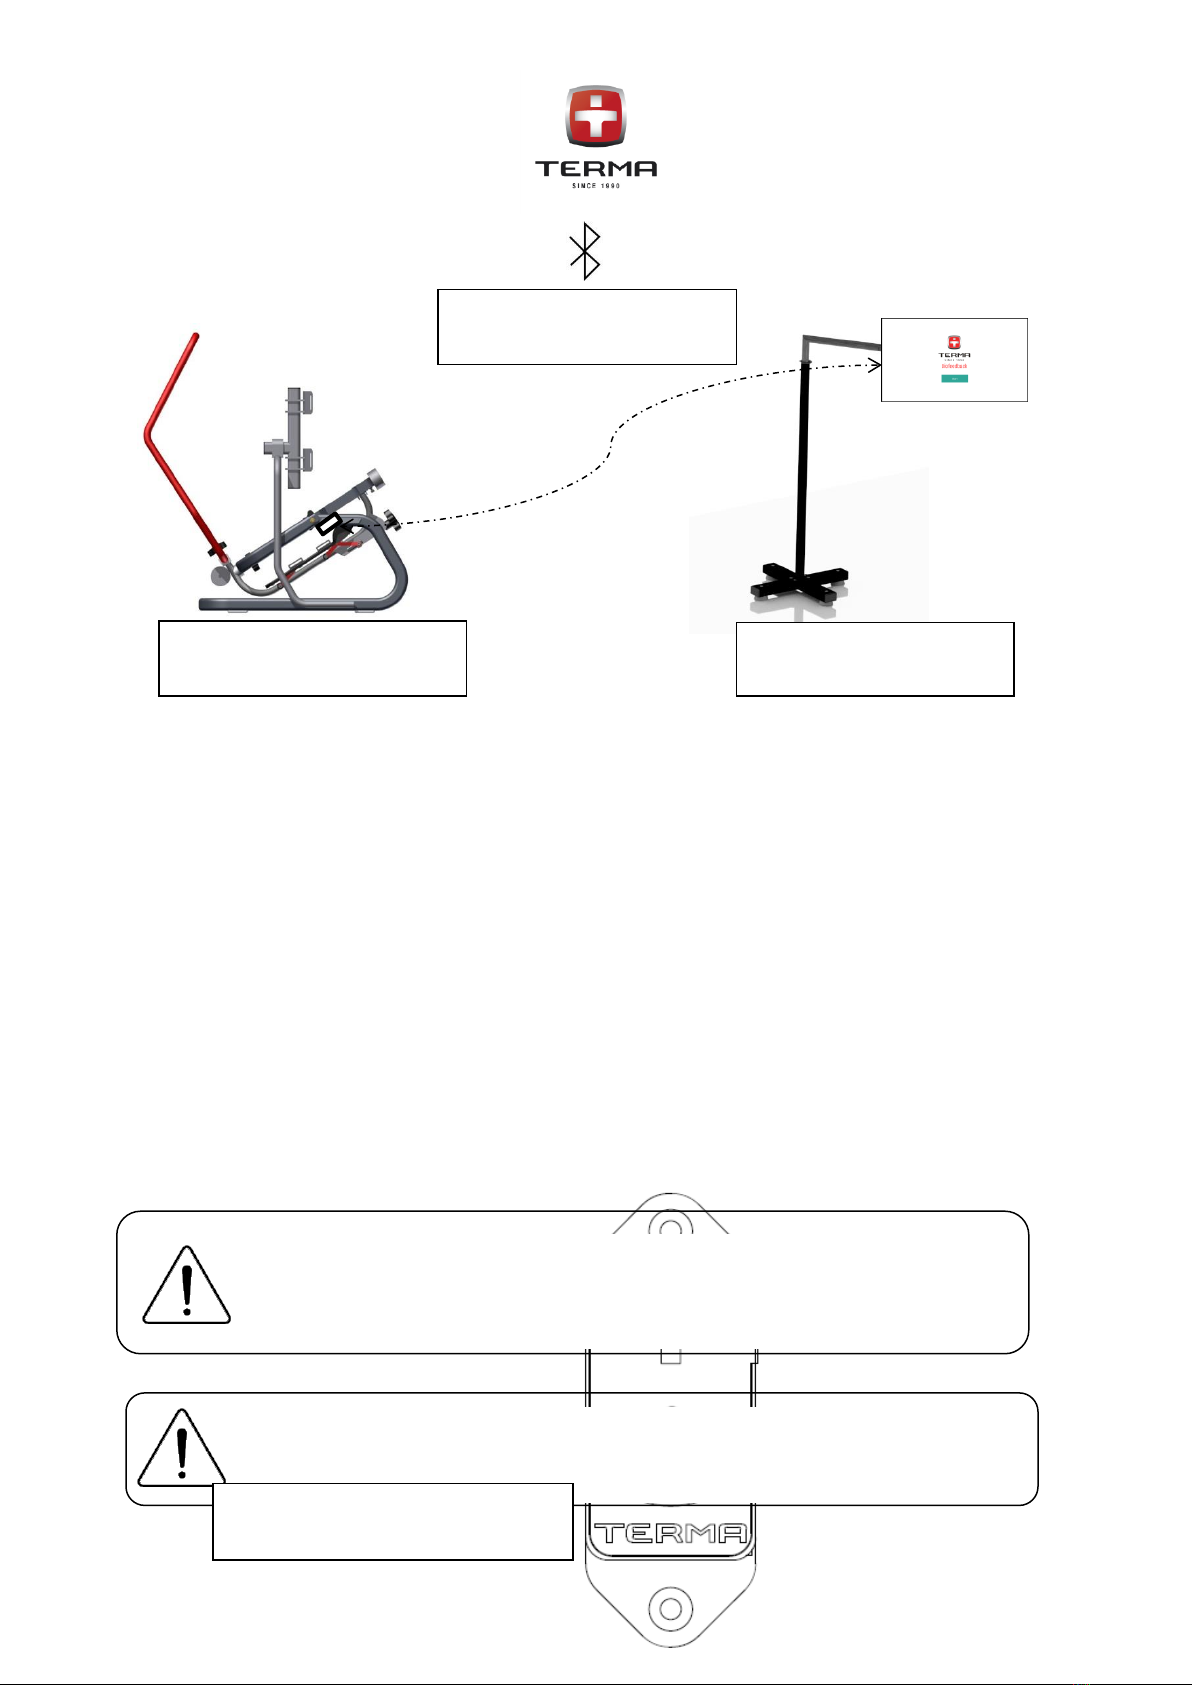
BIOFEEDBACK is a system supporting exercising on TERMA kinesiotherapy devices. The main aim of the
system is to motivate the patient, facilitate parameterization of the exercises and receiving the feedback by the
therapist as a post-exercises report.
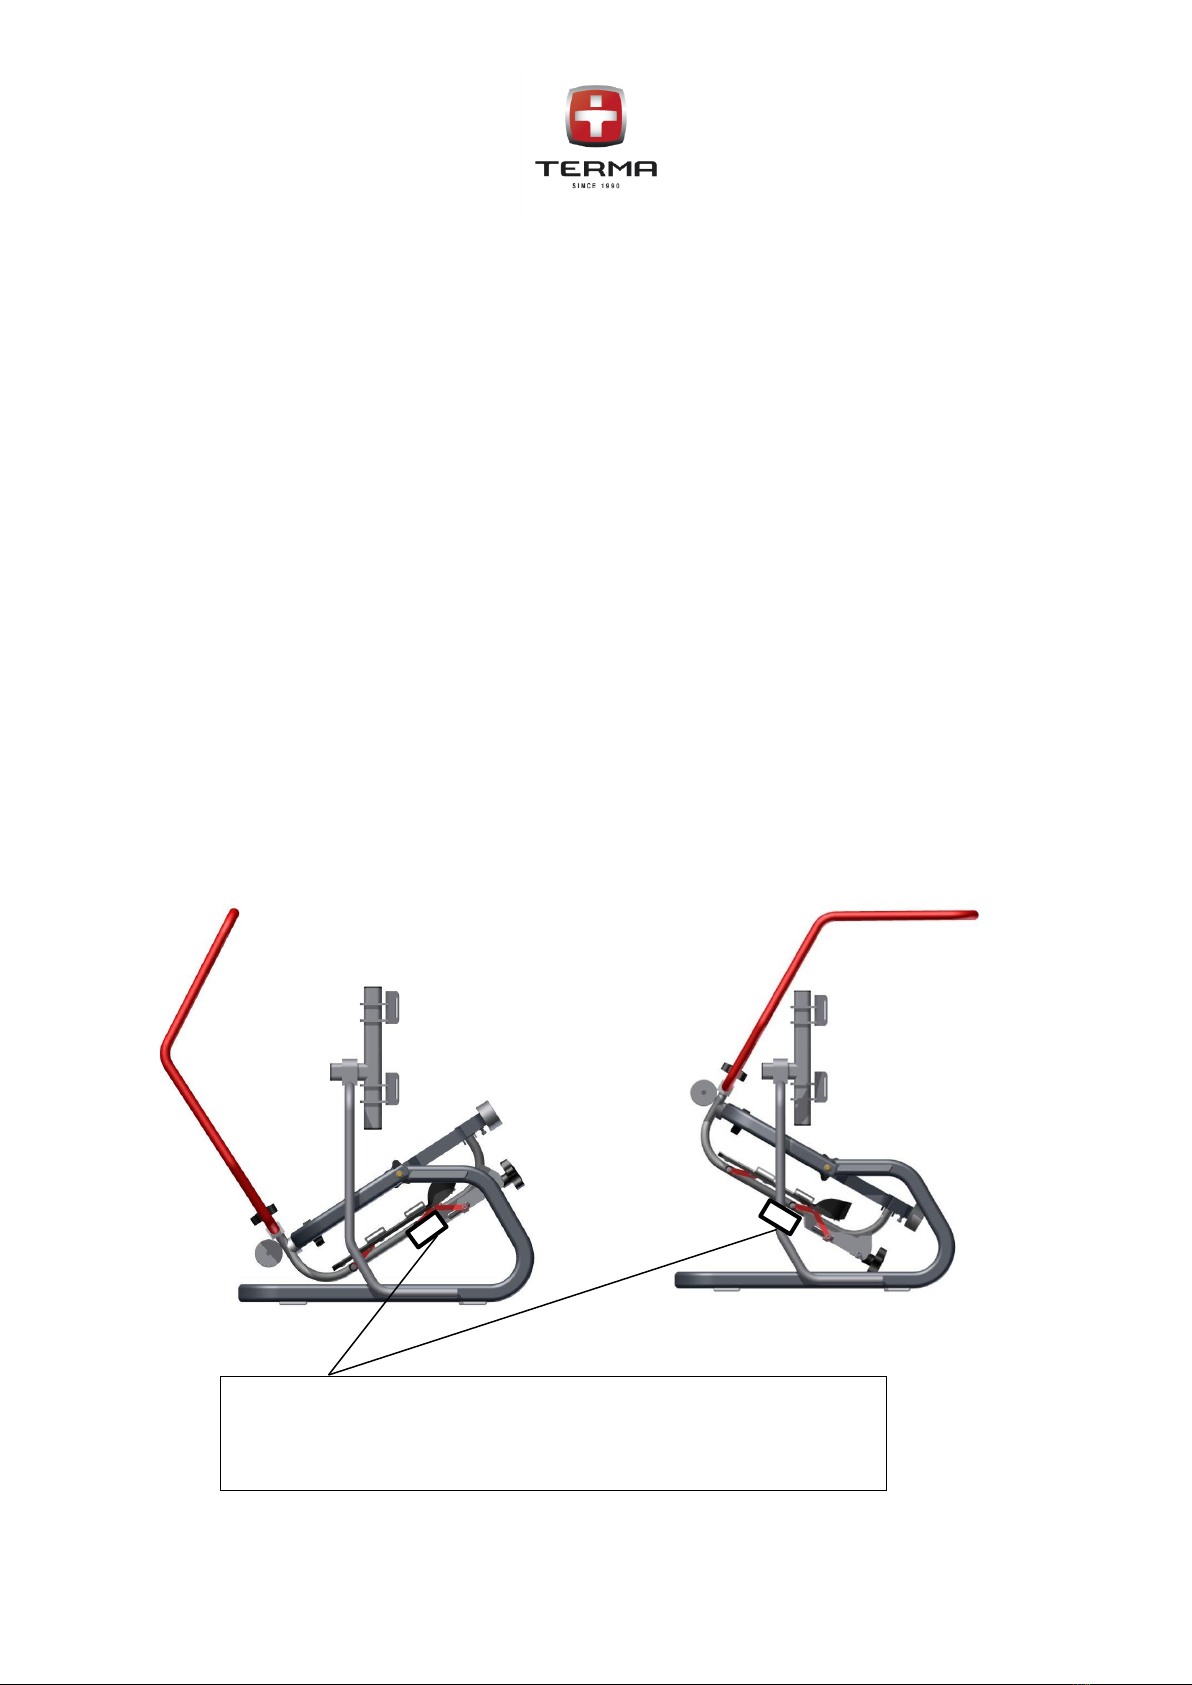
BIOFEEDBACK system can be attached with the TERMA kinesiotherapy devices listed below. The devices, alike
the BIOFEEDBACK are of the I class of medical devices, according to MDD Medical Device Directive 93/42/EEC
for the medical devices for multiple usage:
- AVIOR Ankle and knee joints rehabilitation device,
- DRACO Ankle joint rehabilitation device,
- PICTOR Wrist joints rehabilitation device,
- AURIGA Balance platform.
Manufacturer:
Terma Sp. z o.o.
Czaple 100
80-298 Gdańsk
Poland
T: +48 58 694 06 04
F: +48 58 695 05 06
email: termamed@termamed.pl
www.termamed.pl
Exclusive distributor:
MEDEN-INMED Sp.z o.o.
75-847 Koszalin
Wenedów 2
Poland
T: +48 94 347 10 40
F: +48 94 347 10 41
email: [email protected]m.pl
www.meden.com.pl
Service:
MEDEN-INMED Sp.z o.o.
T: +48 94 344 90 48 / +48 600 693 741
F: +48 94 347 10 41
email: murbanowicz@meden.com.pl

2. EXPLANATION OF SYMBOLS
It is mandatory to read the safety statements before using the device. The safety statements are classified as
follows:
Safety warnings and essential usage details.
Safety of exploitation warnings. Unless followed, may result in minor personal injury and/or
product/property damage.
Mark of the active part of the device described on the illustrated scheme and explained in
table.

3. PRINCIPLES OF OPERATION AND STRUCTURE OF THE SYSTEM
The general idea of BIOFEEDBACK system is based on reading the parameters, processing the signal, creating
the graphic representation and passing the information back.
BIOFEEDBACK’s aim is to help in achieving better therapeutic effects during the rehabilitation process and to
increase motivation of the patient in performed exercises.
BIOFEEDBACK system includes:
-the sensor with the cover,
-a stand,
-a tablet.
The sensor is equipped with the battery.
SENSOR
Accelerometer collects the data of the movements performed by a patient. The sensor connects wireless with the
application which uses the received data and the parameters set by a therapist to motivate the patient and to lead
him/her through the complete rehabilitation session.
The sensor is located under the foot of the device –here presented with DRACO Ankle
rehabilitation device. During the calibration and performed exercises it collects the
feedback about limb displacement according to the chosen exercise.

Maximum distance for the uninterrupted connection between the application and the sensor is 10 m in one room,
without any borders like walls.
The sensor is located in the cover attached in the case of ankle rehabilitation device under the foot and in case of
wrist rehabilitation device inside of the handle. In the balance platform, the sensor is located under the plate.
Backside of the cover, which is plane, without the overprints, is the side that adjoins the device. On the front side
of the cover, marked with the logo of TERMA, an arrow helps to place the sensor correctly, towards the front side
of the device.
Wireless connection between the
sensor and the application
(Bluetooth)
Application installed on the tablet
that is mounted on the stand
The sensor attached to the
rehabilitation device
The cover must be placed with the arrow towards the front of the device, otherwise the sensor will not
be possible to supply the application with the correct data!
Do not open the cover of the sensor!. It may lead to the loss of system functionality.
Screws attaching the cover to the
rehabilitation device

CHARGING
The sensor is charged by a 3.7V Lithium-ion battery. The battery is charged by a 5V charger, not less
than 300mA, with micro USB slot. Using incompatible charger may lead to the damage of the device.
Continuous work time of the device after charging the battery 100% is around 540 h.
4. Preparing the system for the exploitation
If the battery liquid comes in contact with eyes or skin, it’s necessary to remove the liquid
immediately with large amount of clean water and to contact the physician for the advice.
Mini USB slot to attach the charger
Arrow marking the direction of the sensor
towards the front of the device

To start exploitation of BIOFEEDBACK system the sensor must be placed in the dedicated place on the
device.
If the information about lost connection with the sensor appears in the application, it is advised to check
the % of the battery left because the reason of lost connection can be too low battery level.
5. Setting up
During the first set up of the system the connection of the devices takes place –the sensor and the
application on the tablet. This process is performed only once during the first set up of the system and
does not need to be repeated.
Connection couples the sensor with the mobile device. To reset the settings the application needs to be
uninstalled on the tablet and installed again to repeat connecting the devices.
To connect the sensor and the application, the four last numbers of MAC address are needed. They can
be found on the device’s CE label and in the user guide.
UWAGA!
Zamocowanie czujka w niewłaściwym kierunku uniemożliwi poprawne korzystanie z aplikacji.
U WAGA!
Zamocowanie czujka w niewłaściwym kierunku uniemożliwi poprawne korzystanie z aplikacji.
ATTENTION! Installation of the sensor in the wrong place will disable the proper
usage of the system!
ATTENTION! The sensor signalizes the battery level by presenting the % left to the
battery discharge. To support the continuous support of the battery, it is advised to
chargé the battery when it’s level reaches 15% power and when the device is not
exploited by a patient.

Before the connection process starts, check:
- if the sensor is turned on with the button on the cover and the battery is charged (the diode lights
green),
- if the mobile device (tablet) is turned on and Bluetooth connection is active,
- if the distance between the sensor and mobile device during the connection does not exceed 10 m
without direct borders like walls.
The next stage for BIOFEEDBACK system is to turn the tablet with the application on and to run the
application by choosing the icon shown below:
Biofeedback
The command asking to allow BIOFEEDBACK system to use the localization may appear. Choose
„Allow”.
The first screen opens.
Choose

”Start”.
The welcome screen opens to provide the instructions to connect the devices.

The next step asks for the four last characters of the MAC address found on the label of the device or in
the user guide.

As soon as the characters are chosen, they have to be confirmed by tapping „Next”.
Searching for the device will begin.
In case of choosing the wrong characters or another issue causing the interruption of connection
appears, the application provides the information:


The suggested reasons must be checked and the process repeated by tapping “Back”.
Successful connection will be confirmed with an information. After completing the steps above, the
system is ready for exploitation.

6. Exploitation
Correct stabilization of the patient in the device structure must be performer according to the user guide of the
specific device. The user guide is attached to each device and is available to be downloaded from the
Manufacturer’s website www.termamed.pl from the „Download”section.
So start the exploitation, run the application by tapping on the tablet’s desktop:
Biofeedback
Application welcome screen opens.

DEVICE SELECTION
As soon as the system is run, it’s time to select the device that the patient will exercise on.
The device can be selected through the buttons on the right side or by sliding the devices icons in the central
area of the screen.

As soon as the device is selected, tap „Next”.
JOINT AND EXERCISE SELECTION
In the next step, after selecting the device, it’s time to choose the joint that will be rehabilitated (this option refers
only to devices that provide rehabilitation in two joints independently). Then select the proper exercise in the right
plane.
CALIBRATION
Next step is a calibration, which is adaptation of the system to patient’s ranges of motion. To proceed, the
optimum ranges of motion for an individual patient must be defined. Confirm the measurement by tapping.

The patient initiates the movement of the limb and the range of motion is reflected on the circle diagram located in
the central area of the screen. To confirm the measurement, tap “Confirm calibration”.

If the calibration was incorrect or the therapist is willing to motivate the patient to enlarge the range of motion, the
measurement can be repeated by choosing „Repeat calibration”.
This activity can me repeated unlimited number of trials until the optimum range of motion is set. To continue, tap
„Next”.
EXERCISES PARAMETRIZATION
During the next step the therapist defines the further therapeutic plan of exercises. Number of repeats can be
chosen together with position hold time and position reach time.
Game or chart mode can be chosen, together with the game version, presented as an icon on the right.
Therapist defines which limb is rehabilitated (left/right) and if the exercising needs extra resistance.
The text field allows to enter any information that is essential for the therapy.
Parameters entered during this step and confirmed will be shown in the report available as soon as the patient
finishes his session.

Patient’s personal information can be entered which helps to identify the report on the list of results after
completing the session. Date and hour of completing the exercise will be added to the report automatically.
EXERCISES
The exercises are based on the completed calibration and parametrization. If the game mode was chosen, the
proper graphic representation will be presented.

In the game mode the progress is shown and % of completion. The red % refers to % of repeats realized vs. the
total defined during parametrization. End of the task is signalized by thick line symbolizing a wall.
If the patient needs during exercising to change the game mode into the chart mode, the switch is possible in the
real time by tapping „chart mode”. Returning to the game mode is also possible by tapping the “game mode”
while the chart is running.
Table of contents
Other TERMA Medical Equipment manuals
Popular Medical Equipment manuals by other brands

Shenzhen Mindray Bio-Medical Electronics
Shenzhen Mindray Bio-Medical Electronics ePM 10A Service manual

GlobalMed
GlobalMed Transportable Exam Station quick start guide

Civco
Civco CRADLE reference guide

VRI
VRI 2NET Communicator Quick install

TALARMADE
TALARMADE HeadUp Collar instruction manual

FIOR & GENTZ
FIOR & GENTZ NEURO SWING manual

Yuwell
Yuwell 7F-5A user manual

Spencer
Spencer SED Use and maintenance manual

Riester
Riester RVS-200 Instructions for use

Alaris Medical Systems
Alaris Medical Systems Medley 8000 Series Directions for use

Vive
Vive LVA1021 user manual

Argon Medical Devices
Argon Medical Devices UltraStream Multi-Language Directions for Use