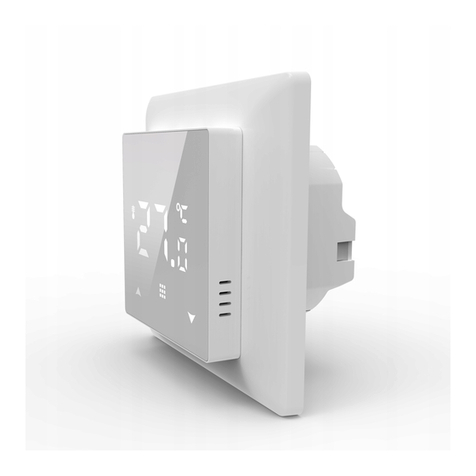
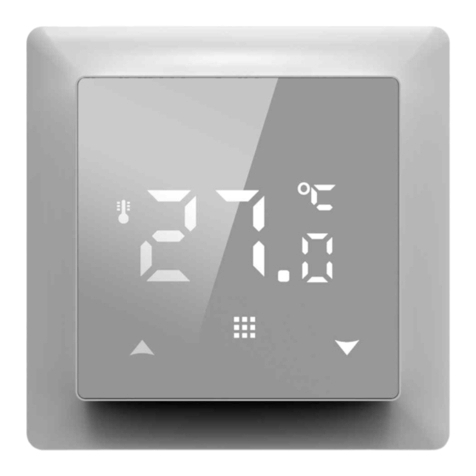
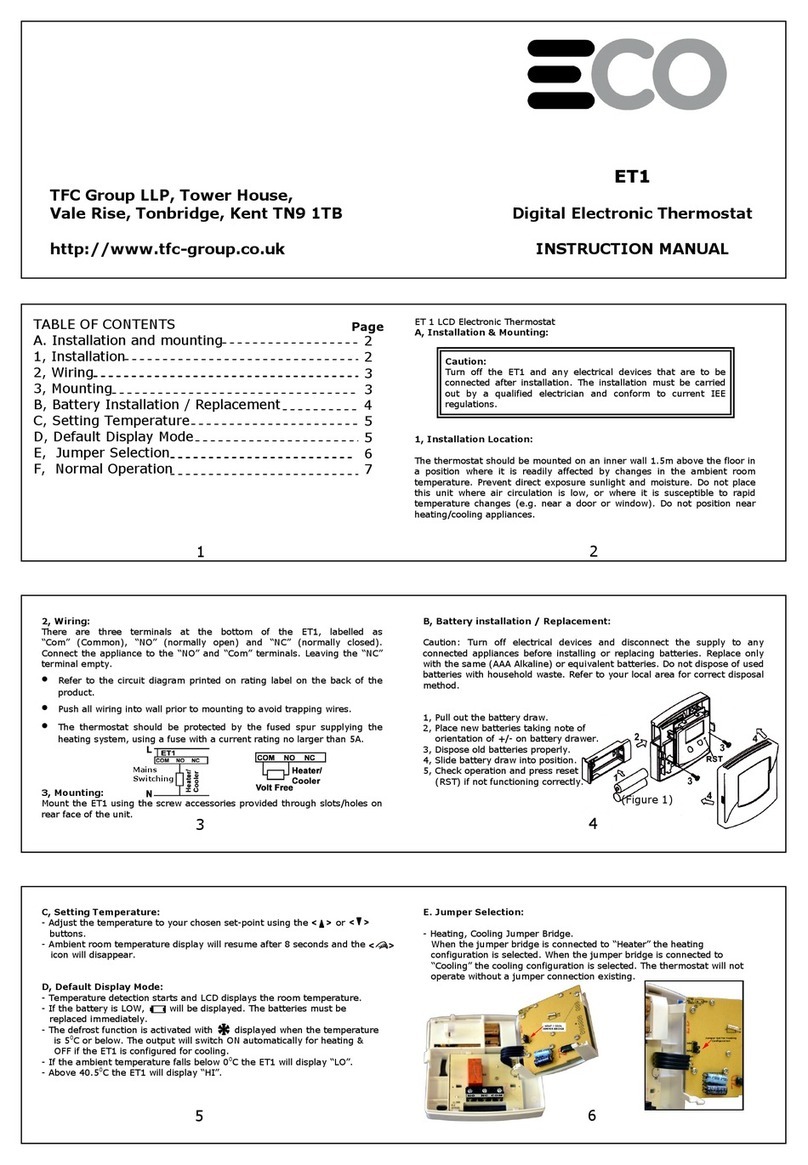
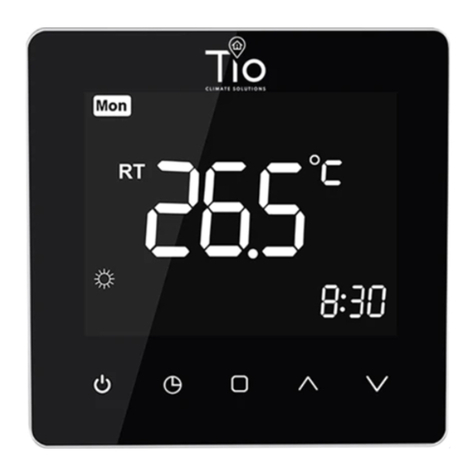
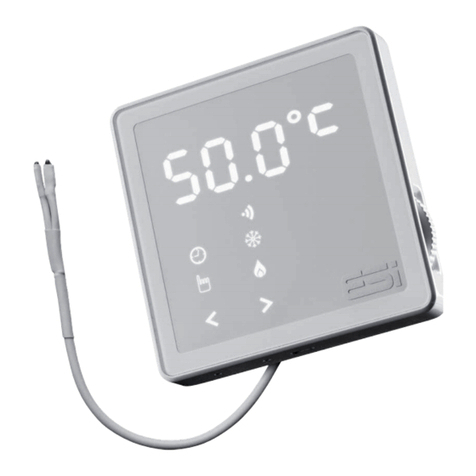
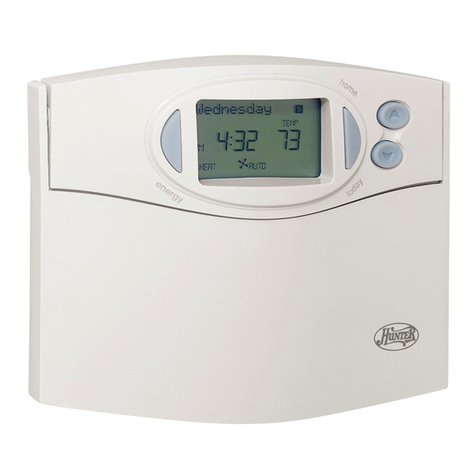
TERMOFOL TF-WIFI User manual


INSTALLATION
Fig. 1
Fig. 2
Fig. 3 Fig. 4
1
6
7
8
9
10
11
12 2 3
13
14
15 16
1. Power
2. Temperature Up
3. Temperature Down
4. Time
5. Periods
6. Week
7. Room Temperature
8. Wi-Fi
9. Set Temperature
10. Manual
11. Lock
12. Mode
13. Heating On
14. Valve On
15. Clock
16. Sleep
HOME SCREEN QUICK REFERENCE
Touch M to change between manual mode and programme mode. In
manual mode, will show in the bottom left of the screen.
In programme mode, touch the icon 4 times until the weekday
schedule settings appear (1 2 3 4 5 will show along the top of the
screen). Use the and arrows to adjust the on time.
Press the icon and and arrows to set the time (1st period).
Press the icon and use the and arrows to set the off time (2nd
period).
Repeat this process for periods 3 and 4.
Press the icon Saturday Schedule settings once more to enter the
weekend schedule settings (6 & 7 will show along the top of the
screen).
Repeat the above process to set the weekend schedule. Press once
more to conrm and exit.
DEFAULT SETTINGS FOR PROGRAM SCHEDULE
A separate schedule may be set for weekdays (Mon - Fri) and for
weekends (Sat or Sun).
7. Checking the Temperature of Floor Sensor
Press and hold the arrow for 5 seconds to display the temp. of oor
sensor.
8. Return To Factory Default
Press the Restore Manufacturer Defaults, you can reset thermostat.
Steps:Open your app -go into your room - click menu on the top right
corner - move to the end - Press Restore Manufacturer Defaults.
During Power Off
Setting the Functions and Options
When power is off, press and hold M 5 sec. in order to reach system
function. Then press M to scroll through the available functions, and
use the and arrows to change the available options. All settings
are conrmed automatically.
OPERATION
During Power On
1. Power On/off: Press to turn the thermostat on/off.
2. Manual & Programmable. Touch M (mode) to change between
manual mode and programm mode. In manual mode, will show in
the bottom left of the screen In programmable mode, the period icon
will show in the right side.
3. Setting Temperature In the mode of programmable, set temperature,
time and timing on/off could not be adjusted. If the user want to
change, please go to manual mode or programmable mode.
In the mode of manual, press to set the desired temperature.
4. Adjusting/Setting the Clock. Touch the icon to set minute, hour
and weekday (1 = Monday, 2 = Tuesday etc.) by using the arrows.
Press once more to conrm and exit.
5. Locking your Thermostat. Press and hold the for 5 seconds to
lock/unlock your thermostat In item 3 of high senior options, you can
select fuli lock or half lock.
6. Adjusting/setting the Program Schedules. When Wi-Fi connection is
madę, your thermostat will automatically accept the program
schedule made via the APP on your device (see below for detailed
instructions) To set the program schedules through your thermostat
(NOT via your smartphone/tablet) simply follow the instructions as
below:
Please note: Setting the programme schedule through your
thermostat can only be carried out if there is no Wi-Fi connection
between your thermostat and smartphone/tablet.
Time display
WEEKDAY (MONDAY-
FRIDAY) (123 45 shows
on screen)
WEEKEND (SATURDAY) (6
shows on screen)
WEEKEND(SUNDAY) (7
shows on screen)
TIME TEMPERATURE TIME TEMPERATURE TIME TEMPERATURE
Period 1 06:00 20°C 06:00 20°C 06:00 20°C
Period 2 08:00 15°C 08:00 20°C 08:00 20°C
Period 3 11:30 15°C 11:30 20°C 11:30 20°C
Period 4 13:30 15°C 13:30 20°C 13:30 20°C
Period 5(1+2) 17:00 22°C 17:00 20°C 17:00 20°C
Period 6(3+4) 22:00 15°C 22:00 15°C 22:00 15°C
CODE FUNCTION SETTING AND OPTIONS DEFAULT
1Temperature
compensation -7 to + 7 C (for internal sensor) -1
2Deadzone
Temperature 1~5C 1
3 Button locking 00: All buttons are locked except power button.
01:All buttonsare locked. 01
4 Sensor Types
In: InternalSensor (to controlor limit the
temp.)
Ex: External Sensor (to control or limit the
temp.)
Ou: Only external sensor
AL Internal/ External Sensor (Internal
sensorto controlthe temp.,external sensorto
limit the temp.)
AL
5 Min. Set Temp 5-15 C 05
6 Max. Set Temp 15-45 C 35
7 Display Mode 00: Display both set temp.and room temp. 01:
Display set temp. only 00
8Low temperature
protection setting 0-10 C 00
9High temperature
protection setting 25-70 C 45
A Economy Mode 00: Non-energy saving Mode 01: Energy saving
mode 0
B Economy Temperature 0-30 C 20

ABOUT WIFI
WI-FI CONNECTION
Before using your Wi-Fi thermostat for the rst time, you must congure
the Wi-Fi signal and settings through your smartphone or tablet. This will
allow communication between your connected devices.
Step 1 Download your APP (Fig 1-1)
Fig 1-1 Fig 1-2 IOS Fig 1-3 Android
Step 2 Register your account.
Open your , you will get a piece of nolicacalion (Fig 2-1). Click Allow to go
into your page of register (Fig 2—2). Press register and enter your phone
no. or email (Fig Z—3) then you can get a verication code. Input your
password and conrm (Fig 2-4) to complete your registeration.if you have
account, please log in.
Step 3 Connect your Wi-Fi signal
With power off, press and hold the arrow for eight (8) seconds.
The backlight will be on and the icon will ash one time per sec..
Press the on the upper right corner of the page (see Fig 3-1) to add your
device. Click Conrm indicator rapidly blink (Fig 3—2) then select your
network and back to your app to enter the password of your wireless
router (Fig 3-3) and conrm. The app will connect automatically (Fig 3—
4). This may typically take up to 5~90 seconds to complete. Your room
name could be edited when the device is connected (Fig 4—4).
This is EZ modę which provides fast network connection between your
app and your device. If your router doesn't support it or your wi signal is
weak or you can not connect by EZ mode, press the AP Mode on the upper
right corner in Fig 3-2. If you have connected your thermostat successfully,
please ignore the AP setting as below.
On your thermostat
With power off, press and hold the arrow for eight (8) seconds.
The backlight will be on and the icon will ash one time per sec.. Press
and hold the arrow for eight (8) seconds again.
The icon will ash one time every (3) seconds.
Then, go back to the home page of your app
Click Conrm indicator slowly blink (Fig 4-1) then select your network and
back to your app to enter the password of your wireless router (Fig 3-3)
and conrm. The app will go into the page in Fig 4-2.

The one who create this group can control all the rooms at the same time
Except create the group, in this menu page, you can also modify your
device name, share your device, get the information of your device.
Way 1: Mentioned in the above.
Way 2: Click your Prole at the right botton of your main page (Fig 6—Z).
Select Device Sharing then add the account you want to share. You con
see the shoring account you have sent and the device you have shared In
this shoring poge. You don’t need to do anything if you are the one shored.
You can odd as many as rooms you wont. in your prole, click Integration
into the using page. Press Use Now > (Fig 7—1) for your Amazon Echo or
Google Home orTmall Genie or IFTIT then you can see the operation
steps.
Customize your own personal scenes to suit your needs.For example, set
your home to automatically turn on thermostat on when you back home
(Fig 7—2).Press button into the setting
Step 1: You can set a condition for Task like Temperature below 20
degree,then click Save.(Condition:Temp.,Humidity,Wether,PM2.5, Air
Quality,Sunrise/Sunset,Device)
Step 2: Add a task. Press to Select Device (Power,Set Temp,Lock i\/lode) to
act, then Save.if you want to delete the scene,you can press Press the
menu button in the red circle (Fig 5,2) then click Create Group Delete in
the end.
Your thermostat carries an 18 months warranty from date of purchase.
Senlice outwith the warranty period may incur a charge. More detail
please contact with us directly.
When your room is established successfully, it will display on the home
screen (Fig 5-1). The round button is to turn on/off your room. Click the line
into begining programming your thermostat. @ Power on/o button,press
it,turn on the device,press it again, turn off the device Lock/Unlock
button.if button is green,the screen is "Locked",lf button is grey,the screen
is "Unlocked". Econony button,in this mode,the temperature will be keep
20 degreehis temperature cannot be changed or adjusted. Manual
buttonzin this mode,your heating can be set manually (ie.Not using the pre-
programmed settings) Program button. When this button shows, your
thermostat is in program mode and will follow any pre-set heating
schedule. When in Manual mode, press the button to select mode and
vice—versa. (See Fig 5—2)
No Phenomenons Handling
1Power is on but without display. Check if the terminals between LCD panel
and Power Unit Box is loosen.
2 Without output but display works. Use a new LCD panel or new Power Unit
Box to replace the old one.
3Room Temp. Is a little different from Do temperature calibration in itemsenior
options
Other TERMOFOL Thermostat manuals

