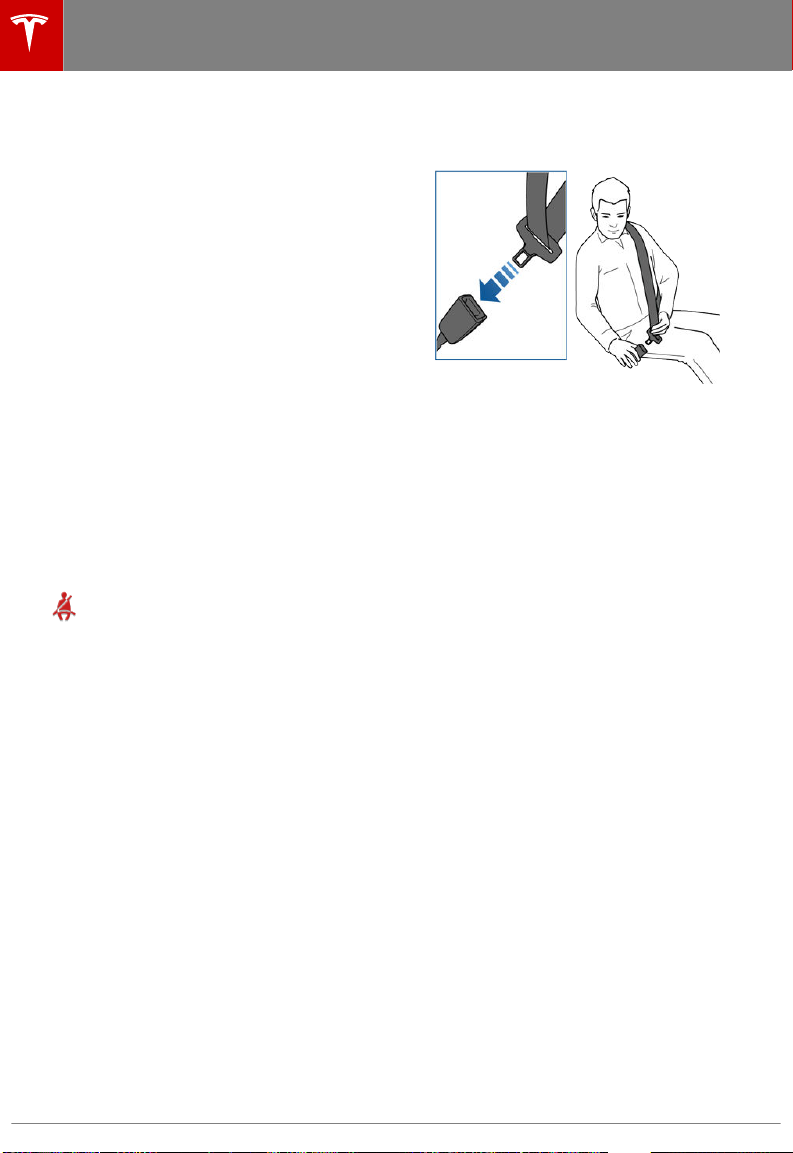
Testing Seat Belts
To confirm that seat belts are operating
correctly, perform these three simple checks
on each seat belt.
1. With the seat belt fastened, give the
webbing nearest the buckle a quick pull.
The buckle should remain securely locked.
2. With the belt unfastened, unreel the
webbing to its limit. Check that unreeling
is free from snags, and visually check the
webbing for wear. Allow the webbing to
retract, checking that retraction is smooth
and complete.
3. With the webbing half unreeled, hold the
tongue plate and pull forward quickly. The
mechanism should lock automatically and
prevent further unreeling.
If a seat belt fails any of these tests, contact
Tesla immediately.
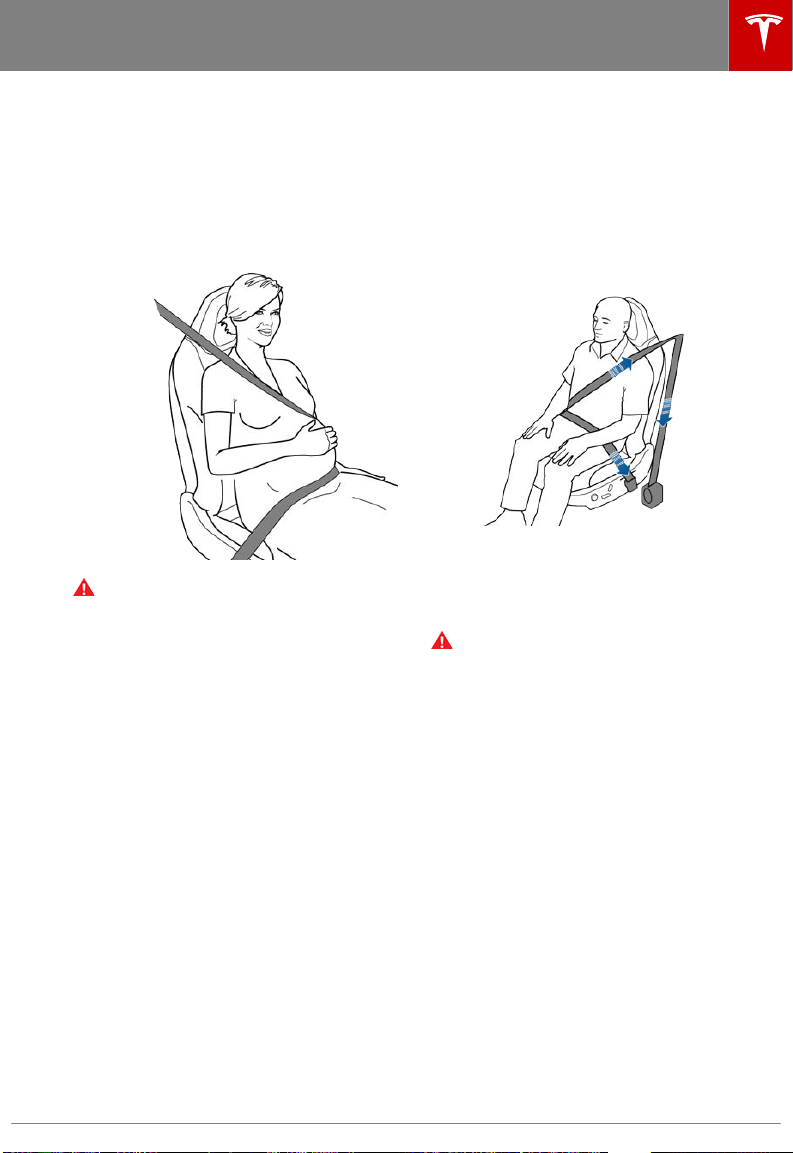
Seat Belt Warnings
Warning: Seat belts should be worn by all
occupants at all times, even if driving for
a very short distance. Failure to do so
increases the risk of injury or death if an
accident occurs.
Warning: Secure small children in a
suitable child safety seat. Always follow
the child safety seat manufacturer's
instructions when installing.
Warning: Ensure that all seat belts are
worn correctly. An improperly worn seat
belt increases the risk of injury or death if
an accident occurs.
Warning: Do not wear seat belts over
hard, fragile or sharp items in clothing,
such as pens, keys, eyeglasses, etc. The
pressure from the seat belt on such items
can cause injury.
Warning: Seat belts should not be worn
with any part of the strap twisted.
Warning: Each seat belt assembly must
be used by one occupant only. It is
dangerous to put a seat belt around a
child being carried on an occupant’s lap.
Warning: Seat belts that have been worn
in an accident must be inspected or
replaced by Tesla, even if damage to the
assembly is not obvious.
Warning: Seat belts that show signs of
wear (such as fraying), or have been cut
or damaged in any way, must be replaced
by Tesla.
Warning: Avoid contaminating a seat
belt’s components with any chemicals,
liquids, grit, dirt or cleaning products. If a
seat belt fails to retract or latch into the
buckle, it must be replaced immediately.
Contact Tesla.
Warning: Do not make modifications or
additions that can prevent a seat belt
mechanism from taking up slack, or that
can prevent a seat belt from being
adjusted to remove slack. A slack belt
greatly reduces occupant protection.
Warning: Do not make modifications that
can interfere with the operation of a seat
belt, or that can cause a seat belt to
become inoperable.
Warning: When seat belts are not in use,
they should be fully retracted and not
hanging loose. If a seat belt does not fully
retract, contact Tesla.
Safety Information
8 Model S Quick Guide