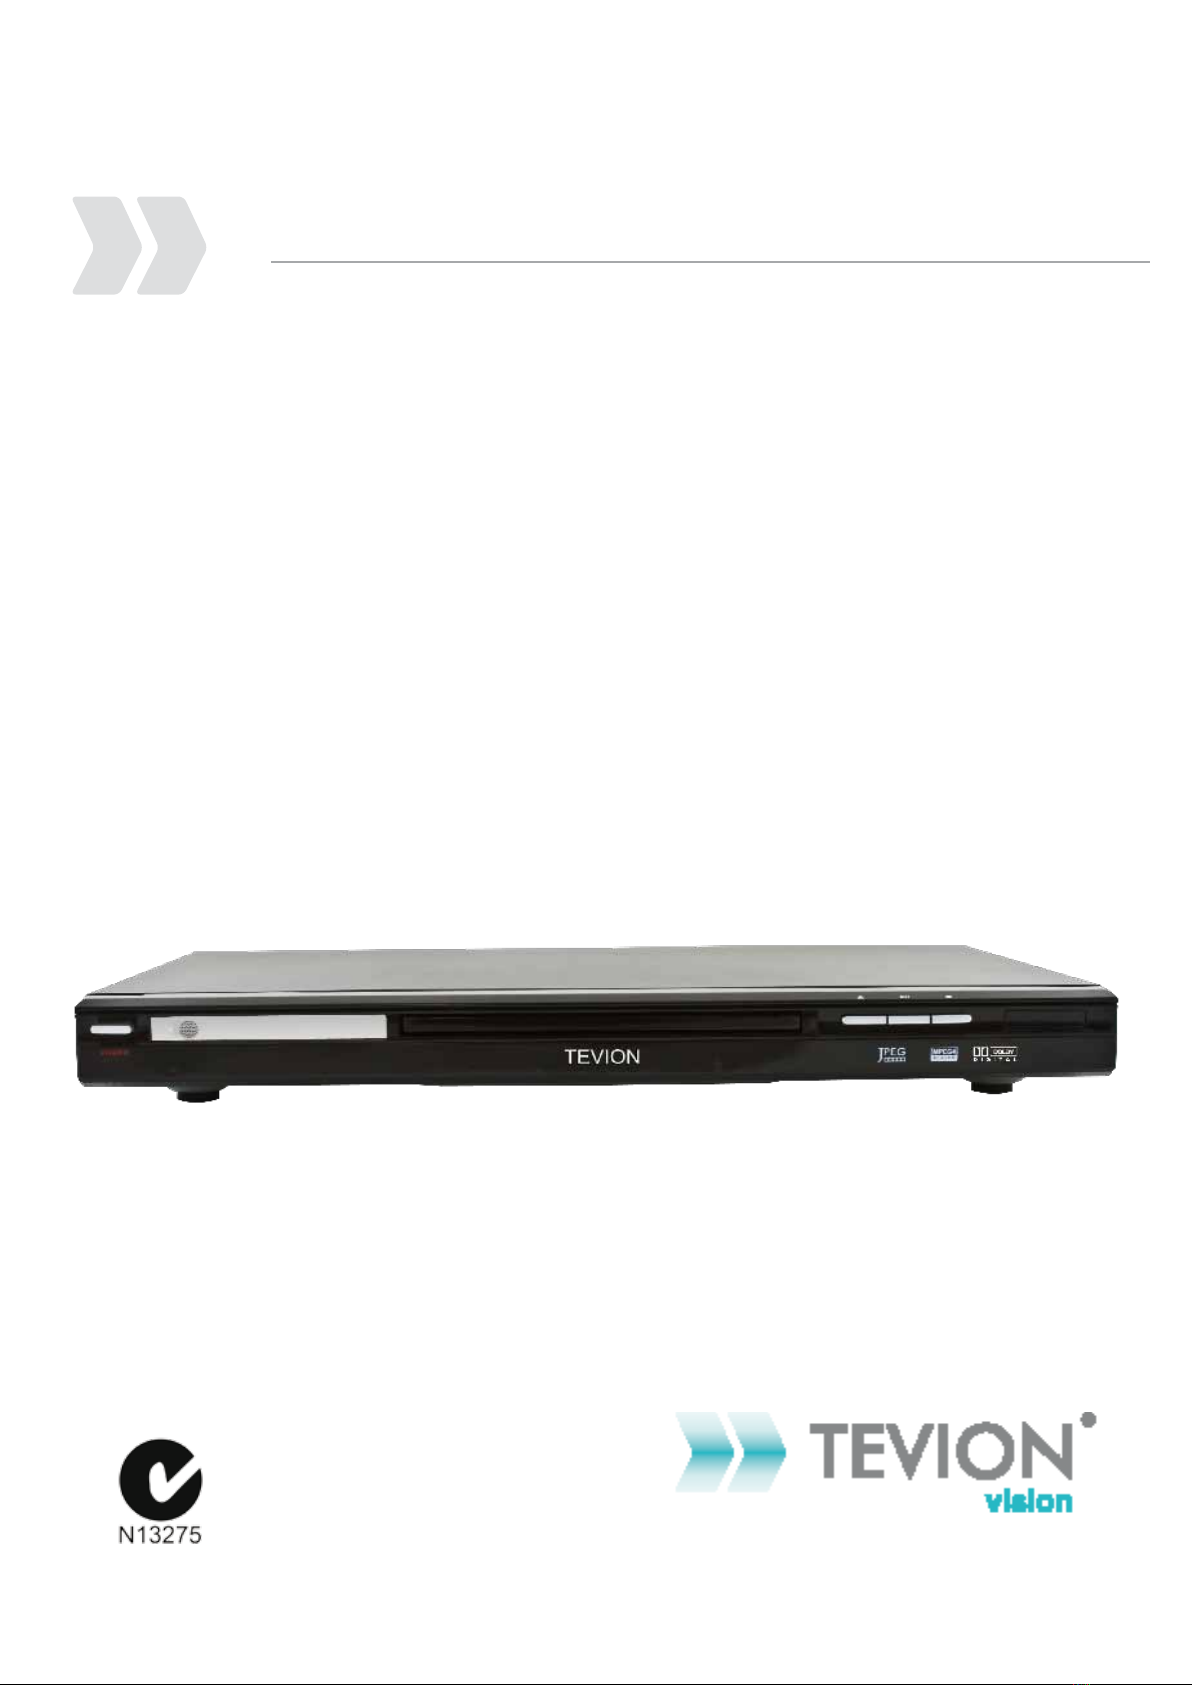
After Sales Support TEL: 1300 886 649
4
1. For your safety
• This product utilises a laser. Use of controls or adjustments or performance of procedures
other than those specified herein may result in hazardous radiation exposure.
• Do not open covers and do not repair yourself. Refer servicing to qualified personnel.
2. Caution
• Your player is not intended for industrial use but for domestic purposes. Use of this product is
for personal use only.
• The unit should not be exposed to dripping or splashing and no objects filled with liquids, such
as vases, should be placed on the unit.
• Exterior influences such as lightning and static electricity can affect normal operation of this
player. If this occurs, turn the player off and on again with the POWER button,
or disconnect and then reconnect the AC power cord to the AC power outlet. The Player will
operate normally.
• When condensation forms inside the player due to sharp changes in temperature, the player
may not operate correctly. If this occurs, leave the player at room temperature until the inside
of the player becomes dry and operational.
• The appliance is not intended for use by young children or infirm persons without supervision.
• Young Children should be supervised to ensure that they do not play with appliance.
• If the appliance is supplied from a cord extension set or an electrical portable outlet device,
the cord extension set on the electrical portable outlet device must be positioned so that it is
not subject to splashing or excess of moisture.
3. Setting up
• Refer to the Rating label located on the rear of your player for its proper operating voltage.
• Install your player in a cabinet with adequate ventilation holes (7~10cm). Do not block ventila-
tion holes on any of the components for air circulation.
• Do not push the disc tray in by hand.
• Be sure to turn all components off before moving the player.
• Before connecting other components to this player, be sure to turn them off.
• Be sure to remove the disc and turn off the player after use, especially if you are not going to
use it for a long time.
• The mains plug is used as a disconnect device and shall stay readily operable at any time.
4. Disc
• Do not clean disc using record-cleaning sprays, benzene, thinner, or other volatile solvents
that may cause damage to the disc surface.
• Do not touch the disc’s surface. Hold by the edges or by one edge and the hole in the centre.
• Wipe the dirt away gently; never wipe a cloth back and forth over the disc.
To reduce the risk of fire or electric shock, do not expose this product to water, rain
or moisture. To prevent the risk of electric shock, do not remove the cover on the
back of this product. In case of product failure, only qualified personnel can repair.
There are no user-serviceable parts inside.
Important Safety Instructions