manuals.online logo
Brands
  1. Home
  2. •
  3. Brands
  4. •
  5. texet
  6. •
  7. Paper Shredder
  8. •
  9. texet CC412N User manual

texet CC412N User manual

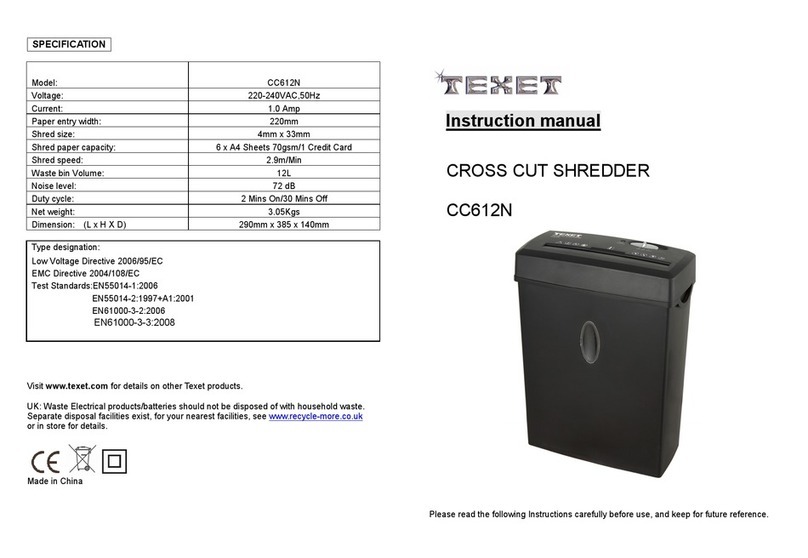
SPECIFICATION
Model: CC412N
Voltage: 220-240VAC,50Hz
Current: 0.8A
Paper entry idth: 220mm
Shred size: 4 x 38mm
Shred paper capacity: 5 A4 Sheets 70gsm
Shred speed: 2.0m/Min
Waste bin Volume: 12L
Noise level: 73 dB
Duty cycle: 2 Mins on/45 Mins off
Net eight: 3Kgs
Dimension: 295mm x 150mm x 350mm
Type designation:
BS EN60950-1:2006+A1:2010
EMC Directive 2004/108/EC
Test Standards:EN55014-1:2006
EN55014-2:1997+A1:2001
EN61000-3-2:2006
EN61000-3-3:2008
Visit www.texet.com for details on other Texet products.
UK: Waste Electrical products/batteries should not be disposed of ith household aste.
Separate disposal facilities exist, for your nearest facilities, see .recycle-more.co.uk
or in store for details.
Instruction manual
CROSS CUT SHREDDER
CC412N
Please Read the Follo ing Instructions Carefully before Use, and Keep for Future Use.
http://www.texet.com
Thank you for purchasing the TEXET Cross Cut Shredder, CC412N, ith normal use and
maintenance, your shredder ill provide years of satisfactory performance. Please read
the instruction manual carefully and retain for future reference.
Paper/Credit Card Slot
F D AUTO/ON OFF REV
arnings
Maximum Number of A4 Sheets shredded at one time
Figure 1
To protect this shredder correctly and avoid any damage, please make sure you understand
the follo ing arning symbols:
Cautions
:
The incorrect operation may cause personal injury or damage property.
The plug socket outlet should be easily accessible.
BS plug fuse maximum 5A.
ARNING SYMBOLS
Please keep soft cloths, ties a ay
from the paper entry.
To prevent damage to the cutters,
remove paper clips, staples and
other fasteners before shredding.
Please keep your hands out of the
paper entry. The sharp blade
inside the shredder may cause
injury.
Please keep your hair a ay from
the shredder.
Please keep children a ay from
this shredder. The sharp blade
inside the shredder may harm
children
Please do not spray any
flammable gas, ater or oil onto
this shredder, it may cause fire.
ARNING
This shredder is intended for small office and home use only.
This shredder is a paper shredder;
please do not use it to shred film,
OHP pouches, adhesive stickers,
cloth or plastics as these may cause
damage.
Please do not use the shredder in
a hot, cold, humid or dirty place.
If smoke or abnormal smells come
from the shredder, stop using it
immediately and remove plug from
the socket.
Please do not open the shredder or
try to repair it yourself.
Please remove the plug from the
socket hen emptying the aste
bin or hen not in use.
Please keep ties, necklace & hair
a ay from the shredder, as it may
cause personal injury. If they are
taken into the shredder, please turn
the po er off immediately.
Please place your hands in a safe
position hen both inserting &
removing the plug from the socket.
Do not, under any circumstances,
insert metal objects into the entry
feed slot, to remove any jammed
paper.
Please place the shredder on a flat /
stable surface.
The shedder should be used close
to the plug socket.
Please do not put anything on top of
the shredder.
Please use the shredder ith the
correct po er supply.
Setup:
1. Remove the shredder from the outer carton.
2. Place the shredder head on top of the bin. If the Safety Interlock S itch, located
underneath the Shredder Head, does not slot into the cut out on top of the Waste Bin
correctly, (indicated by the t o Safety Interlock stickers found on the back of the Shredder
Head and Waste Bin), then the Shredder ill not ork.
Shredder Capacity:
The CC412N ill shred 5 sheets of A4 70g paper at once and ill accept paper idth up to
220mm, it ill also shred 1 x Credit Card. When shredding smaller items like envelopes,
credit card receipts or credit cards, insert them through the middle of the feed slot.
The paper sensor is located in the centre of the main feed slot. When paper is inserted, the
sensor starts the Blades. When the paper has gone through the shredder, the sensor ill
s itch the Blades off.
OPERATIONS
Operating the Shredder:
1. Prepare the paper to be shredded by removing paper clips and any other objects that
may jam in the feed slot. Ho ever, please note that the shredder can shred staples,
though for optimal performance, their removal is advised.
2. Only feed 5 sheets of 70g A4 paper at any one time into the Shredder.
3. To start shredding ensure the s itch is in the ON/AUTO/ position.
F D: This s itch allo s you to clear the Paper jam, together ith the REV s itch,
hich ill then allo you to continue your shredding.
ON/AUTO: Act
ivates the auto shred function, the shredder ill start automatically hen an
item is inserted into the paper feed slot and ill stop once the paper has been shredded.
OFF: Please ensure hen the shredder is not in use, you s itch the Shredder to the off
position, at all times. Al ays remove the Plug from the mains po er socket.
REV
: This s itch allo s you to clear the Paper jam by reversing the paper back out from the
Shredder if the paper jams before it is fully shredded. It can also be used together ith the
FWD s itch to clear any paper jammed ithin the blades.
Safety Switch:
The CC412N is equipped ith a motor overload protection device; the normal short duty
cycle for continuous shredding is a maximum capacity of 2 minutes on & 45 minutes off. The
po er may terminate automatically in case of the follo ing situations:
1. Operating the shredder at maximum capacity continuously for a prolonged period of
time, e.g. more than 2 minutes ithout stopping.
2. Exceeding the shredding capacity e.g. inserting more than 5 sheets at one time, or if the
paper is not fed straight into the feed slot.
Both of these operations may result in the activation of the automatic motor overload
protection, hich terminates the po er to the unit. If this occurs, you should:
1. Move the S itch to the OFF position, then unplug the po er cord from the mains po er
socket and ait at least 45 minutes for the overload protection to reset. Tear or cut off
any excess paper from the top of the shredder.
2. Plug the po er cord back into the mains po er socket and place the s itch in REV. Pull
the remaining paper out from the cutters. Move the s itch to the F D position to clear
any excess paper than may still be in the Blades.
3. Place the s itch back to the ON/AUTO position and ensure that the feed slot is clear,
you are no ready to resume normal shredding.
Please note If the shredder has overheated, it ill automatically shut do n and ill restart
again after 45 minutes.
Clearing the Blades for Paper Jams.
If paper becomes jammed during the shredding, move the s itch alternatively bet een FWD
and REV 2-3 times to clear any paper shreds jammed in the Blades. During this process,
paper may exit the feed slot, this can be removed manually. You must move the s itch to the
OFF position first and then unplug form the mains po er socket, before manually removing
the paper.
Jammed paper can also be manually removed from the Blades by firstly, moving the s itch
to the OFF position, then unplug the po er cord from the mains po er socket.
Take the Shredder Head off the Waste Bin and turn it over, and remove the jammed Paper
from the Blades. Be VERY CAREFUL hen removing the jammed paper as the Blades are
sharp.
Once all the jammed paper has been removed then place the Head back on the Waste Bin
and plug back into the mains po er supply. Move the s itch to the ON/AUTO position and
shred as normal.
AL AYS UNPLUG THE SHREDDER BEFORE ATTEMPTING TO MANUALLY REMOVE
AN ITEM FROM THE PAPER ENTRY SLOT OR BLADES.
DO NOT, UNDER ANY CIRCUMSTANCES, INSERT METAL OBJECTS INTO THE ENTRY
FEED SLOT OR THE BLADES, TO REMOVE THE JAMMED PAPER.
.
Maintenance
arning:
When you ant to clean the shredder, please make sure you have s itched off the shredder
and removed the plug from its mains po er socket.
 Al ays use a dry non abrasive soft cloth hen cleaning the shredder.
 The shredder cover and aste bin are made from plastic; therefore please do not use
abrasive cleaners or solvent based liquids.
 To maintain the quality of your shredder blades please use Texet LB12 lubricating
sheets once a month.
 Do not allo the Shredder to come into contact ith ater at any time.
 aste Emptying:
1. When you empty the aste bin, please make sure the unit is s itched off and
unplugged.
2. Place back the shredder head onto the bin correctly.
Paper can be easily jammed in the blades, if the aste bin is allo ed to get
too full, therefore please empty the aste bin after 40 sheets have been
shredded.
Recycling:
Please dispose of aste paper responsibly at an approved disposal site or recycling facility.
Do not dispose of paper in household aste.
TROUBLE SHOOTING
Troubles Reason Solution
Shredder does
not ork after
paper is
inserted.
1. The po er cord may not be
properly connected.
2. The motor has been over
heated.
3. The paper feed may be
jammed.
4. Shredder head is not
placed properly on basket.
1. Check the po er cord is correctly
plugged in both the plug socket and the
shredder.
2. Wait for about 45 minutes and try the
shredder again.
3. Move the s itch alternatively bet een
FWD and REV s itches, 2-3 times to
clear the jammed paper from the blades.
During this process, paper may exit the
Feed slot, this can be removed manually.
Please ensure you move the s itch to the
OFF position and unplug from the mains
po er socket before manually removing
the paper.
Paper can also removed from blades
manually, (s itch off and unplug first).
Take the shredder head off the Waste Bin,
turn over and remove the jammed paper.
Once all the paper has been removed,
then place the Head back onto the Waste
Bin and plug back into the mains po er
socket. Move the s itch to the ON/AUTO
s itch and shred as normal.
4. Place shredder head securely on
basket, correctly front facing, ensuring
contact ith the basket is made.
Shredder does
not stop after
shredding has
finished
1. The mechanical sensor
may be jammed by paper 1. Clean the paper entry and try again.
Shredder
makes a high
noise
1. The shredder may not be
placed on a flat/stable
surface.
1. Replace the shredder onto a flat/stable
surface.
Shredder does
not shred paper
1. Too many sheets have
been i
nserted.
2. The paper size inserted
may be larger than the paper
entry.
3. The paper may not be
placed straight hen put into
the paper entry slot.
1. Check to see if you have exceeded the
rated capacity of paper (5
sheets of 70 g).
2. Reverse the shredder and take out the
paper, fold in half and try again.
3. Re-insert the paper vertically.

This manual suits for next models

1

Other texet Paper Shredder manuals

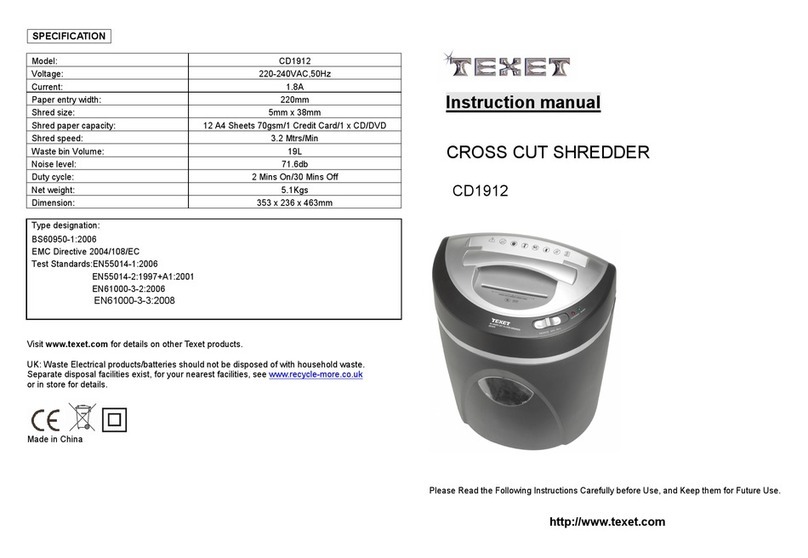
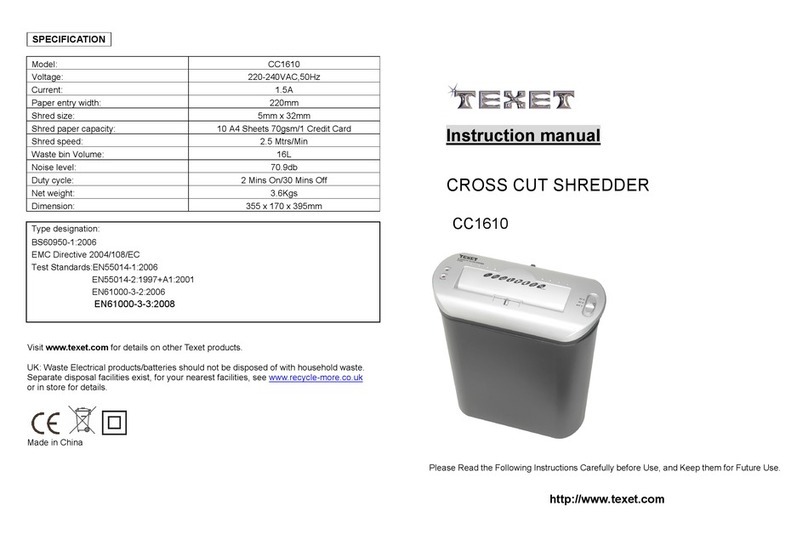
texet CD1412 User manual

texet

texet CD1412 User manual

texet CC1610 User manual

texet

texet CC1610 User manual

texet CC3L-DT User manual

texet

texet CC3L-DT User manual

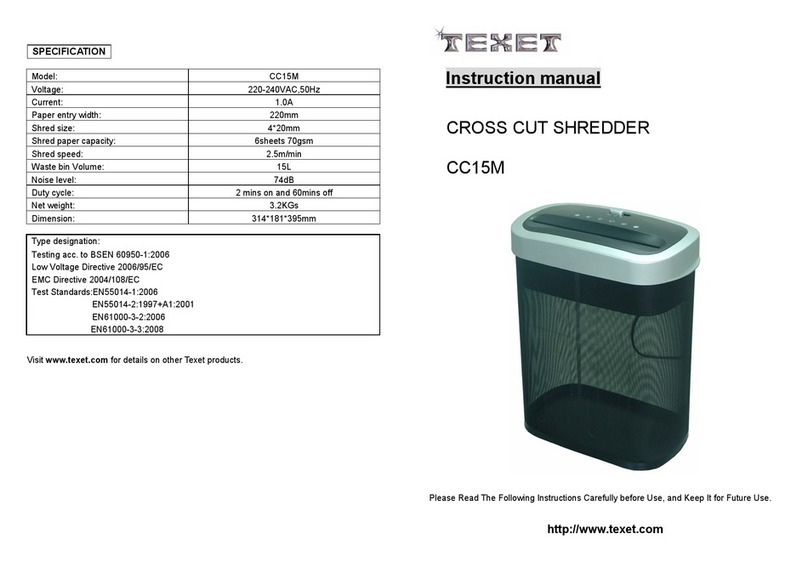
texet CC15M User manual

texet

texet CC15M User manual

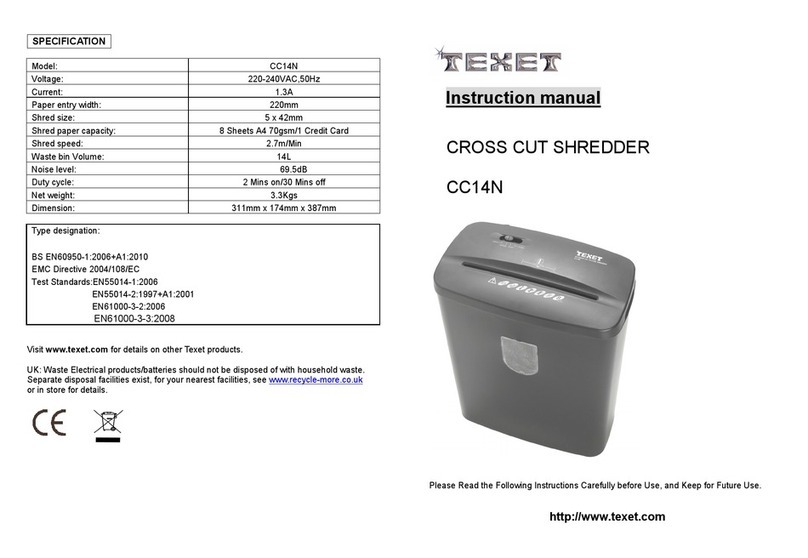
texet CC14N User manual

texet

texet CC14N User manual

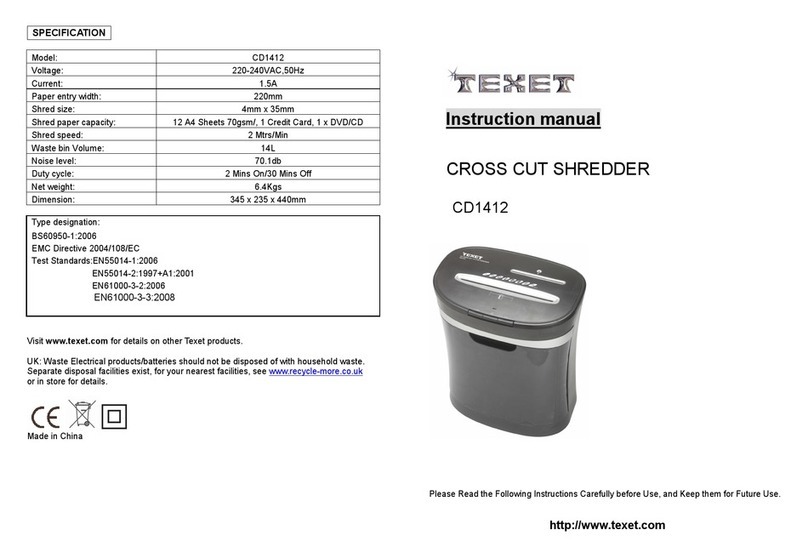
texet CD1912 User manual

texet

texet CD1912 User manual

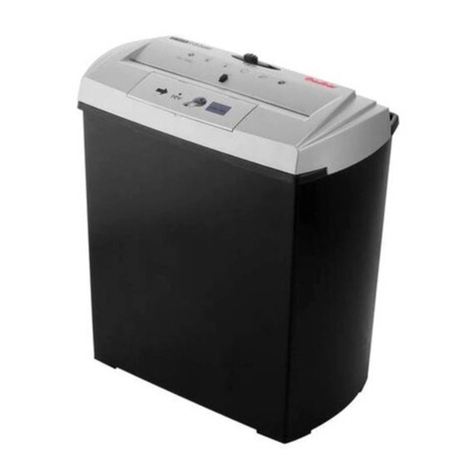
texet CC612N User manual

texet

texet CC612N User manual

Popular Paper Shredder manuals by other brands

Fellowes Powershred W11C Factory service

Fellowes

Fellowes Powershred W11C Factory service

Fellowes POWERSHRED 90S instructions

Fellowes

Fellowes POWERSHRED 90S instructions

Peach PS400-11 manual

Peach

Peach PS400-11 manual

IDEAL 0101 HDP operating instructions

IDEAL

IDEAL 0101 HDP operating instructions

PrimAster PMWH 3000 operating instructions

PrimAster

PrimAster PMWH 3000 operating instructions

Opus CS 2208 CD user guide

Opus

Opus CS 2208 CD user guide

Fellowes Microshred MS-450Cs quick start guide

Fellowes

Fellowes Microshred MS-450Cs quick start guide

Bonsaii DocShred C156-C instruction manual

Bonsaii

Bonsaii DocShred C156-C instruction manual

MILLASUR Anova BIO70D Instructions for use and maintenance

MILLASUR

MILLASUR Anova BIO70D Instructions for use and maintenance

Fellowes POWERSHRED 455Ms user guide

Fellowes

Fellowes POWERSHRED 455Ms user guide

monolith C475 Operating instructions and warranty

monolith

monolith C475 Operating instructions and warranty

HSM Classic 102.2 operating instructions

HSM

HSM Classic 102.2 operating instructions

HSM Securio AF300 operating instructions

HSM

HSM Securio AF300 operating instructions

Intimus 45 SP2 operating manual

Intimus

Intimus 45 SP2 operating manual

Fellowes AutoMax 300C quick start guide

Fellowes

Fellowes AutoMax 300C quick start guide

Ativa MD 500 user manual

Ativa

Ativa MD 500 user manual

Silicon PS-990C instruction manual

Silicon

Silicon PS-990C instruction manual

Stihl GHE 150.0 instruction manual

Stihl

Stihl GHE 150.0 instruction manual

manuals.online logo
manuals.online logoBrands
  • About & Mission
  • Contact us
  • Privacy Policy
  • Terms and Conditions

Copyright 2025 Manuals.Online. All Rights Reserved.