ASSEMBLY INSTRUCTIONS
#14261 • Deluxe Adjustable
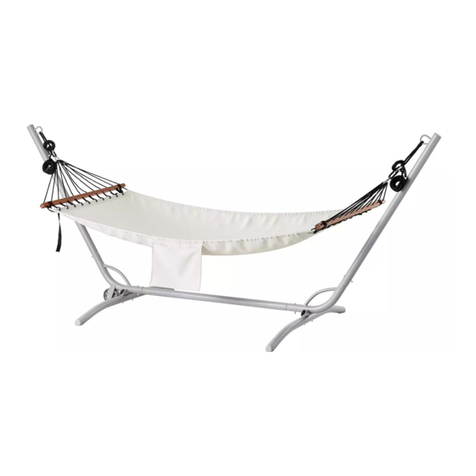
Hammock Stand
Thank you for purchasing this Texsport hammock stand. Please read and understand each step of the set-up in-
structions. We hope you enjoy your new hammock stand and that it will give you many years of outdoor pleasure.
Do not apply excessive force to this product.
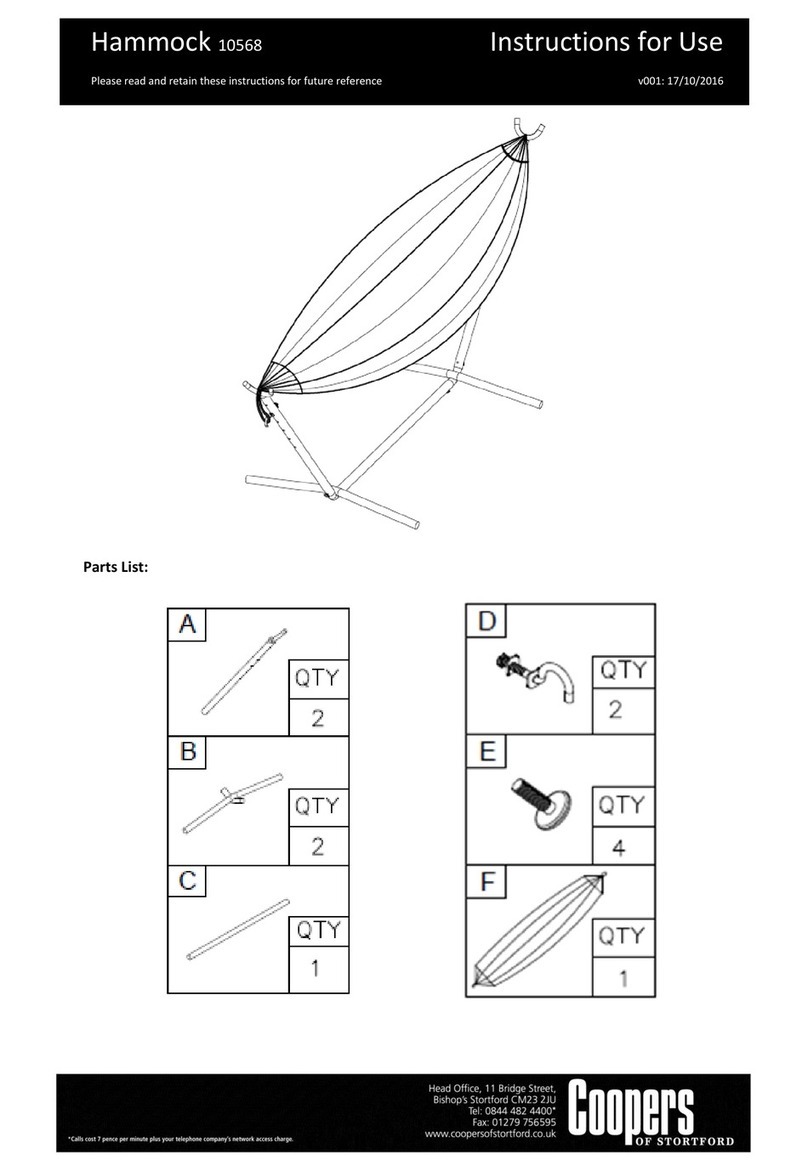
PARTS LIST:
A....2 end straight poles
B.....2 angled poles
C.....2 center base poles (with 2 screws)
D....1 inner support pole (silver)
E.....2 sets of hooks
Assembly of the stand is generally easier with two people or with something to lean the
stand against for temporary support.
Remove all parts from the shipping carton and examine carefully for any signs of damage
or missing parts. Read this instruction sheet in its entirety prior to assembly or use.
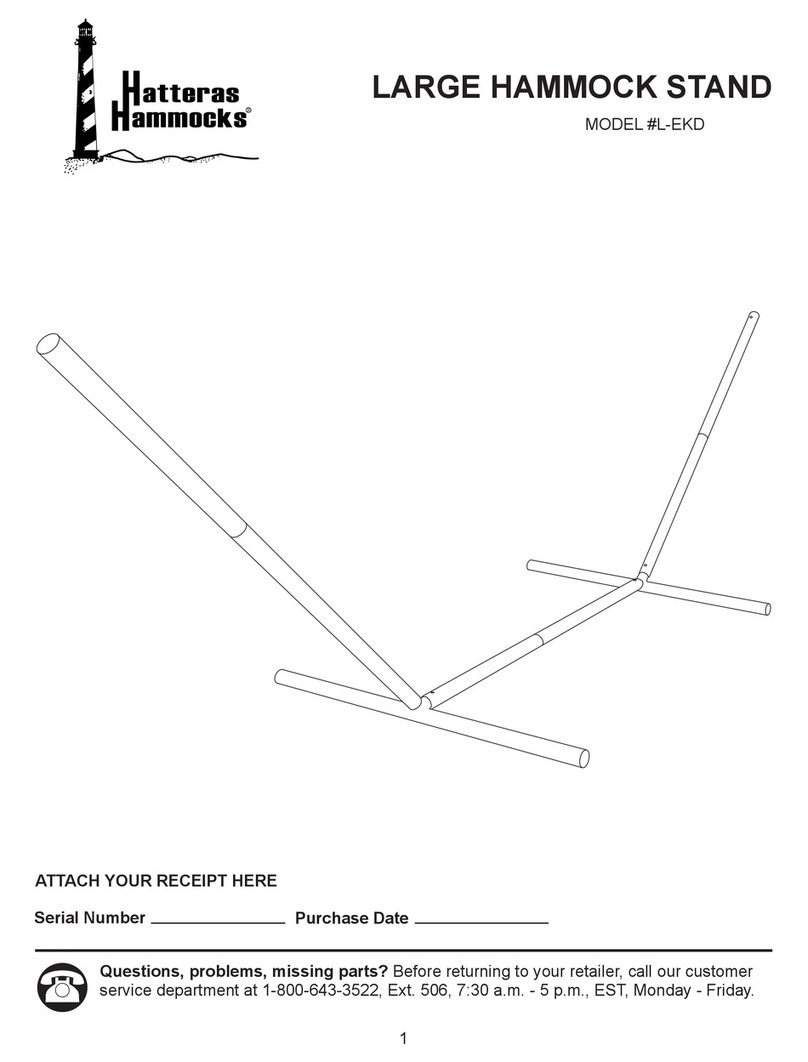
STEP 1 - Place the parts on the ground in the manner indicated in the PARTS LIST DIAGRAM.
STEP 2 - Make sure that Part (D) Inner support pole (silver) is inside each (C) center base
poles as shown in diagram above. Slide completely closed, line up holes and secure with
thumb screws. NOTE: First build hammock stand completely, then adjust the base poles to
your desired hammock length with help from a friend.
STEP 3 - Snap the pieces together. Be certain the stand is assembled and used on solid, level
ground.
MAKE CERTAIN THAT EACH CONNECTION IS SECURELY AND COMPLETELY INSERTED INTO
THE ADJOINING PART AFTER ASSEMBLY. INSPECT PRIOR TO EVERY USE OF YOUR HAMMOCK
STAND, ESPECIALLY AFTER REMOVING OR INSTALLING YOUR HAMMOCK.
A A
BB
C
C
C
C
D
E
PASO 3 - Insertar y apretar gancho en el polo
extremo a la altura deseada para su hamaca.
Para ajustar la longitud de la base.
1 - Desenrosque los 2 tornillos de pulgar y
retírelos.
2 - Deslice el soporte de la hamaca hacia
afuera de los polos para exponer el polo de
apoyo interior (D).
3 - Una vez ajustada la longitud deseada,
alinee los orificios de los polos de la base cen-
tral (C) con el soporte interior (D) y asegure con
los 2 tornillos.
PASO 5 - Esta es la forma en que su postura debe verse completamente cerrada.
MANTENIMIENTO
1. Para obtener mejores resultados y una mayor vida útil, no deje el pie a la intemperie para reducir
posibles problemas de oxidación.
2. ANTES DE CADA USO INSPECCIONE TODAS LAS PARTES MONTADAS, LAS PARTES DE LOS PIES,
LOS PUNTOS DE CONEXIÓN Y SU HAMACA PARA OBSERVAR SI HAY INDICIOS DE DESGARRO O
DEFECTOS. CAMBIE TODAS LAS PARTES DESGASTADAS ANTES DE USAR SU PIE O HAMACA.
3. En el caso de que la superficie pintada se raspe o se descascare, busque una pintura similar y retoque
los lugares donde el metal subyacente quede expuesto, para evitar el óxido.
PRECAUCIONES Y ADVERTENCIAS
NO permita que las conexiones (donde una parte se introduce dentro de otra) se suelten o queden mal
introducidas. Inspecciónelas antes de usar para asegurarse de que cada parte esté completamente introduci
da dentro de la otra.
NO EXCEDA EL LÍMITE DE PESO SUGERIDO PARA SU PIE DE HAMACA
Preguntas: Si tiene alguna pregunta, problema o comentario, por favor, llame a nuestro Departamento de
Atención al Cliente al 1-800-231-1402 o envíe un mensaje de correo electrónico a info@texsport.com. Este
Departamento se encuentra abierto de lunes a viernes de 8:00 a 17:00 hs. (hora estándar del centro).
14261 Instructions 12-16.indd 1 12/5/16 3:53 PM
