Getting Started with DGL61-W
2 Getting Started with DLGL61-W
16
tDGL61-W_startup_guide_v01 2020-11-18
Public / Preliminary
Page 6 of 17
2 Getting Started with DLGL61-W
2.1 Overview
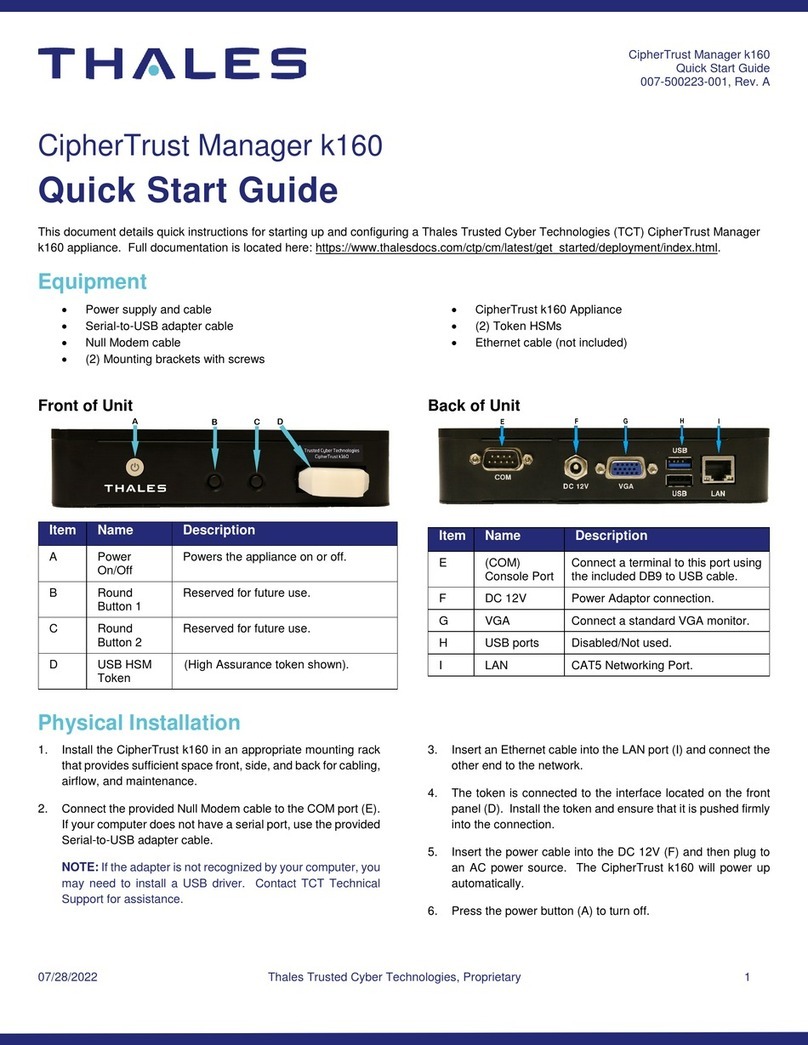
Before you plug in the DGL61-W to your computer system, please insert your SIM Card (mirco
format) into DGL61-W.
Connect DGL61-W with your computer system.
Depending on your operating system you have to do different steps:
• Windows 7:
For using DGL61-W with Windows 7 you have to install the drivers provided by Thales,
which can be downloaded from the product page of DGL61-W (https://www.thales-
group.com/en/markets/digital-identity-and-security/iot/iot-connectivity/products/iot-prod-
ucts/dgl61).
To start the connection to the Internet via DGL61-W, you have to send two commands to
the DGL61-W via the assigned COM Interface:
1.) setting the PIN for SIM Card (AT+CPIN="<your PIN>") and
2.) starting the connection (AT^SWWAN=1,1,1).
These commands can be easily put together in one batch-file, because these commands
have to be sent every time after DGL61-W powered up.
For details see Section 2.2.
• Window 10:
Windows 10 will recognize DGL61-W automatically and installs all required drivers. Win-
dows will then guide you to the Cellular page inside the Control Panel to enter the PIN for
your SIM. Windows 10 controls the connection to the Internet depending on your configu-
ration.
For details see Section 2.3.
•Linux:
For using DGL61-W with Linux see Thales IoT Developer Community "How to Guide:
ELS61/PLS62 and Linux Startup", which is valid for DGL61-W too at
https://developer.gemalto.com/tutorial/how-guide-els61pls62-and-linux-startup
For using DGL61-W with Linux (Ubuntu 18.04) and MBIM see Thales IoT Developer Com-
munity "Make the ELS81-E/US MBIM Function Works with Ubuntu Linux 18.04", which is
valid for DGL61-W too at
https://developer.gemalto.com/tutorial/make-els81-eus-mbim-function-works-ubuntu-linux-
1804


