Thames & Kosmos Magnetic Science User manual
Franckh-Kosmos Verlags-GmbH & Co. KG, Pfizerstr. 5-7, 70184 Stuttgart, Germany | +49 (0) 711 2191-0 | www.kosmos.de
Thames & Kosmos, 89 Ship St., Providence, RI, 02903, USA | 1-800-587-2872 | www.thamesandkosmos.com
Thames & Kosmos UK LP, 20 Stone Street, Cranbrook, Kent, TN17 3HE, UK | 01580 713000 | www.thamesandkosmos.co.uk
EXPERIMENT MANUAL
Magnetic
Science

Dear
This experiment kit uses lots of interesting
experiments to give your child a playful
introduction to magnets and magnetism.
Please stand by your child’s side during the
experiments and offer your support and
guidance. Before starting the experiments,
read through the manual together and be
sure to follow it when performing the
experiments. Please be careful not to let any
of the kit parts get into the hands of young
children. Have fun with the experiments!
Warning! Do not bring the magnets close
to television sets, computers, computer
diskettes, music cassettes, videotapes, or
ATM or credit cards. The data stored in them
could be damaged or lost!
→For the experiments, you will need one
1.5-volt AA-type battery, which could not
be included in the kit due to its limited
shelf life.
→Under no circumstances are more or
different batteries to be used than what
is specified here.
→Do not use rechargeable batteries.
→Non-rechargeable batteries are not to be
recharged. They could explode!
→Never bring batteries into contact with
other metal objects, such as key rings or
coins.
→Avoid bending or distorting batteries.
→Never throw batteries into flame or store
them near heat sources.
→Do not use electrical outlets for any
experiments! Never insert wires or other
metal pieces into outlets! The electrical
voltage (110 volts) can kill you!
→When experimenting, avoid connecting
the battery terminals directly to each
other — the battery could explode!
→Avoid short-circuiting the battery or
batteries.
→After the experiments, always
completely disconnect the electrical or
electromagnetic circuit from the
battery and store separately.
→Exhausted batteries are to be disposed
of properly at collection locations, not
simply thrown into the trash.
→Do not mix old and new batteries.
→Do not mix alkaline, standard (carbon-
zinc), or rechargeable (nickel-cadmium)
batteries.
WARNING Not suitable for children
under 8 years. This product contains small
magnets. Swallowed magnets can stick
together across intestines causing serious
injuries. Seek immediate medical attention
if magnets are swallowed.
WARNING! Not suitable for children
under 3 years. Choking hazard — small
parts.
WARNING! This kit contains functional
sharp edges or points. Do not injure
yourself!
WARNING! Only for use by children
aged 8 years and older. Instructions for
parents or other supervising adults are
included and have to be observed. Keep
packaging and instructions as they contain
important information.
SAFETY INFORMATION
a
P
n
t
r
es
(and other adult
supervisors)
G
m
e
s
a
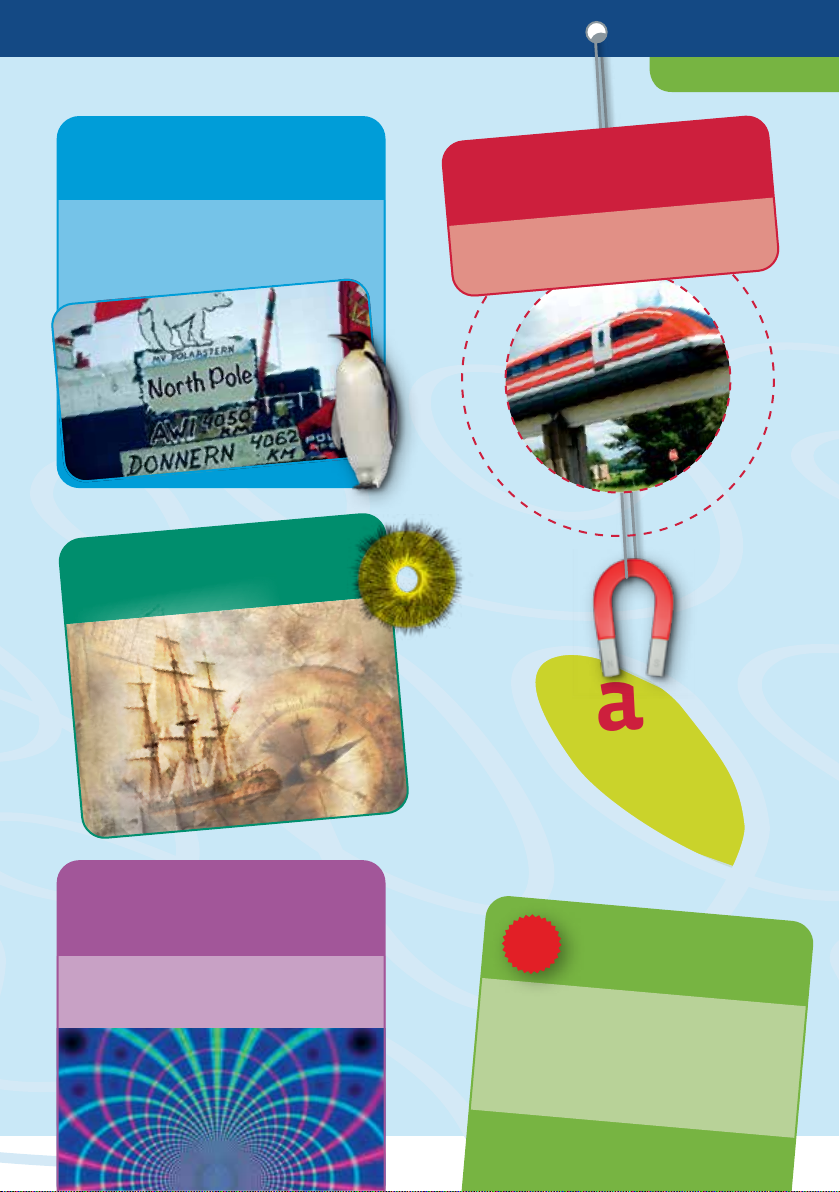
Magnets, Iron, and Poles
Pages 3 to 19
Learn all about the
properties of your magnets.
Compass
Pages 20 to 25
How Christopher Columbus
found his way across the
open seas
You will find supplemental
information on pages , ,
, , , , and .
✔
CHECK IT OUT
Magnetic Force and
Magnetic Fields
Pages 26 to 36
How to make invisible
magnetic fields visible
with Magnets
Pages 44 to 48
665050-02-270217
CONTENTS
Electromagnetism
Pages 37 to 43
Build your own
electromagnet.
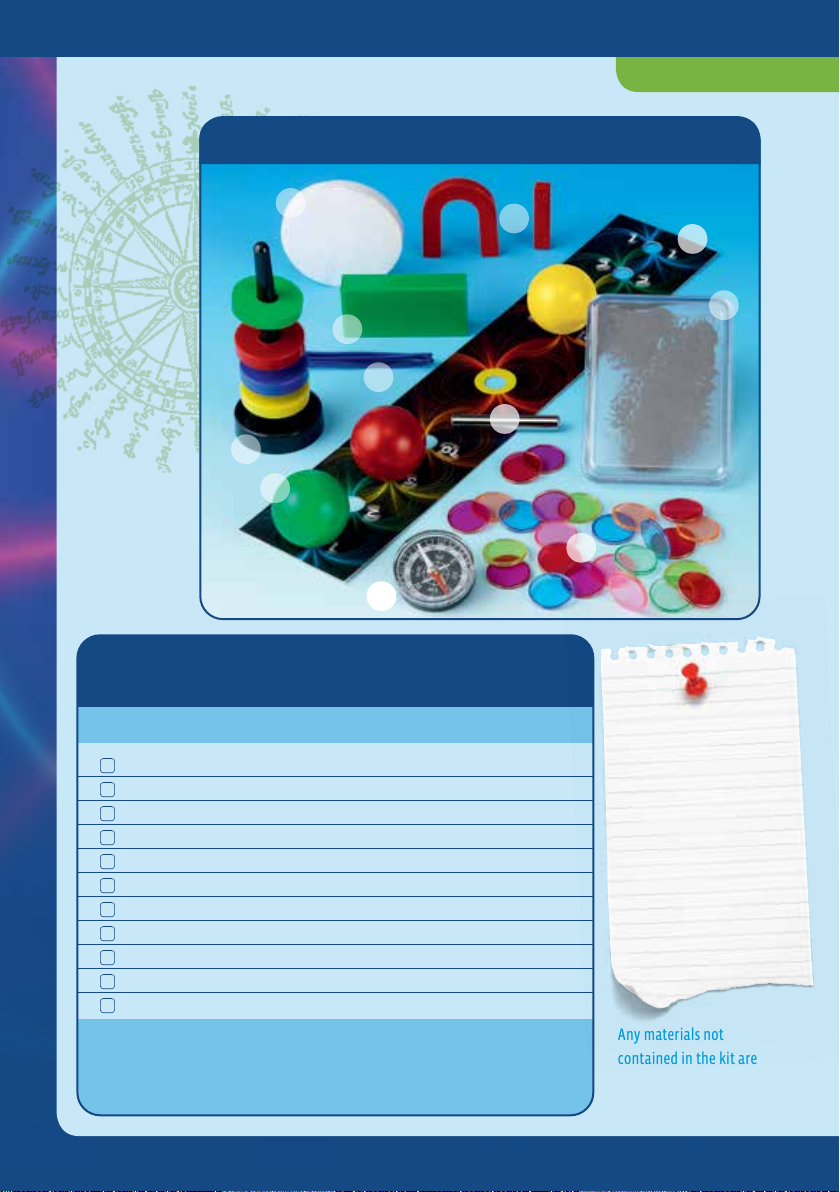
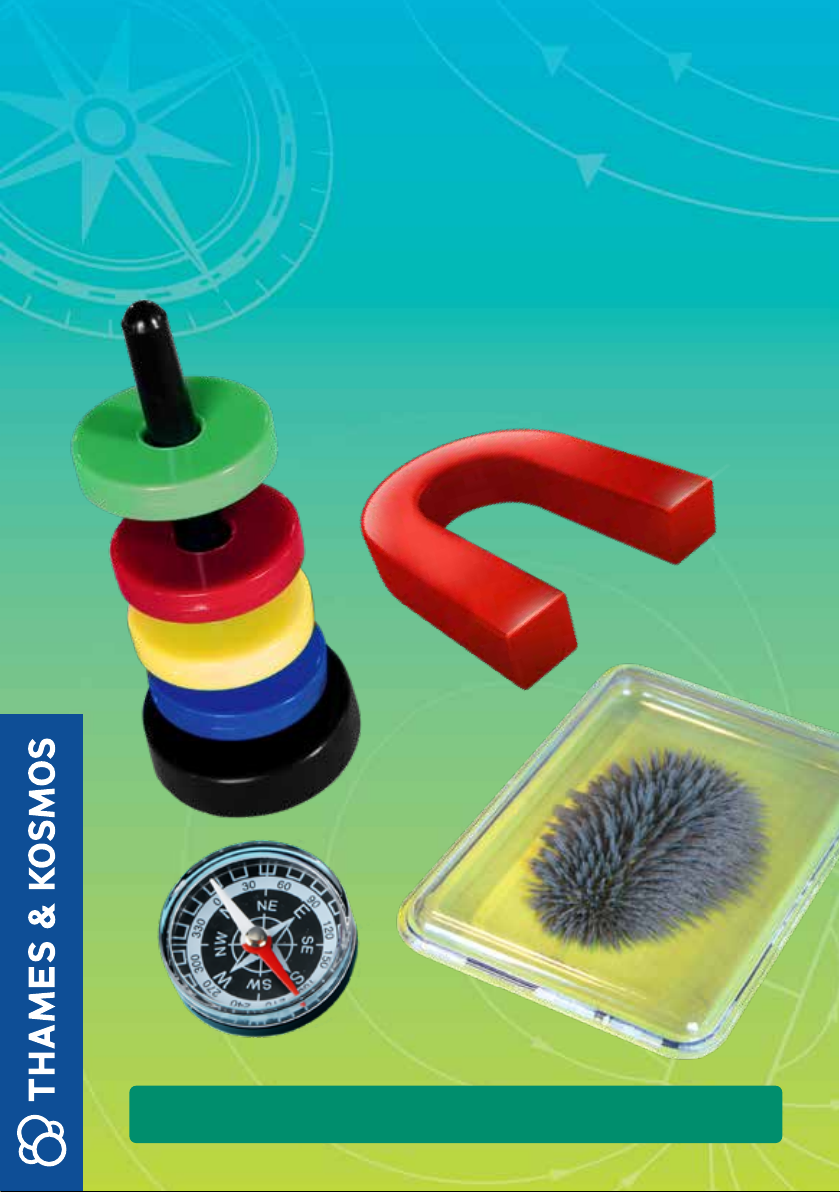
✔No. Description Qty. Item No.
Ring magnets () with stand
Block magnet
Ball magnets (set of )
Plastic chips (approx. )
Horseshoe and bar magnet set
Compass
Iron powder in plastic box
Iron rod
Wire
Polystyrene disk
Multicolored cardboard strip
Before doing anything else, please check all the parts against the list to make
sure that nothing is missing. If you are missing any parts, please contact
Thames & Kosmos customer service.
What’s in your experiment kit:
Checklist: Find – Inspect – Check off
Any materials not
contained in the kit are
marked in italic script in
the “You will need” boxes.
KIT CONTENTS
Additional things
you will need:
1.5-volt AA battery,
scissors, adhesive tape,
glue stick, paper,
cardboard, permanent
marker, string, ruler, bowl,
saucer, needle, spoon,
water, stopwatch, thick
paper, various magnetic
and nonmagnetic objects
from around the house

Magnets, Iron
and Poles
Over 2,500 years ago, scientists in ancient Greece made an
astonishing discovery: Chunks of certain rocks exert a
mysterious power over things made of iron. Since these rock
chunks were primarily found near the ancient town of Magnesia
in Asia Minor, they were called magnets. Today, magnets play an
important role in many everyday and technical devices. You may
know about magnetic closures on kitchen cupboard doors, for
example. But you’ll also find magnets in speakers, in bicycle
dynamos, and in multiple locations in cars.
Now it’s time to learn about the mysterious nature of magnets...
Magnets, Iron, and Poles |
This manual suits for next models
1
Table of contents
Other Thames & Kosmos Science Education Product manuals


