The Cardio Shop HP-C28A User manual
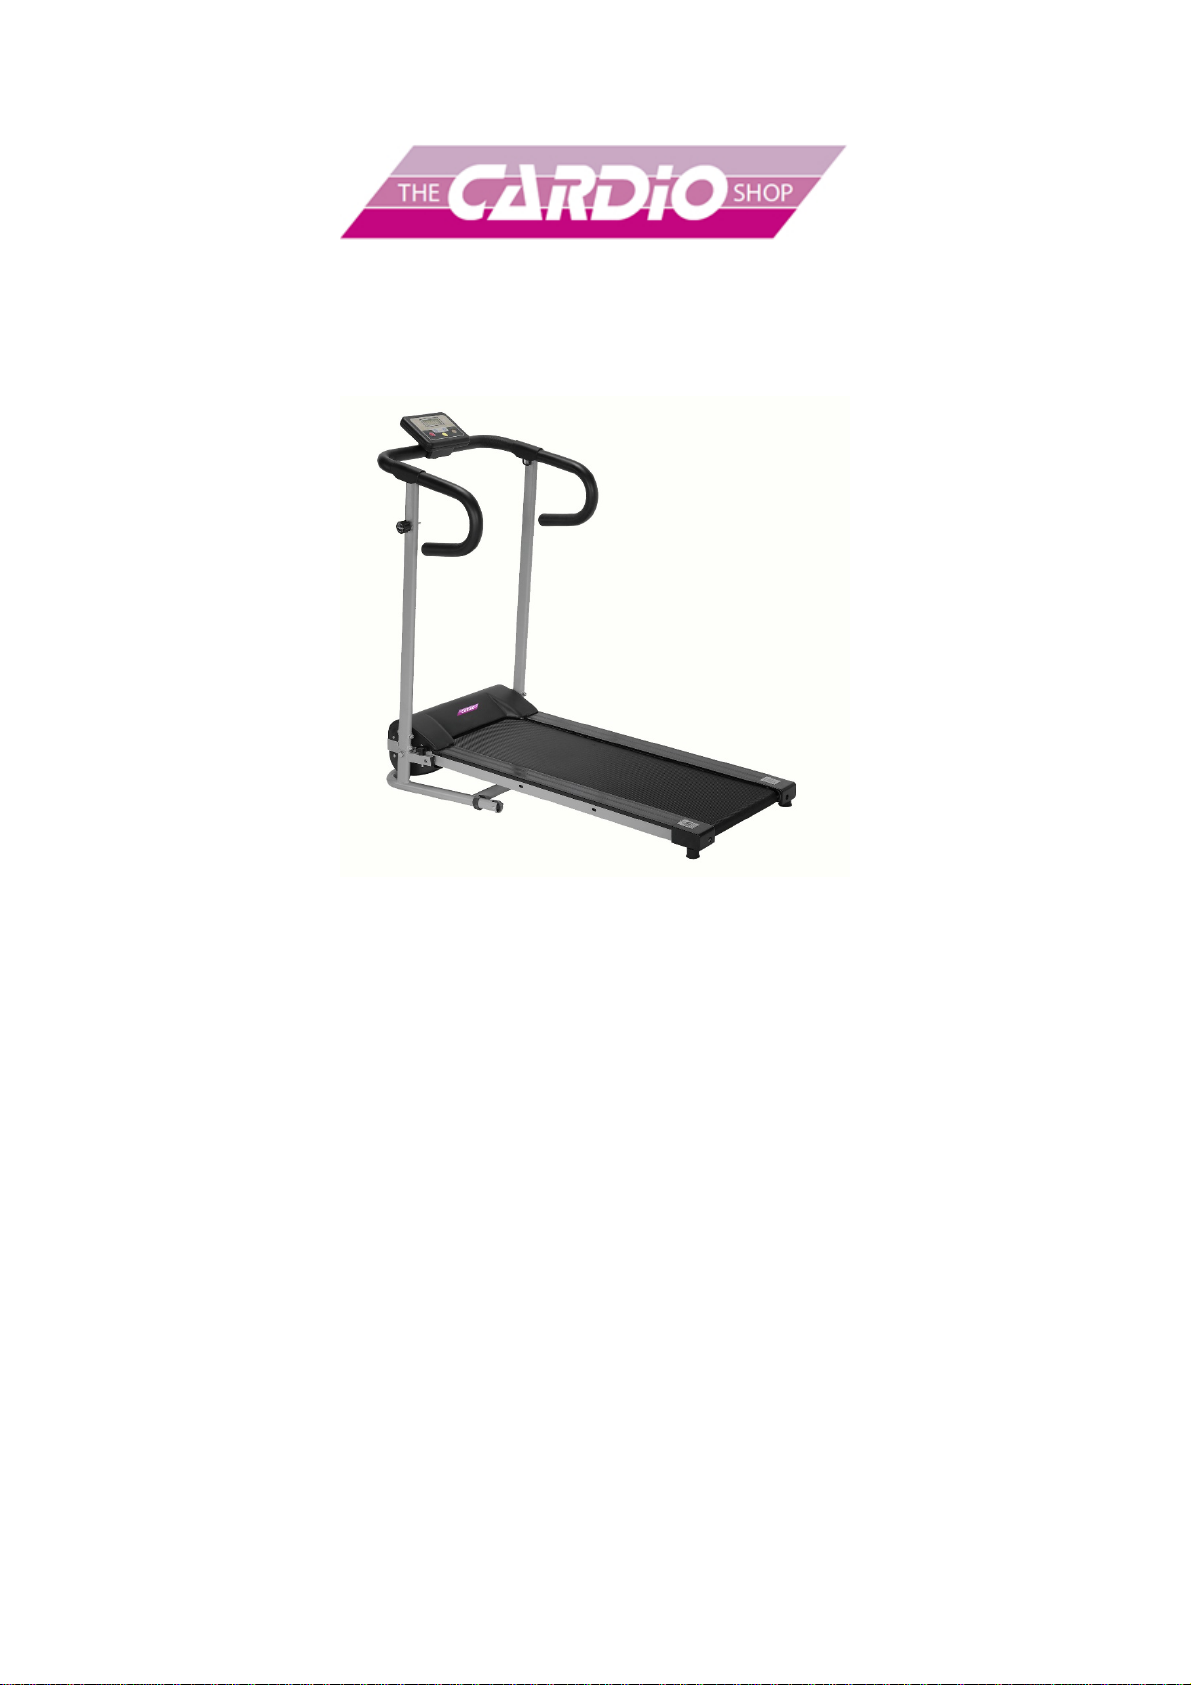
Folding Electric Home Treadmill
User Manual

Important Safety Information
1.
It is important to read this entire manual before assembling and
using the equipment. Safe and effective use can only be achieved
if the equipment is assembled, maintained and used properly. It is
your responsibility to ensure that all users of the equipment are
informed of warnings and precautions.
2.
Before starting any exercise program, you should consult a
doctor. Your doctor’s advice is essential if you are taking
medication that affects your heart rate, blood pressure or
cholesterol level.
3.
Stop exercising if you experience any of the following symptoms:
pain, tightness in your chest, irregular heartbeat, extreme
shortness of breath, light headedness, dizziness or feelings of
nausea. If you have any of these symptoms, you should consult a
doctor before continuing with your exercise program.
4.
The equipment is designed for adults. Children should only use
the equipment under adult supervision.
5.
Use the equipment on a solid, flat, level surface. There should be
at least 0.5 metres of free space all around the treadmill.
6.
Before using the equipment make sure that all nuts and bolts are
securely tightened.
7.
Only use the equipment for its intended purpose.
8.
If you find any defective components, stop using the equipment. If
you hear any unusual noises coming from the treadmill, stop
using it until the problem has been rectified.
9.
Wear suitable clothing while using the treadmill. Avoid loose
clothing that may get caught in the equipment or that may restrict
movement.
10.
The equipment has been tested to EN95/under class H.C,
suitable for home use only. Maximum user weight is 120 kg (8st
2lb)
3
ASSEMBLY INSTRUCTIONS
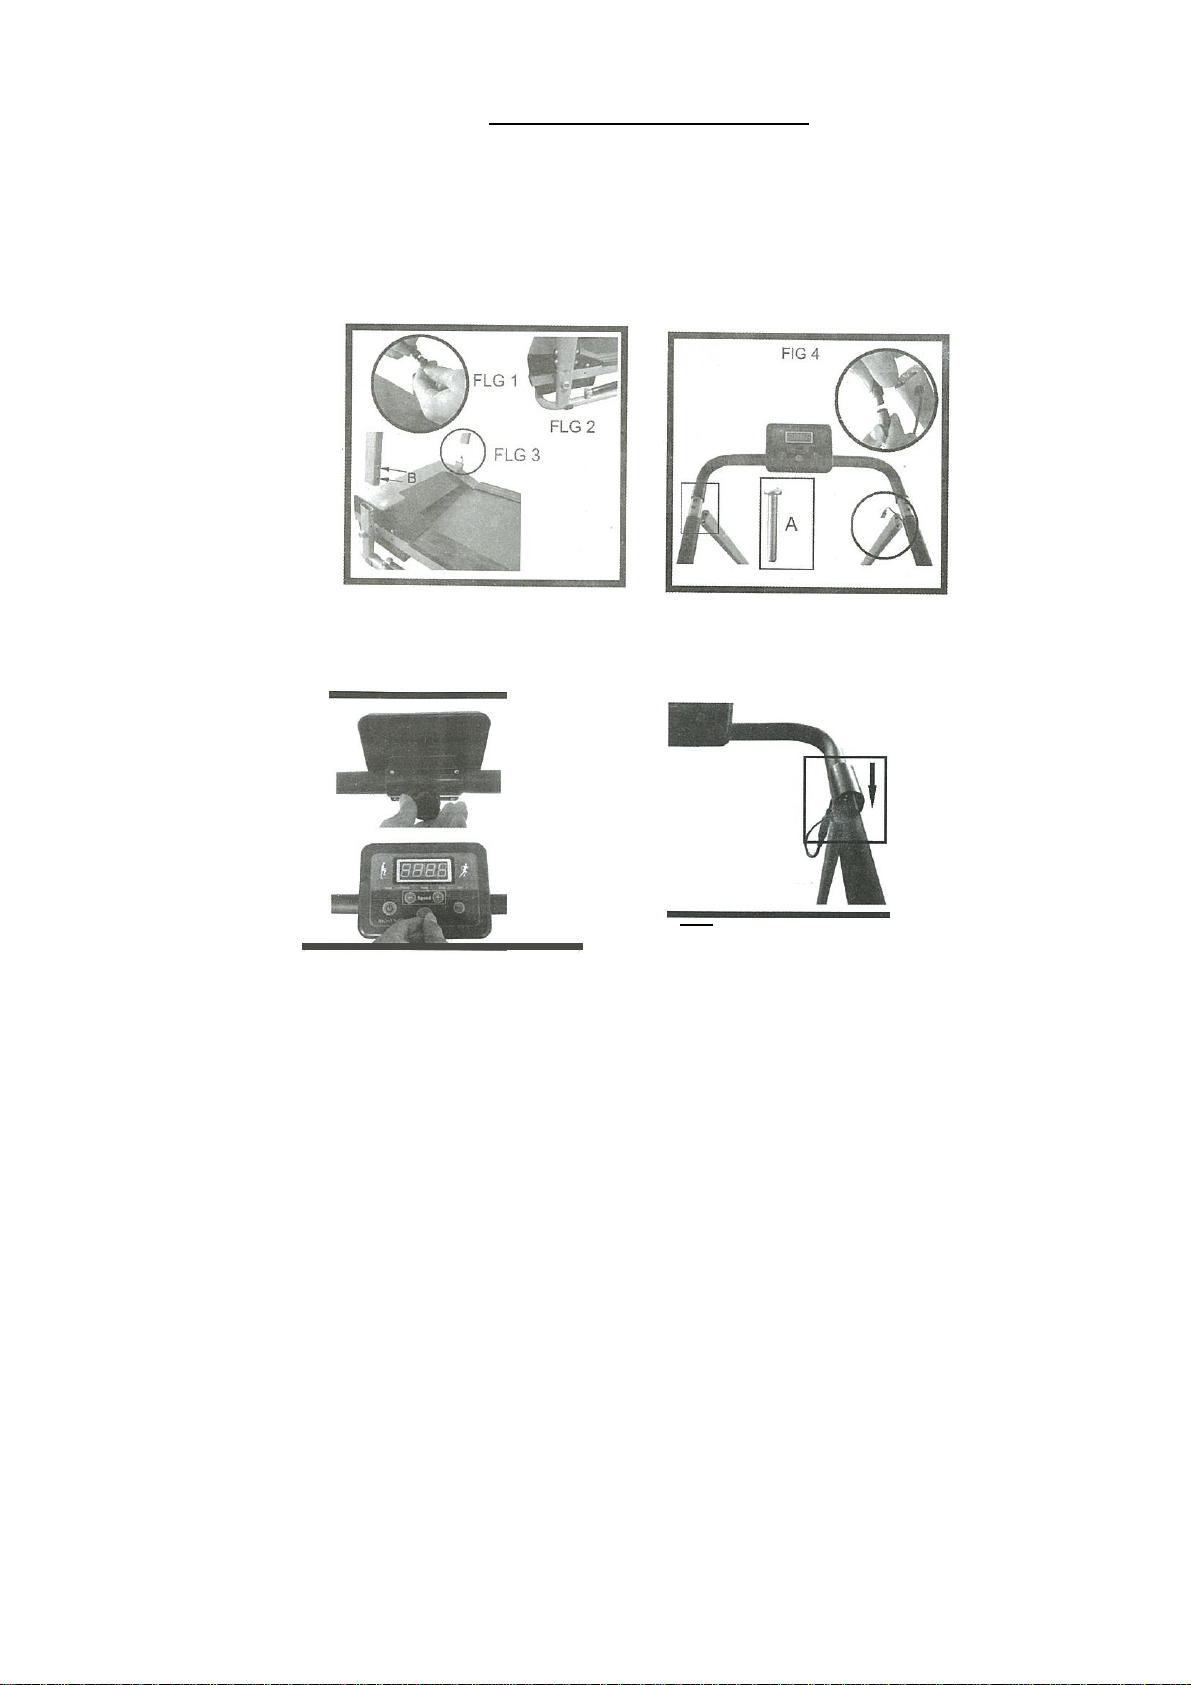
Step 1.
The upright tube with the connection wire is the right-hand tube. Connect the wire
as shown in FLG 1.
Assemble each handle to the main frame with bolts provided – FLG 2
The cables are contained in the frame, so take care not to trap the wire when
inserting the bolts. (This first step may have already been carried out in the
factory).
Step 2.
Connect the upright tubes to the handrail as shown FIG 4. You may need to pull the
arms apart slightly to fit. This is perfectly normal. Insert all 4 bolts loosely at first, then
tighten once fitted. Connect the computer cables.
FIG
Step 3.
Under the console, insert the securing knob and tighten to lock the control panel in the
correct position FIG 5. Place the safety stop key onto the console FIG 6.
Step 4.
Hide the top securing bolts with the plastic covers provided.
FIG s
FIG 6

4
Exercise Instructions
Using your treadmill will provide you with several benefits: It will improve your physical fitness, tone your muscles,
and in conjunction with a calorie controlled diet it will help you lose weight.
1.The Warm Up Phase
This stage helps get the blood flowing around the body and the muscles working properly. It will also reduce the
risk of cramp and muscle injury. It is advisable to do a few stretching exercises as shown below. Each stretch
should be held for approximately 30 seconds, do not force or jerk your muscles into a stretch - if it hurts, STOP
.
2.The Exercise Phase
Press the start button and the treadmill will bleep twice before the walking belt starts moving. It starts on the third
bleep. Always attach the safety cord to your clothing. Always hold the handrail for your own safety. You can
increase the speed up to 10km per hour by pressing the speed-up button. IMPORTANT; Always bring the
speed down to the lowest speed with the speed-down button before pressing the stop button. Otherwise
the treadmill will stop abruptly.
Walk at a pace that you are comfortable with and then gradually increase the time you exercise for and the speed
that you walk.
On/Off
stop switch
1.
Place emergency stop key on magnetic docking pad.
2.
Press the ‘on/off’ switch at base of treadmill to on position.
3.
Press the ‘on/off start button on the display panel to prepare the treadmill for working.
4.
If you want to walk for a pre-set time, press the mode button and adjust the set time from 10 minutes by using
the + or – buttons.
SIDE BENDS
FORWARD
BENDS
OUTER THIGH
INNER THIGH
CALF /
ACHILLES
5
5.
Press the ‘on/off’start button on the display panel. The display will carry out a short self-test and then count
down before starting the belt.
6.
Press the Speed ‘+’button to increase the speed to a comfortable pace.
7.
The display will scan between Speed (Km/h), Time, Distance, Calories burnt, every five seconds.
8.
Gradually slow the treadmill to a standstill by pressing the ‘Speed -‘button.
3. The Cool Down Phase
Let your Cardio-vascular System and muscles wind down. This is a repeat of the warm up exercise e.g. reduce
your tempo, continue for approximately 5 minutes. The stretching exercises should now be repeated, again
remembering not to force or jerk your muscles into the stretch. As you get fitter you may need to train longer and
harder. It is advisable to train at least three times a week, and if possible space your workouts evenly throughout
the week.
Weight Loss
The crucial factor here is the amount of effort you put in. The harder and longer you work the
more calories you will burn. Diet and physical activity go hand in hand when trying to lose
weight.
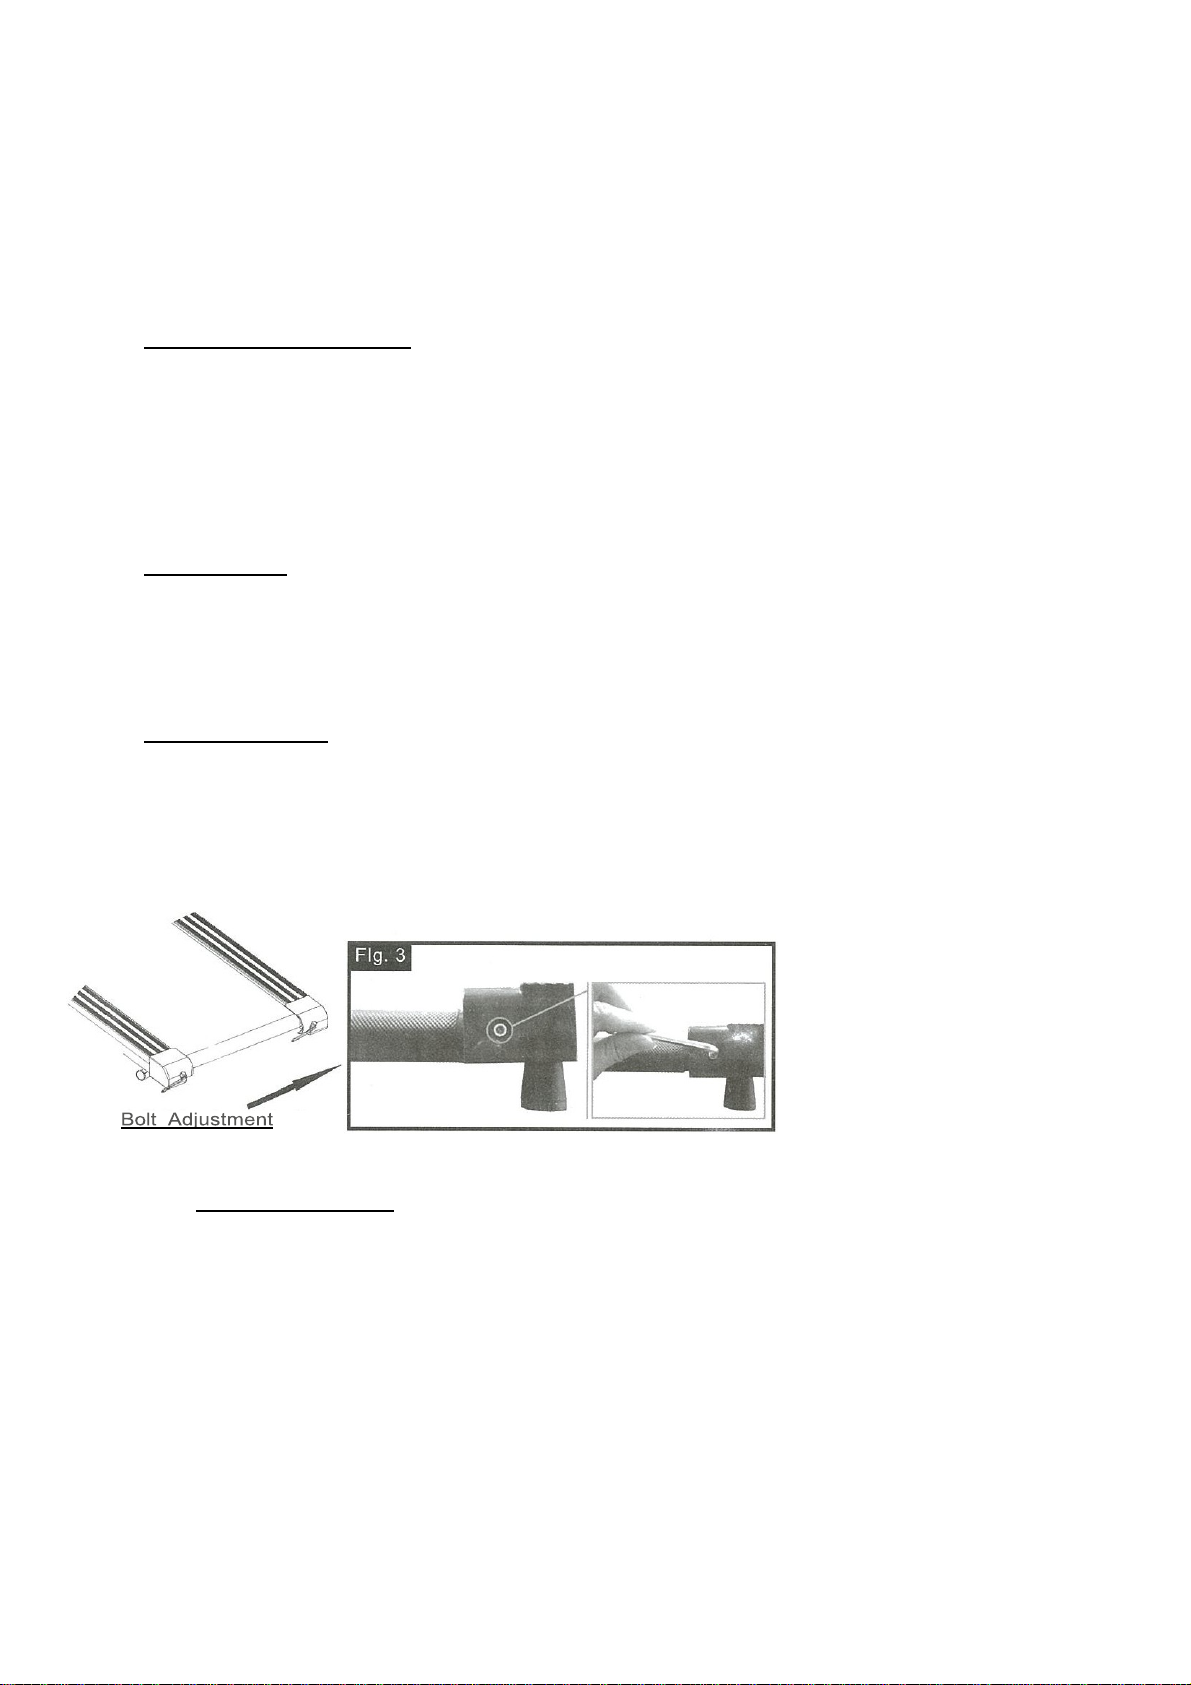
Belt Adjustment
Most people have a tendency to be Right foot or Left foot biased, which means the belt may move to one side or
the other. There are two adjustment bolts at the rear of the treadmill. If the belt has moved to the right, tighten the
right bolt by half a turn and loosen the left bolt by half a turn, and vice versa if the belt has moved to the left.
Belt Maintenance
The belt may be cleaned with soapy water. Be sure to remove any excess water after cleaning. Every 50
hours of use or if the belt starts to stick, apply a small amount of belt lubricant to ensure the belt can move
easily.
1. Turn the power switch off and unplug the power cord from the wall outlet.
2. See the following diagram.
3. Repeat the process on the opposite side.
4. Plug the electrical cord back into the outlet and turn the power switch on.
5. Walk at moderate speed for 5 minutes to evenly distribute the silicone lube.

6
TREADMILL LIMITED WARRANTY
The warranty period applies to the following components:
Motor:3years
Other parts: 1year
If within the time frames specified above, any parts fail to operate properly, please contact
our after-sales service department directly.
Exclusions and Limitations
1. This warranty does not apply to any defect caused by negligence, misuse, improper
assembly or maintenance, accident, or an “act of god”.
2. This warranty does not apply to discoloration of paint or plastics.
3. We shall not be responsible for incidental or consequential damages.
4. This warranty is nontransferable from the original owner.
Table of contents


