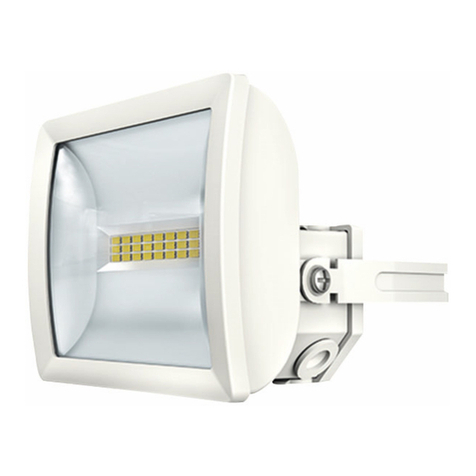
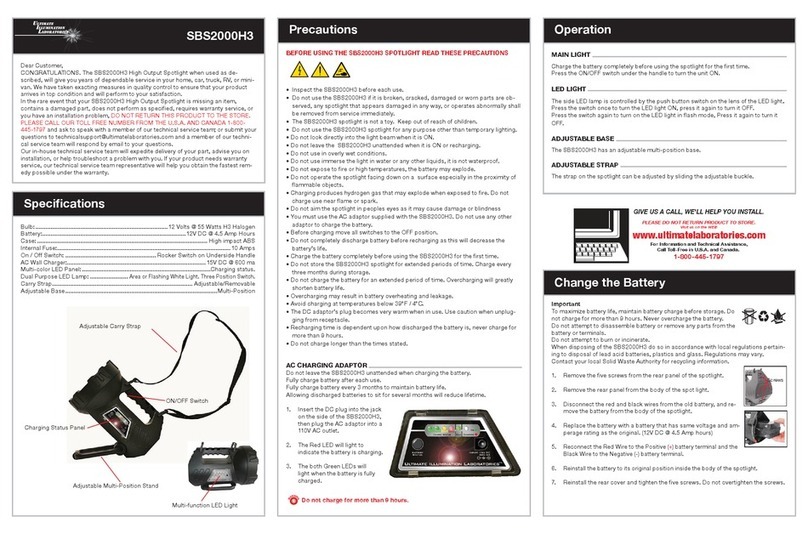
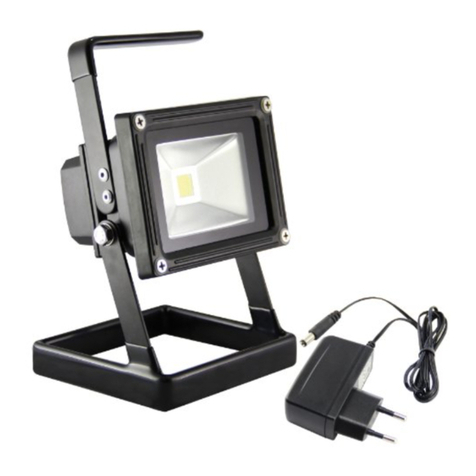
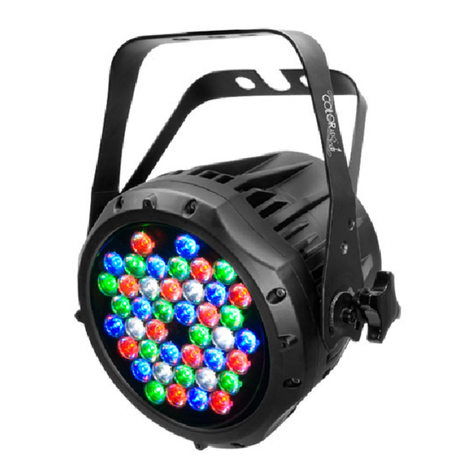
Theben theLeda P12 WH User manual

1
theLeda P12 WH/AL
1020941/1020942
theLeda P24 WH/AL
1020943/1020944
307150 01
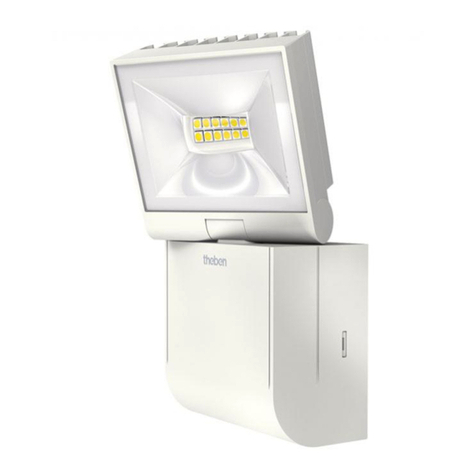
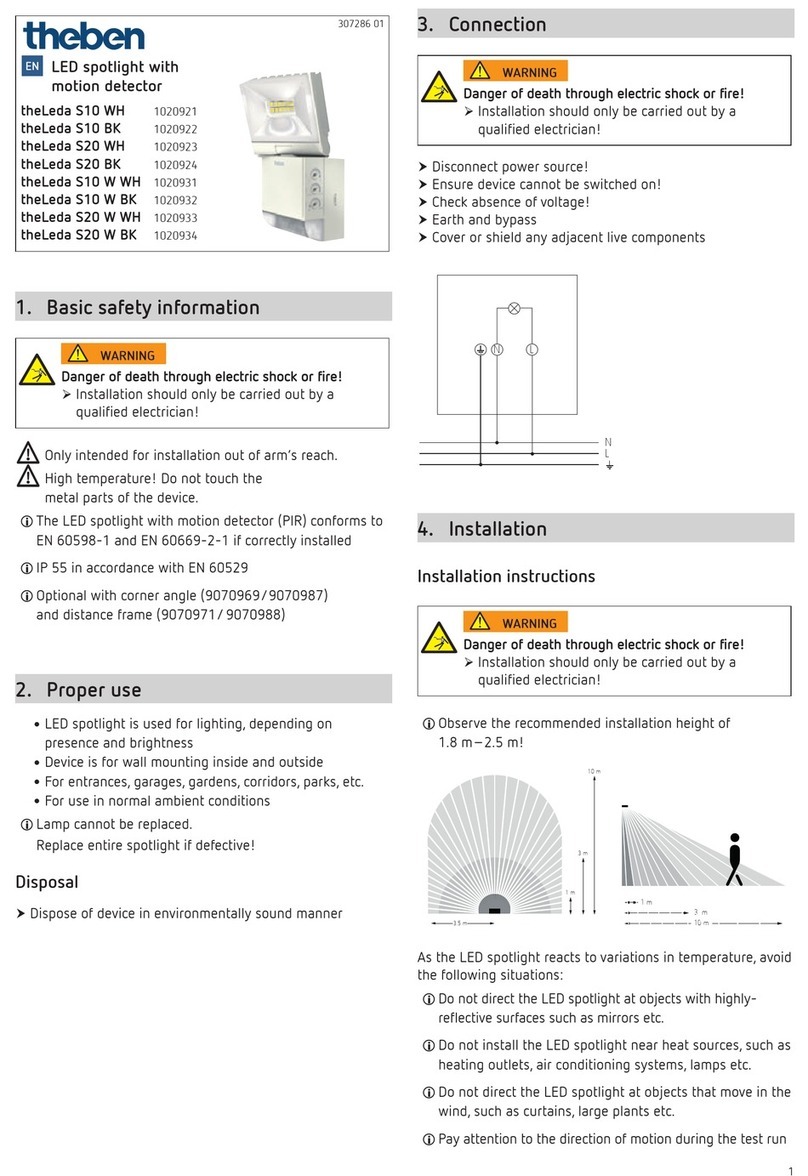
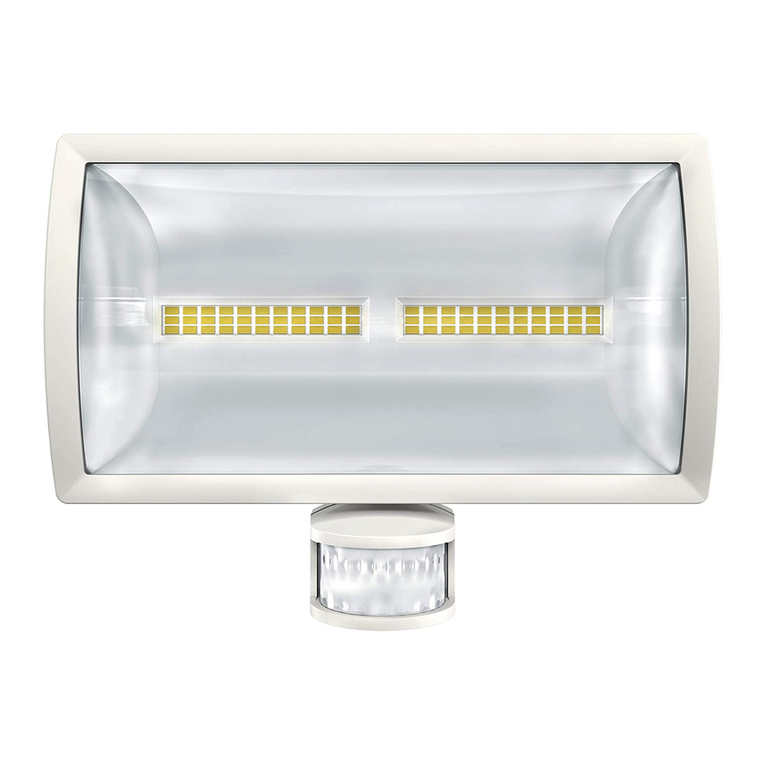
LED spotlight with
motion detector
EN
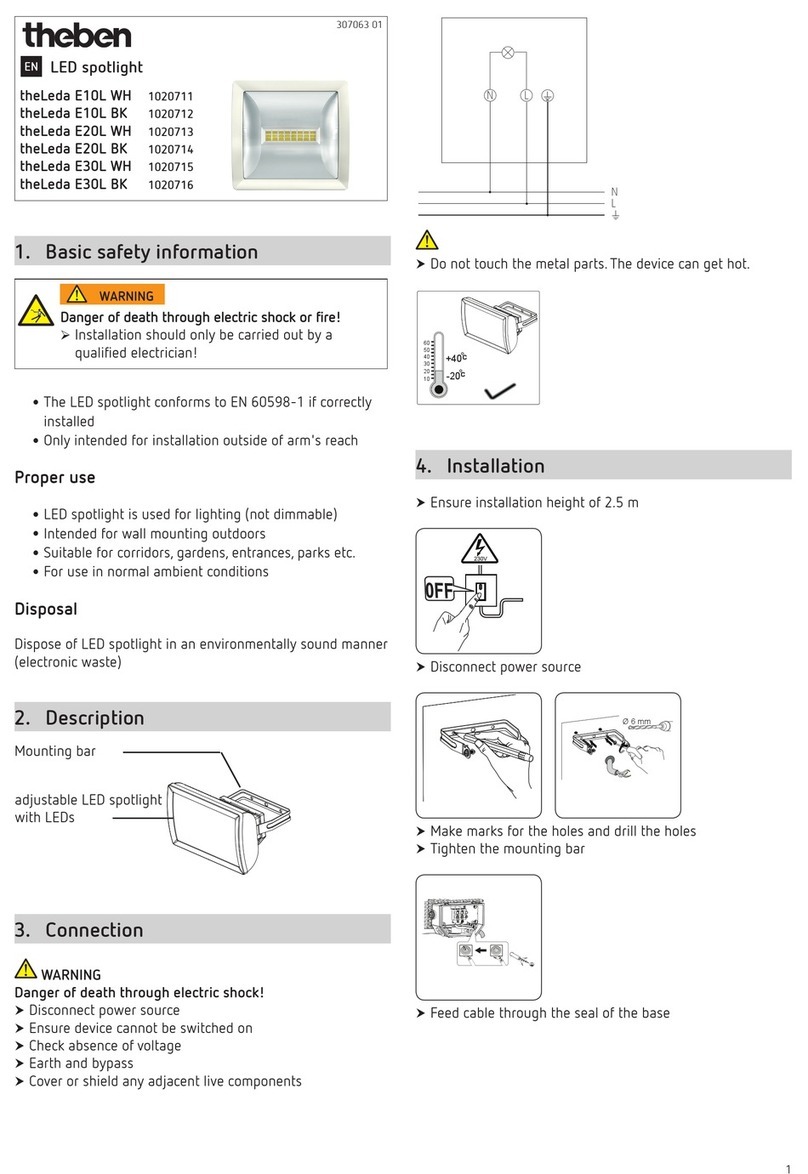
1. Basic safety information
Danger of death through electric shock or fire!
Installation should only be carried out by a
qualied electrician!
WARNING
!Only intended for installation out of arm‘s reach.
!High temperature! Do not touch the
metal parts of the device.
!First, connect the device, then adjust the settings at the
potentiometer.
LThe LED spotlight with motion detector (PIR) conforms to
EN 60598-1 and EN 60669-2-1 if correctly installed
2. Proper use
•For entrances, single-family houses, building front, hotel
entrances, medical practices, etc.
•For use in normal ambient conditions
•LED spotlight is used for lighting, depending on
presence and brightness
LLamp cannot be replaced.
Replace entire spotlight if defective!
Disposal
Dispose of device in environmentally sound manner
3. Connection
Danger of death through electric shock or fire!
Installation should only be carried out by a
qualied electrician!
WARNING
Disconnect power source!
Ensure device cannot be switched on!
Check absence of voltage!
Earth and bypass
Cover or shield any adjacent live components
Standard options
N
L
S
NL
Additional connection options
!Ensure correct polarity. When ignored, the lamp ashes
permanently.
!Protect devices in Master/Slave operation with the same
ground fault circuit interrupter.
!Devices with PIR = Master, devices without PIR = Slave
Connection Master/Master
N
50 m S
L
SL N SL N SL N
Master Master Master
1 2
50 m
10
!The S connection must be conducted through the same
cable as the L and N line.
!Max. 10 devices switchable as Master/Master
Several detectors can be switched at the same time by con-
necting the S terminal. If one detector detects motion, all LED
spotlight will be switched on.
Connection Master/Slave
LOptional: with Slave devices 1020741 – 1020744
N
S
L
S
NL
S
NL
Master Slave
50 m

2
4. Installation
Installation instructions
Danger of death through electric shock or fire!
Installation should only be carried out by a
qualied electrician!
WARNING
LObserve the recommended installation height of
1.8 m–2.5 m!
6 m
1,5 m
5 m
12 m
1,5 m
5 m
12 m
1,8 m - 2 m
As the LED spotlight reacts to variations in temperature, avoid
the following situations:
Do not direct motion detectors (PIR) of the LED spotlight at
objects with highly-reective surfaces, such as mirrors etc.
LDo not install the motion detector near heat sources, such
as heating outlets, air conditioning systems, lamps, etc.
LDo not direct the motion detector at objects that move in
the wind, such as curtains, large plants, etc.
LPay attention to the direction of motion during the test run
+40°C
˚C
Disconnect power source
0FF
230V
Loosen screw
Loosen catch mechanisms with a screwdriver and remove
LED spotlight from base
Make marks for the holes and drill the holes
LIf applicable, use optional corner bracket or spacer frame
for exible installation as well as cable entry from side or
top/bottom.
Mount the corner bracket (optional)

3
Mount the spacer (optional)
60mm
Feed cable through the seal of the base
Tighten screws
60mm
Ø
6mm
Connect the individual wires to the appropriate terminal
Tighten screws
Place and engage the LED spotlight on the base
Tighten screw
Remove protective lm
Connect LED spotlight to mains
LThe detector needs approx. 40 s of preheating time

4
5. Description
LED spotlight
Sensor head with
3 potentiometers
Cover
LThe LED spotlight has 3 potentiometers for setting time
(min), brightness (lux), and function mode.
Setting the brightness (LUX)
10
15
LUX
300 500
800
Turn the potentiometer to „Teach-In “; after 15 s, the
motion detector saves the current surrounding brightness
as the new switch-on brightness
Turn the potentiometer towards „Moon“; the LED spotlight
only switches on when it is relatively dark.
Turn the potentiometer towards „Sun“; the LED spotlight
switches on when it is relatively bright
Turn the potentiometer to „Sun“, and the device works
independent of brightness
Setting the time (TIME)
30 s
1210
20
10 s
test
TIME
D
Turn the potentiometer to „test“; the motion detector now
only reacts to movements (walking test)
Set the potentiometer to the desired time (10 s–20 min)
Turn the potentiometer to „D“; the motion detector only
reacts to brightness and is always on when the set bright-
ness value has not been reached. (motion detector is
deactivated)
Function mode (MODE)
MODE
night
break
10 % Stand-by
60 %
auto
Turn the potentiometer to „auto“; the LED spotlight swit-
ches on when there is motion in the dark
Turn the potentiometer to „night break“; the LED spotlight
temporarily switches off during the night
LThe duration of the „night break“ night switch-off is cal-
culated by the device variably, depending on the current
twilight times
Turn the potentiometer to „standby“: In darkness, the LED
spotlight switches to the set dimming value
(10 %–60 %), and to 100 % if there is motion.
6. Aligning the LED spotlight
theLeda P12
L180° rotatable, e.g. for facade lighting
180°
35° 60°
60°

5
theLeda P24
L22° swivelling, without spacer
30° swivelling, with mounted spacer
35° swivelling in case of corner installation
60°
22°- 35°
7. Using cover clip
Use the supplied cover clip, to adjust the motion detector to
the desired detection area.
Remove the required section of the cover clip by using
pliers or the like.
Then place on the lens.
8. Walking test
The walking test is used to test the detection area and to
restrict it if necessary.
Set the time potentiometer (TIME) to „test“.
▻ The motion detector now always reacts to
movements (independent of brightness).
Walk through the detection area at a right angle. After the
motion detector has detected a movement, it switches on
for 2 s.
LPay attention to the direction of motion during the test.
30 s
1210
20
10 s
test D
9. Settings and functions
Normal operation
Setting:
10
15
LUX
300 500
800
30 s
1210
20
10 s
test
TIME
D
MODE
night
break
10 % Stand-by
60 %
auto
movement
24
12 12
LED-Light
100 %
night
Lux
LThe LED spotlight switches on when there is motion in the dark.
With 30 % basic brightness (10 %–60 % possible)
Setting:
10
15
LUX
300 500
800
30 s
1210
20
10 s
test
TIME
D
MODE
night
break
10 % Stand-by
60 %
auto
movement
24
12 12
LED-Light
100 %
30 %
night
Lux
LThe LED spotlight shines in darkness with the set 30 %. In
case of motion, it switches to 100 %.

6
Night switch-off „night break“
Setting:
10
15
LUX
300 500
800
30 s
1210
20
10 s
test
TIME
D
MODE
night
break
10 % Stand-by
60 %
auto
movement
24
12 12
LED-Light
100 %
night
Lux
night break
LThe LED spotlight temporarily switches off during the
night.
Twilight switch function
Setting:
10
15
LUX
300 500
800
30 s
1210
20
10 s
test
TIME
D
MODE
night
break
10 % Stand-by
60 %
auto
movement
24
12 12
LED-Light
100 %
night
Lux
D-mode
LThe motion detector only reacts to brightness. The LED
spotlight is always switched on when the set brightness
value has not been reached.
Twilight switch with night switch-off function
Setting:
10
15
LUX
300 500
800
30 s
1210
20
10 s
test
TIME
D
MODE
night
break
10 % Stand-by
60 %
auto
movement
24
12 12
LED-Light
100 %
night
Lux
night break
D-mode
Twilight switch function on (e.g. 30 %)
Setting:
10
15
LUX
300 500
800
30 s
1210
20
10 s
test
TIME
D
MODE
night
break
10 % Stand-by
60 %
auto
movement
24
12 12
LED-Light
30 %
night
Lux
D-mode
LThe motion detector only reacts to brightness. The LED
spotlight is always set to 30 % when the set brightness
value has not been reached.
Permanent on 100 %
Setting:
10
15
LUX
300
500
800
30 s
1
2
10
20
10 s
test
TIME
D
MODE
night
break
10 % Stand-by
60 %
auto
movement
24
12 12
LED-Light
100 %
night
Lux
D-mode
LThe LED spotlight shines permanently at 100 %
brightness.
Permanent on (e.g. 30 %)
Setting:
10
15
LUX
300 500
800
30 s
1210
20
10 s
test
TIME
D
MODE
night
break
10 % Stand-by
60 %
auto
movement
24
12 12
LED-Light
30 %
night
Lux
D-mode
LThe LED spotlight shines permanently at 30 % brightness.

7
Permanent on with night switch-off
Setting:
10
15
LUX
300 500
800
30 s
1210
20
10 s
test
TIME
D
MODE
night
break
10 % Stand-by
60 %
auto
movement
24
12 12
LED-Light
100 %
night
Lux
D-mode
night break
Motion detector without brightness measurement
Setting:
10
15
LUX
300 500
800
30 s
1210
20
10 s
test
TIME
D
MODE
night
break
10 % Stand-by
60 %
auto
movement
24
12 12
LED-Light
100 %
night
Lux
LThe LED spotlight always switches on when there is
motion, independent of the surrounding brightness.
Motion detector without brightness measurement
(e.g. 30 %)
Setting:
10
15
LUX
300 500
800
30 s
1210
20
10 s
test
TIME
D
MODE
night
break
10 % Stand-by
60 %
auto
movement
24
12 12
LED-Light
100 %
night
Lux
30 %
LThe LED spotlight shines permanently with a basic bright-
ness of 30 %. It always switches on when there is motion
(to 100 % brightness), independent of the surrounding
brightness.
Motion detector without brightness measurement
+ night switch-off
Setting:
10
15
LUX
300 500
800
30 s
1210
20
10 s
test
TIME
D
MODE
night
break
10 % Stand-by
60 %
auto
movement
24
12 12
LED-Light
100 %
night
Lux
night break
Manual operation
The lighting can be switched on manually via a circuit breaker
button.
LA circuit breaker button must be connected
N
L
S
NL
Press the circuit breaker button briey (max. 1.5 s).
▻ The light will come on for the set time.
Press the circuit breaker button 2 x briey (within 1.5 s).
▻ The lighting remains switched on for 6 hours.
In order to switch off the lighting, press the circuit breaker
button 1 x briey (max. 1.5 s).
▻ The detector switches off after the set time delay.
LIf the circuit breaker button is pressed longer than 2 s, the
detector restarts (warm-up phase).

8
10. Settings with remote control
You can also enter the settings with remote controls the-
Senda P and theSenda S.
LIf a new function/parameter is set, the detector ashes
3 x for conrmation.
Settings using theSenda P (9070910)
The following parameters or functions can be set with
theSenda P:
31 1
2
6
8
9
10
11
12
13
14
15
23
22
21
20
18
17
16
26
25
24
30
7
1Test Test mode, ends after 10 min
2Auto return to Automatic mode
6On Switch on light (8 hrs)
7Range + Increase sensitivity
815 lux Brightness setpoint value 15 lux
910 lux Brightness setpoint value 10 lux
10 Lux On Deactivation of brightness measurement
11 800 lux Brightness setpoint value 800 lux
12 60 sec Lighting time delay 60 sec
13 30 sec Lighting time delay 30 sec
14 max. time max. lighting time delay, 20 min
15 20 min Lighting time delay 20 min
16 10 min Lighting time delay 10 min
17 2 min Lighting time delay 2 min
18 min. time min. lighting time delay, 10 sec
20 500 lux Brightness setpoint value 500 lux
21 300 lux Brightness setpoint value 300 lux
22 5 lux Brightness setpoint value 5 lux
23 min. lux min. brightness setpoint value, 1 lux
24 Range – Reduce sensitivity
25 Teach-in Teach in of the brightness setpoint value
26 Off Switch off light
30 Reset Restart of the detector
31 D mode Twilight switch (motion detector deactivated)
Settings using theSenda S (9070911)
6
4
2
5
7
8
9
1
3
1D mode Twilight switch (motion detector deactivated)
24Off short button push -> switches off the light
long button push -> dimming the light down
3 5 On short button push -> switches on the light
long button push -> dimming the light up
6Auto return to Automatic mode
7Holiday mode Presence simulation
8Lighting
scenario 1
Pressing the button shortly -> the dimming
value of 33 % is set
9Lighting
scenario 2
Pressing the button shortly -> the dimming
value of 66 % is set
Holiday mode
The holiday mode is a presence simulation, which is intended
to prevent burglary during temporary absence.
11. Technical Data
Operating voltage: 230 V ± 10 %
Frequency: 50–60 Hz
Consumption with light On:
theLeda P12:
theLeda P24:
11 W
20 W
Standby output: max. 0.4 W
LED output (lighting current):
theLeda P12:
theLeda P24:
900 lm
900 lm x 2
Colour temperature: 4000 K
Colour rendering index: CRI < 80
Service life: L80/B10/50 000 h
Protection rating: IP 55 in accordance with EN 60529
Protection class: II in accordance with EN 60598-1
Operating temperature: –25 °C ... +45 °C
Brightness setting range: 5–800 lx/∞
Duty cycle range: 10 sec–20 min
Detection angle: 180°
Detection area: lateral:
frontal:
max. 12 m
max. 5 m
Installation height: 1.8 m–2.5 m
Energy efciency class: A+

9
12. Contact
Theben AG
Hohenbergstr. 32
72401 Haigerloch
GERMANY
Phone +49 7474 692-0
Fax +49 7474 692-150
Hotline
Phone +49 7474 692-369
Addresses, telephone numbers, etc.
www.theben.de
This manual suits for next models
7
Table of contents
Other Theben Spotlight manuals
