manuals.online logo
Brands
  1. Home
  2. •
  3. Brands
  4. •
  5. ThePondguy
  6. •
  7. Water Pump
  8. •
  9. ThePondguy SolidFlo 1200 User manual

ThePondguy SolidFlo 1200 User manual

SolidFlo™
Solid Handling
Pumps
Installation Manual
TM
View other great products on-line at www.thepondguy.com
Important Information........................2
Package Contents.............................3
Technical Specs ...............................3
Installing Your SolidFlo™ Pump.................4
Maintaining Your SolidFlo™ Pump ............ 5-7
Replacement Parts ...........................8
Troubleshooting..............................8
Warranty Information.........................8
Table of Contents:
REPLACEMENTPARTS :
MODEL DESCRIPTION ITEM NUMBER
SolidFlo™ 600 - 2600 Replacement tting kit (includes barbed tting and knuckle) #120847
TROUBLESHOOTING :
Pump does not turn on:
• Check that the power cord is connected.
• Check to see if the circuit breaker is tripped.
• GFCI may be faulty.
• Check power cord for damage.
Pump turns on and then shuts o:
• Verify pump is completely submerged for proper cooling.
• Check for debris clogging the pump intake.
• Verify if using an extension cord that it is of the proper rating for the pumps
electrical requirements.
Reduced water ow:
• Check for debris clogging the pump pre-lter.
• Perform annual maintenance cleaning of the pump.
• Verify that water level is not low.
• Check plumbing for clogs.
PRODUCT WARRANTY:
SolidFlo™ Solid Handling Pumps carry a 3-year warranty. The Pond Guy® will repair or
replace any units found to be defective. This limited warranty is extended exclusively
to the original purchaser and begins from the date of original purchase receipt. Abuse
or misuse of this product or power cord alterations void all warranty. Please call for a
Return Authorization Number prior to returning product by calling our Customer Care
Department at 866-766-3435. Failure to request an RMA number may result in delay or
dismissal of your warranty claim.
THANK YOU FOR CHOOSING:
The Pond Guy®Inc.
We Know Ponds™
15425 Chets Way
Armada, MI 48005
866-POND-HELP (766-3435)
thepondguy.com
For Models:
• SolidFlo™600
(Item #120845)
• SolidFlo™1200
(Item #120842)
• SolidFlo™1600
(Item #120843)
• SolidFlo™2100
(Item #120844)
• SolidFlo™2600
(Item #120846)
B
A
C
Package Contents
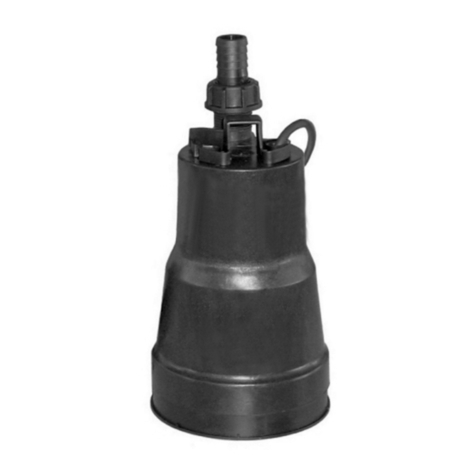
SOLIDFLO™PUMP
IMPORTANT INFORMATION:
Please read these instructions thoroughly before use. Failure to follow instructions may
result in equipment damage or failure, losses, injury or death.
DANGER:
To avoid possible electric shock:
• If the power cord has been damaged, DO NOT operate, SolidFlo™ Pump should
be replaced.
• Close supervision is necessary when the unit is used by or near children.
WARNING:
To reduce the risk of electric shock:
• Connect only to a properly grounded receptacle, which is serviced by a Ground
Fault Circuit Interrupter and never remove the ground pin from the plug.
• Provide a “drip loop” for the power cord. This is a loop in the cord below the level
of the receptacle or plug that prevents water from traveling along the cord in the
direction of the receptacle.
• ALWAYS unplug the SolidFlo™ Pump from power source when it is not in use, and
before installing, removing or servicing the SolidFlo™ Pump components.
• If an extension cord is necessary, a cord with a proper rating should be used. A cord
may overheat if the cord is rated for less amperes or watts than the unit rating.
• DO NOT immerse the SolidFlo™ Pump plug in water or attempt to use a wet plug.
• The SolidFlo™ Pump is NOT suitable for use in swimming pools, swimming ponds, or
other situations where bodily contact is made with the water.
CAUTION:
To reduce the risk of equipment damage or failure:
• DO NOT place SolidFlo™ Pump near ammable or other dangerous materials
or objects.
• ALWAYS unplug the unit if there is no water running through it to prevent over
heating.
• ALWAYS operate the pump completely submerged for proper cooling.
• DO NOT operate during freezing conditions. Drain SolidFlo™ Pump and store in a
protected location.
IMPORTANT:
The Pond Guy® is not responsible for equipment damage or failure, losses, injury
or death resulting from failure to follow safety precautions, misuse or abuse of
equipment.
SolidFlo™Series
ASolidFlo™ Pump Unit
BBarbed Fitting
CKnuckle
TECHNICALSPECS :
MODEL POWER WATTAGE GPH @
0’ HEAD
GPH @
3’ HEAD
GPH @
6’ HEAD
SHUT OFF
HEIGHT
PLUMBING SIZE
(STEP DOWN
BARB FITTING)
POWER
CORD
LENGTH
SolidFlo™ 600 120V / 60 Hz 35 Watts 600 GPH 475 GPH 250 GPH 8’ 1”, 1¼”, 1½”
20’
SolidFlo™ 1200 120V / 60 Hz 85 Watts 1,200 GPH 975 GPH 750 GPH 10’ 1”, 1¼”, 1½”
SolidFlo™ 1600 120V / 60 Hz 115 Watts 1,600 GPH 1,325 GPH 975 GPH 11.5’ 1”, 1¼”, 1½”
SolidFlo™ 2100 120V / 60 Hz 155 Watts 2,100 GPH 1,700 GPH 1,500 GPH 15’ 1”, 1¼”, 1½”
SolidFlo™ 2600 120V / 60 Hz 175 Watts 2,600 GPH 2,100 GPH 1,700 GPH 16’ 1”, 1¼”, 1½”
thepondguy.com | 866-POND-HELP (766-3435) 15425 Chets Way | Armada, MI 48005
2 3
INSTALLING YOUR SOLIDFLO™PUMP:
For Best Results
• SolidFlo™ Pump should be placed on
a at surface away from sludge or
algae mats.
• Keep SolidFlo™ Pump pre-lter free
of debris.
• Always cut step down tting to the
largest connection that will work with
your tubing size to maximize water ow.
• Run the SolidFlo™ Pump 24 hours a day.
• DO NOT operate during freezing
conditions. Drain the SolidFlo™ Pump
and store in a protected area.
Watch a video of the SolidFlo Pump installation online @
www.thepondguy.com/solido
Step 1
Attach the Step Down Fitting
ATTACH the step down tting to the outlet of the SolidFlo™
Pump. Note: The o-ring should be between the SolidFlo™
Pump housing and the step down tting to create a
watertight seal when secure.
Step 2
Cut to Size
CUT the step down tting down to the largest connection
that will work with your plumbing.
For optimum performance:
MODEL PLUMBING
SolidFlo™ 600 1”
SolidFlo™ 1200 1”, 1¼”
SolidFlo™ 1600 1¼”
SolidFlo™ 2100 1¼”, 1½”
SolidFlo™ 2600 1¼”, 1½”
Step 4
Submerge Pump
SUBMERGE the SolidFlo™ Pump in a at area in your pond.
Ideally this should be at the opposite end of the pond from
where the water will discharge.
Step 5
Start your Pump
PLUG the power cord into a standard 120-volt GFCI
protected outlet.
Step 3
Connect Plumbing
CONNECT plumbing and secure with a hose clamp (not
included).
1”
1-¼”
1-½”
Tools Required: Screwdriver or nut driver for securing hose clamps and a hacksaw.
MAINTAINING YOUR SOLIDFLO™PUMP:
CLEANING THE PRE-FILTER:
WARNING:
Before performing any maintenance, always unplug the SolidFlo™ from the power
source.
Perform anytime there is a reduction
in waterow.
REMOVE large debris from the pre-lter and discard. The use
of a small brush or cloth may be helpful.
Maintaining your SolidFlo™ Pump
Continues on the next page...
Watch a video of the SolidFlo Pump maintenance online @
www.thepondguy.com/solido
thepondguy.com | 866-POND-HELP (766-3435) 15425 Chets Way | Armada, MI 48005
4 5
MAINTAINING YOUR SOLIDFLO™PUMP:
ANNUAL MAINTENANCE:
REMOVE the 4 screws
securing the pump
pre-lter using your #2
Phillips screwdriver.
REMOVE the 4 screws
securing the impeller cap.
POSITION the pump into
the bottom section of the
pump pre-lter cage by
aligning the discharge
and power cord with the
notches on the cage.
INSTALL the snap ring
using your snap ring
pliers with the opening of
the ring pointing to the
at side of the impeller
shaft.
PLACE the o–ring on the
impeller cap and then
install impeller cap by
matching the groove in
the cap to the groove in
the pump housing and
secure with the 4 smaller
screws.
PRESS the bearing screen
back into the bearing and
place the bearing onto
the rotor.
REMOVE the motor
housing O-ring.
REMOVE the top plate to
expose the bearing.
REMOVE the impeller
cap using a at head
screwdriver to gently
separate the impeller cap
from the impeller.
ALIGN and place the top
half of the pre-lter cage
over the pump. Holding
the two sections of the
cage together, ip the
SolidFlo™ Pump over and
reinstall the 4 screws.
PLACE the o-ring onto
the motor housing and
then insert the impeller
assembly. Note: You may
need to rotate the impeller
assembly to align the
holes in the top plate with
the notches on the motor
housing.
PLACE the top plate back
onto the shaft and align
then notches on the top
plate with the notches on
the bearing.
USE your snap ring pliers
to remove the snap
ring on the end of the
impeller shaft.
LIFT the bearing from the
rotor for easier handling.
REMOVE the 4 additional
screws on the pump
housing to separate it
from the motor housing.
PLACE the impeller onto
the shaft by aligning the
at edge of the impeller
with the at edge on the
shaft. Then press rmly to
secure into place.
REMOVE the impeller by
using to athead screw
drivers to gently separate
it from the rest of the
impeller assembly.
PEEL the screen from
the bearing gently, using
your pick tool.
PULL gently to separate
the entire impeller
assembly from the motor
housing.
PLACE the pump housing
onto the motor housing
and secure with the 4 at
end screws.
Note: The impeller should
remain ush with the bottom
of the notch where the snap
ring will go. Pushing the
impeller too far onto the
shaft will limit the rotation
of the impeller and in some
cases prevent the unit from
turning on. An easy test for
this is to spin the top plate.
If it spins freely, the impeller
is seated correctly. If the top
plate does not spin freely, the
impeller is pushed on too far.
SEPARATE the top and
bottom of the pre-lter
cage and gently lift out
the pump.
Tools Required:
• #2 Phillips Screwdriver
• Snap Ring Pliers
• 2 Large Flathead Screwdrivers
• Pick tool
• Soft Cloth or Small Brush
• Descaler
Step 1 Remove Pump Pre-Filter Cage
Step 2 Remove Impeller
Step 6 Reassemble Pump
Step 3 Disassemble Impeller
Step 4 Remove Bearing
Step 5 Clean Components
CLEAN with a cloth or small brush and some water or a descaler if
needed. When using a descaler be sure to rinse components well
before reassembling.
• bearing and bearing screen
• impeller and rotor
• top plate, impeller cap and impeller cap o-ring
• pump housing, motor housing and o-ring.
• pump pre-lter cage
Watch a video of
the SolidFlo Pump
maintenance online @
www.thepondguy.com/
solido
thepondguy.com | 866-POND-HELP (766-3435) 15425 Chets Way | Armada, MI 48005
6 7

This manual suits for next models

5

Other ThePondguy Water Pump manuals

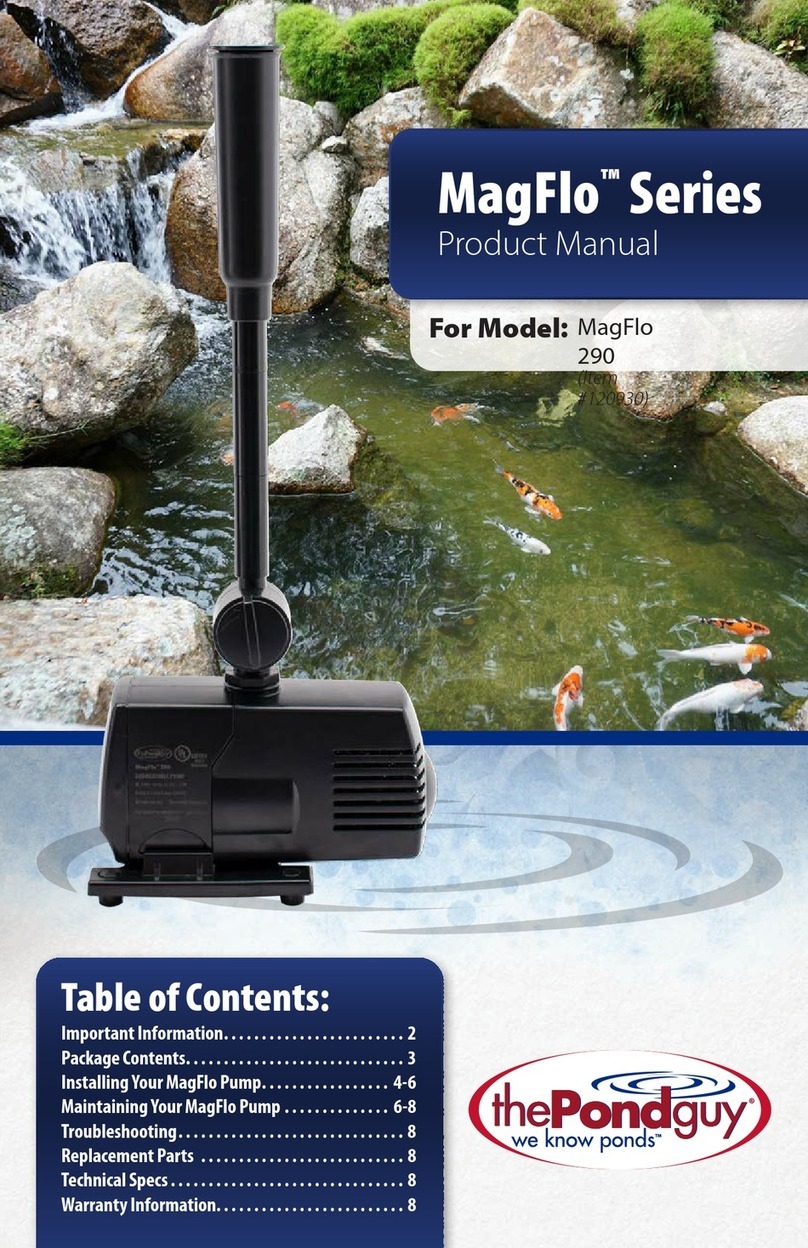
ThePondguy MagFlo Series User manual

ThePondguy

ThePondguy MagFlo Series User manual

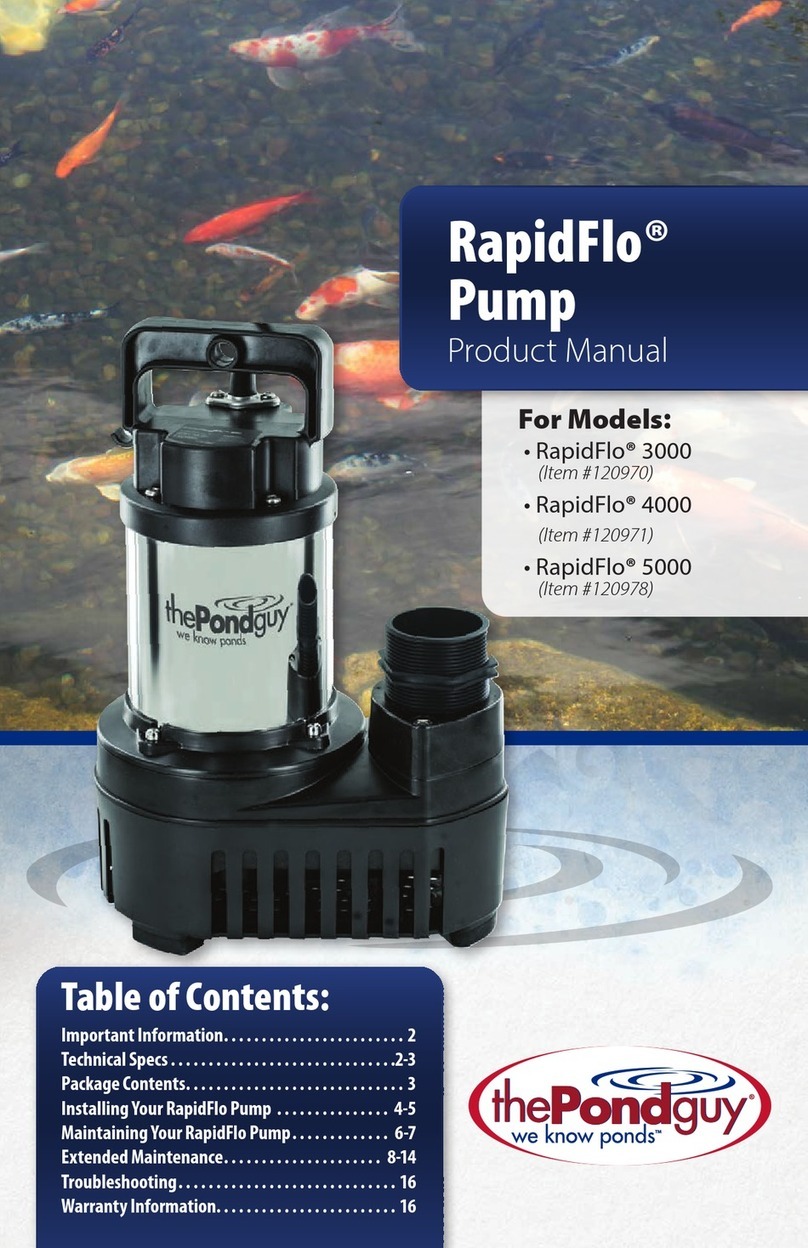
ThePondguy RapidFlo 3000 User manual

ThePondguy

ThePondguy RapidFlo 3000 User manual

ThePondguy PowerUV Series Maintenance and service guide

ThePondguy

ThePondguy PowerUV Series Maintenance and service guide

ThePondguy MagFlo Series User manual

ThePondguy

ThePondguy MagFlo Series User manual

ThePondguy MagFlo Mini 210 Instruction Manual

ThePondguy

ThePondguy MagFlo Mini 210 Instruction Manual

ThePondguy SolidFlo Series Maintenance and service guide

ThePondguy

ThePondguy SolidFlo Series Maintenance and service guide

ThePondguy MagFlo Series User manual

ThePondguy

ThePondguy MagFlo Series User manual

ThePondguy SuperFlo 9000 User manual

ThePondguy

ThePondguy SuperFlo 9000 User manual

ThePondguy UtilityFlo Series Maintenance and service guide

ThePondguy

ThePondguy UtilityFlo Series Maintenance and service guide

ThePondguy RapidFlo 3000 Maintenance and service guide

ThePondguy

ThePondguy RapidFlo 3000 Maintenance and service guide

ThePondguy Water Garden Aeration Kit User manual

ThePondguy

ThePondguy Water Garden Aeration Kit User manual

ThePondguy SolidFlo G2 User manual

ThePondguy

ThePondguy SolidFlo G2 User manual

Popular Water Pump manuals by other brands

WilTec 61963 Operation manual

WilTec

WilTec 61963 Operation manual

Trolla 12822 manual

Trolla

Trolla 12822 manual

Intex Krystal Clear CS7221 owner's manual

Intex

Intex Krystal Clear CS7221 owner's manual

Polaris PB4SQ Replacement instructions

Polaris

Polaris PB4SQ Replacement instructions

Liberty Pumps SumpJet SJ10 installation manual

Liberty Pumps

Liberty Pumps SumpJet SJ10 installation manual

Grundfos SMART Digital DDA Installation and operating instructions

Grundfos

Grundfos SMART Digital DDA Installation and operating instructions

Profi-pumpe Profi AirBrush HOBBY 2 operating instructions

Profi-pumpe

Profi-pumpe Profi AirBrush HOBBY 2 operating instructions

Ryobi R18TP Original instructions

Ryobi

Ryobi R18TP Original instructions

Stuart Turner aquaboost ABP F120-30-1H-1 Installation, operation & maintenance instructions

Stuart Turner

Stuart Turner aquaboost ABP F120-30-1H-1 Installation, operation & maintenance instructions

Refco KAROO Installation and operating guide

Refco

Refco KAROO Installation and operating guide

MULTIQUIP ST-45HRM Operations & parts manual

MULTIQUIP

MULTIQUIP ST-45HRM Operations & parts manual

GORMAN-RUPP GHA SERIES Installation, operation and maintenance manual

GORMAN-RUPP

GORMAN-RUPP GHA SERIES Installation, operation and maintenance manual

AstroAI DM1 user manual

AstroAI

AstroAI DM1 user manual

EINHELL AQUINNA 4180403 Original operating instructions

EINHELL

EINHELL AQUINNA 4180403 Original operating instructions

Honeywell CBU140 instructions

Honeywell

Honeywell CBU140 instructions

TE Connectivity 523199-3 Customer's manual

TE Connectivity

TE Connectivity 523199-3 Customer's manual

Pentair MYERS SSM33 Series Installation and service manual

Pentair

Pentair MYERS SSM33 Series Installation and service manual

Clarke CPE30A1 Operation & maintenance instructions

Clarke

Clarke CPE30A1 Operation & maintenance instructions

manuals.online logo
manuals.online logoBrands
  • About & Mission
  • Contact us
  • Privacy Policy
  • Terms and Conditions

Copyright 2025 Manuals.Online. All Rights Reserved.