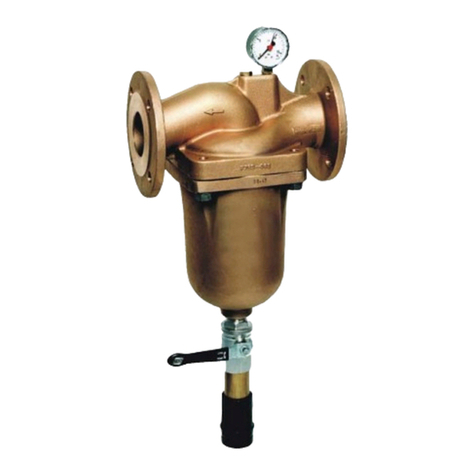
ThermaFlo 3010 P Series Manual

Thermaflo Model 3010T
Temperature Regulating Valve
Installation and Maintenance Manual
732-EN V1.4
Please read and save
these instructions
Thermaflo Inc. 2880 Fair Avenue Newberry, South Carolina 29108 704-940-1228

2
Table of Contents
Overview ...................................................................................................... 3
Installation Instructions ..................................................................................... 3
Assembly and Installation .................................................................................. 3
Disassembly .................................................................................................. 4
3010T & 3010P, K1, K3, K6 Remote Mount Pilot Tubing – Assembly Instructions .......... 6
Troubleshooting Guide ...................................................................................... 7
Limited Warranty and Remedy ............................................................................ 8

3
Warning: This manual should be used by experienced personnel as a guide to the installation of the
Model Thermaflo 3010T Temperature Regulating Valve. Selection or installation of equipment should
always be accompanied by competent technical assistance. You are encouraged to contact Thermaflo
Inc, Inc. or its local representative for additional information.704-940-1228 Newberry, SC 29108
*OREH
9DOYH
%\3DVV
*DWH
9DOYH
6WUDLQHU
3010T
*DWH
9DOYH
*DWH
9DOYH
*DWH
9DOYH
IB Trap
0LQLPXPRI2XWOHW
3LSH'LDPHWHUVIURP
359WR)LUVW7XUQ
0LQLPXPRI2XWOHW
3LSH'LDPHWHUVIURP
/DVW9DOYHRU)LWWLQJ
0LQLPXPRI,QOHW
3LSH'LDPHWHUVIURP
359WR)LUVW7XUQ
9DFXXP
%UHDNHU
7KHUPDO
%XOE
6DIHW\5HOLHI
9DOYH
)77UDS
'UDLQ
6HSDUDWRU
Typical Installation
for Steam Service
Figure 3-1
1. An Thermaflo Inverted Bucket Steam Trap is
recommended to drain condensate at the inlet of the
temperature regulator.
2. An Thermaflo 100 mesh “Y” strainer with blowdown valve
should be installed before the temperature regulator to
reduce the chance of dirt fouling. It is recommended that
the Y strainer be installed on it’s side to prevent
condensate from collecting in the strainer body and being
carried through the regulator.
3. Pressure gauges should be installed before and after the
temperature regulator.
4. If required, a bypass line around the temperature regulator
can be installed. Make sure the globe valve is of good
quality and can be closed off tightly.
5. A 6800 series vacuum breaker should be installed after the
outlet of the heater coil and before the steam trap.
Automatic air vents should also be installed at all points
where non-condensables can collect.
6. Avoid lifting condensate directly after steam traps. Under
light loads the pressure in the steam space is reduced and
often is too low to lift condensate. Gravity drain to return
pumps is recommended, or pipe in a safety drain trap.
Install a Thermaflo POP-FT Pump Trap.
Assembly
1. Detailed instructions on how to assemble pilot, tubing and
main valve can be found on page 5 of this manual.
Installation of Body
1. Alignowdirectionwithdirectionofarrowcastintobody.
2. Install temperature regulator perpendicular to horizontal
piping so that the diaphragm chamber is located at the
bottom.
Overview
Assembly and Installation
The 3010II main valve, temperature pilot adapter kit, and capillary system come unassembled and packed in 4 boxes. Please
follow the directions enclosed with the valve to assemble unit.
Installation Instructions
Thermaflo Water Storage
Heater

4
Temperature Pilot Valve Disassembly
See Figure 5-1 on Page 5.
1. Before removal of capillary system make sure the capillary
system temperature is not exceeding the upper limit of the
capillary range see Table 5-1. Otherwise capillary bellows
rupturemayoccur.Removethermalbulbrstandletcool.
2. Loosen lock nut (16) and turn adjusting screw (15)
counterclockwise (left), freeing up adjusting spring (14).
3. Remove four hexagonal bolts (17) from the pilot valve
spring housing (2) and remove the adjusting spring (14),
bottom spring plate (11), and spring plate
follower (12).
4. Remove top bellows plate (6) and top bellows seal (5).
Check for cracks in top bellows seal if you notice that
condensate was present.
Caution: Be sure that the isolation valves at the inlet and outlet side of the regulator are closed and all
internal pressure has been relieved before disassembly of the valve.
Installation of Capillary System and Thermal Bulb
1. After the pilot body has been installed, install the capillary
system. See Figure 5-1 on Page 5. Be sure to insert
bellows follower (10) as shown in Figure 4-1.
2. Thermal bulb (23) may be installed in any position.
However, care should be taken so that at least three
quartersofthethermalbulbistouchingtheheateduidor
airow.
3. Screwinbushing(24)rstandattachthermalbulb(23).
See Figure 5-1 on Page 5.
4. Do not twist or bend capillary tube (26) sharply. Bending
radius of capillary tube (26) should not be more than 1-1/2”
inches. Position capillary tube (26) so that it does not
touch steam lines.
5. Installathermometerintotheuidclosetothethermal
bulb. See Figure 3-1 on Page 3.
6. When using the thermal bulb in a pipe, make sure the
thermalbulbisinstalledinalocationwheretheheateduid
owsfreelyaroundit.
7. If a thermal well is used make sure heat transfer compound
is applied to the thermal bulb to take up any air gaps before
installation into the thermal well.
Regulating Method
1. Close inlet and outlet valves to temperature regulator and
open bypass line (if installed) to clean the system. Be
sure to close the bypass line after cleaning the system.
During blowdown, make sure that the temperature does
not rise higher than the maximum limit of the capillary unit,
otherwise damage to the capillary unit may occur.
2. Turn the adjusting screw (15) and align the gauge needle
with the required temperature position on the dial. See
Figure 4-1 and Table 5-1. Temperature will rise when
turning clockwise (right) and temperature will fall when
handle is turned counterclockwise (left).
3. Slowly open inlet and outlet valves completely.
4. Allow the system to stabilize and readjust according to the
temperature reading on the thermometer.
Maintenance Inspection
1. Troubleshooting Hints - many of the problems that occur
with temperature regulators are due to dirt holding the main
or pilot valve open. Also make sure that the thermometer
sensingtheuidtemperatureisoperatingcorrectly.
'3LSH
$GMXVWLQJ
6FUHZ
3010II
3LORW9DOYH
%HOORZV
)ROORZHU
&DSLOODU\
5LQJ8QLRQ
6HQVRU
%HOORZV
&)LWWLQJ
1RW6KRZQ
7HH
8QLRQ
*DVNHW
3010II
0DLQ9DOYH
%)LWWLQJ
Figure 4-1
5. Loosen capillary ring/union (22) and temperature sensor
bellows (35). Make sure not to lose bellows follower
(10).
6. Loosen the guide (7) and remove the bottom bellows plate
(8) and the bottom bellows seal (5) from the bottom half of
the temperature pilot.
7. Remove pilot valve (3).
8. For assembly procedure, follow in reverse order.
Disassembly

5
Main Valve Disassembly
See Figure 5-2 below
1. Remove hexagonal bolts (38) from main valve cover (26)
and remove cover from body (1).
2. Remove main valve spring (13) and the main valve (6).
3. Use a special socket up from the bottom of valve body to
remove main valve seat (7).
4. DisconnectalltubingjointsC,Bandteetting.Reference
Figure 4-1.
5. Remove all bolts (41) from diaphragm cases (4 and 5)
separating both halves, remove diaphragm case, main
diaphragms (12), retainer (11), and main spindle (9).
Assembly
1. Check to make sure there are not scratches on main
valve (6) or seat (7). If there are scratches, apply lapping
compound and re-lap valve and seat by hand with a back
and forth motion (see lapping procedure Bulletin AY-786).
2. Make sure all sliding parts (main spindle (9)) move freely
and are free of particulate build-up.
3. Assembling the main diaphragm case, make sure the main
valve (6) is supported correctly by the main valve spring
(13).
4. Conrmthattheretainer(11)andmainspindle(9)are
connected correctly.
5. Make sure that a small bead of Never Seizeis used
around the top and bottom circumferences of the
diaphragms before assembly of bottom and top diaphragm
cases.
6. Tighten hex bolts uniformly.
Note: Repair kits are available for temperature pilot valve, main
valve, tubing, gaskets and diaphragms.
Note: If upper limit of capillary temperature range is exceeded by 36°F., capillary
bellows rupture may occur.
Table 5-1. Capillary Range
Figure 5-1. 3010II Pilot Valve Figure 5-2. 3010II Main Valve
%RG\
%HOORZV*XLGH
%HOORZV*XLGH
&DSLOODU\5LQJ8QLRQ
)OH[LEOH7XEH
&DSLODU\7XEH %XVKLQJ
*DVNHW
/RFN:DVKHU
$GMXVWLQJ6FUHZ
/RFN1XW
%ROW
6SULQJ+RXVLQJ
7RS6SULQJ
3ODWH
$GMXVWLQJ
6SULQJ
%RWWRP6SULQJ
3ODWH
6SULQJ3ODWH
)ROORZHU
7RS%HOORZV
3ODWH 7RS%HOORZV
6HDO
7KHUPDO%XOE
6HQVRU%HOORZV
%HOORZV)ROORZHU
%RWWRP%HOORZV
3ODWH
%RWWRP%HOORZV6HDO
*DVNHW
*XLGH
*DVNHW
3LORW6SLQGOH
5LYHW
1DPHSODWH
3LORW9DOYH
3LORW9DOYH
6HDW
%ROW &RYHU
*DVNHW
6SULQJ
0DLQ9DOYH
0DLQ9DOYH6HDW
*DVNHW
%RG\
3OXJ
3OXJ
*XLGH
6WXG%ROW
*DVNHW
(5LQJ
5HWDLQHU
0DLQ
'LDSKUDJP
%RWWRP
'LDSKUDJP
&DVH
3OXJ
%ROW
7RS'LDSKUDJP
&DVH
1XW
0DLQ6SLQGOH
Number on
Adjusting
Dial
3010 Capillary System Range °F
018 - 59 50 - 97 86 - 144 131 - 201 176 - 260 239 - 361
12 39 72 113 154 214
1 28 59 99 142 192 266
2 43 77 120 169 225 307
3 57 93 136 196 257 352
4 70 109 153 223 297 410

6
1. The valves have the following “similar” parts. ¼” long
nipple(4),¼”x¼”shortnipple(6),ttingB(13)andunion/
coupling (5). Use thread tape on the threads of both
nipples.
2. Remove the ¼” plug on the inlet side of the main valve
body (1) (for GP-2000 remote mount pilot and OB-2000
temperature pilot) with an allen wrench.
3. Thread the ¼” long nipple (4) into the main valve body (1)
(in place of the ¼” plug).
4. Thread the union/coupling set (5) onto the long nipple (4).
5. Thread the short nipple (6) into the pilot (2) or (3). Note:
The arrow on the side on the temperature pilot (3) must
point away from the main valve. The short nipple (6)
will thread into the bottom cap of the pressure pilot (2)
(remote mount).
6. Assemble the elbow (10) with the C-tube (8), B-tube (7)
and tee (12) as shown in the diagrams on Page 6. Thread
the pilot (2) or (3) with short nipple (6) onto the union/
coupling (5) and tighten. Very Important: Be sure that the
groove on tee (12) is on the top.
For 3010T Remote Mounted Pilot
7. PlacettingA(14)intothepilotandthreadintoplace.
Note: This tting is open with no restricted opening.
Use thread tape on threads.
8. Once the union/coupling (5) has been tightened to the short
nipple(6)intothebottomcapofthepressurepilot(2)tting
A (14) should be facing the main valve (1). (See remote
mount drawing)
9. Connect the S shaped D-tube (9) to the outlet of the
pressurepilotatttingA(14)andtotopofthetee(12)and
tighten. Note: make sure the downstream sensing port
(15) on the pilot faces downstream.
For 3010T
10. Thread the elbow (10) into the outlet of the temperature
pilot (3) as shown in drawings.
11. Place the D-tube (9) into the elbow (10) and the tee (12)
and tighten.
(See drawings for proper piping of remote pilots)
1 Main Valve Body
2 Pressure Pilot or Air Pilot (not shown)
3 Temperature Pilot
4 1/4” Long Nipple
5 Union or Coupling
6 1/4” x 1/4” Short Nipple
7 B-Tube
8 C-Tube
9 D-Tube
10 Elbow
11 Capillary
12 Tee
13 Fitting B
14 Fitting A
15 Downstream Sensing Port
3010T & 3010P, K1, K3, K6 Remote Mount
Pilot Tubing – Assembly Instructions

7
Problem Cause Solution
Temperature regulator does not
reach desired set temperature.
Improper adjustment. Readjust according to Regulating Methods on page 2.
Faulty steam trap draining equipment. Check trap and correct problem.
Inadequate pressure to eliminate condensate. Re-pipe system to gravity drain condensate. Clean Y
strainer on inlet to valve. Check for obstructions or block-
ages on steam supply.
Orice in “T” tting is plugged. Remove and clean.
Main valve diaphragms are ruptured. Replace main valve diaphragms.
No transfer medium applied to thermal bulb. Apply heat transfer paste to thermal bulb before installation
in well.
Incorrect capillary range. Check label and change to correct range.
Temperature rises excessively. Improper adjustment. Readjust according to Regulating Methods on page 4.
Dirt or scale on main valve (5) and main valve
seat (6) or awed valve and seat.
Disassemble and clean valve and seat, see Page 4 for
Disassembly. In case of awed valve and seat - replace.
Dirt or scale on pilot valve (3), pilot valve and
seat (4).
Disassemble pilot and clean. See page 4 for Disassembly.
Replace if damaged.
Bellows follower (10) was not installed. Install bellows follower.
Orice in “T” tting is plugged. Clean.
Broken capillary system. Replace capillary system.
Bypass line leaks. Repair bypass.
Large variation between
thermometer and temperature
regulator setting.
Thermal bulb or thermometer are installed in
wrong location.
Relocate thermal bulb in path of uid so at least 3/4 of bulb
is submerged in uid and/or relocate thermometer closer to
thermal bulb.
Inlet pressure too high. Lower inlet pressure. On low load applications, the lower the
inlet pressure, the more stable the control will be.
Dirt or scale on pilot valve (3), and pilot valve
seat (4).
Disassemble, clean, repair as needed.
External leaks. Leaks from body gasket. Replace gaskets.
Broken bottom seal bellows in pilot. Replace bottom seal bellow.
Troubleshooting Guide
Main Valve Kits
T-2100 thru T-2108
1 Main Valve
1 Main Body Top Gasket
1 Body Spacer Gasket
Main Diaphragm Kits
T-2130 thru T-2136
2 Main Diaphragms
Never-Seize® compound
Gasket Sets
T-2380 thru T-2386
1 Screen
1 Main Body Top Gasket
1 Main Body Bottom Gasket
1 Body Spacer Gasket
Adapter Kits 3010I
T-2020 thru T-2026
All external tubing and fittings
needed to mount pilot valves to
main valves.
Temperature Pilot Kit
T-2611
1 Pilot Valve
1 Pilot Valve Seat
2 Top Bellows Seal
2 Seal Bellows Gasket
1 Gasket Top Guide
1 Bellows Follower

Limited Warranty and Remedy
Thermaflo Inc.warrants to the original user of those products supplied by it and used in the service and in the
manner for which they are intended, that such products shall be free from defects in material and workmanship
for a period of one (1) year from the date of installation, but not longer than 15 months from the date of
shipment from the factory, [unless a Special Warranty Period applies, as listed below]. This warranty does not
extend to any product that has been subject to misuse, neglect or alteration after shipment from the Thermaflo
factory. Except as may be expressly provided in a written agreement between Armstrong and the user, which
is signed by both parties, Thermaflo DOES NOT MAKE ANY OTHER REPRESENTATIONS OR
WARRANTIES, EXPRESS OR IMPLIED, INCLUDING, BUT NOT LIMITED TO, ANY IMPLIED WARRANTY
OF MERCHANTABILITY OR ANY IMPLIED WARRANTY OF FITNESS FOR A PARTICULAR PURPOSE.
The sole and exclusive remedy with respect to the above limited warranty or with respect to any other claim
relating to the products or to defects or any condition or use of the products supplied by Thermaflo however
caused, and whether such claim is based upon warranty, contract, negligence, strict liability, or any other basis
or theory, is limited to Thermaflo’s repair or replacement of the part or product, excluding any labor or any
other cost to remove or install said part or product, or at Thermaflo’s option, to repayment of the purchase
price. As a condition of enforcing any rights or remedies relating to Thermaflo products, notice of any warranty
or other claim relating to the products must be given in writing to Thermaflo: (i) within 30 days of last day
of the applicable warranty period, or (ii) within 30 days of the date of the manifestation of the condition or
occurrence giving rise to the claim, whichever is earlier. IN NO EVENT SHALL Thermaflo BE LIABLE FOR
SPECIAL, DIRECT, INDIRECT, INCIDENTAL OR CONSEQUENTIAL DAMAGES, INCLUDING, BUT NOT
LIMITED TO, LOSS OF USE OR PROFITS OR INTERRUPTION OF BUSINESS. The Limited Warranty and
Remedy terms herein apply notwithstanding any contrary terms in any purchase order or form submitted or
issued by any user, purchaser, or third party and all such contrary terms shall be deemed rejected by
Thermaflo.
Designs, materials, weights and performance ratings are approximate and subject to change without notice.
Visit thermafloengineering.com for up-to-date information.
Thermaflo Engineering Inc. 2880 Fair Avenue Newberry, South Carolina 29108 704-940-1228
This manual suits for next models
1
Table of contents
Popular Control Unit manuals by other brands
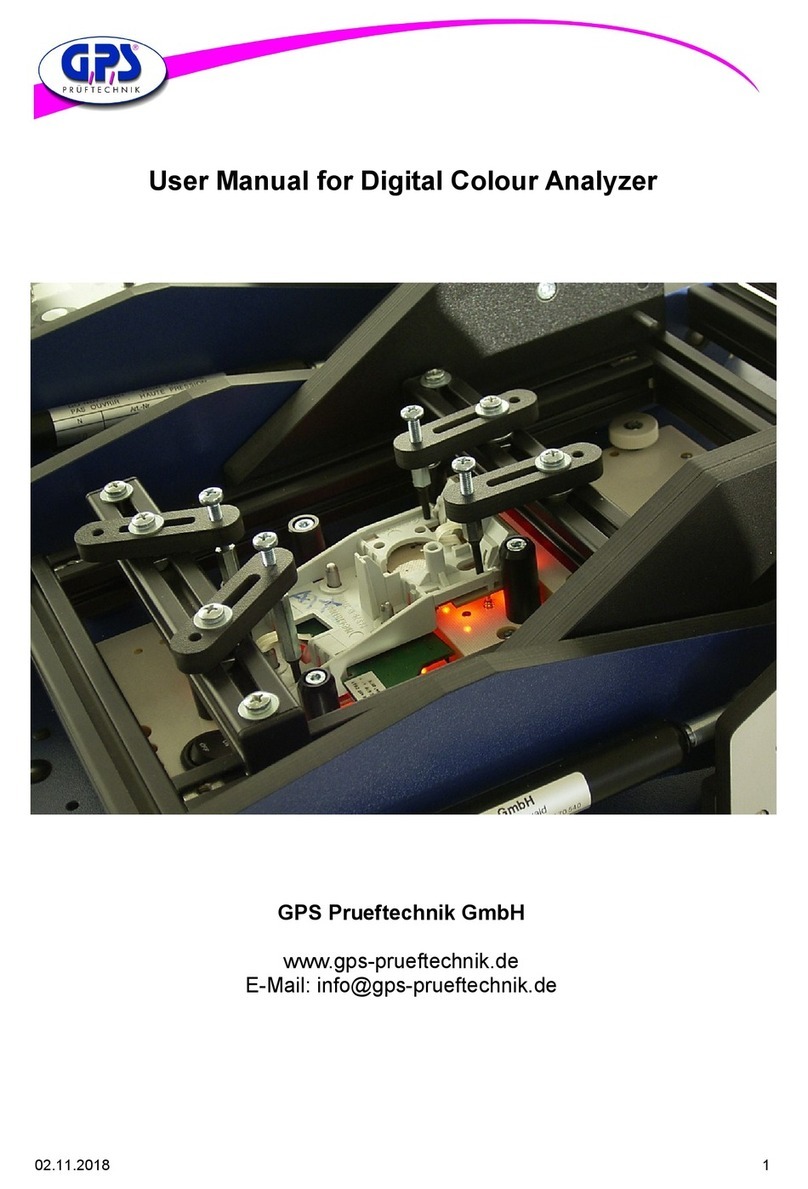
GPS Prueftechnik
GPS Prueftechnik Digital Colour Analyzer user manual

Monacor
Monacor img Stage Line TXS-820M manual
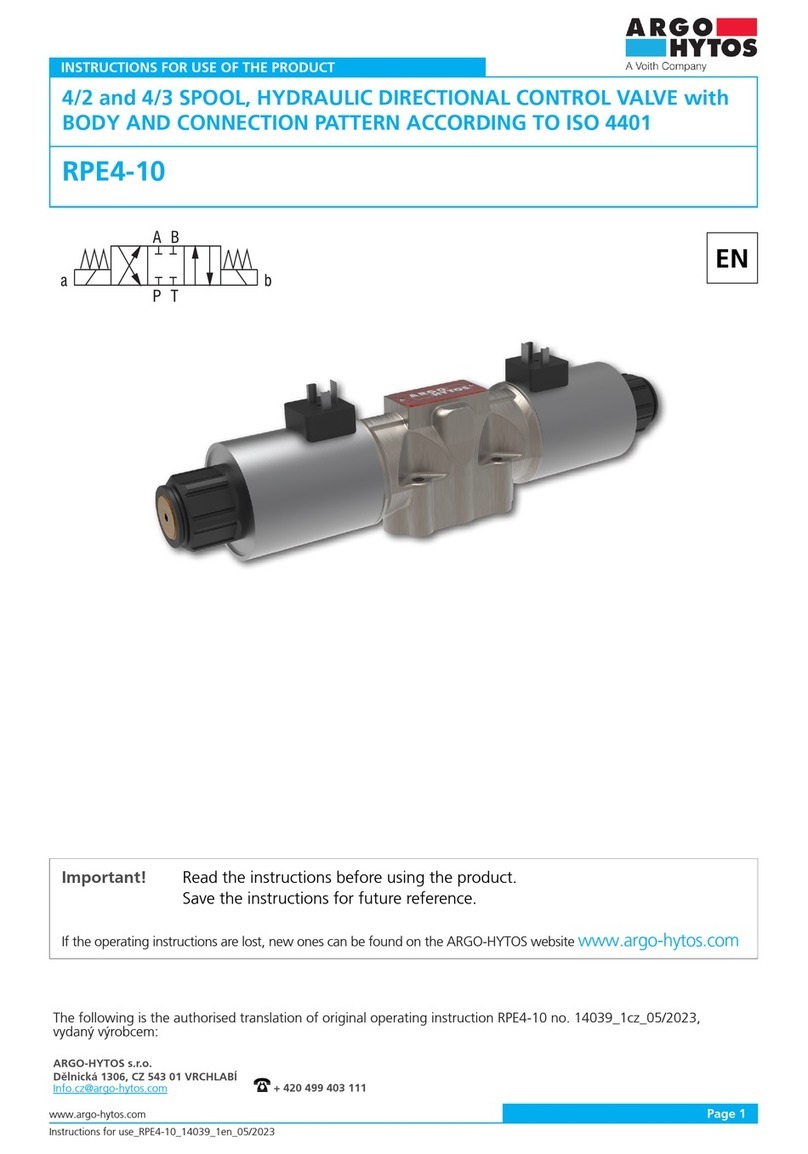
Voith
Voith ARGO HYTOS RPE4-10 Instructions for use
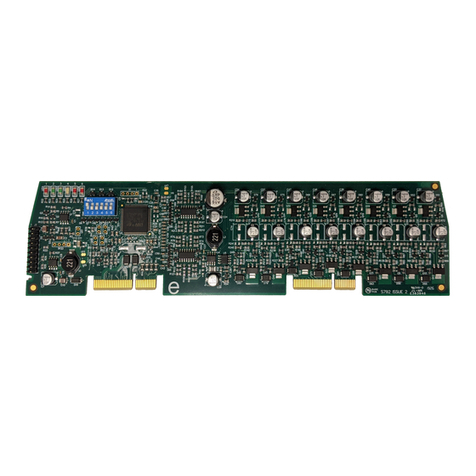
Kentec Electronics
Kentec Electronics S792 Information guide
Yoshitake
Yoshitake BLV-1 product manual
Lowell
Lowell UPS-XBDM-20RHW User & installation manual
