Thermo Scientific
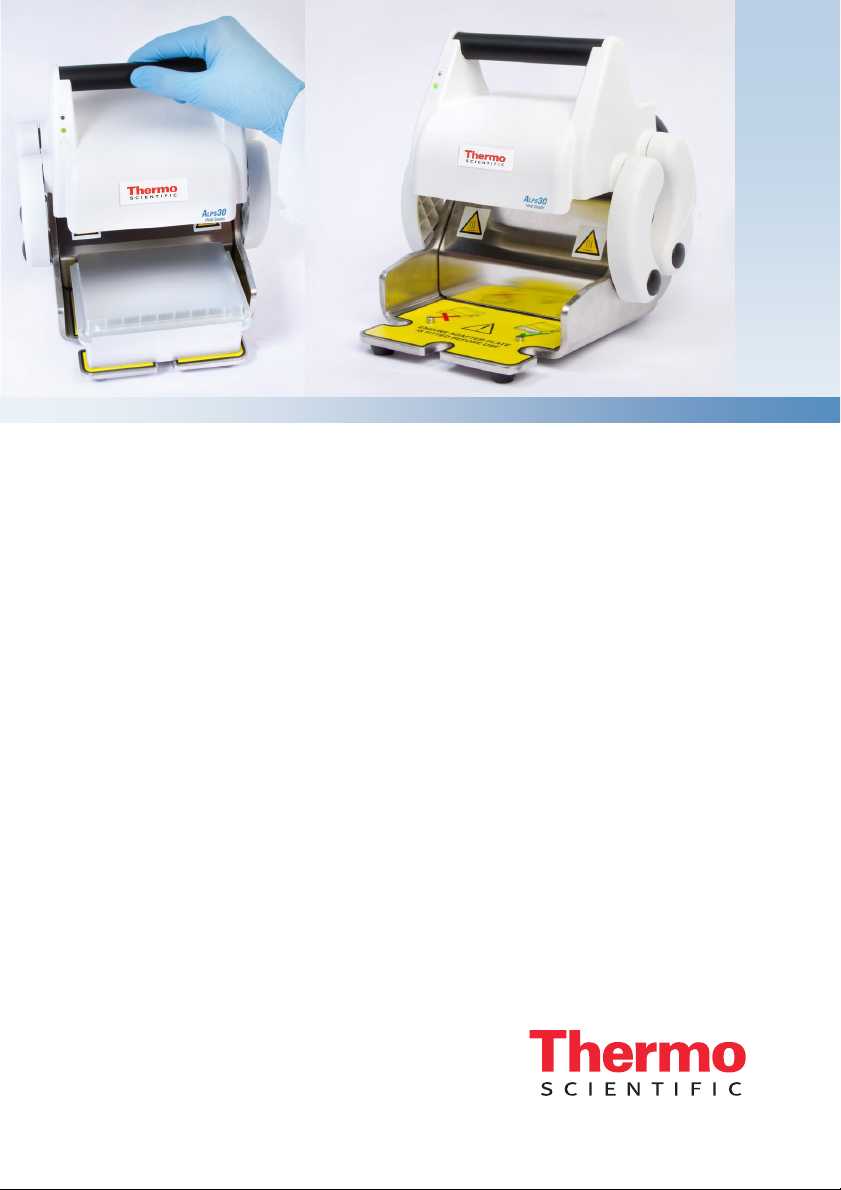
6 | ALPS30
Unit Installation and Operating Environment
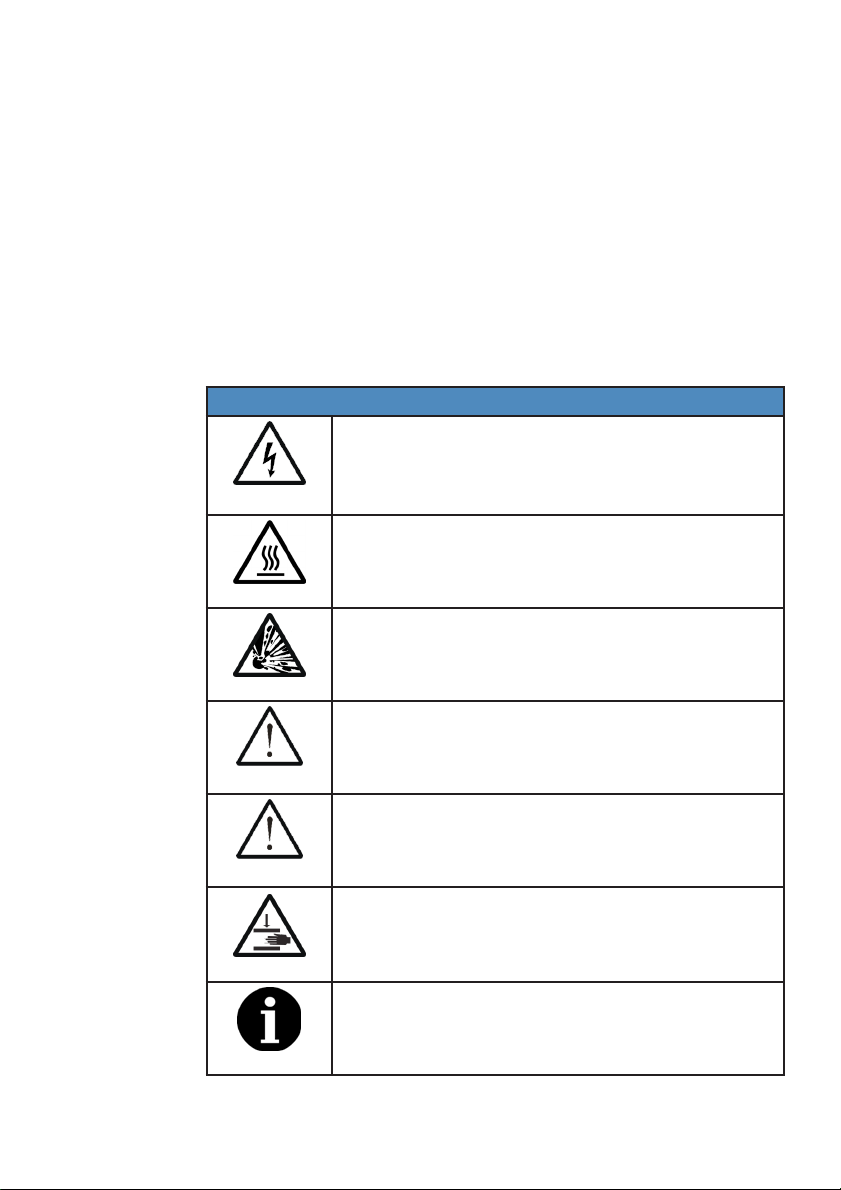
DANGER
WARNING
The ALPS30 unit is designed for indoor laboratory use only.
The acceptable operating temperature range is 65 to 85ºF (18 to
30ºC), with a relative humidity of 20 to 80% non-condensing, at a
maximum altitude of 7200 ft (2200 m) above sea level.
If the unit is stored in conditions outside of these ranges, it must
be left to stand unpowered until it has acclimatized to within these
environmental limits before being powered.
DANGER
Use only the AC mains power cord provided with the unit or as
specified in Technical Specifications
The unit must be connected to a suitably grounded mains power
supply, with appropriate ground-leakage and over-current protection.
WARNING
Always ensure that the mains power connector is securely inserted
into the rear of the unit and any excess power cord does not pose a
potential trip or pull hazard.
DANGER
Do not operate the unit in any area which is, has been, or is thought
to have been exposed to explosive or flammable gases, vapors, or
liquids.
WARNING
The unit must be installed and operated on a solid, stable, and level
working surface.
General Operating Precautions
DANGER
Ensure that the power is switched off at both the AC mains supply
outlet and at the back of the unit before inserting or removing the
mains power cord.
DANGER
The HEATER PLATE reaches a temperature of 340ºF (170ºC) and will
remain hot for a considerable time after being turned off.
Extreme care must be taken not to touch the HEATER PLATE as it will
cause a severe burn injury.
Chapter 2: Safety Precautions and Limitations of Use