Thermo Sphere SMARTHOME HUB Manual

INSTRUCTION GUIDE
SMARTHOME HUB
Live well...
Live well....
Watch our
installation video

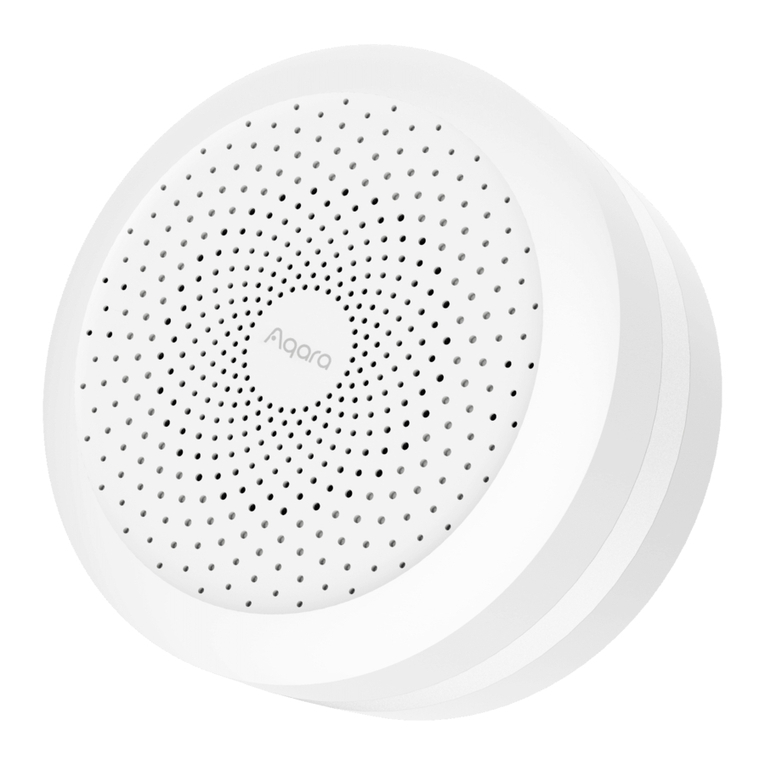
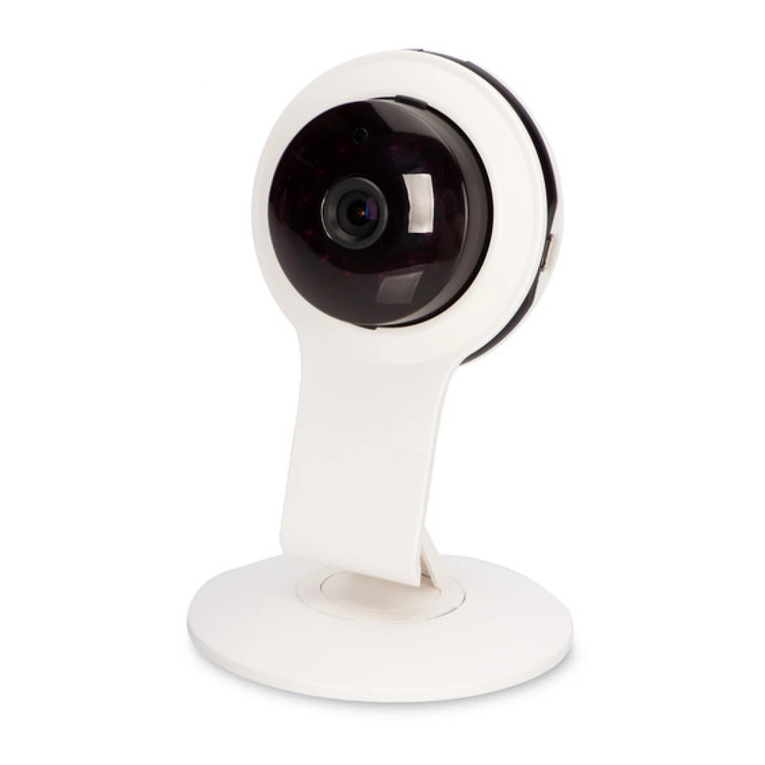
SmartHome Hub
Power LED
On (solid LED) - Hub has power.
Off (no LED showing) - Hub has no power
Network LED
Flashing - Connection in progress
On (solid LED) - Network established
Off (no LED showing) - No connection
Network LED
Power LED
Reset button
Network port
Power Cable
Port
Get to know your ThermoSphere SmartHome Hub
Contents
SmartHome Hub ............................................
Accessories & Installation Steps .....................
SmartHome Hub Installation & Connection .....
Downloading ThermoSphere App ...................
Connecting Hub to App .................................
Connecting Thermostat to Hub ......................
Pairing to Amazon Alexa ...............................
Pairing to Google Assistant ...........................
Warranty .......................................................
3
4
5
5
6
7
8
9
10
Watch the SmartHome Range
videos!
SmartHome Hub
& Thermostat
Installation
Programming
your SmartHome
Thermostat

54 [email protected]+44 (0) 800 019 5899
Accessories
What comes with your SmartHome Hub?
USB Plug
Power Cable
Network Cable
1. Connect your router and SmartHome Hub
2. Download app and create a ThermoSphere account
3. Connect your SmartHome Hub to the ThermoSphere
app
4. Connect your SmartHome Thermostat to your
SmartHome Hub
Connecting your router and
SmartHome Hub
Ensure your router is plugged in and switched on.
Installation Overview
The steps to get your SmartHome Hub up and
running.
If the network LED doesn‘t show, connection has failed.
Unplug the hub and try again. Or, reset the hub by
holding the reset button for 5 seconds.
1. Plug the provided power cable into your Smart
Hub‘s USB port.
2. Plug the other end of the power cable into the
provided USB plug and plug into a 230V mains
socket.
3. Connect the SmartHome Hub to the router with the
supplied network cable.
4. Turn your Hub on by holding the reset button for 5
seconds until the 2 LEDs on the hub stop ashing
and both LEDs stay on.
Download and set up the
ThermoSphere app
1. Download the ThermoSphere app from your Google
Play or Apple Store.
2. Press ‘Register‘ & ‘Agree‘ to the Privacy Policy.
3. To register, enter your email address or mobile
number, you‘ll need this every time you log in. Then
press continue.
4. A code will be sent to your email address or phone
number you used to set up your account. Use this
code and enter on the app when prompted.
5. Enter a password for your account, you‘ll need this
every time you log in.
6. Your account is all set up!
Now it‘s time to add your
SmartHome Hub to your
app.

76 [email protected]+44 (0) 800 019 5899
Connecting your SmartHome
Hub to the app
Now you’ve set up your ThermoSphere account, you
can add your hub to the ThermoSphere app.
1. Make sure your phone is connected to the same
wireless network that your hub is plugged into.
2. On your ThermoSphere app, press ‘Add Device‘.
3. Select ‘Gateway Control‘.
4. Choose ‘Gateway‘ from the options.
5. Check your hub‘s 2 LEDs are on. If yes, tick the
‘conrm the two green lights are on‘ check box and
press ‘next‘.
6. Wait for your Hub to appear on screen, when it
does, select ‘ZigBee gateway‘.
7. Wait for the app to add the device.
8. You‘re connected! Your screen will say ‘added‘ at
the top.
9. Name your hub by pressing the pencil symbol, press
‘Save‘’ and once complete press ‘Done‘.
You‘ll now be able to see your ThermoSphere
SmartHome Hub listed in your connected devices.
Connecting your SmartHome
Thermostat to your Hub
Now connect your SmartHome Thermostat to the
Hub and to the app, then you can control your
heating from anywhere.
1. Open your ThermoSphere app and select your hub
from the home screen.
2. Press ‘Add subdevice‘. You will then be prompted to
set your thermostat to pairing mode.
3. On your thermostat, press and hold both the up
and down arrows together until the ‘Z‘ symbol
repeatedly ashes red.
4. On your app, press ‘LED already blink‘. The
connection process will now begin, this can take a
couple of minutes.
5. Your thermostat will appear in the device search
window on the app. Tap it to complete connection.
The ‘Z‘ on the thermostat screen will now stop
ashing and stay red.
6. Name your thermostat by pressing the pencil symbol.
7. Enter your chosen name and press ‘Save‘.
8. Once complete, press ‘Done‘. Your SmartHome
Thermostat is now listed in your SmartHome Hub
‘Added Devices‘
9. You‘re connected! You can now control your
thermostat with the ThermoSphere app.
how to install
Scan to watch

98 [email protected]+44 (0) 800 019 5899
Pairing with Amazon Alexa
Voice control with Alexa requires a compatible
Amazon Echo device, an Amazon Alexa account and a
ThermoSphere account.
If you do not have an Alexa account, ‘visit
www.alexa.amazon.com‘ to create one before you start.
1. We recommend using the alexa.amazon.com
website to set up and link your ThermoSphere
Controls with Alexa.
2. Log in to alexa.amazon.com.
3. Click on ‘Skills‘ and search for ‘Smart Life‘.
4. Click ‘Enable‘ and enter your ThermoSphere account
details to link your ThermoSphere and Alexa
accounts.
5. After the accounts are linked successfully, click
‘Discover Devices‘.
6. Alexa will discover any ThermoSphere SmartHome
Controls that you have set up and connected to your
Hub.
7. You can now control your electric underoor heating
with your voice!
Remember! If you rename your controls at any point
within the ThermoSphere app you will have to discover
devices again in your Alexa account.You can also control
your thermostats from the Alexa app.
Things to try with Amazon Alexa
Alexa uses the names that you give your devices in the
ThermoSphere app to identify and control the right
device.
Once you‘re set up try asking Alexa to:
• “Turn on <device name>”
• “Turn off <device name>”
• “Set the <device name> to 27 degrees”
• “What is the temperature in <device name>?”
Pairing with Google Assistant
Voice control with Google Assistant requires a
compatible Google Home device, a Google account and
a ThermoSphere account.
If you do not have a Google account, visit www.google.
com to create one before you start. Follow the Google
instructions to set up your Google Home device.
1. Download the Google Home app from your app
store and login with your Google account.
2. Open the Google Home app and open Home
Control in the side menu.
3. Press the ‘+‘ button.
4. Search for ‘Smart Life‘ and tap it.
5. Link your accounts by entering your ThermoSphere
account details.
6. Google Home will discover any ThermoSphere
SmartHome Controls that you have connected your
SmartHome Hub.
7. You can now control your electric underoor
heating with your voice!
Things to try with Google Assistant
Google Assistant uses the names that you give your
devices in the ThermoSphere app to identify and control
the right device.
Once you‘re set up try asking Google to:
• “Ok Google turn on <device name>”
• “Ok Google turn off <device name>”
• “Ok Google set the <device name> to 27 degrees”
• “Ok Google what is the temperature in <device
name>?”
If you rename your controls within the ThermoSphere
app at any point, you will have to discover devices again
in your Google Home app.

ThermoSphere
Bridge House
Pattenden Lane
Marden
Kent
TN12 9QJ
UNITED KINGDOM
www.thermosphere.com
+44 (0) 800 019 5899
ThermoSphere is a trading name of Thermogroup Ltd
Find us on LinkedIn
Search “ThermoSphere”
Check out our Youtube channel
Search “ThermoSphere underoor heating”
Find us on Instagram
Search “ThermoSphere”
Warranty terms &
conditions
ThermoSphere provides the SmartHome
Hub with a 3 year warranty.
ThermoSphere will supply a replacement
product where a fault is shown to be
caused by manufacture, materials or
workmanship providing the goods have
been installed correctly and according to
installation instructions. This guarantee
does not include removal, freight or
installation costs.
To use the warranty, repair or service
the customer must provide a purchase
invoice or receipt.
If the product develops a fault within
the warranty period due to normal wear
and tear, ThermoSphere at its discretion
will recognise whether it‘s a faulty
product or not. If it is impossible or not
economical for the manufacturer to
repair the product, the manufacturer will
replace the faulty product with a new
unit of the same model or if there is no
stock available of the same model as the
product, the manufacturer will replace
the product with an available equivalent
product. No responsibility can be taken
for altered dimensions and lining up of
existing holes.
Any damage caused by improper use,
carelessness or incorrect wiring is not
covered.
ThermoSphere is not responsible for
any monetary loss or injuries caused
by improper use or installation of this
product.
Please Note: Full Terms and Conditions
are available on request.
request your copy or give us a call.
Table of contents
