THOMSON LENS 100 User manual

www.mythomson.com
V1
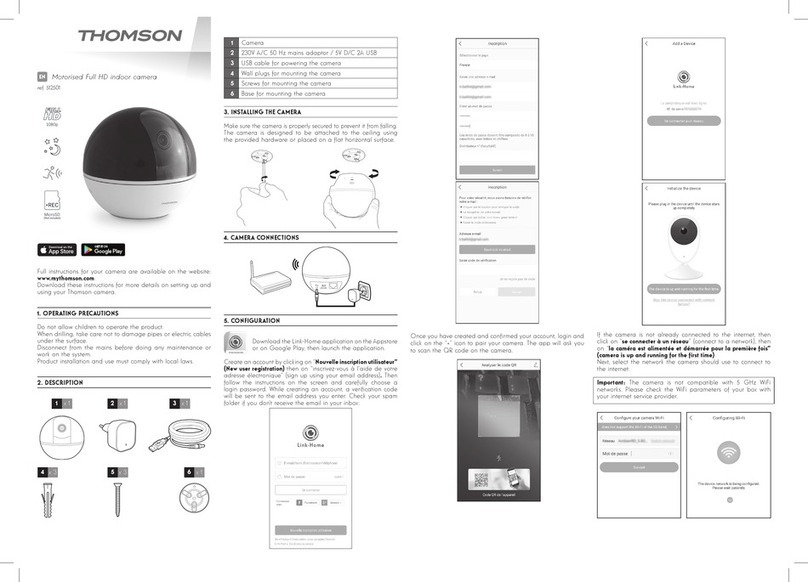
EN Motorised Full HD indoor camera
512501
LENS 100
•REC
MicroSD
(Not included)
1080p
2.4GHz

EN 2
MOTORISED FULL HD INDOOR CAMERA
CONTENTS
A. SAFETY INSTRUCTIONS 5
1. OPERATING PRECAUTIONS 5
2. MAINTENANCE AND CLEANING 5
3. RECYCLING 5
B. PRODUCT DESCRIPTION 6
1. KIT CONTENTS 6
2. CAMERA START-UP 6
C. INSTALLATION 7
1. INSTALLING THE CAMERA 7
2. CAMERA START-UP 7
3. INSERTING A MICRO SD CARD (NOT INCLUDED) 8
D. CONFIGURATION 9
E. OPERATION 10
1. ACCESS TO THE LIVE IMAGE 10
2. VIEWING VIDEOS TAKEN BY THE CAMERA 11
F. ALLOCATING ACCESS TO ANOTHER PERSON 12
G.USE WITH ONVIF COMPATIBLE DEVICES 13

3ENEN
3
H. USE WITH AMAZON ALEXA 13
1. AVAILABLE ACTIONS 13
2. CONFIGURATION 13
I.USE WITH GOOGLE HOME 15
1. AVAILABLE ACTIONS 15
2. CONFIGURATION 15
J. RESETTING 18
K. FAQ 18
L. TECHNICAL AND LEGAL INFORMATION 20
1. TECHNICAL CHARACTERISTICS 20
2. WARRANTY 20
3. ASSISTANCE AND ADVICE 20
4. PRODUCT RETURNS - AFTER SALES SERVICE 20
5. DECLARATION OF CONFORMITY 20


5EN
MOTORISED FULL HD INDOOR CAMERA
A - SAFETY INSTRUCTIONS
1 - OPERATING PRECAUTIONS
• The cameras must not be installed where the
lens lter may be vulnerable to scratching and
dirt.
• Do not allow children to operate the product.
• When drilling, take care not to damage pipes
or electric cables under the surface.
• Do not expose the lens to direct sunlight or any
reected light source.
• Do not install near acidic chemicals, ammonia
or sources of toxic gases.
• The camera uses high precision motors, do not
manually handle the camera.
• The installation and use of the camera must
comply with local laws.
2 - MAINTENANCE AND CLEANING
• Disconnect the adaptor from the mains before
carrying out any maintenance.
• Never use abrasive or corrosive substances to
clean the products.
• Use a soft, slightly damp cloth.
• Never use an aerosol to spray the product as
this may damage the internal workings.
3 - RECYCLING
This logo denotes that devices which
are no longer in use must not be
disposed of as household waste.
They are likely to contain hazardous
substances that are dangerous to both
health and the environment. Return
the equipment to your local distributor or use the
collection service provided by your local council.
Pour en savoir plus :
www.quefairedemesdechets.fr

6
MOTORISED FULL HD INDOOR CAMERA
EN
B - PRODUCT DESCRIPTION
1 - KIT CONTENTS
2 - CAMERA
1x 1
4x 3 5x 3 6x 1
2x 1 3x 1
1Camera
2230V A/C 50 Hz mains adaptor / 5V D/C 2A USB
3USB cable for powering the camera
1Lens
2Infrared light for night vision (hidden behind the
opaque part of the globe)
3Speakers
4“Reset” button for resetting the camera
4Plugs for ceiling mounting
5Screws for ceiling mounting
6Base for ceiling mounting
5Microphone
6Mains adaptor power supply included in the kit
7MicroSD card slot (optional, not included)
8RJ45 cable for wired connection to the network
Micro SD
5V
RESET
1
3 4 5 6 7 8
2

7EN
MOTORISED FULL HD INDOOR CAMERA
C - INSTALLATION
1 - INSTALLING THE CAMERA
Connection tests are recommended before tting
the camera in its nal location.
The camera can be attached to the ceiling or
placed on a at surface.
Mount the camera using suitable screws and wall
plugs for the type of surface (the screws and plugs
supplied are suitable for solid walls).
RESET
RESET
2 - CAMERA START-UP
Note:
The screenshots displayed have been taken from
the Android version of the Link-Home app. The
iPhone version works in exactly the same way.
Download the Link Home app on the Appstore
or on Google Play, then launch the application.
Create an account by clicking on “Nouvelle
inscription utilisateur” (New user registration)
then on “inscrivez-vous à l’aide de votre adresse
électronique” (sign up using your email address).
Then follow the instructions on the screen and
carefully choose a login password.
When creating an account, a verication code will
be sent to the email address you enter. Check your
spam folder if you don’t receive the email in your
inbox:
Once you have created and conrmed your
account, login and click on the “+” icon to pair your
connection base. The app will ask you to scan the
QR code under the base.
At this stage of the installation, your camera should
be switched on, awaiting conguration (switch the
power off and on again if necessary).

8
MOTORISED FULL HD INDOOR CAMERA
After having scanned the QRCode, the app. checks
whether the camera is switched on. If this is not the
case, it prompts you to switch it on.
Click on “Se connecter à un réseau”” (Connect to
a network) and enter the network key to which
the smartphone is connected to ensure that the
information is sent to the camera.
IMPORTANT:
The camera is not compatible with 5 GHz WiFi
networks. If necessary, please check the Wi-Fi
parameters of your box with your internet service
provider.
The camera start-up process can only be initiated
once the camera has been switched on and it
switches off after a few minutes for safety reasons.
Switch off the power and switch it back on again
if necessary.
Next, place your smartphone as close to the camera
as possible until it has been completely congured.
The information captured will be sent to the camera
at this stage.
Once the camera has been connected to Internet
and picked up by the smartphone, the conguration
page with the date and time embedded in the
image displays.
Adjust this as required and then click on “Afcher la
caméra” (Display camera).
3 - INSERTING A MICRO SD CARD (NOT
INCLUDED)
Your camera has a micro SD card slot, which gives
it an internal storage memory. The maximum size
is 128 GB. The slot is located at the back of the
camera.
Micro SD
5V
EN
C - INSTALLATION

9EN
MOTORISED FULL HD INDOOR CAMERA
IMPORTANT NOTE:
After successful pairing of your camera, it is linked
to your account and, for security reasons, cannot
be linked to another account without your consent.
If you change your account and want to swop over
your camera, you must remove the camera from
the previous account before you can assign it to
the new one.
After successful pairing of your camera, the app
displays the main screen:
1
2
5
3
6
7
8
4
1
Adding a camera to the list of cameras already
known to the application (provided that the
cameras are not already specied in another
account)
2Access to the camera conguration page
3
The red dot indicates the presence of events that
have not yet been viewed in the “Message/s”
section (at the bottom of the screen)
4Personalised name of the camera (this can be
changed on the camera conguration page)
5
Thumbnail of the camera image. This automatically
updates with each new arrival on the main screen,
and may be forced by swiping downwards.
6Homepage: main screen
7Message(s): the latest events captured by the
camera are listed here
8Additionally: conguration of the account and the
app itself
Access the camera settings page by clicking on
the icon to access all of the functions available:
1
3
4
5
6
7
8
10
9
11
12
13
14
2
1Access to removal of the camera (allows for
“transfer” to another account)
2Personalised name of the camera: click here to
rename your camera
3Enables/disables the camera’s microphone
4Activation / deactivation of the indicators on the
camera face
5Deactivation of the camera infrared lighting
6
Activation of alerts through movement detection
(push notications), adjustment of movement
detection sensitivity, programming of time slots per
day or times not to be disturbed by notications
7Camera time zone
8Activation of daylight saving time
9Date format: day/month/year or month/day/year
10 Wi-Fi network to which the camera is connected.
Click to change the network if necessary
D - CONFIGURATION
10
MOTORISED FULL HD INDOOR CAMERA
EN
D - CONFIGURATION
E - OPERATION
11
If a MicroSD card (not included) has been inserted
into the camera, access to its features and
formatting
12 Firmware version of the camera
13 Activation/deactivation of the password to access
the camera’s image.
14 Changing of access password
1 - ACCESS TO LIVE IMAGES
The main screen shows a thumbnail of your camera
image that is refreshed at regular intervals. To
display the video directly from the camera, click on
the thumbnail:
4
321
5
6
7
8
14
11
13
10
12
9
15
1Current date and time (also embedded in the
video recordings)
2Allocation of camera access to another user
(another account)
3Conguration of the camera
4Live video
5Launch/stop live video
6Simultaneous display of up to 4 cameras
7Vertical image inversion
8Digital zoom onto the image (2x, 4x or 8x)
9
Selection of image quality. Take note: high quality
requires a better connection in terms of the camera
and smartphone.
Scroll to the right to access this option
10
Start/stop of video recording (recording onto
smartphone memory)
Scroll to the right to access this option
11 Immediate photo taking (recording onto
smartphone memory)
12
Private mode: When you are at the premises and
do not want to be monitored, pressing this key
switches the camera's lens, cuts the image, and
mutes the microphone and the speaker.
13 Smartphone microphone activation to speak
through the camera’s speaker
14
Display of camera motor
control:
360° photo: after
activating the camera,
a panoramic photo of
its eld of vision can
be taken by clicking
here. Once the photo
has been taken, you
can double click on
the image to point the
camera in the clicked on
direction.
Display of the directional
cross
Automatic monitoring:
activation / deactivation
of movement detection
by the camera motors
15
If a micro SD card is in the camera and video
recordings have taken place on the camera, they
can be viewed here.

11 EN
MOTORISED FULL HD INDOOR CAMERA
E - OPERATION
2 - VIEWING VIDEOS TAKEN BY THE CAMERA
On the live view screen, if videos have been
recorded on the MicroSD card (not included)
inserted into the camera, their presence is indicated
as follows:
1
3
7
5
2
6
4
1When a recorded video is viewed, it appears
instead of the live image
2
Start/stop of video recording saved to the
smartphone memory for the video recording being
viewed
3Taking an immediate photo of the recording being
viewed (saved to the smartphone memory)
4
Legend: the camera is only compatible with
movement detection. The other types of detection
are exclusively available on other models.
5Date being viewed (click on “<” or “>”
to change)
6
The index in red indicates the current viewing time
(slide left or right to change the video location or
to change video)
7
The presence of coloured lines in orange indicates
that videos have been stored on the camera at the
corresponding time

12
MOTORISED FULL HD INDOOR CAMERA
EN
F - ALLOCATING ACCESS TO ANOTHER PERSON
IMPORTANT REMINDER: only one account can be
considered as the owner of the camera.
• This account automatically holds all rights over
the camera (viewing of the live image, settings,
notications in the event of an alert, etc.).
• No other account can be declared as being the
owner account.
• The owner account is the only account able to
assign full or partial access to the camera of
other users.
Although it is possible to use the owner account on
several separate devices, it is best to manage each
user independently.
To allow an account other than that of the owner to
use the camera, click on the camera from the main
screen and then on the icon:
Enter the email address of the user account to which
you wish to provide camera access, and personalise
the permissions to be granted, if necessary: live
images / recorded videos / notications in the
event of detected movement.
IMPORTANT:
• The user account to which you wish to provide
access must have been created beforehand.
• The user will receive a message prompting them
to enter a PIN code: this code is sent by email,
the same as for the creation of a new account.

13 EN
MOTORISED FULL HD INDOOR CAMERA
G - USE WITH ONVIF COMPATIBLE DEVICES
H - USE WITH AMAZON ALEXA
The ONVIF standard is a global standard allowing
for the interoperability between security and
video surveillance devices. The Thomson Lens 100
camera is compatible with ONVIF devices (IP video
recorders, certain software, network hard drives with
video surveillance functionality, etc.) and allows you
to send and control the orientation of the motors,
the live image and the audio of the camera.
Refer to the ONVIF receiver manual that you want
to use to learn how to use the audio-video stream
and control the motors of your Lens 100 camera.
During pairing and/or use, you will be asked for
a username and password specic to the camera.
The user name is admin and the password is by
default the 6-letter PIN code appearing on your
camera (Verication code).
As Amazon regularly offers new tools to extend the
capabilities of Alexa smart speakers, we suggest you
check this manual regularly for the latest updates
on the possible options for your Lens 100 IP camera.
If you have an Alexa connected speaker, you can
control voice activation and deactivation of the
movement detection of your Lens 100 camera. If
you have a screen on your speaker or a compatible
receiver you can also voice control the display of
the image of your Lens 100 camera on your device.
1 - AVAILABLE OPTIONS
The following options are currently available:
“Alexa, show [camera name]” launches the display
of the image directly from your camera to a
compatible screen (example: Amazon Echo Show)
“Alexa, hide [camera name]” stops broadcasting
“Alexa, switch on [camera name]” enables alert
notication of your camera in the app
“Alexa, switch off [camera name]” disables alert
notication of your camera in the app
2 - CONFIGURATION
To pair your Lens 100 camera with your connected
Alexa Home speaker, rst visit the Link-Home app in
camera options:
If you have a compatible screen to display the video
from your Lens 100 camera and you want to use it,
you will need to turn off “Image encryption” to allow
the video stream to be fed to your screen. An email
will be sent to you to conrm the deactivation.

14
MOTORISED FULL HD INDOOR CAMERA
EN
H - USE WITH AMAZON ALEXA
Once the deactivation has been conrmed, click on
“Plus” (Add) at the top right and then on “Supprimer
un périphérique” (Delete an accessory) to disconnect
the camera from the Link-Home app
Take note: do not disconnect your Lens 100 IP
camera and do not reset it!
Then install the “EzViz” app from the App Store or
Google Play and create an account. The process
is similar to that of the Link-Home app. The same
email address on the Link-Home app can be used
if you want.
Then click on the icon “Add a device” to scan the
QR Code of your camera and conrm by clicking
on “Ajouter” (Add) and then wait until you receive a
suggested camera conguration:
2
1
Deselect “essai gratuit” (free try) which serves no
purpose for this model, and then click on “Afcher
la caméra” (Display camera)
1
Carefully select a name for your camera: this is
the name that will be remembered and heard by
your smart speaker. Remember to take account of
accents, they affect the expected pronunciation.
Then go to the Alexa app on your smartphone to
complete set up. Install the “EzViz” skill to allow your
connected speaker to detect your camera in your
home:
When installing the skill, enter the user name and
password that you used in the EzViz app and then
allow the skill to use and detect your camera:

15 EN
MOTORISED FULL HD INDOOR CAMERA
H - USE WITH AMAZON ALEXA
I - USE WITH GOOGLE HOME
The name detected by Alexa is the name that
needs to be said. Example: “Alexa afche caméra
bureau” (Alexa, display desktop camera) to enable
viewing of the “caméra bureau” (desktop camera)
on a compatible screen.
As Google regularly offers new tools to extend the
capabilities of Google Assistant smart speakers,
we suggest you check this manual regularly for the
latest updates on the possible options for your Lens
100 IP camera.
If you have a Google connected speaker, you can
control voice activation and deactivation of the
movement detection of your Lens 100 camera. If
you have a screen on your speaker or a compatible
receiver you can also voice control the display of
the image of your Lens 100 camera on your device.
1 - AVAILABLE OPTIONS
The following options are currently available:
“Ok Google, show [camera name]” launches the
display of the image directly from your camera to
a compatible screen (example: Amazon Echo Show)
“Ok Google, hide [camera name]” stops
broadcasting
“Ok Google, switch on [camera name]” enables
alert notication of your camera in the app
“Ok Google, switch off [camera name]” disables
alert notication of your camera in the app
“Ok Google, is [camera name] switched on” returns
the current status of your camera (notications
activated or not).
2 - CONFIGURATION
To pair your Lens 100 camera with your connected
Google Home speaker, rst visit the Link-Home app
in camera options:

16
MOTORISED FULL HD INDOOR CAMERA
EN
I - USE WITH GOOGLE HOME
If you have a compatible screen to display the video
from your Lens 100 camera and you want to use it,
you will need to turn off “Image encryption” to allow
the video stream to be fed to your screen. An email
will be sent to you to conrm the deactivation.
Once the deactivation has been conrmed, click on
“Plus” (Add) at the top right and then on “Supprimer
un périphérique” (Delete an accessory) to disconnect
the camera from the Link-Home app
Take note: do not disconnect your Lens 100 IP
camera and do not reset it!
Then install the “EzViz” app from the App Store or
Google Play and create an account. The process
is similar to that of the Link-Home app. The same
email address on the Link-Home app can be used
if you want.
Then click on the icon “Add a device” to scan the
QR Code of your camera and conrm by clicking
on Ajouter” (Add) and then wait until you receive a
suggested camera conguration:
2
1
Deselect “essai gratuit” (free try) which serves no
purpose for this model, and then click on “Afcher
la caméra” (Display camera)
1
Carefully select a name for your camera: this is
the name that will be remembered and heard by
your smart speaker. Remember to take account of
accents, they affect the expected pronunciation.

17 EN
MOTORISED FULL HD INDOOR CAMERA
I - USE WITH GOOGLE HOME
Then go to the Home app on your smartphone to
complete set up. Add a new device to “maison”
(Home) and then select “Fonctionne avec Google”
(Operates with Google) to allow your speaker
system to detect the camera in your home. Select
the service
“EZVIZ”:
Enter the user name and password that you used
in the EzViz app and then allow the service to use
and detect your camera:
The name displayed by Google Home is the name
that needs to be said. Example: “Ok Google,
display desktop camera” to launch viewing of the
"desktop camera” camera on a compatible screen.

18
MOTORISED FULL HD INDOOR CAMERA
EN
J - RESETTING
K - FAQ
If there is a problem, the camera can be reset to its
default settings by pressing the Reset button on the
back of the camera for 10 seconds, located next to
the MicroSD card slot.
TAKE NOTE: this operation does not allow for the
association with the camera owner’s account to be
deleted. The camera needs to be removed from the
owner account in order to make it available again.
Symptoms Possible causes Solutions
Unable to install the Link-Home
app
on my Android device
You have an out of
date or incompatible
version of Android on your de-
vice.
Please contact the technical sup-
port of your device's manufacturer
in order to obtain a recent An-
droid version.
Google Play checks all the key
components needed to run the
application properly. If your
equipment does not meet the
necessary criteria, the installa-
tion will not completed.
Please get a different Android
device.
Unable to install the Link-Home
app
on my iPhone
The version of iOS on your de-
vice is out of date.
Update the operating system on
your device.
The camera is not detected as
being online when wanting to
connect it to a smartphone
Camera connection too slow. Temporarily connect your smart-
phone to the same network as the
camera when adding to the app.
Time exceeded after switching
on.
Switch off the camera power sup-
ply and then switch it back on.
The camera is indicated as being
associated with another account
during start-up.
You need to have access to the
camera owner account in order
to associate it with another ac-
count.
To associate the camera with an-
other account, use the owner ac-
count that was used for start-up.
If you want to change owner ac-
count, the camera on the old ac-
count needs to be removed be-
fore assigning it to the new one.
Cannot connect to camera over
local network
Network/power supply issue. Check your network and electrical
connections.
Network conguration problem. Check your camera’s network con-
nection settings.

19 EN
MOTORISED FULL HD INDOOR CAMERA
K - FAQ
The camera image feed
cannot be accessed over the
internet
Network conguration problem. Check your device settings (box,
router)
Incorrect video settings. Check the video settings and re-
duce the quality if necessary.
Poor quality or shaky image Incorrect video settings Check the video settings and re-
duce the quality if necessary
Movement detection is triggered
unnecessarily
Unsuitable movement detection
settings
Reduce the sensitivity of detection.
Position the camera.
Not possible to display the cam-
era image via Google or Alexa
Numbered image Deactivate the encrypted image
of your camera so that it can be
read by the receiver that you want
to use with Alexa / Google Home

20
MOTORISED FULL HD INDOOR CAMERA
EN
L - TECHNICAL AND LEGAL INFORMATION
1 - TECHNICAL CHARACTERISTICS
• Reference: 512501
• Frequency: 2.4GHz
• Maximum power: 100mW
• Wireless network interface: IEEE 802.11a/b/g/n
• Optical sensor:
1/3’’ CMOS progressive scan
Viewing angle horizontal 72°, diagonal 95°
• Sound: Built-in microphone and loudspeaker for
two-way audio communication
• Night vision: Infrared: 8m range
• Minimum light intensity: 0 lux
• Motors: 340° horizontal curve / 90° vertical curve
• Keys: A reset button
• Video compression: H.264
• Resolution: 1080p
• Memory: Micro SD card slot (not supplied) up to
128GB
• Operating temperature and humidity: -10°C to
50°C, 20% to 85% RH, non-condensing
• Dimensions: d100mm x h90mm
• Weight: 230g
2 - WARRANTY
This product is guaranteed for parts and labour
for 2 years from the date of purchase. Proof of
purchase must be retained for the duration of the
warranty period.
The warranty does not cover damage caused by
negligence, knocks, or accidents.
None of the parts of this product may be opened
or repaired by any persons not employed by
SmartHome France.
The warranty will be void if the device is tampered
with.
3 - HELP AND SUGGESTIONS
• If, in spite of the care we have taken in designing
our products and drafting these instructions,
you do encounter difculties when installing
your product or you have any questions, we
recommend you contact one of our specialists
who will be glad to help.
• If you encounter operating problems during
the installation or a few days afterwards,
it is essential that you are in front of your
installation when contacting us, so that one of
our technicians can diagnose the source of the
problem, as it will probably be the result of a
setting that is incorrect or an installation that is
not to specication. If the problem is caused by
the product itself, the technician will give you an
RMA number so that you can return the unit to
the shop.
Without this RMA number, the shop may refuse to
exchange your product.
Contact our after sales service team technicians:
0,35 €
/ min
0 892 701 369
Monday to Friday, 9AM to 12PM and 2PM to 6PM
CET.
4 - PRODUCT RETURNS - AFTER SALES
SERVICE
If, despite the care we have taken in designing and
manufacturing your product, it needs to be returned to
our customer service centre, you can check the progress
of the work on our website at the following address:
https://www.avidsen.com/nos-services
5 - DECLARATION OF CONFORMITY
with the RED directive
SMART HOME France hereby declares that it is fully
liable only for the equipment designated below:
Motorised Full HD 1080p 512501 IP camera
Complies with the RED 2014/53/EU directive and
that its conformity has been assessed pursuant to
the applicable standards in force:
EN 60950-1:2006 + A11:2009 + A1:2010 + A12:2011 +
A2:2013
EN 62311:2008
EN 301 489-1 V2.1.1
EN 301 489-17 V3.1.1
EN 55032:2015
EN 50130-4:2011 +A1:2014
EN 61000-3-2:2014
EN 61000-3-3:2013
EN 300 328 V2.1.1
Tours, 24/06/2019
Alexandre Chaverot, CEO
This manual suits for next models
1
Table of contents
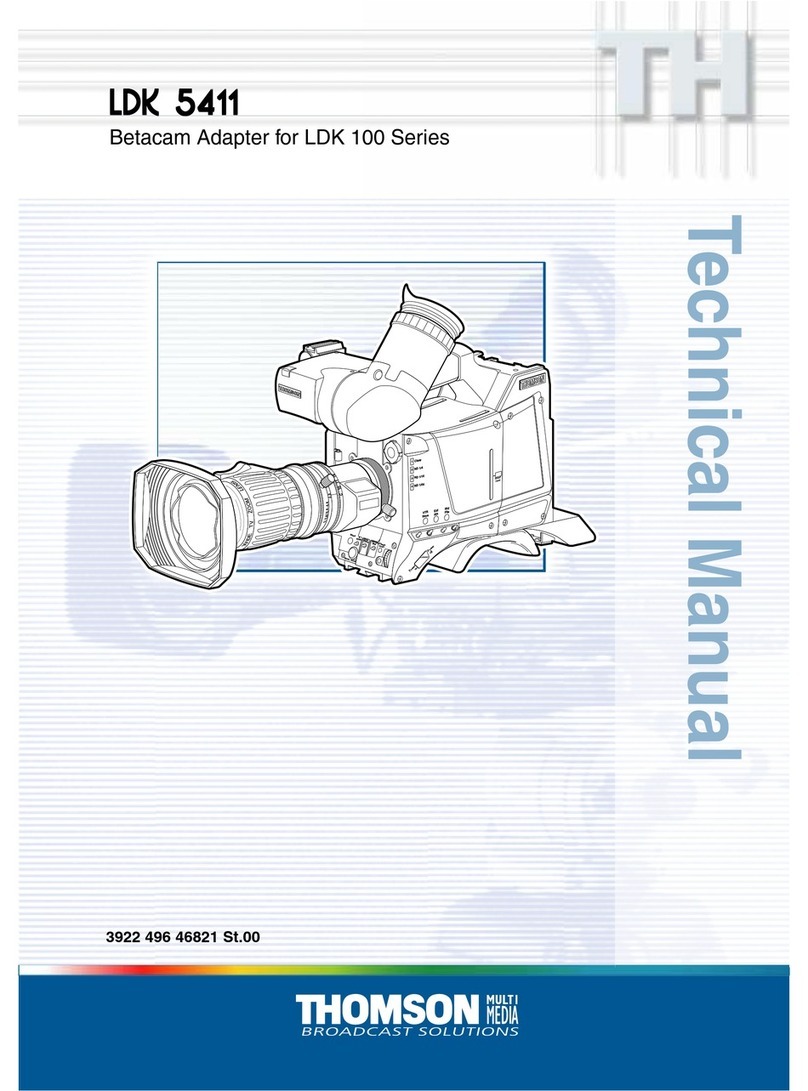
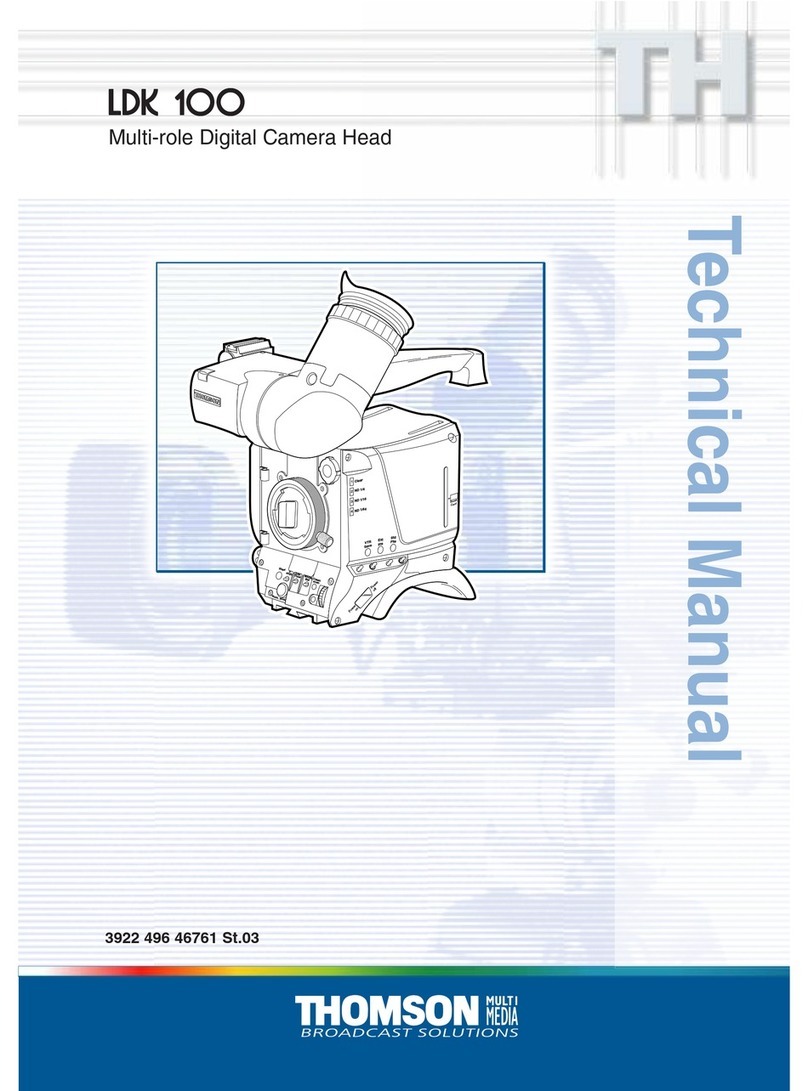
Other THOMSON Camera Accessories manuals

THOMSON
THOMSON LDK 200 User manual

THOMSON
THOMSON 512501 User manual

THOMSON
THOMSON DFT-6900 User manual

THOMSON
THOMSON LDK 4020 User manual

THOMSON
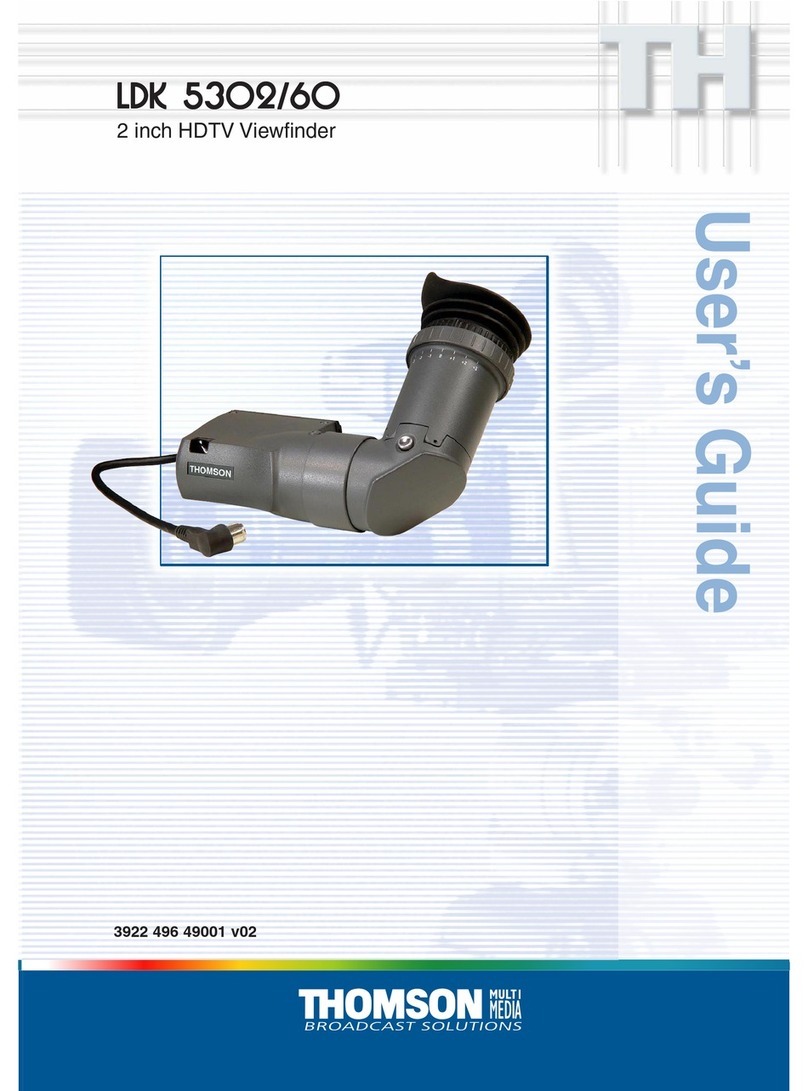
THOMSON LDK 5302/60 User manual

THOMSON
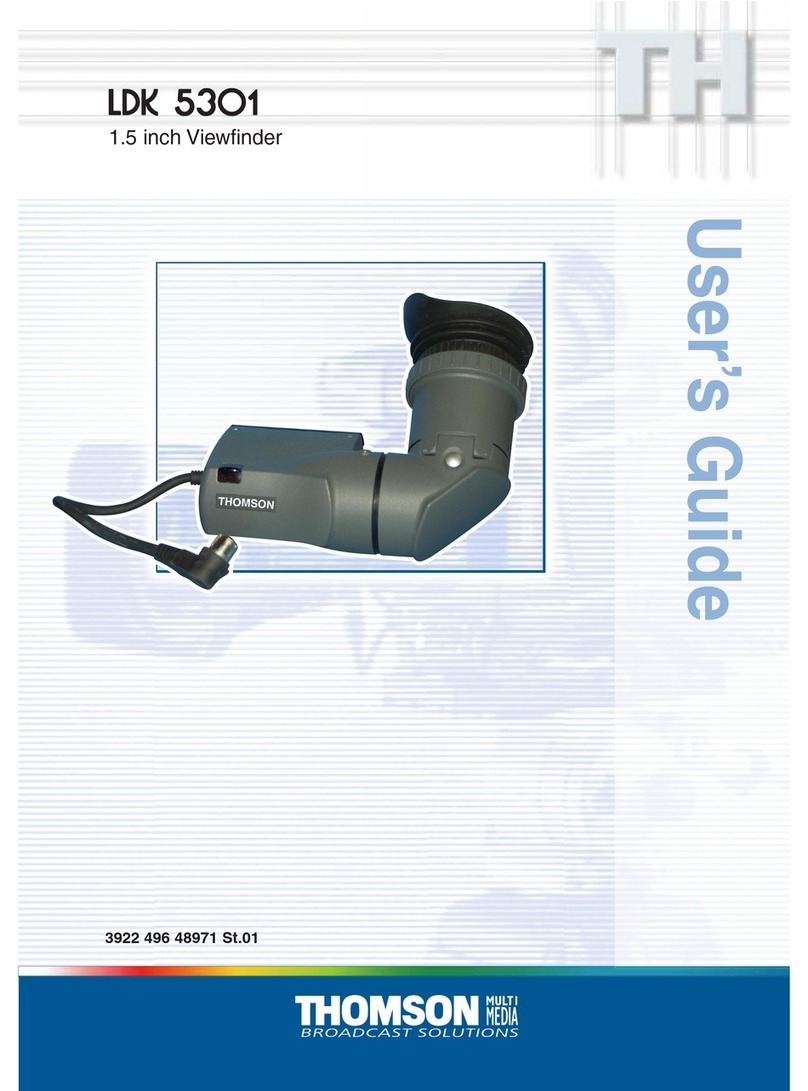
THOMSON LDK 5301 User manual

THOMSON
THOMSON LDK 4021 User manual

THOMSON
THOMSON LDK 5310 User manual

THOMSON
THOMSON 510055 User manual

THOMSON
THOMSON LDK 100 User manual