Thor Broadcast H-IP-HDMI User manual

User Manual
4K HEVC IP and USB HD Video Decoder
IP Stream Input HDMI Output
H-IP-HDMI

H-IP-HDMI
A Note from Thor Broadcast about this Manual
Intended Audience
This user manual has been written to help people who have to use,
integrate and to install the product. Some chapters require some
prerequisite knowledge in electronics and especially in broadcast
technologies and standards.
Disclaimer
No part of this document may be reproduced in any form without the
written permission of Thor Broadcast.
The contents of this document are subject to revision without notice due
to continued progress in methodology, design and manufacturing. Thor
shall have no liability for any error or damage of any kind resulting from
the use of this document.
Copy Warning
This document includes some confidential information. Its usage is
limited to the owners of the product that it is relevant to. It cannot be
copied, modified, or translated in another language without prior written
authorization from Thor Broadcast.

H-IP-HDMI
SAFETY INSTRUCTIONS
CONNECTING TO THE POWER SUPPLY
This product has to be connected to the power supply.
Before carrying out maintenance operation or modification of the installation, the
Device has to be disconnected.
OVERVOLTAGE
An over-voltage cause short-circuits or fire. Never overload the power lines. Always use
the 12VDC power supply provided for single channel series.
LIQUIDS
Keep the unit protected from liquids;
Do not place objects filled with liquids on it;
If any liquid should accidentally fall into the cabinet, disconnect the power plug.
CLEANING
Disconnect the module before cleaning. Use only a humid cloth without solvent.
VENTILATION
Ventilation holes should not be obstructed;
Not be installed in a hermetically sealed environment;
Other electronic products or heat producing items keep a minimum distance of 15
cm around the apparatus for sufficient ventilation;
ACCESSORIES
Only use the supplied power adaptor;
The use of accessories not manufactured by the manufacturer can cause damage to the module.
INSTALLATION OF THE MODULE
Do not expose the unit to rain or moisture;
Do not installed in direct sunlight or in humid place;
Respect the minimum and maximum temperature specifications
In The Box
IP Decoder
1pc
16GB SD Card
1pc
Power Adapter
1pc
User Manual
1pc

H-IP-HDMI
GENERAL DESCRIPTION
The Decoder can bring IP streaming, USB storage to any HDMI devices and also playback
your multimedia files to come from FTP server. The H-IP-HDMI can be widely used in
broadcasting, Hotel TV systems, advertising signage etc.
APPLICATION DIAGRAM
Cloud Media
FTP Server
LAN
Network
IP camera
UDP
HTTP
RTP
RTSP
Unitcast
Rtmp
Multicast
Hls(m3u8)
You Tube Live
USB drive
IP IN
IP IN
IP IN
SD card
HDMI
HDMI
HDMI
NMS Control
IP IN
IP IN
Router or Switch
HD Monitor Encoder Modulator
HD TV

H-IP-HDMI
KEY FEATURES
■HEVC/H.265/H.264/MPEG-2 decoder
■Resolution up to 1920x1080 @60fps, 3840x2160 @30fps
■Multiple network streaming protocols
■Local media player
■USB playback
SPECIFICATIONS
Interface
Input
RJ45x2 10/100 Base-T (1x Management, 1x
Streaming)
USB2.0-(FAT32)
Micro SD-Delivered 16GB USB flash
Output
HDMI*1
Video Decoding
Resolution
Max. up to 1920x1080 @60fps, 3840x2160 @30fps
Protocol
IPv4/v6, TCP, UDP, HTTP, HLS, RTP, RTSP,RTMP,
FTP, IGMP(Multicast)
Media formats
MPEG-TS, MPEG4, AVI, MOV, MPEG
Audio Decoding
Format
Mpeg1L2, MP3, AAC-LC, HE-AAC, WMA
Sample rate
32/44.1/48KHz
System
Management
Web NMS –IP 192.168.0.168
Language
English
Security
Password protection, IP address filtering
General
Power supply
12V DC
Dimensions
180 x 105 x 34 mm
Weight
270g

H-IP-HDMI
APPEARANCE INTRODUCTION
CONNECTION DIAGRAM
Typical Connection
1. The HDMI connector is connected directly to a monitor.
2. Check if the provided SD Card is connected to the Micro SD slot.
3. Then connect the supplied connector to the DC 12V socket.
4. The connection to an FTP server is established via the network
connection. The connection can be local or via the Internet.
Remark
[1] Do not remove the SD card. (Format:FAT32)
Internet
RJ45
HDMI
SD Must had SD Card
Power DC 12V
RJ45
NMS Control
Default IP:
192.168.0.168
1. USB Port
2. SD Card Port
3. IP Data Port
4. HDMI Output
5. Power & Status LED
6. Factory Reset Button
7. NMS control Port
8. Power Input
3 4 5 6 7 8
12

H-IP-HDMI
UDP Server Connection
Decoder and computer are connected to the same network(switch). The UDP settings, description
as the “UDP server streaming”.
Router
Video Encoder
GIGA Switch
UDP Server
Internet
URL:239.1.1.1
RJ45
RJ45
Port:1234
IP:192.168.2.1
RJ45 Data
HDMI Input
IP: Data 192.168.2.5
Video Decoder
STB
HDMI Output
RJ45
RJ45 NMS
IP:192.168.2.6
NB
TV
IP: 192.168.2.7
Decoder and computer point to point Connection. Decoder’s default IP is 192.168.0.168,
make sure the computer’s IP is on the same IP segment. The UDP settings, description as the
“UDP server streaming”.
Router
Video Encoder
UDP Server
GIGA Switch
Internet
RJ45
RJ45
URL:239.1.1.1
IP:192.168.2.1
RJ45 Data
IP:192.168.2.10
Port:1234
HDMI Input
IP: Data 192.168.2.5
Video Decoder
STB
HDMI Output
RJ45 NMS
IP:192.168.0.168
NB
TV IP NB:192.168.0.5

H-IP-HDMI
OPERATION INSTRUCTION
The device is configured using NMS. Access to the NMS is via the network connection.
FTP configuration and system settings are performed.
1. IP Address of Computer Setting
The IP Address of the computer must be in the same participation as the IP Address of
the IP Video Decoder.
System Control>Network Connections>LAN Connection>Properties>Internet Protocol
Version 4 TCP/IPv4 (or Version6 TCP/IPv6)>Properties>Use the following IP address:
IP address Computer:192.168.0.20 and Subnet mask:255.255.255.0.
2. NMS Log in
If you want to operate decoder, please
log in and use web control.
Default IP is 192.168.0.168;
Username: admin Password: admin
3.NMS Home Page
Contents of the home page includes :Status/Media Source/Setting/Update/Log out.

H-IP-HDMI
Status
Here you can know the NMS FW version,
System FW version, IP information,
current playback source.
Click “Status” label and click the “ Refresh
”button to read the current status.
Media Source Settings
1. IP streaming
Click IP Streaming item in Media Source.
Enter your URL of Network streaming in the Full URL field.
(ex. UDP://@239.1.1.1: 3990)
(ex. RTP://@239.1.1.1: 3990)
(ex. RTSP://192.168.1.100:8554/1.mp4)
(ex.rtmp://202.69.69.180:443/webcast/bshdlive-pc)
(ex.http://125.12.7.172:9981/stream/channelid/086640851)

H-IP-HDMI
(ex. http://ivi.bupt.edu.cn/hls/cctv1hd.m3u8)
(ex. https://www.youtube.com/watch?v=cSUtWVFaG4I)
Click the “Apply” button to start playing.
Remark:
You can enter the URL of the network stream such as RTSP, RTMP, Http, etc.
2. M3U Playlist
Click M3U Playlist item in Media Source,
then click the “Choose file” button to select
your m3u or m3u8 file.
It will list from which you can select a
network streaming file. Click the program
that you want to start playing.
Remark :
Current implementation of playlist.
(m3u) is intended for live stream
selection only. Continuous file playback
with m3u file will be added later.
Settings
Setting Page including Network Setting/Log in Password Changed.
1.NMS Network Setting
The Default IP of NMS is 192.168.0.168. In
the IP Address/Subnet Mask/Default
Gateway /MAC Address field,enter the IP
address/ Subnet Mask/Gateway/MAC
Address you want to change.
Click “Apply” button and wait a moment, it will
change to the IP information of your choice.

H-IP-HDMI
2.Player Network Setting
The default setting is DHCP on. And change
DHCP off.
In the IP Address / Subnet Mask / Default
Gateway / MAC Address field, click the
back grid to modify the content.
Click “Apply” button to save settings.
Remark: IP addresses of H-IP-HDMI
player and SMB server need to be in the
same area network.
Update
Which has two items “Update NMS” and
“USB Firmware Upgrade”
Notes:
a.Make sure the network is stable before operation.
b.Avoid opening two pages with the same URL.
c.The update process ensures that the route and power supply are not separated.
d.After the update, it takes a while for the machine to automatically restart. At this
time, it is absolutely impossible to turn off the power.
Update NMS Firmware via network
Click “Update NMS” button, it will jump
to another page as below picture.Choose
the file [xxx.bin] to upload then click
“Update” button.
Whe the update is finished, it will
automatically return to homepage.

H-IP-HDMI
Upgrade System Firmware via USB
Put these two update files [
UpdateInfo.txt & H-IP-HDMI_xxxxxx.image
] into the USB root directory.
Insert USB driver on device. Click “USB
Firmware Upgrade” button, it will show
amessage box as next picture.
Remark:
The [xxx.image] file name will be different depending on the firmware provided.
Click “OK” button to start upgrading.
When Upgrading, it will show a message“
Please wait, it may take 10 minutes...”
The system will restart after the update is
completed.
4.NMS Password Changed
In the New password field, enter the new
password you want to change, also the same
password as the new password to confirm.
Click “Apply” button and wait a moment, it
will Change the password and reload.
Log Out
Log out of the MNS control page, please
click “Log out”, it will show a message box,
then click “OK” to log out.
Table of contents
Other Thor Broadcast Media Converter manuals
Thor Broadcast
Thor Broadcast H-4HD-EMS User manual

Thor Broadcast
Thor Broadcast H-1SDI-QAM-IPLL User manual

Thor Broadcast
Thor Broadcast H-IRD-V4 User manual

Thor Broadcast
Thor Broadcast H-H.264IP-E User manual

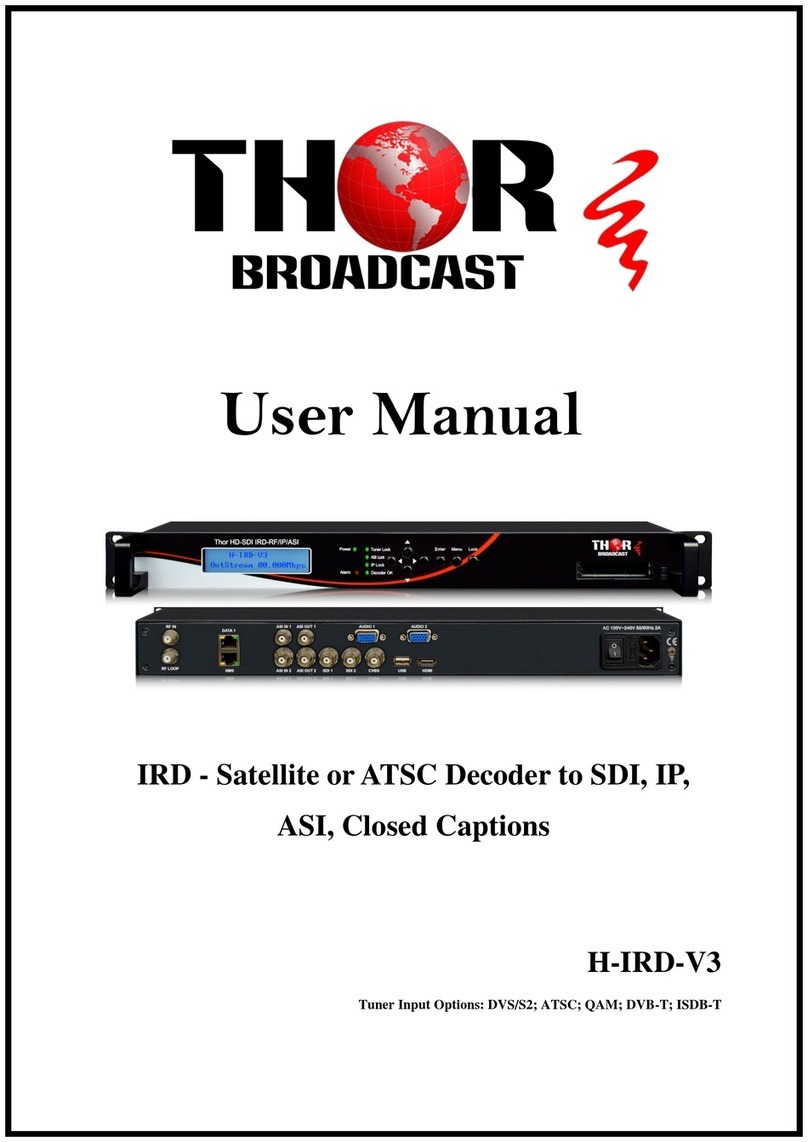
Thor Broadcast
Thor Broadcast H-IRD-V3 User manual

Thor Broadcast
Thor Broadcast H-4HD-EMH User manual
Thor Broadcast
Thor Broadcast H-MPEG2-H264-E2 User manual

Thor Broadcast
Thor Broadcast Thor Fiber HD-IRD-V3-ATSC-DVBS2 User manual
Thor Broadcast
Thor Broadcast H-12HDMI-QAM-IPLL User manual
Thor Broadcast
Thor Broadcast H-H.264IP-E User manual