Email: sales@thorfiber.com
http://www.thorbroadcast.com
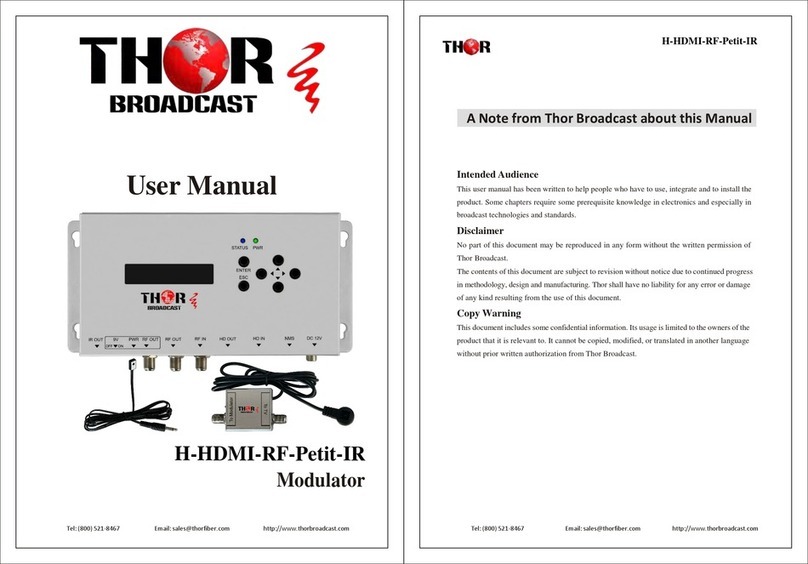
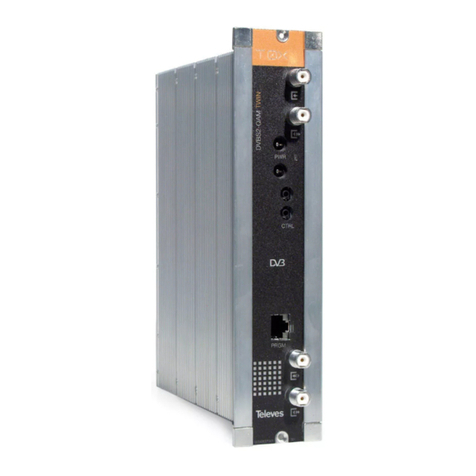
H-HDMI-RF-PETIT
QUICK INSTALLATION QUIDE
1)
Please connect the 12 Volt DC power adaptor.
-
"POWER" LED will turn GREEN
-
"Encoding" LED will turn GREEN, indicating that the unit is ready for HDMI Input
-
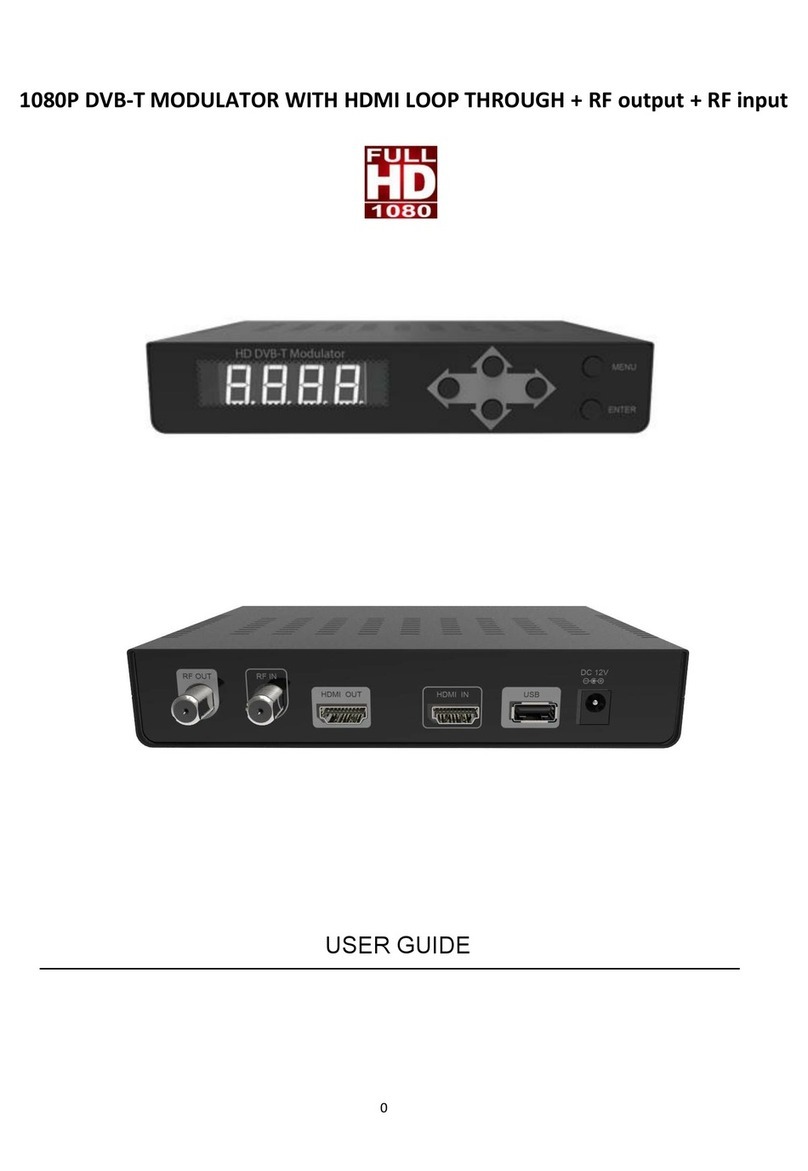
The unit will go through the boot-up sequence and the front digital display will show default C002
indicating modulation on channel #2 on RF output to your TV
2)
Connect HDMI cable from your HDMI source, when our unit recognizes the correct video resolution, the
second LED "LINK LOCK" will turn GREEN.
This is a very important indicator, it MUST turn GREEN, if it doesn't turn GREEN please check our
troubleshooting steps.
PLEASE NOTE: The Petit unit supports 480i, 720p, 1080i and 1080p 59.94 and 60Hz incoming video
resolution, it is important to make sure your video source is set to STATIC VIDEO RESOLUTION for any of
those formats. Do not leave your video source resolution "Auto"
3)
Optionally you can connect HDMI OUT to your local TV, this is just a pass through port
4)
When ALL 3 LED’s are green and LCD display shows C002 , the unit is working correctly and outputs
Default CABLE QAM CHANNEL #2 (57Mhz)
- Scan your TV on CABLE and the TV should find channel # 2.1
5)
Ifyou want to change the channel number or modulated channel, you can use UP / DOWN buttonsto set the
desired channel number, it will save automatically. (or you can do this through the web interface)
Each time you change the modulated channel, scanning your TV might be necessary based on the make and
model of your television set (some models like Samsung, don’t require a scan)
6)
If you want to change modulation type from Cable Qam to Off Air ATSC press the middle button (MENU
BUTTON), located in between the Up/Down buttons one time.
Next - The unit should show J83b which means CABLE, press the UP button once, LED will change to a
blinking ATSC, press the DOWN button once to save.
If you change the modulation standard from CABLE to ATSC, you need to scan the TV for Off-AIR channels.
7)
If you want to the device to go back to the default configuration, please press the middle button 3x’s to see
ASR, press UP button once, the ASR will appear on the LCD and start blinking, to save press DOWN once
7)
The Thor Broadcast PETIT’s static IP address is 192.168.1.10
It can be set up for HDCP. Press middle button 2x to see dHOF which means HDCP OFF, press UP button, the
led will change to dHON, to save it press the DOWN button, the IP address will change, to find out the IP
address, log into your router, the unit will be listed with the new IP address as a PETIT under yourconnected
devices.
