manuals.online logo
Brands
  1. Home
  2. •
  3. Brands
  4. •
  5. Thorn
  6. •
  7. Outdoor Light
  8. •
  9. Thorn PLURIO IND User manual

Thorn PLURIO IND User manual

Other Thorn Outdoor Light manuals

Thorn EP 445 LED User manual

Thorn

Thorn EP 445 LED User manual

Thorn AVENUE F2 User manual

Thorn

Thorn AVENUE F2 User manual

Thorn DYANA 1 User manual

Thorn

Thorn DYANA 1 User manual

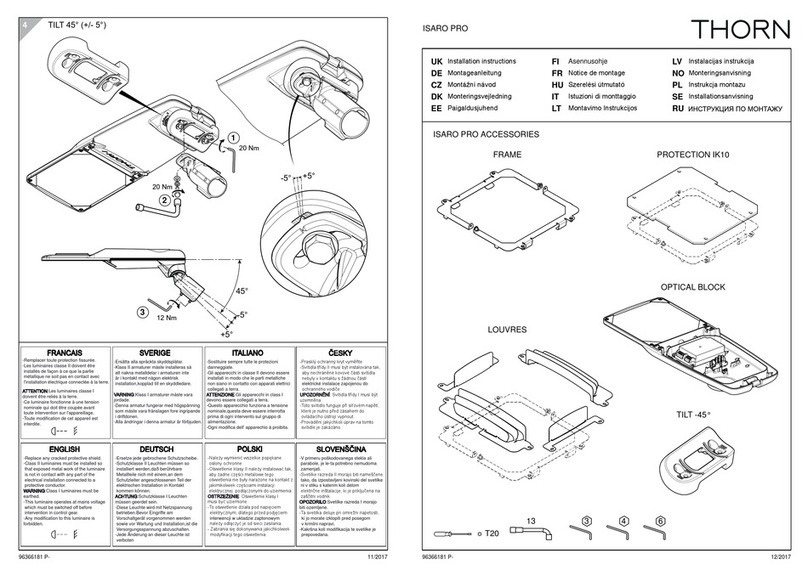
Thorn ISARO Series User manual

Thorn

Thorn ISARO Series User manual

Thorn AFP M Series User manual

Thorn

Thorn AFP M Series User manual

Thorn RAZE ARCHI LARGE User manual

Thorn

Thorn RAZE ARCHI LARGE User manual

Thorn EP 445 LED User manual

Thorn

Thorn EP 445 LED User manual

Thorn AVENUE D2 User manual

Thorn

Thorn AVENUE D2 User manual

Thorn R2L2 XS User manual

Thorn

Thorn R2L2 XS User manual

Thorn ADELIE WIDE User manual

Thorn

Thorn ADELIE WIDE User manual

Thorn DYANA LED MLE User manual

Thorn

Thorn DYANA LED MLE User manual

Thorn ADELIE Series User manual

Thorn

Thorn ADELIE Series User manual

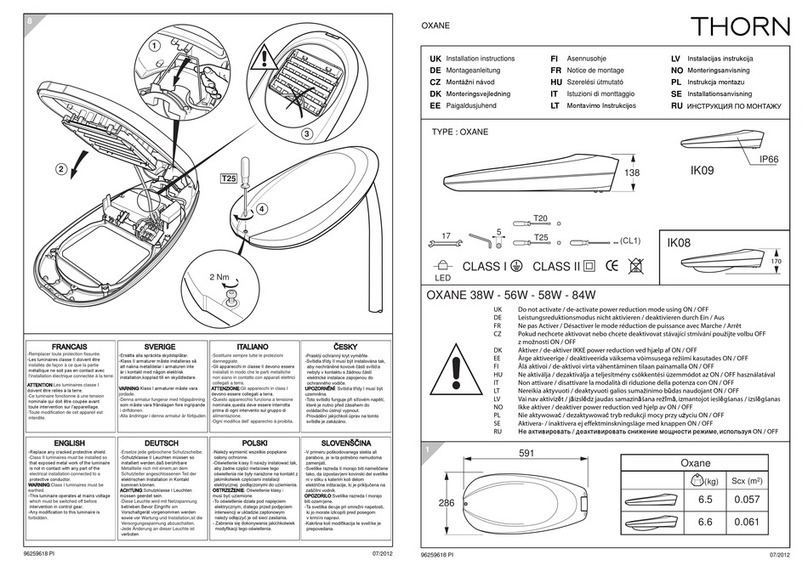
Thorn OXANE User manual

Thorn

Thorn OXANE User manual

Thorn AERIE SLIM User manual

Thorn

Thorn AERIE SLIM User manual

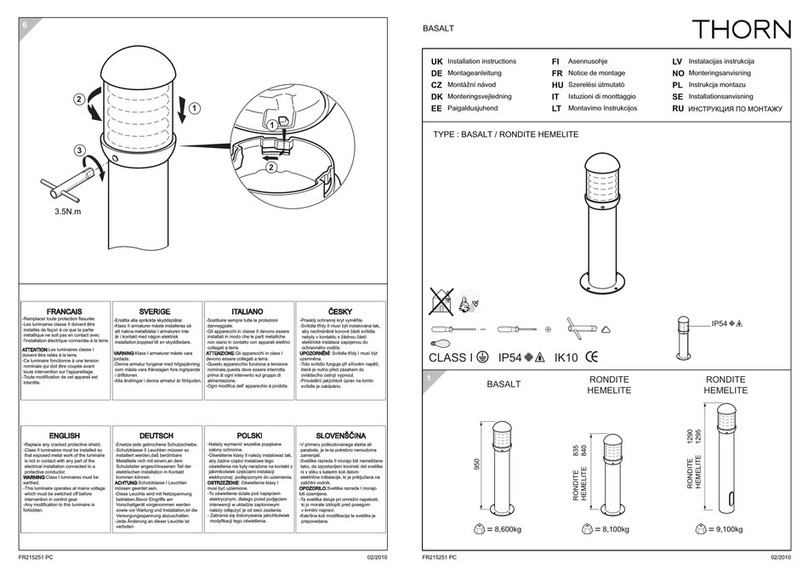
Thorn BASALT User manual

Thorn

Thorn BASALT User manual

Thorn ORUS LED User manual

Thorn

Thorn ORUS LED User manual

Thorn OLSYS 1 STREET User manual

Thorn

Thorn OLSYS 1 STREET User manual

Thorn OLSYS 2 STREET User manual

Thorn

Thorn OLSYS 2 STREET User manual

Thorn THOR L Series User manual

Thorn

Thorn THOR L Series User manual

Thorn EP 145 LED User manual

Thorn

Thorn EP 145 LED User manual

Thorn Clan O User manual

Thorn

Thorn Clan O User manual

Thorn ADELIE BOLLARD WIDE User manual

Thorn

Thorn ADELIE BOLLARD WIDE User manual

Thorn CONTRAST 2 LED MENA M User manual

Thorn

Thorn CONTRAST 2 LED MENA M User manual

Thorn PROMENADE  LED User manual

Thorn

Thorn PROMENADE LED User manual

Popular Outdoor Light manuals by other brands

Kichler Lighting HELEN 37536 instructions

Kichler Lighting

Kichler Lighting HELEN 37536 instructions

esotec Solar Globe Light multicolor 20 operating instructions

esotec

esotec Solar Globe Light multicolor 20 operating instructions

mitzi HL200201 ELLIS Assembly and mounting instructions

mitzi

mitzi HL200201 ELLIS Assembly and mounting instructions

HEPER TILA S AFX 3 Module Installation & maintenance instructions

HEPER

HEPER TILA S AFX 3 Module Installation & maintenance instructions

Designplan TRON 180 installation instructions

Designplan

Designplan TRON 180 installation instructions

Sealey LED37 instructions

Sealey

Sealey LED37 instructions

nordlux VEJERS Mounting instruction

nordlux

nordlux VEJERS Mounting instruction

SImx ELITE LED LHTC637 installation instructions

SImx

SImx ELITE LED LHTC637 installation instructions

GEV CAROLINE 10833 manual

GEV

GEV CAROLINE 10833 manual

WE-EF PFL540 LED Installation and maintenance instructions

WE-EF

WE-EF PFL540 LED Installation and maintenance instructions

HEPER DOGO Side LW6048.585-US Installation & maintenance instructions

HEPER

HEPER DOGO Side LW6048.585-US Installation & maintenance instructions

BEGA 84 253 Installation and technical information

BEGA

BEGA 84 253 Installation and technical information

HEPER LW8034.003-US Installation & maintenance instructions

HEPER

HEPER LW8034.003-US Installation & maintenance instructions

HEPER MINIMO Installation & maintenance instructions

HEPER

HEPER MINIMO Installation & maintenance instructions

LIGMAN BAMBOO 3 installation manual

LIGMAN

LIGMAN BAMBOO 3 installation manual

Maretti TUBE CUBE WALL 14.4998.04 quick start guide

Maretti

Maretti TUBE CUBE WALL 14.4998.04 quick start guide

Maxim Lighting Carriage House VX 40428WGOB installation instructions

Maxim Lighting

Maxim Lighting Carriage House VX 40428WGOB installation instructions

urban ambiance UQL1273 installation instructions

urban ambiance

urban ambiance UQL1273 installation instructions

manuals.online logo
manuals.online logoBrands
  • About & Mission
  • Contact us
  • Privacy Policy
  • Terms and Conditions

Copyright 2025 Manuals.Online. All Rights Reserved.

1
PLURIO IND
TYPE : PLURIO LED
INDIRECT
Montn nvod
CZ
Istuzioni di monttaggio
IT
Szerelési tmutat
HU
Notice de montage
FR
Asennusohje
FI
Paigaldusjuhend
EE
Monteringsvejledning
DK
Montageanleitung
DE
Montavimo Instrukcijos
LT
Installation instructions
UK
Installationsanvisning
SE
RU
Instrukcja montazu
PL
Monteringsanvisning
NO
Instalacijas instrukcija
LV
4
96278334 PB 11/2019
The luminaire with clear optic should be
positioned so that prolonged staring into
the luminaire at a distance 2 m is not expected
IK08IP66
CLASS I CLASS II
LED
ØØ Ø Ø
Ø (mm) D (mm) H (mm) Scx
60 618 453 11 0,151
76 618 484 11 0,160
60 601 487 11 0,167
76 601 518 11 0,175
60 564 567 9,5 0,199
76 564 599 9,5 0,207
60 564 555 9,5 0,191
76 564 586 9,5 0,199
(kg)Shape
Disc
Disc Flat Original Round
Flat
Original
Round
HH
H
H
D
D
DD
EVERY 6 MONTHS
2
96278334 PB
3
11/2019
L
Ø L
(mm) (mm)
60 75
76 100
2
4
3
5
5N.m
0,5N.m
6
7
9
Ø
40 mm
8 mm
x2
40 mm
8 mm
30 mm
2 x 1,5mm² - 2,5mm² 4 x 1,5mm² - 2,5mm² 3 x 1,5mm² - 2,5mm²
8 mm
STD VERSION
HFX VERSION
6
7
8
BPL / LRT VERSION
8
9
7
9
6
8
12
2
3
CLASS II
CLASS II
2
Pst
Pst
1
CL2 CL2 HFX
Ø Max = 12 mm
CL2 BPL/LRT
4
96278334 PB
5
11/2019
L
Ø L
(mm) (mm)
60 75
76 100
2
1
4
1
6
3
7
9
Ø
722-740 VERSION
HFX VERSION
3
CLASS II
CLASS II
2
10
5
5N.m
0,5N.m
0,5N.m 8
8
9
DALI
D1 D2
L-N
50/60Hz
=
6
96278334 PB
7
11/2019
STD VERSION
HFX VERSION
BPL / LRT VERSION
L
Ø L
(mm) (mm)
60 75
76 100
2
4
35
5N.m
Ø
40 mm
8 mm
30 mm
8 mm
6
6
x2 1
2
0,5N.m
3
CLASS I
CLASS I
40 mm
8 mm
3
3
1
4 x 1,5mm² - 2,5mm²5 x 1,5mm² - 2,5mm²3 x 1,5mm² - 2,5mm²
Ø Max = 12 mm
NL
N
D1
D2
L
7
7
6
N
L
7
Pst
Pst
CL1 CL1 HFX CL1 BPL/LRT
8
96278334 PB
9
11/2019
L
Ø L
(mm) (mm)
60 75
76 100
2
4
3
5
5N.m
0,5N.m
x2
x2
Ø
CLASS I
CLASS I
1
2
1
6
8
HFX VERSION
3
722-740
VERSION
DALI
D1 D2
L-N
50/60Hz
=
7
7
1
11
10
96278334 PB 11/2019
ON OFF
ON OFF
I=ON -50%
II=OFF
BPS
LED CONNECTION
STD VERSION
722-740 VERSION
Dimming ON Dimming OFF
1
W
W
C
C
3
4
2
NL
1
2
13
12
96278334 PB 11/2019
ASYMMETRICAL VERSION
CELL
Mirror
Mirror
Silicone Grease same as
RHODORSIL PASTE B431
or
Silicone Grease
same as
RHODORSIL
PASTE B431
or
3N.m
x3
3N.m
x3
L
Ø L
(mm) (mm)
60 75
76 100
1
4
3
2
5
8
9
6
Ø
7
10
5N.m
0.5N.m
2
4
1
3
11
15
14
96278334 PB 11/2019
CELL
SP / 10KV OPTION
-Remplacer toute protection fissurée.
-Les luminaires classe II doivent être
installés de façon à ce que la partie
métallique ne soit pas en contact avec
l'installation électrique connectée à la terre.
ATTENTION:Les luminaires classe I
doivent être reliés à la terre.
-Ce luminaire fonctionne à une tension
nominale qui doit être coupée avant
toute intervention sur l'appareillage.
-Toute modification de cet appareil est
interdite.
-Ersätta alla spräckta skyddsplåtar.
-Klass II armaturer måste installeras så
att nakna metalldelar i armaturen inte
är i kontakt med någon elektrisk
installation,kopplad till en skyddledare.
VARNING:Klass I armaturer måste vara
jordade.
-Denna armatur fungerar med högspänning
som måste vara frånslagen fore ingripande
i driftdonen.
-Alla ändringar i denna armatur är förbjuden.
-Sostituire sempre tutte le protezioni
danneggiate.
-Gli apparecchi in classe II devono essere
installati in modo che le parti metalliche
non siano in contatto con apparati elettrici
collegati a terra.
ATTENZIONE:Gli apparecchi in class I
devono essere collegati a terra.
-Questo apparecchio funziona a tensione
nominale,questa deve essere interrotta
prima di ogni intervento sul gruppo di
alimentazione.
-Ogni modifica dell' apparechio à proibita.
-Replace any cracked protective shield.
-Class II luminaires must be installed so
that exposed metal work of the luminaire
is not in contact with any part of the
electrical installation connected to a
protective conductor.
WARNING:Class I luminaires must be
earthed.
-This luminaire operates at mains voltage
which must be switched off before
intervention in control gear.
-Any modification to this luminaire is
forbidden.
-Ersetze jede gebrochene Schutzscheibe.
-Schutzklasse II Leuchten müssen so
installiert werden,daß berührbare
Metallteile nich mit einem,an dem
Schutzleiter angeschlossenen Teil der
elektrischen Installation in Kontakt
kommen können.
ACHTUNG:Schutzklasse I Leuchten
müssen geerdet sein.
-Diese Leuchte wird mit Netzspannung
betrieben.Bevor Eingriffe am
Vorschaltgerät vorgenommen werden
sowie vor Wartung und Installation,ist die
Versorgungsspannung abzuschalten.
-Jede Änderung an dieser Leuchte ist
verboten
-Praskl ochrann kryt vymte.
-Svtidla tdy II mus bt instalovna tak,
aby nechrnné kovové sti svtidla
nebyly v kontaktu s dnou st
elektrické instalace zapojenou do
ochranného vodie.
UPOZORNN: Svtidla tdy I mus bt
uzemnna.
-Toto svtidlo funguje pi sovém napt,
které je nutno ped zsahem do
ovldacho stroj vypnout.
-Provdn jakchkoli prav na tomto
svtidle je zakzno.
FRANCAIS SVERIGE ITALIANO
-Naley wymieni wszelkie popkane
osony ochronne.
-Owietlenie klasy II naley instalowa tak,
aby adne czci metalowe tego
owietlenia nie byy naraone na kontakt z
jakimikolwiek czciami instalacji
elektrycznej podczonymi do uziemienia.
OSTRZEENIE: Owietlenie klasy I
musi by uziemione.
-To owietlenie dziaa pod napiciem
elektrycznym, dlatego przed podjciem
interwencji w uktadzie zaptonowym
naley odczy je od sieci zasilania.
- Zabrania si dokonywania jakichkolwiek
modyfikacji tego owietlenia.
POLSKI
ENGLISH DEUTSCH
-V primeru poškodovanega stekla ali
parabole, je le-ta potrebno nemudoma
zamenjati.
-Svetilke razreda II morajo biti namešene
tako, da izpostavljeni kovinski del svetilke
ni v stiku s katerim koli delom
elektrine inštalacije, ki je prikljuena na
zašitni vodnik.
OPOZORILO:Svetilke razreda I morajo
biti ozemljene.
-Ta svetilka deluje pri omreni napetosti,
ki jo morate izklopiti pred posegom
v krmilni napravi.
-Kakršna koli modifikacija te svetilke je
prepovedana.
SLOVENINA
ESKY