Tiaojiou WiFi Edge User manual

Setup Guide - WiFi Edge
Install App &
Connect to Fixture
WiFi

2
Thank you!
Thank you for purchasing a WiFi Edge LED Fixture!
We know you will be pleased with the performance
and years of service this light will provide.
Customer Support
Tiaojiou Limited
886-2-2910-9190
#tiaojiouproducts #tiaojioutaiwan #tiaojioufi xtures #wifi edge

3
Thank you!
Thank you for purchasing a WiFi Edge LED Fixture!
We know you will be pleased with the performance
and years of service this light will provide.
Customer Support
Tiaojiou Limited
886-2-2910-9190
#tiaojiouproducts #tiaojioutaiwan #tiaojioufi xtures #wifi edge
Contents
4. Safety Guidelines
5. Inside the Box
6. Install Phone App and Connect Fixture to WiFi
13. Name a Fixture
14. Create a Group
15. App Settings (Time Format, Demo Speed, User Information)
16. Selecting Initial Light Spectrums and On/Off Times
17. Customizing Light Intensity, LED Colors and On/Off Times
19. Lightning & Weather
20. Light Fixture Indicator Lights
22. Troubleshooting
23. Regulatory Information
Warranty

4
A) READ AND FOLLOW ALL SAFETY INSTRUCTIONS.
B) DANGER – To avoid possible electric shock, special care should be
taken since water is employed in the use of aquarium equipment.
For each of the following situations, do not attempt repairs by
yourself; return the appliance to an authorized service facility for
service or discard the appliance:
1) If the appliance falls into the water, DON’T reach for it!
First unplug it and then retrieve it. If electrical components of
the appliance get wet, unplug the appliance immediately.
(Non-immersible equipment only)
2) If the appliance shows any sign of abnormal water leakage,
immediately unplug it from the power source. (Immersible
equipment only)
3) Carefully examine the appliance after installation. It should not
be plugged in if there is water on parts not intended to be wet.
4) Do not operate any appliance if it has a damaged cord or plug,
or if it is malfunctioning or has been dropped or damaged in
any manner.
5) To avoid the possibility of the appliance plug or receptacle getting
wet, position aquarium stand and tank to one side of a wall-
mounted receptacle to prevent water from dripping onto the
receptacle or plug. A “drip loop,” shown in the fi gure on page 6,
should be arranged by the user for each cord connecting an
aquarium appliance to a receptacle. The “drip loop” is that part
of the cord below the level of the receptacle, or the connector if
an extension cord is used, to prevent water traveling along the
cord and coming in contact with the receptacle. If the plug or
receptacle does get wet, DON’T unplug the cord. Disconnect the
fuse or circuit breaker that supplies power to the appliance. Then,
unplug and examine for presence of water in the receptacle.
C) Close supervision is necessary when any appliance is used
by or near children.
D) To avoid injury, do not contact moving parts or hot parts such
as heaters, refl ectors, lamp bulbs, and the like.
E) Always unplug an appliance from an outlet when not in use,
before putting on or taking off parts, and before cleaning. Never
yank the cord to pull the plug from outlet. Grasp the plug and pull
to disconnect.
F) Do not use an appliance for other than intended use.
The use of attachments not recommended or sold by the
appliance manufacturer may cause an unsafe condition.
G) Do not install or store the appliance where it will be exposed
to the weather or to temperatures below freezing.
H) Make sure an appliance mounted on a tank is securely installed
before operating it.
I) Read and observe all the important notices on the appliance.
J) If an extension cord is necessary, a cord with a proper rating
should be used. A cord rated for less amperes or watts than the
appliance rating may overheat. Care should be taken to arrange
the cord so that it will not be tripped over or pulled.
K) For added safety, the appliance must be plugged into a receptacle
controlled by a GFCI (ground fault interrupter) circuit breaker.
The device must be properly connected to a grounded three-
prong receptacle.
L) This appliance is intended FOR HOUSEHOLD USE ONLY.
M) This Light Fixture is required to be used over a covered aquarium.
A glass top or protective barrier is required to minimize the
fi xture’s exposure to water.
N) SAVE THESE INSTRUCTIONS.
Safety Guidelines

5
Inside the Box
WiFi Edge LED Fixture
Power Supply
Setup Guide

Setup Guide - WiFi Edge
Install App &
Connect to Fixture
Drip
Loop
6
1. Place the power supply
in a location where it won’t
get wet. Create a drip loop
and connect the fi xture cord
to the power outlet.

Setup Guide - WiFi Edge
Install App &
Connect to Fixture
7
2. Scan the QR code or search
for the name “TT3Connect”
to download the TT3 Connect
App to your smart phone.
NOTE: The only way to
control the fi xture is with
the TT3 Connect App

Setup Guide - WiFi Edge
Install App &
Connect to Fixture
8
3. Navigate to Settings in
your phone and ensure it is
connected to a 2.4GHz WiFi
Network.
* In cases where a dual band
(2.4GHz+5GHz) WiFi router is
used, it is strongly suggested
to use diff erent SSID for
each band to distinguish the
2.4GHz network from the
5GHz.

Setup Guide - WiFi Edge
Install App &
Connect to Fixture
9
4. Launch the TT3 Connect
App and follow the prompts.

Setup Guide - WiFi Edge
Install App &
Connect to Fixture
10
5. In the TT3 Connect App,
tap the “+” on the top right
and select “Add Fixture”.

Setup Guide - WiFi Edge
Install App &
Connect to Fixture
Indicator Button
11
6. To pair the fi xture with your phone:
• Press the button on the side of
the fi xture once.
The LED indicator will turn solid purple.
• Press and hold the button for
3 seconds. The LED indicator
will blink purple.

Setup Guide - WiFi Edge
Install App &
Connect to Fixture
12
7. Enter the password for
the WiFi network.
The fi xture will connect
to the WiFi network and
the indicator light will turn
solid color.
To verify if the fi xture
is well connected, close the
TT3 Connect App and
re-open the App. The App
will scan for fi xtures and
then display the fi xture
you’ve just connected to.

Setup Guide - WiFi Edge Name a Fixture
13
To rename a fi xture for better
distinguishability, press and
hold the default name of the
fi xture.
In this example the default
name is “Edge2-0577A7”

Setup Guide - WiFi Edge Create a Group
14
The TT3 Connect App allows you to group multiple Edge
fi xtures together and control them as a single fi xture.
This is helpful when more than one fi xture are installed
over a single aquarium or if two separate aquariums have
the same lighting requirements.
a. In the TT3 Connect App, tap the “+” on the top right
and select “Add Group”.
b. Enter a name for your group. Example would be
“Cichlid Tank”. You can also include a picture of the
tank for easy reference.
c. Select the fi xtures you wish to group together.
Select the gears icon from the bottom menu bar:
a. Hour System – Time will be displayed as AM/PM
or 24 Hour format.
b. Demo Speed – The fi xture has the ability to show you
an entire 24 hours of programmed lighting in a short
period of time. This is helpful when programming the
fi xture to view the fi xture colors and intensity.
Demo Speed allows you to view the programming at
your preferred speed.
c. Font Size – Set font size of TT3Connect.
*Only for Android
d. Name & Email – Update as needed.

Setup Guide - WiFi Edge App Settings
15
Select the gears icon from the bottom menu bar:
a. Hour System – Time will be displayed as AM/PM
or 24 Hour format.
b.
Demo Speed – The fi xture has the ability to show you
an entire 24 hours of programmed lighting in a short
period of time. This is helpful when programming the
fi xture to view the fi xture colors and intensity.
Demo Speed allows you to view the programming at
your preferred speed.
c. Font Size – Set font size of TT3Connect.
*Only for Android
d. Name & Email – Update as needed.

Setup Guide - WiFi Edge
Selecting Initial Light
Spectrums & On/Off Times
Toggle between
pre-programmed
colors
Tap to change
time
16
The WiFi Edge Fixtures come pre-programmed
with color spectrums and times. When adding
a new fi xture or group, you will be prompted to
select your choice of pre-programmed options.
Select the color scheme best suited for your
application. You will be able to modify after
initial setup.
Freshwater Options Marine Options
> Warm > White
> White > Cool White
> Cool > Blue White
After initial setup, it is
possible to adjust the light
intensity, colors and time.
These adjustments can be
made either for a fi xture
or a group.
NOTE: If a fi xture is part
of a group, only the group
can be adjusted.

Setup Guide - WiFi Edge
Customizing Color
Spectrum & Times
Tap to turn on
Lightning Storm
Tap on the graph
to modify the light
intensity, colors
and times
Tap to turn on
Weather Function
Adjust light
intensity for all
LED’s at the
same time
Advance to next
time point or
preview 24-hour
programming with
the play button
17
After initial setup, it is
possible to adjust the light
intensity, colors and time.
These adjustments can be
made either for a fi xture
or a group.
NOTE: If a fi xture is part
of a group, only the group
can be adjusted.

Setup Guide - WiFi Edge
Customizing Color
Spectrum & Times
Add a Time Point
Delete a Time
Point
Tap number to
change color
percentage
Advance to next
Time Point
18

Setup Guide - WiFi Edge Lightning & Weather
Tap number to
change duration
Tap the top right
menu to access
the Lightning
and Weather
functions
Adjust how
quickly weather
randomly
changes
Change intensity
of weather
Adjust how often
lightning strikes
Adjust intensity
of lightning
19

Setup Guide - WiFi Edge Indicator Lights
SOLID BLUE –
Fixture is in the AUTO mode
SOLID GREEN –
Fixture is manually turned ON or OFF
20
Table of contents
Popular Light Fixture manuals by other brands
RSA Lighting
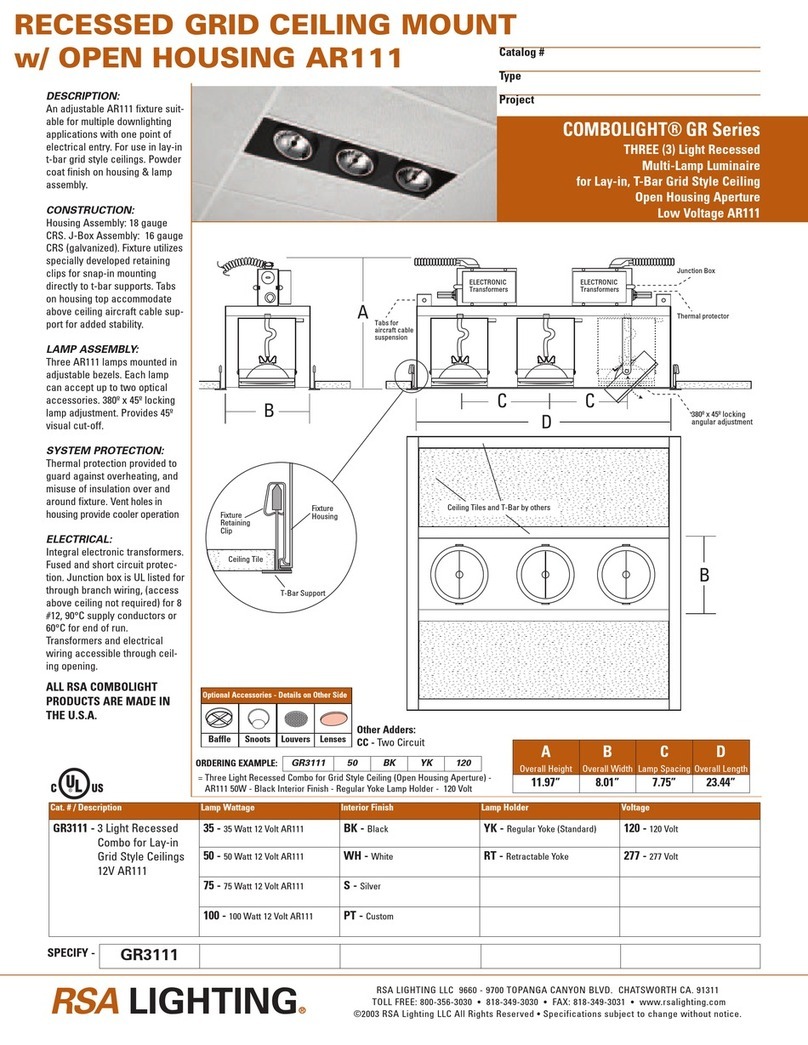
RSA Lighting COMBOLIGHT GR Series GR3111 Specification sheet
LDR
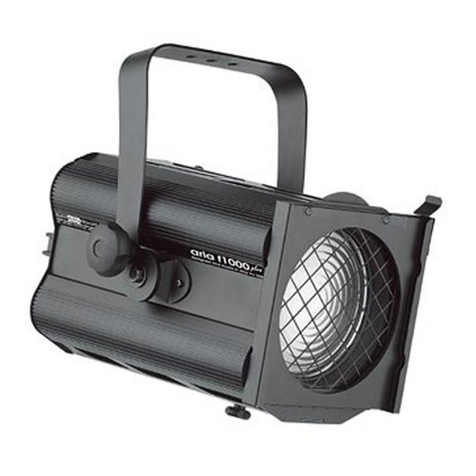
LDR Aria f1000 plus Series operating instructions

RAB Lighting
RAB Lighting WPLEDC104 installation instructions

GT-Lite
GT-Lite GT-421CP user guide
Xtralite
Xtralite NiteSafe Sensor ll instruction manual

IKEA
IKEA LEDARE LED1931R5 quick start guide
