TicksBuster Tick Trap Installation and operating instructions

1
TicksBuster
Assembly and Operation Manual
-Video on TicksBuster trap instruction can be found at: www.ticksbuster.fi (1:35).
-Connect the plastic pipes (2 pcs) to each other with a junction sleeve. Inside the sleeve there is an end piece in
the middle, i.e. press the pipes up to the end piece. The plastic tube must be about1 m long, i.e. the width of the
fabric. The junction sleeve is usually already in another plastic tube.
-Thread the plastic pipe to the two-part hole sewn in to the other end of the fabric.
-Thread the plastic string through the plastic tube.
-Attach the plastic string ends to the carabines on the end of the telescopic arm.
-Place the telescopic arm on the table so that the fabric is left hanging from its top on the string
-Press the white thread plug on both ends of the plastic tube so that the plastic string will be caught in the middle
and the black markers on the plastic string remain visible, so there will remain equally long snippet visible on
both ends.
-Close the plastic tube with sticker on both ends.
-Spread the gear on the floor to the pull position, i.e. pockets upwards.
-Remove the plastic cover from the top of the heating pads and shake the cushion to make the ingredients blend
well. Put the bag on the pull fabric pocket and about 15 minutes after the heat pad is ready for use (about 40
degrees C). There are three pieces of pockets and you can put the heating pads in each pocket or just one/two.
When you stop using the trap, put the heating pads in the enclosed plastic bag that comes with the shipment
and close the bag. When the heat pad does not receive oxygen, its function ceases. Once you start again using
the gear, take the heat pads out of the plastic bag and the pads will start to warm up once you put them in the
pull fabric pocket.
The heating pad lasts a total of about five (5) hours warm (over 40 degrees Celsius).
The heating pad contains: iron powder, activated carbon, vermiculite, salt and water.
-Take the Co2 cartridge and the valve and screw the open/close end to the cartridge. The twist directions
printed on the valve ‘open’ and ‘close’ are the right directions. when you twist the cartridge and hold the valve
steady. Twist lightly until there is more resistance (ca. 4 twists). After this twist still half a round, you are not sup-
posed to twist it all the way to the end (fully closed). If you twist to the end of the valve, the adjusting of the valve
will be more difficult. Check if the connection is successful, twist the cartridge as little as possible to the opposite
direction (open) and if gas is released the connection has been successful. If there was no release of gas carry
on twisting the cartridge to ’close’ direction another half a round and check again if the connection has been
successful. When closing the gas inlet, turn the valve closed only until the gas inlet stops, never turn to the end
/ bottom.
-
When you start to use Co2 in the trap, open the valve as little as possible by twisting the cartridge to Open posi-
tion (with valve in place). Always keep the container and valve in your hands so that the valve’s nozzle
points away from your body. When you rotate the valve regulator open, hold your hand on the regulator so
that it is not in front of the nozzle where the gas is released, because the emitted gas as a large amount will
cause a frostbite in the skin. The gas is released very little at once from the container, just enough to hear a
weak continuous sound from the valve. Blind ticks smell a small amount of carbon dioxide. In general, the regu-
lator is rotated too much at the beginning, so be prepared for this, and prepare to turn the regulator immediately
backwards (closed). You can check the correct amount by placing the valve with the container in an open glass
of water and then calculating the amount of bubbles. The gas adjustment is correct when the bubbles enter
about 20-30 pieces in 10 seconds.
-Attach the plastic holder of the Co2 cartridge in the middle of the plastic tube with the strap with a hole (opening
on the fabric). Pull the Co2 cartridge with the valves onto the other side of the holder and screw the cartridge
into the fastener. The fastener rotates 360 degrees and turn the fastener so that the cartridge valve’s nozzle is
pointing towards the ground/floor. Carbon dioxide is a heavier gas than air and it is pressed towards ground
when released.

2
-The container’s pressure decreases when carbon dioxide is released from the container. Check every half hour
to see if suitable amount of gas is released from the valve, i.e. listen and open the valve slightly (20-30 bub-
bles/10 seconds) if necessary. At the final stage when the cartridge pressure is weaker, check the gas supply
more frequently.
-When you are not using the trap anymore, twist the valve regulator off. When the cartridge is empty from the
gas, unscrew the empty cartridge from the valve and install the new cartridge in place. Always make sure before
you rotate the new cartridge into the valve that the valve regulator is securely closed. From three 16 g or two 25
g cartridges will suffice gas for approximately 4-5 hours when the gas is released as described above.
-The Co2 cartridge with the valves also acts as a pump. There is the Schrader and Presta nozzle in valve, extra
nozzles are available in our online store. Use gloves as the Co2 cartridge cools down when gas is released
quickly. How to use the pump you can watch the video on the valve product page.
-In addition, a used sock can be placed to the pocket or used T-shirt or pillowcase, or equivalent can be placed
above the fabric with the safety pin. The garments used must not contain any additives/fragrances, e.g. scents
of deodorants. This is how you get the scent of the human to the fabric.
-The ticks are also activated from a sound, which means that the catcher can stamp the ground.
-The catcher is not allowed to use any fragrances or insect repellents during dragging, which means that you
have to be “bath clean”.
-The telescopic arm can be adjusted as required to 60 –120 cm and can be locked by rotating to the desired
length.
-The fabric is pulled so that the pockets show towards the sky. Dragging the trap in places where you expect
ticks to thrive at a very slow walking pace, so that the front edge of the trap is always slightly higher than vege-
tation and the fabric is evenly gliding on vegetation. You must not hurry. For best results, you can cross the col-
lected area, i.e. first the entire region regularly in one direction and then again in a crosswise direction, such as
the south/north direction followed by the east/west direction.
-At about every 2-5 minute, check your gear from ticks and in worst tick spots even more often. Fresh masking
tape is good for the collecting of ticks, i.e. catch the tick to masking tape’s glue, so you get the tick out of the
gear and fold the masking tape so that the tick remains between the tape. Check properly, because for example
the nymph is only 1-2 mm in size and the tick caterpillar (larva) is less than 1 mm in size. Magnifier is a great
help for those who has week eyesight. Put the tapes in a closed plastic bag or in a freezer carton and burn the
container at the end of collecting.
-The trap is not recommended for use in rain or if the lawn is damp. The fabric shrinks wet by about 6-8%. The
fabric should not be ironed and therefore there are wrinkles in the original fabric.
-It’s not advisable to use the trap in windy weather and in heat
-We recommend that the drafter of the trap is properly protected, for example with white protective pants or
breathable white disposable overalls, which are ideal for protective clothing. The legs can be taped to the boots
with air conditioning tape. The white protective pants or overalls can be easily checked after harvesting for any
ticks that may have been seize on it. Protective trousers are available in our online shop.
-A profound tick check should also be carried out on the collector after collecting.
-The trap should be used a few times in the summer because ticks are active in different times.
The trap never makes the whole area free from ticks, but the more active the trap is used, the fewer ticks are in your
home area that seize people and animals.
TicksBuster is not responsible for any possible consequences for the gear users caused by the tick bite.
A international patent application has been submitted for TicksBuster trap.
Table of contents
Popular Pest Control manuals by other brands
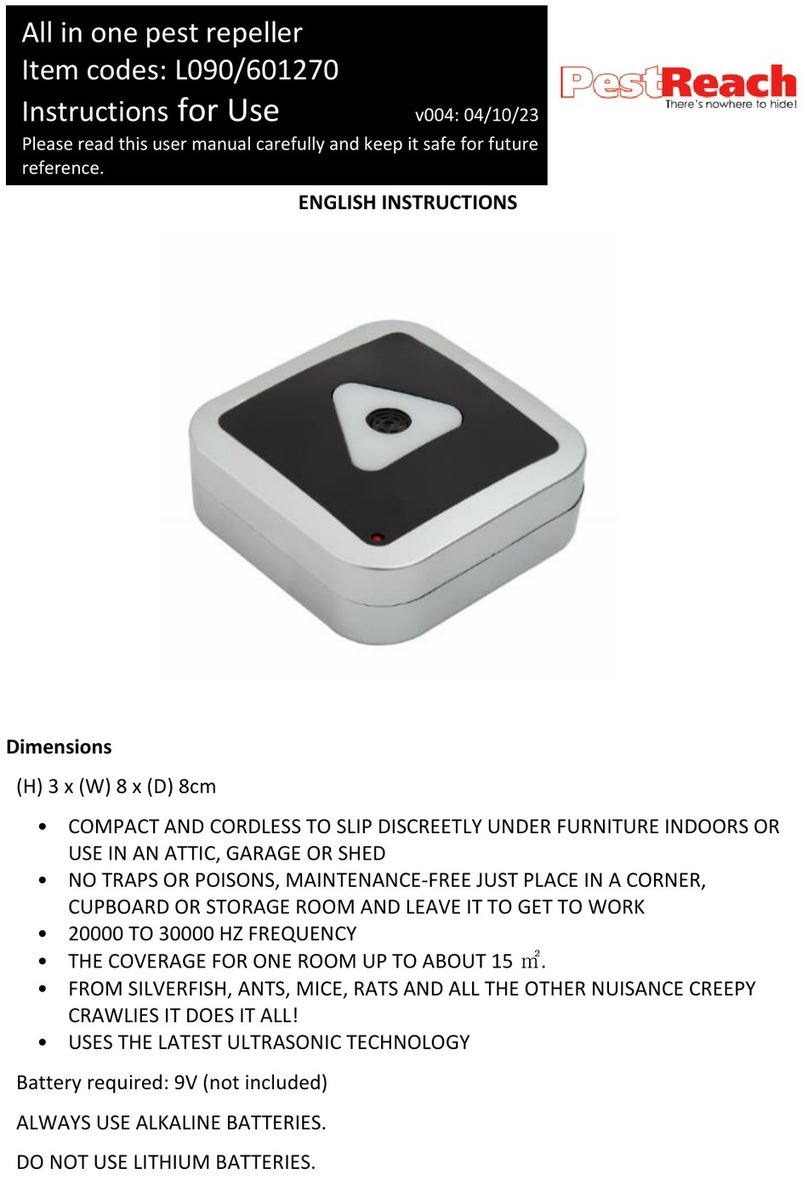
PestReach
PestReach L090 Instructions for use
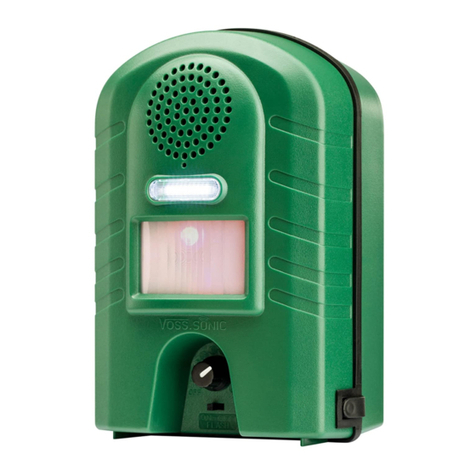
VOSS
VOSS Sonic 2800 instruction manual

Bird b gone
Bird b gone Solar Yard Shield installation instructions

Gardigo
Gardigo 60035 instruction manual

MARGO SUPPLIES
MARGO SUPPLIES MARGO ELECTRA 1100 manual
PL Systems
PL Systems INSECT-O-CUTOR SCR0190 Instruction booklet
