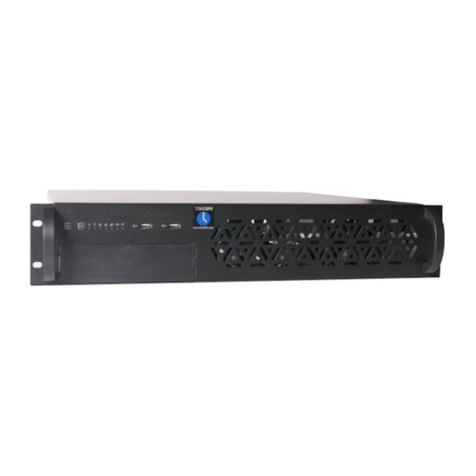
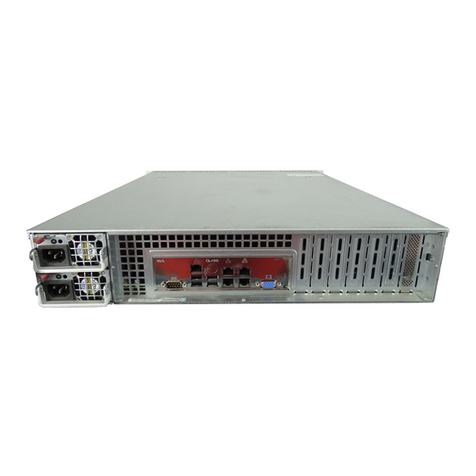
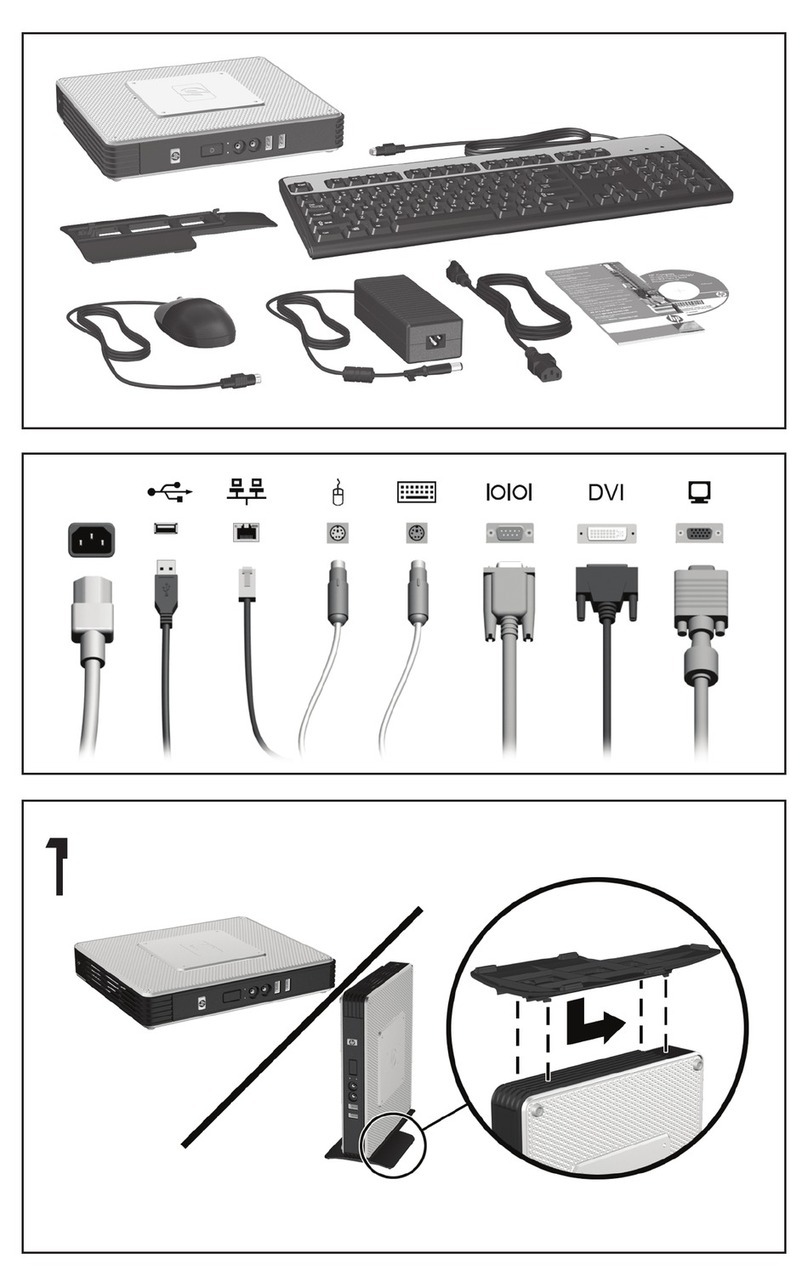
TimeIPS IPS300T User manual

IPS300T / IPS320T / IPS400T
TimeIPS Server
Installation Guide

FCC Declaration of Conformity (DoC)
Compliance Information (according to FCC 2.1077)
(1) Product: IPS300T/IPS320T/IPS400T
The above device complies with Part 1 of the FCC Rules.
Operation is subject to the following conditions: (1) these devices may not cause harmful
interference, and (2) these devices must accept any interference received, including
interference that may cause undesired operation.
(2) The above device contains the following modular components authorized under their own
DoC.
Modular Component
Model Number
System Board
A68HM-E
Power Supply
SS-300ES
(3) The responsible party is TimeIPS, Inc. 44 E 8 th St N, Valley Center KS, 67147. Phone
316.264.1600
Notice to Users
The components in this system have been tested and found to comply with the limits for a
Class B digital device, pursuant to Part 1 of the FCC Rules. These limits are designed to
provide reasonable protection against harmful interference in a residential installation. The
device generates, uses and can radiate radio frequency energy and, if not installed and used in
accordance with the instructions, may cause harmful interference to radio communications.
However, there is no guarantee that interference will not occur in a particular installation. If this
equipment does cause harmful interference to radio or television reception, which can be
determined by turning the equipment off and on, try to correct the interference by one or more
of the following measures:
•Reorient or relocate the receiving antenna.
•Increase the separation between the equipment and receiver.
•Connect the equipment into an outlet circuit other than the one to which the receiver is
connected.
•Consult the dealer or an experienced radio/TV technician for help.
These devices have been tested to comply with the limits for a Class B computing device,
pursuant to FCC rules. In order to maintain compliance with FCC regulations, shielded cables
must be used with the equipment if not connected directly to the system. Operation with
unshielded cables is likely to result in interference to radio and television reception.
CAU ION: Changes and modifications made to the device without the approval of the
manufacturer could void the user's authority to operate this device.
Page 2 http://support.timeips.com 316.264.1600 TimeIPS

able of Contents
Prepare and Plan..........................................................................................................3
ayout and Installation Considerations.................................................................4
TimeIPS Server Overview.....................................................................................5
Network Requirements..........................................................................................5
Ports and Connections.................................................................................................6
Mounting the TimeIPS Server.....................................................................................7
Power Backup (UPS)..................................................................................................7
Power-up and Determine IP Address..........................................................................8
Additional Network Settings.......................................................................................9
Initial ogin Using IP Address..................................................................................10
Network Troubleshooting..........................................................................................11
TimeIPS Help Screen on the Administration Console..............................................11
Technical Support......................................................................................................12
System Specifications...............................................................................................12
Prepare and Plan
TimeIPS servers are time and attendance network appliances. This means the hardware is
pre-loaded with an embedded operating system and a complete set of TimeIPS software
components, ready to use. You'll simply connect it to your network, set an IP address and,
optionally, install one or more network clocks or telephone clocking modules to provide
employees a way to clock in and out.
The initial configuration will require a computer monitor and keyboard (PS/2 or USB) to set t
the IP address of the server. We recommend a monitor with a 1024x768x60Hz or
1280x1024x60Hz resolution with a VGA cable. Other video modes may or may not be
supported. Once an IP address is set, use any computer with a web browser on your network
to access and manage TimeIPS.
Note: If the server is booted with no monitor attached, the VGA connector and/or DVI
connector may be disabled. If you need to connect a monitor to the system after it is running,
a restart may be required to activate the screen.
Network clocks can be connected on a AN ( ocal Area Network) or at remote locations
connected via Internet or WAN (Wide Area Network). For maximum security, a secure VPN
(Virtual Private Network) is recommended for remote sites. Network clocks can be located at
any door or entrance to your facility, or at any location which is convenient for your
employees to clock in and out.
Please examine the diagram on the next page to assist in planning your TimeIPS installation.
Most installations will have a network clock at the main employee entrance. Additional
network clocks can be added at any time to other entrances or any location within your
business.
TimeIPS http://support.timeips.com 316.264.1600 Page 3

Layout and Installation Considerations
Page 4 http://support.timeips.com 316.264.1600 TimeIPS
TimeIPS
Network Clock
Employee
Identication
device
Power Source
(Wall outlet)
Overall Installation Notes:
Installation of the TimeIPS system normally takes less than an hour. If you have multiple locations,
a complex network or are not familiar with networking, installation may take longer. Our Technical
Support department is available to assist if you have installation questions.
All TimeIPS servers and clocks should be installed in an indoor location, out of direct sunlight,
meeting the temperature requirements listed on the back cover of this guide.
Possible Primary and Remote Facility Installation
Existing Ethernet
10/100 Network
Existing Ethernet
10/100 Network
Primary
Facility
Administration
and
Reporting
(Password
Protected)
Side Door
Front Door
Back Door
Remote
Facility
Typical Door Area Installation with
Network Clock
TimeIPS Network
Clock
Any PC with a web
browser
Permanent network
connection
Permanent or
temporary network
connection
Network cable
connected to your
L N
TimeIPS Server

TimeIPS Server Overview
The primary functions of the TimeIPS server include:
•Gathering punches from network clocks, remote clocking and telephone
clocking modules
•Storing time and attendance data
•Processing data, including time worked, schedules, jobs, alerts, etc.
•Providing an easy to access web-based reporting and management
interface
TimeIPS network clocks are used for walk-up clocking and are connected via
Ethernet. Additionally, optional TimeIPS telephone clocking modules can be used
for call-in clocking.
Backing up your data regularly is very important. Backup files can be created
manually through the web interface or automatically by using our off-site backup
service.
Network Requirements
A standard RJ-45 Ethernet network cable connects TimeIPS to your network. The
TimeIPS server is accessed by its IP address on your network. To make access easy
and to prevent unexpected IP address changes, the TimeIPS server should be
configured with a static IP address on your AN. Additional network clocks can be
set to static IP addresses, or can be dynamically addressed with DHCP. Network
clocks send a broadcast packet to look for a server on the same subnet. Clocks on
different networks or subnets will need to be manually configured (this is done
through the menu or by visiting http://<IP address of the clock>).
Network Ports Used y TimeIPS
The following ports are used by TimeIPS to access the Internet (if available) for the
reasons described below:
80 (HTTP) Software update downloads
25 (SMTP) Email reports and messages
53 (DNS) Name resolution
123 (NTP) Time synchronization
443 (TimeIPS) Software update and backup authorization
Note: These are standard outgoing ports used by TimeIPS (not port forwards).
Please visit http://support.timeips.com for additional network and port information.
TimeIPS http://support.timeips.com 316.264.1600 Page 5

Ports and Connections
Page 6 http://support.timeips.com 316.264.1600 TimeIPS
Note: The type and layout of ports and connections on your
TimeIPS server may vary depending on its model year.
Power utton: Press to turn the system on. Press
and hold to force off. (Always turn off from the
Administration menu, if possible.)
Reset utton: Press to force a restart.
(Always restart from the
Administration menu, if possible.)
Power Light: On when the
system is running.
Front US : Connect a USB
keyboard, if needed.
Disk Light: On when the
system is accessing data.
PS/2 Port: Connect to PS/2
keyboard for initial setup
and maintenance.
Network Port:
Connect to your
network with an RJ-45
Cable.
Link and Activity Lights:
Verify network connection.
VGA Port: Connect a monitor
for initial setup and
maintenance.
US Ports:
Connect to USB
keyboard for
initial setup and
maintenance.
Cooling Holes:
Keep clear for air
circulation.
Power Cord: Connect to
100-240VAC.
Master Power Switch:
Shipped in the off or “0”
position.

Mounting the TimeIPS Server
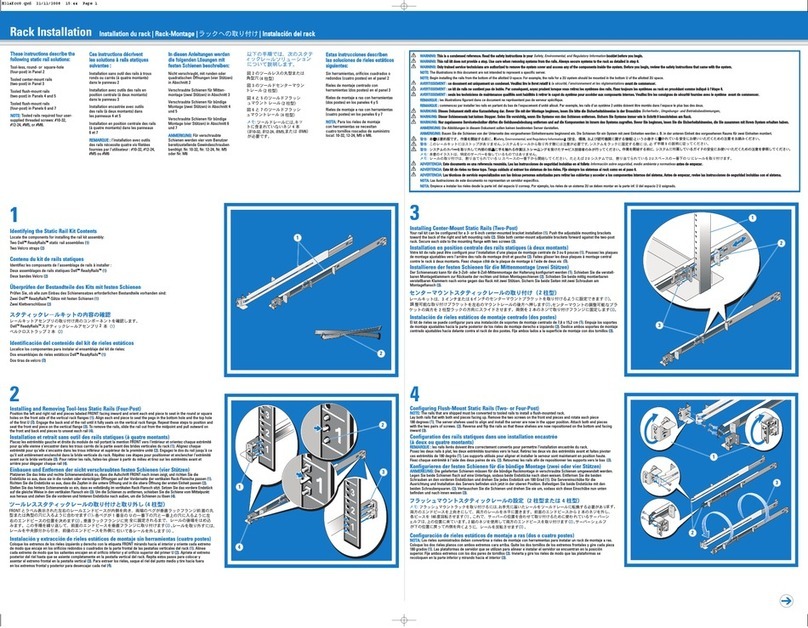
The TimeIPS IPS300T/IPS320T/IPS400T server is designed to be operated on a
shelf, on a table, on the floor, or mounted in a standard 19" rack.
For rack mounting, secure the server with 4 rack screws (not provided). If desired,
a rail kit, part number CASE-RAI , is available for purchase from TimeIPS.
TimeIPS servers must have reasonable clearance and air circulation to prevent
overheating.
Power ackup (UPS)
As with any server, a steady supply of clean power is essential for TimeIPS.
•osing power while the server is operating may cause data loss or
corruption.
•Brown-outs or flickering power can cause damage to the power supply
and/or system components.
To prevent damage and/or data loss related to power problems, we recommend
plugging the TimeIPS server into a UPS (Uninterruptible Power Supply).
TimeIPS servers are relatively low-power devices. A UPS with a minimum rating
of 1000VA is recommended for maximum power stability and moderate run-time.
TimeIPS servers have support for communicating with most APC brand Smart-UPS
units with USB data cables. The signals from these UPS units allow TimeIPS to log
and report power outages and perform a clean automated shutdown in the event of
an extended outage. This will protect your data and is highly recommended.
TimeIPS http://support.timeips.com 316.264.1600 Page 7

Power-up and Determine IP Address
Page 8 http://support.timeips.com 316.264.1600 TimeIPS
Connect the server to your network with an Ethernet patch cable. You will need a
monitor (VGA or DVI) and a keyboard (PS/2 or USB) for the initial configuration.
Connect the power cable to the TimeIPS server. Flip the master power switch to the
on or “1” position. The server should start automatically. If not, press the front
power button.
Step 1) Power On TimeIPS
The TimeIPS server will normally boot in 1-2 minutes. You will briefly see a
TimeIPS boot menu during this time. Do nothing when you see this menu and the
server will continue to boot normally. When the boot process is complete, you
should see the administration console.
Your server is set to automatically obtain an IP address from your network via
DHCP by default. To see the IP address of your TimeIPS server, look toward the
bottom of the administration console under Current Settings.
If your DHCP server responds quickly, the table should show an IP address when
the boot process is completed. If not, wait a few moments, select Reread Network
Settings and press Enter.
If you do not have a DHCP server on your network, you must specify a static IP
address for your TimeIPS server (see page 9).
Step 2) Network Connection Verification
The actual IP
addresses shown on
your monitor may be
di#erent from this
example.

Additional Network Settings
The TimeIPS server should be assigned a static IP address on your network. You
may set a static IP address through the administration console or by visiting the web
interface for your TimeIPS server.
(A) To set a static IP address through the web interface please visit:
http://192.168.1.115/quickset_ip.php
Your web browser will take you to a page where you can set the IP address, Subnet
Mask, Default Gateway, Primary and Secondary DNS servers and the NTP server.
Be sure to click on “Apply Changes” to save your settings.
( ) To set a static IP address through the administration console you will need a
keyboard and monitor. Select Set IP Address and press Enter. Specify the IP
address you want your server to have and press Enter. The IP address you entered
will appear under Pending Settings toward the bottom of the administration console.
Repeat this process to set your Netmask, Default Gateway and DNS servers. Be
sure to select Apply Pending Network Settings to save your changes. If you would
like to specify an NTP server, you will have to use the web interface (see option A
above).
If you have set your server to a static IP address you can change it back to DHCP if
necessary.
(A) Through the administration console, select Revert to DHCP and press Enter.
Select Apply Pending Network Settings and press Enter. You can note the new IP
address of your server under Current Settings toward the bottom of the screen.
( ) You can also revert the network settings to DHCP through the web interface.
However, you will have to connect a keyboard and monitor to the server in order to
determine the new IP address it has obtained from your network.
Visit the web address in Step 1A above. Select the checkbox for Use Dynamic
Address (DHCP). Be sure to select Apply Settings to save your changes. Go to
your server and look under Current Settings on the administration console to see the
new IP address.
TimeIPS http://support.timeips.com 316.264.1600 Page 9
Be sure to use the current IP
address of your TimeIPS server.
Step 1) Setting a Static IP Address
Step 2) Reverting to DHCP

Page 10 http://support.timeips.com 316.264.1600 TimeIPS
Initial Login Using IP Address
Go to a PC on your
network with a web
browser.
In your web browser,
enter the IP address of
your server to configure
TimeIPS.
Beginning with the
screen shown here,
follow the instructions
that appear on each
screen.
The setup process will
include creating the first
employee, who will
have access to all areas
of TimeIPS and who
will be able to designate
other employees as
administrators and/or
managers.
Once you complete the
configuration, you can
add and edit all settings and employees as needed.
For assistance with further configuration and use of TimeIPS, please visit our
support web site at http://support.timeips.com. If you do not find the information
you need there, call our Technical Support department at 316.264.1600.
IMPORTANT: During the configuration process, we recommend you update the
server and set a static IP address. These two functions can also be done at a later
time under the Administration -> System Administration section in TimeIPS.
Conguration Screen
Note: When you have successfully connected to TimeIPS from your
PC, the screen on your PC should look like the screen above. After
reading the information at the bottom of this page, you will be ready to
proceed with the guided setup process.
Note: The actual IP
address of your server
may be di#erent from this
example.

Network Troubleshooting
In the event you were unable to reach the web interface for your TimeIPS server,
you may be having network related problems.
1) Repeat Step 2 on page 8 to make sure your server has obtained a valid IP address
from your network.
2) If no network connection was detected you should see something similar to this
under Current Settings:
If you see this screen, check the network cable on the back of the TimeIPS server.
Unplug and reconnect the network cable at both ends and/or try a different network
cable. The link light should be on. If the link light is on it indicates your TimeIPS
server is connected to your network.
Once you have checked the cable and/or reconnected it, use the arrow keys on your
keyboard to select Apply Pending Network Settings and press Enter. Check the IP
address listed under Current Settings once more to see the IP address TimeIPS has
received.
3) If you have set a static IP address on the server, verify the IP address settings
under Current Settings on the administration console.
If you continue to have trouble connecting to TimeIPS through your web browser,
try restarting the server or contact our Technical Support department for further
assistance.
TimeIPS Help Screen on the Administration Console
Please review the TimeIPS Help screen. This screen provides useful information
regarding the configuration and operation of your TimeIPS server. The various
configuration options available on the administration console are also covered.
TimeIPS http://support.timeips.com 316.264.1600 Page 11

Technical Support
Technical Support Resources:
1. Our support web site at http://support.timeips.com offers extensive
resources including documentation and our knowledge-base. Please check
our support web site first, as it provides complete answers and instructions
on almost everything. In the "Knowledge Base Search:" box, enter a few
words describing your question. For example, if you have a question on
payroll, enter "payroll" and browse the articles listed.
2. If you have a question not answered on our support site, you can call or
email us. A period of limited email/phone support is included with your
system. A serial number or registration number is required for this service.
Additional support can be purchased by calling TimeIPS, or by visiting our
web site at http://secure.timeips.com.
3. If you have a simple question, or need direction on how to use our support
resources, feel free to email us at [email protected]. If your question
is quick, we'll be happy to help. If it's not, we'll let you know that you
need to purchase additional support.
Support website http://support.timeips.com
Support e-mail [email protected]
Support phone number 316.264.1600
This manual is copyright 2004-2017 TimeIPS, Inc. TimeIPS and the TimeIPS logos are
registered trademarks of TimeIPS, Inc. All other trademarks are the property of their
respective owners.
Thank you for reading this manual carefully. If you noticed errors, have any suggestions or
found typographical problems, we want to know! Please send an email with the version code
below and your feedback to [email protected] We appreciate your time.
Version: IPS300T400T-2U_2.0.5 170707
Page 12 http://support.timeips.com 316.264.1600 TimeIPS
System Specifications:
Approximate dimensions:
19in (49cm) x 17in (43cm) x 3.5in (9cm)
Approximate weight:
16lb (7.25kg)
Power: 115-230VAC, 60-100W (typical)
Operating environment:
Clean and dust free,
Proper air circulation around unit,
3in (7.62cm) ventilation clearance,
32° - 90°F (0° - 33°C) non-condensing
System Administration Requirements:
PC with modern OS.
( inux™, MacOS™ or Windows™)
A network port and an up-to-date version of
Firefox™ or Chrome™ web browser.
Network Requirement:
10/100/1000Base-T Ethernet,
Internet connection required for email
notifications, time synchronization, updates and
off-site backups
This manual suits for next models
2
Table of contents
Other TimeIPS Server manuals
Popular Server manuals by other brands
Lenovo
Lenovo ThinkServer RD530 Informácie o zárukách a podpore

Lenovo
Lenovo THINKSERVER RS210 warranty and support information
Lenovo
Lenovo ThinkSystem SR665 V3 user guide
DEC
DEC 3000 Model 400S Installation & owner's manual

ACTi
ACTi ACD-2000Q Quick installation guide
H3C
H3C UniServer R4300 G3 Installation, quick start
