Tinewa DLE602 User manual

User Guide
Model:DLE602
Thank you for choosing Tinewa. If you have any questions or suggestions,
please contact us:
Email: [email protected]
Website: http://www.tinewa.com
We offer a warranty and lifetime free technical support.
Contact us

Table of Contents Getting Started
01 02
Getting Started
Exterior Panel
LED Indicator
Keypad
Key Hole
Key Hole Cover
Step 1: Pull up Step 2: Rotate clockwise Step 3: Done
Fingerprint Reader
USB Type-C
Charging Port
(DC 5V)
02
03
04
05
06
07
12
15
16
17
19
26
02
06
Product Description
Parts in the Box
Assembly Diagram
Lock/Unlock
Operation Instructions
Check the Door Dimensions
Installation
App Operation Guide
Keypad Programming
Drill Holes
Outstanding Functions
FAQ
Specifications
Product Description

Parts In the Box
Assembly Diagram
03 04
Interior Panel Outside
Battery Cover
Thumb Knob
Secure Lock
/Reset Button
Interior Panel Inside
Toggle Button
Reset Button
Socket
Exterior Panel Interior Panel Mounting Plate Latch Striking Plate
Striking Plate Box Battery Cover
Keys 2pcs Template
Connecting Column
(1pc spare)
Screw A(20mm)
5pcs(1pc spare)
Screw B(30mm)
3pcs(1pc spare)
Screw C(25mm)
2pcs(1pc spare)
Screw D(10mm)
3pcs(1pc spare)
RES
A B C D E
FGHI J
K L
A
L
B
I
K
J
G
C
D
E
H
F
1 2 3 4
5 6 7
9 0
8

Lock/Unlock Operation Instructions
05 06
LOCK
Note: For Undrilled door, skip to “Drill Holes”(page16).
Check the door thickness:
1³/8~2(35~50mm)
A
Check the attach faceplate:
Width - 1(25mm)
Height - 2¹/4(57mm)
Depth - ¹/8(3mm)
Latch bore - 1(25mm)
CCheck the striking plate:
Width - 1(25mm)
Height - 2¹/4(57mm)
Hole Width - ⅞(22mm)
Hole Height - 1¹/8(28mm)
D
Check the bore hole: 2¹/8(Φ54mm)
Check the backset: 2³/8 or 2³/4
(60 or 70mm)
B
UNLOCK
1.Check the Door Dimensions
(Passcode+ )
Keypad
App
Fingerprints
Keys
Keypad
( )
App
Keys
Auto-lock
Door Edge
Door Edge
Jamb
Door thickness:
1³/8~2
(35~50mm)
backset:
2³/8 or 2³/4
(60 or 70mm)
2¹/8
(Φ54mm)
1
(Φ25mm)
1
(25mm) 1(25mm)
Depth
¹/8
(3mm)
1¹/8
(28mm)
2¹/4
(57mm)
⅞
(22mm)
2¹/4
(57mm)
Note: The following figures are provided for reference only. These are recommended
MINIMUM value. The error value should be less than 2mm.

07 08
The latch is initially set for 2³/8 (60mm).
Switch to 2³/4(70mm), if your backset is 70mm.
Turn the spindle to horizontal and align the spindle with the latch.
Pass the cable under the latch.
A
Pass the cable and spindle through the hole.
The concave of the mounting plate should be inside.
Secure the mounting plate with Screw B.
B
Note: Keep the bolt retracted in the following steps
Adjust the Latch
Install Exterior Panel
Install Latch and Striking Plate
2.Installation Guide
Jamb
Screw A
Make sure the
“UP” is facing up
Door
Screw A
Concave
inside
Screw B
Spindle
Horizontal
70 60
2¾2⅜
A
Rotate Up
2
⅜
70 60
70 60
2¾2⅜
C
Rotate Down
70 60
2
¾
2
⅜
B
Pull
2
⅜
70 60

09 10
Install Interior PanelCheck the Door Opening Direction
Insert the connector of the cable to
the socket.
ARemove the battery cover.
B
Secure the interior panel with Screw C
and Screw D.
Turn the thumb knob and check
whether it works.
DC
The thumb knob should be horizontal.
Switch the toggle to L.
The thumb knob should be vertical.
Switch the toggle to R.
R
L
Left-handle
Right-handle
AB
OK
Screw C
Screw D
L
R

11 12
Install Batteries
Download Tinewa App
3. App Operation Guide
Insert 4*AA Alkaline Batteries.
Do not use rechargeable batteries.
+
-
+
-
-
+
-
+
1.5V AA
-
1.5V AA
-
- -
--
-
+
+-+
+
+
+ +
+
1.5V AA
1.5V AA
Option1: Search “Tinewa” in App Store for iPhone / in Google Play Store for Android
to download the App.
Option2: Scan the QR code below to download Tinewa App, for both iOS(iOS 7.0 above)
and Android(Android 4.3 above) system.
At the top right of the screen, tap “Register” as shown in the picture to register. You
can use Email or Phone Number to sign up for a Tinewa account.
We recommend using app because it’s easier to set and more convenient for future use. If you
prefer Keypad Programming, please skip to page 15.
Register and Log in
!
Turn on the Phone’s Bluetooth and keep your phone close by the lock
during the following steps.
Login Register
Phone number/Email
Password
I ve read and agreed User Terms Privacy Policy
Forgot Password?
Login

13 14
Tap the “+” button →Next →Select the Lock, tap “+” on right → Name Your Lock→OK →
Select Door Opening Direction →OK
Connect Smart Lock to Tinewa App
Settings →Basics →Admin Passcode →Passcode
Change your Administrator Passcode
App Function Introduction
1. Lock/Unlock: Touch to unlock, hold to lock. Please follow the steps in App.
2. eKeys: After registration recipients are able to Lock/Unlock by Tinewa App. Please
follow the steps in App.
3. Passcodes: Generate or Customize Timed/Permanent/One-time/Recuring Passcodes.
Please follow the steps in App.
4. Fingerprints: The Timed Fingerprint can be used for unlimited times within the validity
period. Please follow the steps in App.
5. Authorized Admin: The authorized administrator will have majority permission to
operate this lock.Please seriously. Please follow the steps in App.
6. Records: It records the operations through App and Keypad(Keys will not included).
Tinewa
The Phone needs to be within 2 meters of the Smare Lock
during the Pairing Process.
Tinewa
touch to unlock, hold to lock
100%
Passcodes
DLE60_aabbcc
eKeys Fingerprints Authorized
Admin
Records Settings
Tinewa
touch to unlock, hold to lock
100%
Passcodes
DLE60_aabbcc
eKeys Fingerprints Authorized
Admin
Records Settings
1
2
6
3 4 5

15 16
a
b
You can use keypad to set your passcode/fingerprint, if you don’t want to download the app or
Tinewa App is incompatible with your current phone system version.
Note: You can set your passcode/fingerprint in succession. Press again to exit setting mode.
Note: Except Admin passcode, ALL user passcodes will be deleted.
4. Keypad Programming 5. Drill Holes
Passcode:
Change Admin Passcode(Initial Admin Passcode: 123456)
→12 →→ Current Admin Passcode →→ New Admin Passcode →
→New Admin Passcode →→Succeed
→10 →→ Current User Passcode(the one you want to change) →→
New User Passcode →→New User Passcode →→Succeed
Add User Passcode(4-9 digits)/Fingerprint
→80 →→ Admin Passcode →→ New User Passcode →
→New User Passcode →→Succeed
Fingerprint: →80 →→ Admin Passcode →→ Press your fingerprint
five times → Succeed
Press to Lock
Lock/Unlock
Press Admin Passcode/User Passcode →to Unlock
Change User Passcode
→71 →→ Admin Passcode →→ Succeed
Delete All User Passcodes
→70 →→ Admin Passcode →→ Succeed
Delete All Fingerprints
Note:Applicable door thickness: 35-50mm Note: Make sure the two dots are at the same
height.
1³/8 (35mm)
2³/4(70mm)
2³/8 (60mm)
2(50mm)
1(25mm)
1(25mm)
Choose the right template you need
(for 60 or 70mm backset).
Fold the template at the dotted line and
tape the template to the interior side of
the door at 34 to 48 inch Height.
c
Measure the thickness of the door and
mark the middle point of the door
thickness.
d
Mark the
2³/8
or
2³/4
(60 or 70mm) hole
center for the backset.
a
b
Drill a Dia. 2¹/8(54mm) hole for the
lock body.
Drill a Dia. 1
(25mm) hole for the latch.
c
Insert the latch into the hole and mark
the outline of the faceplate.
d
Chisel a
¹/8
(3mm) deep hole.
a
b
Close the door with the latch installed
and mark lines on the door jamb as
shown in figure a.
Align the striking plate with the lines.
Draw the shape of the striking plate.
c
Drill a
1¹/8
×
⅞
(28×22mm) and
1³/8
(35mm) deep hole in the middle of the
striking plate.
d
Chisel 1/16
(1.6mm) deep for the striking
plate.
b
a
2-¹/8(54mm)
cd
2¹/4
(57mm)
a
d
b
c
1 ¹/8
(28mm) 1/16
(1.6mm)
7/8"(22mm)

17 18
Grant specific permissions according to usage scenarios
Outstanding Functions
1.Diversified Unlock Permissions
The latch will automatically pop out for locking after you close the door. Without any additional
operation.
2.Automatic Locking
1.1 Permanent: eKeys/Passcodes/Fingerprints applicable. Grant permanent access.
1.2 Timed: eKeys/Passcodes/Fingerprints applicable. Grant access for a few weeks, a few hours,
or a few minutes.
Operation: Settings→Auto Lock(5-60s, Customize)
Operation: Settings-Lock Sound
After adding a door sensor, you will receive a voice alarm from the lock when you forget to close
the door. And the latch will automatically pop out for locking after you close the door.
3.Door Closing Reminder
(NOTE: Purchase the door sensor separately.)
(NOTE: Purchase the Gateway separately.)
Choose to increase or decrease the volume according to your needs.
4.Adjustable Lock Sound
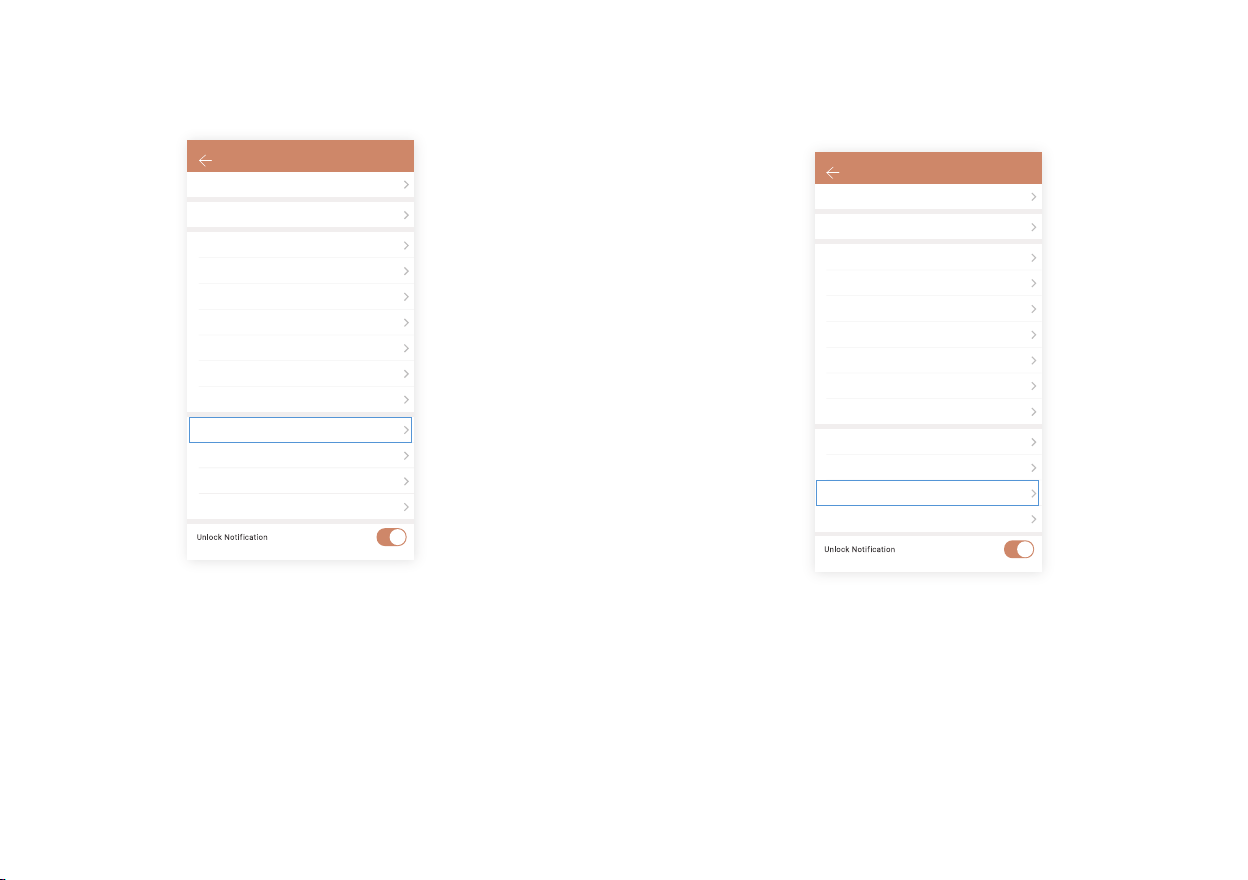
Operation: Settings-Unlock Notification/Messages
You can receive unlock reminder(sound/notificaton) remotely or view the unlock record remotely
when users use the eKeys to unlock. If you also want this function for other unlocking methods,
an additional gateway is required.
5.Monitor Activity Remotely
Operation: No extra setting. Just enter random digits before or/and after the true passcode
(NOTE: Total length should less than 16 digits.)
Add random digits to protect your passcode from prying eyes.
7.Anti-peep Passcode
Operation: Gateway/Settings-Remote Unlock
Operation: Add Lock.
example: 765(random number)+ 112233(true passcode) + 4899(random number)
You can generate passcodes and refresh records remotely. You are also allowed to unlock
remotely by turning on the Remote Unlock.
6.Manage Access Real Time
The lock system will be temporarily locked, if somebody enter incorrect passcode/fingerprint
FIVE times. In this case, you can only unlock with the Tinewa App or wait 3 minutes.
8.System Locked Automatically for Security
Press the Secure Lock Button for 3 seconds to activate Secure Mode. When the Secure Mode is ON,
only Administrator Passcode and Keys can unlock the door from the outside.
9.Secure Lock
Unlock your Smart Lock using a portable battery when it is out of power.
10.Unlock in an Emergency
With an IP65 waterproof rating, Smart Lock built to withstand low and high temperature (-4°F~158°F)
12.Ready For All Weathers
You are allowed to manage variety of Tinewa smart locks by Tinewa App.
13.Multiple Locks Management
Operation: App Settings-Languages.
Tinewa App offers multilingual support.
14.Multilingual Support
Operation: App Settings-Transfer Lock(s)
Transfer all data of the selected lock(s) to the recipient permanently. In this case, you don’t need to
reset the lock if the administrator of the lock changes.
15.One Click Transfer
Operation: eKeys/Passcodes/Fingerprints
You can rename eKey/Passcode/Fingerprint, delete it, change the validity period and passcode in the
Info page.
You are allowed to delete passcode and fingerprint, and change passcode on the keypad as well. For
details, please refer to Keypad Programming.
16.eKeys/Passcodes/Fingerprints Management
(a) In the battery low status, there will be a voice reminder while the keypad activated.
(b) The battery percentage can be viewed in the Tinewa App. The icon will turn red when the
percentage under 25%.
11.Low Battery Warning
1.3 One-time: Passcodes applicable. Grant access for only once.
1.4 Recurring: eKeys applicable. Grant access for fixed time period of every day, every week or
every month.

19 20
FAQ
1.How to reset the lock?
Method 1:
If you are a Tinewa Bluetooth Administrator, in the Settings, you can delete
the lock from your account.
Method 2:
(a)Take out a battery for 5 seconds.
(b)Put it back and press the Secure Lock Button for 10 seconds immediately.
(c)On hearing “Please input initialization passcode” , enter “000 ”
Method 3:
(a)Take out batteries and disassemble the Interior Panel.
(b)Power on again and press the Reset Button for 3 seconds.
(c)On hearing “Please input initialization passcode” , enter “000 ”
Interior Panel Outside
Secure Lock
Interior Panel Inside
Reset Button
RES
Settings
Basics
Door Sensor
Remote Unlock Off
Off
Low
On
On
On
Auto Lock
Lock Sound
Tamper Alert
Privacy Lock
Reset Button
Door opening direction
Lock Clock
Diagnosis
Upload Data
Firmware Update
Delete
21 22
2.I set a timed passcode/eKey/fingerprint between
13:00-17:00, but it still works at 18:00.
Under this circumstance, please calibrate the lock time via Lock Clock.
3.Why the Record Page didn’t show all lock/unlock
records?
If the records didn’ t update in a timely manner, you can refresh records at
up right near the lock. You have to connect a gateway, if you want to
receive the records remotely.
4.Why the passcode/fingerprint I set on the Keypad
doesn’t show in my Tinewa App?
In this case, please upload data from lock to App. It may take several minutes,
please be patient.
Settings
Basics
Door Sensor
Remote Unlock Off
Off
Low
On
On
On
Auto Lock
Lock Sound
Tamper Alert
Privacy Lock
Reset Button
Door opening direction
Lock Clock
Diagnosis
Upload Data
Firmware Update
Settings
Basics
Door Sensor
Remote Unlock Off
Off
Low
On
On
On
Auto Lock
Lock Sound
Tamper Alert
Privacy Lock
Reset Button
Door opening direction
Lock Clock
Diagnosis
Upload Data
Firmware Update

23 24
Method 1:
You can change the opening direction in the Settings
6.Why the Secure Lock Button doesn’t work?
Check the Privacy Lock Function in the Settings. The Secure Lock Button is
disabled when Privacy Lock is OFF.
5.Why my lock appears to look locked, when it is not?
(Lock Mechanism Backwards)
If your door opening direction is wrong, your lock mechanism will be opposite.
Settings
Basics
Door Sensor
Remote Unlock Off
Off
Low
On
On
On
Auto Lock
Lock Sound
Tamper Alert
Privacy Lock
Reset Button
Door opening direction
Lock Clock
Diagnosis
Upload Data
Firmware Update
Settings
Basics
Door Sensor
Remote Unlock Off
Off
Low
On
On
On
Auto Lock
Lock Sound
Tamper Alert
Privacy Lock
Reset Button
Door opening direction
Lock Clock
Diagnosis
Upload Data
Firmware Update
Left-handle: → 46 →→Admin Passcode →→ 1→
Right-handle: → 46 →→Admin Passcode →→ 2→
Method 2:
You can change the opening direction on the Keypad

25 26
Specifications
Under this situation, you can turn on the Hide Invalid Access in App Setting.
Step 1: Ensure you have turn on your phone’ s Bluetooth.
Step 2: Press any buttons on the keypad to activate it.
Step 3: If you have set the Administrator Passcode on the Keypad already, the
Lock would be absent on the App. In this case, please press →83
→ → Admin Passcode →on the Keypad, then tap the “+” button.
7.Invalid passcodes/fingerprints/eKeys are so annoying,
but I don’t want to delete them or it’s too much hassle
to delete them one by one.
8.Why I can’t pair my Tinewa Lock with the App?
Material
Interior Panel
Aluminum Alloy
Aluminum Alloy
ABS
L×W×H 113.5×65×30 mm
L×W×H 143×67×40 mm
14°F~122°F
-4°F~158°F
4-9 digits
Exterior Panel
Knob
Interior Panel
Exterior Panel
APP、Fingerprint、Passcode、Key
Tinewa
Interior Panel
Exterior Panel
15% ~ 95%
Android 4.3 / IOS 7.0 or above
Passcode digits
Passcode capacity 250 pcs
50 pcs
< 2 S
Fingerprint capacity
Verification Time
IP65
4*AA(NOT provided)
Applicable Door Type Metal or Wood
Applicable Door Thickness 35~50mm
Unlocking Method
Working Temperature
Support Phone System
Fingerprint
Battery
Product Dimensions
Mobile Phone App
Working Humidity
Passcode
Waterproof
Door
Settings
Sound
Off
Off
English
Transfer Lock(s)
Languages
Screen Lock
Hide invalid access
About
User Terms
Pricacy Policy
Logout
Delete Account
Table of contents
Other Tinewa Lock manuals

Popular Lock manuals by other brands


Sargent and Greenleaf
Sargent and Greenleaf STAR MODE 1004 Series operating instructions

Hama
Hama 00039791 Operating instruction

De Raat
De Raat La Gard 39E operating instructions

Honeywell
Honeywell GKZL2 installation instructions

Safety 1st
Safety 1st OutSmart HS270 user guide

peerless-AV
peerless-AV ACC952 Installation and assembly


