manuals.online logo
Brands
  1. Home
  2. •
  3. Brands
  4. •
  5. Titan Fitness
  6. •
  7. Fitness Equipment
  8. •
  9. Titan Fitness PLYMACH80 User manual

Titan Fitness PLYMACH80 User manual

80" RONIN PRO PLYOMETRIC MACHINE
PLYMACH80
412218
Operator’s Manual
Read the Operator’s Manual entirely. When you see this
symbol, the subsequent instructions and warnings are
serious follow without exception. Your life and the lives
of others depend on it!
2
PARTS DIAGRAM / EXPLODED VIEW
II
I
VI
II
I
3
KEY
BOX
DESCRIPTION
QTY
KEY
BOX
DESCRIPTION
QTY
(1) 1
BASE CONNECTING FRAME
1
(46) 1
FRONT HANDLE GRIP
2
(2) 1
LEFT BASE FRAME
1
(47) 1
FOOT MAT Ф166*17
4
(3) 1
RIGHT BASE FRAME
1
(48) 1
WHEEL Φ75*40
4
(4) 1
LEFT UPRIGHT FRAME
1
(49) 1
STOPPER 30*70*20
2
(5) 1
RIGHT UPRIGHT FRAME
1
(50) 1
END CAP Φ25*1.5
2
(6) 1
LEFT CONNECTING FRAME
1
(51) 1
END CAP 75*75*2
4
(7) 1
RIGHT CONNECTING FRAME
1
(52) 1
PAN HEAD, HEX BOLT M10*50
2
(8) 1
LEFT ADJUSTING FRAME
1
(53) 1
BEARING 6001ZZ
16
(9) 1
RIGHT ADJUSTING FRAME
1
(54) 1
FLAT WASHER Φ13.5*Φ24*2.5
22
(10) 1
PEDAL FRAME
1
(55) 1
HEX BOLT M12*25
6
(11) 1
FIXING FRAME
1
(56) 1
SPRING WASHER Φ12
10
(12) 1
HANDLEBAR FRAME
2
(57) 1
HEX BOLT M12*105
4
(13) 1
EXTENSION FRAME
2
(58) 1
NUT M12
12
(14) 1
UPPER CONNECTING FRAME
1
(59) 1
HEXAGON SOCKET HEAD SCREW M10*20
2
(15) 1
SHORT HANDLEBAR FRAME
2
(60) 1
HEXAGON SOCKET HEAD SCREW M10*25
4
(16) 1
PULLEY FRAME
2
(61) 1
FLAT WASHER Φ11*Φ20*2
60
(17) 1
CUSHION
1
(62) 1
NUT M10
24
(18) 1
LONG WEIGHT STACK
2
(63) 1
HEX BOLT M12*100
2
(19) 1
SHORT WEIGHT STACK
2
(64) 1
FLAT WASHER Φ11*Φ37*3
4
(20) 1
GUARD BOARD
2
(65) 1
HEX BOLT M10*25
14
(21) 1
SPLINT 75*50*3
2
(66) 1
STANDARD HEX INSERT NUT M10
8
(22) 1
PULL PLATE
4
(67) 1
SCREW M6*6
4
(23) 1
L-SHAPE PLATE
2
(68) 1
EXPANSION ANCHOR BOLT M10*80
2
(24) 1
INDICATOR PLATE
2
(69) 1
EXPANSION ANCHOR BOLT M10*70
4
(25) 1
PULL ROD Φ12*460
2
(70) 1
CROSS RECESS HEAD SCREW M6*15
4
(26) 1
DOUBLE THREADED SHAFT
8
(71) 1
HEX BOLT M10*20
6
(27) 1
LEFT LOGO PLATE
1
(72) 2
CROSS RECESS HEAD SCREW M5*10
28
(28) 1
RIGHT LOGO PLATE
1
(73) 1
PAN HEAD, HEX BOLT M10*25
6
(29) 1
PROTECTION PAD
1
(74) 1
PAN HEAD, HEX BOLT M10*40
2
(30) 1
CABLE Φ6*2225
4
(75) 1
HEX BOLT M8*55
2
(31) 1
REAR COVER
2
(76) 1
FLAT WASHER Φ9*Φ16*1.6
12
(32) 1
SMALL WHEEL
2
(77) 1
NUT M8
2
(33) 1
RUBBER PLATE
8
(78) 1
HEXAGON SOCKET HEAD SCREW M5*20
6
(34) 1
WHEEL Ф62*Ф28*Ф18*99
6
(79) 1
FLAT WASHER Φ5.5*Φ10*1
16
(35) 1
HANDLE
2
(80) 1
NUT M5
8
(36) 1
HANDLE GRIP
2
(81) 1
HEXAGON SOCKET HEAD SCREW M5*30
2
(37) 1
PIN SHAFT
4
(82) 1
HEXAGON SOCKET HEAD SCREW M10*80
4
(38) 1
M12 ADJUSTING FOOT MAT
2
(83) 1
HEX BOLT M10*65
4
(39) 1
PULLEY SLEEVE Φ18*11
16
(84) 1
HEX BOLT M8*15
4
(40) 1
SPRING Φ14*Φ1.5*55
4
(85) 1
HEX BOLT M10*95
8
(41) 1
Φ32 HANDLE RING
4
(86) 1
CARRIAGE BOLT M12*95
6
(42) 1
O-SHAPE PIN
2
(87) 1
HEXAGON SOCKET HEAD SCREW M10*50
2
(43) 1
METAL SLEEVE
4
(88) 1
HEX BOLT M8*65
4
(44) 1
Φ115 PULLEY
2
(89) 1
COUNTERSUNK HEAD SCREW M6*10
16
(45) 1
Φ78 PULLEY
2
(90) 1
RUBBER CUSHION Φ18.5*Φ9*5
4
4
ASSEMBLY INSTRUCTIONS
STEP 1
1. Connect Right Base Frame (3), Base Connecting Frame (1) and Guard Board (20),
using Flat Washer Φ13.5*Φ24*2.5 (54), M12 Nut (58), and Hex Bolt M12*105(57).
2. Connect Right Upright Frame (5) and Right Base Frame (3), using Flat Washer
Φ13.5*Φ24*2.5 (54), M12 Nut (58), Carriage Bolt M12*95 (86) and Hex Bolt
M12*25(55).
3. Connect Right Upright Frame (5), Right Base Frame (3) and Guard Board (20),
using Flat Washer Φ13.5*Φ24*2.5 (54), Flat Washer Φ13*Φ37*3 (64), M12 Nut
(58), and Hex Bolt M12*100(63).
4. Connect Right Connecting Frame (7), Right Upright Frame (5) and Right Base
Frame (3), using Flat Washer Φ11*Φ20*2 (61) and Hex Bolt M10*25(65).
INSTALL THE OTHER SIDE IN THE SAME WAY. DON’T TIGHTEN ALL THE BOLTS.
5
STEP 2
1. Remove the Hex Bolt M10*25 (65) and Rubber Cushion on the Left and Right
Adjusting Frame (8&9).
2. Install the Left and Right Adjusting Frame (8&9) on Pedal Frame (10), Adjust the
Pedal Frame (10) in the middle of Left and Right Adjusting Frame (8&9) by
Handle (35) and Pull Rod (25).
3. Pass the cable in Left and Right Adjusting Frame (8&9) through the Pulley Frame
(16), then fix them on the Pedal Frame (10) by Flat Washer Φ11*Φ20*2 (61) and
Hexagon Socket Head Screw M10*25 (60).
4. Fix the Pulley Frame (16) on the Upper Connecting Frame (14), using Flat Washer
Φ9*Φ16*1.6 (76) and Hex Bolt M8*65(88). Tighten the bolts.
5. Insert the Upper connecting Frame (14) into the Left and Right Adjusting Frame
(8&9), using Flat Washer Φ11*Φ20*2 (61) and Pan Head, Hex Bolt M10*25 (73).
Don’t Tighten the bolts.
6
STEP 3
1. Install the Left and Right Adjusting Frame (8&9) on Base Frame (1), using Flat
Washer Φ13.5*Φ24*2.5 (54), Spring Washer Φ12 (56) M12 Nut (58) and Hex Bolt
M12*25(55).
7
STEP 4
1. Connect the Left and Right Upright Frame (4&5) and Upper connecting Frame
(14), using Flat Washer Φ11*Φ20*2 (61), Splint (21) and Hex Bolt M10*95(85).
Don’t tighten the bolts temporarily.
2. Install the cables of Left and Right Upright Frame (4&5) on the Pedal Frame (10),
using Flat Washer Φ11*Φ20*2 (61) and Hexagon Socket Head Screw M10*25
(60). Tighten the bolts.
STEP 5
1. Remove the Hex Bolt M10*25 (65) and Rubber Cushion (90) on the Left and
Right Upright Frame (4&5) and Left and Right Adjusting Frame (8&9).
2. Pull the Handle to adjust the pedal Frame (10) from the highest to the lowest,
Tighten the bolts and nuts when it’s smooth.
3. Install the Short Handle (15) on Left and Right Base Frame (2&3), using O-shape
Pin (42).
8
STEP 6
1. Move the machine to the wall, the fixing Frame (11) close to the wall.
2. Make mark on the wall through the center of Hole, then remove the Hex Bolt
M10*20 (71), Flat Washer Φ11*Φ20*2 (61) and Fixing Frame (11), punch holes in
marks on the wall.
3. Reinstall the Hex Bolt M10*20 (71), Flat Washer Φ11*Φ20*2 (61) and Fixing
Frame (11). Don’t tighten the bolts in temporarily.
4. Fixing the Fixing Frame (11) on the hole of wall, using Expansion Anchor Bolt
M10*80(68). Tighten all the bolts.
STEP 7
1. Install the Protection Pad (29) on the Upper Connecting Frame (14), using Flat
Washer Φ11*Φ20*2 (61) and Hex Bolt M10*95 (85).
9
STEP 8
1. Remove the End Cap 75*75*2 (51) from the Left and Right Base Frame (2 &3).
2. Install the Extension Frame (13) on Left and Right Base Frame (2 &3), using Flat
Washer Φ11*Φ20*2 (61), Flat Washer Φ9*Φ16*1.6 (76), Hex Bolt M10*20 (71)
and Hex Bolt M8*15 (84).
The Extension Frame (13) are the optional parts. These parts are used when the device
is installed without drilling holes against the wall.
10
ACKNOWLEDGEMENT OF RISK AND RELEASE OF LIABILITY
The use of any equipment, including this one, involves the potential risk of injury. Apart from any warranty
claim that might be presented for a claimed defect in material or workmanship of the product, you accept
and assume full responsibility for any and all injuries, damages (both economic and non-economic), and
losses of any type, which may occur, and you fully and forever release and discharge Titan, its insurers,
employees, officers, directors, associates, and agents from any and all claims, demands, damages,
rights of action, or causes of action, present or future, whether the same be known or unknown,
anticipated, or unanticipated, resulting from or arising out of the use of said equipment.
This equipment must be used with care by capable and competent individuals under supervision,
WARNING
Heavy object. Use lifting aids and
proper lifting techniques when moving.
Choking hazard. Small parts –
Please exercise caution if small
children or pets are present.
Sharp objects may be involved.
Use precaution and protection.
TITAN LIMITED WARRANTY: TERMS, EXCLUSIONS AND LIMITATIONS OF REMEDIES
This product comes with a one (1) year limited warranty that can be found at
www.titan.fitness/warranty.html Please review the same for all details regarding the
Titan Limited Warranty.
THE TITAN LIMITED WARRANTY FOUND AT WWW.TITAN.FITNESS/WARRANTY IS EXCLUSIVE AND IS IN
LIEU OF ALL OTHER WARRANTIES, EXPRESS OR IMPLIED, INCLUDING ANY IMPLIED WARRANTY OF
MERCHANTABILITY AND/OR FITNESS FOR A PARTICULAR PURPOSE, EACH OF WHICH IS HEREBY
DISCLAIMED.
11
NEED HELP? CONTACT US FIRST.
1-888-410-1503
info@titan.fitness
www.titan.fitness
© 2021 Titan Brands

This manual suits for next models

1

Other Titan Fitness Fitness Equipment manuals

Titan Fitness PRLGCL User manual

Titan Fitness

Titan Fitness PRLGCL User manual
Titan Fitness Pro Series User manual

Titan Fitness

Titan Fitness Pro Series User manual

Titan Fitness CBFLY User manual

Titan Fitness

Titan Fitness CBFLY User manual
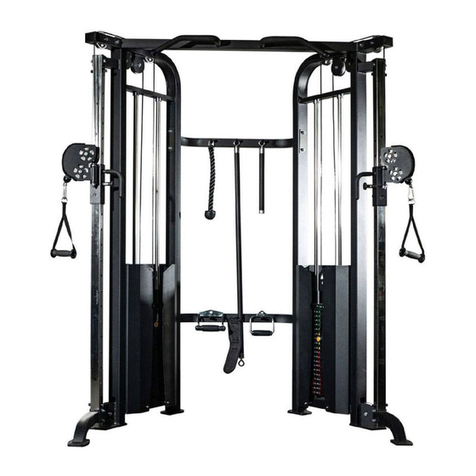
Titan Fitness FNTLTNR User manual

Titan Fitness

Titan Fitness FNTLTNR User manual

Titan Fitness NEMESIS User manual

Titan Fitness

Titan Fitness NEMESIS User manual
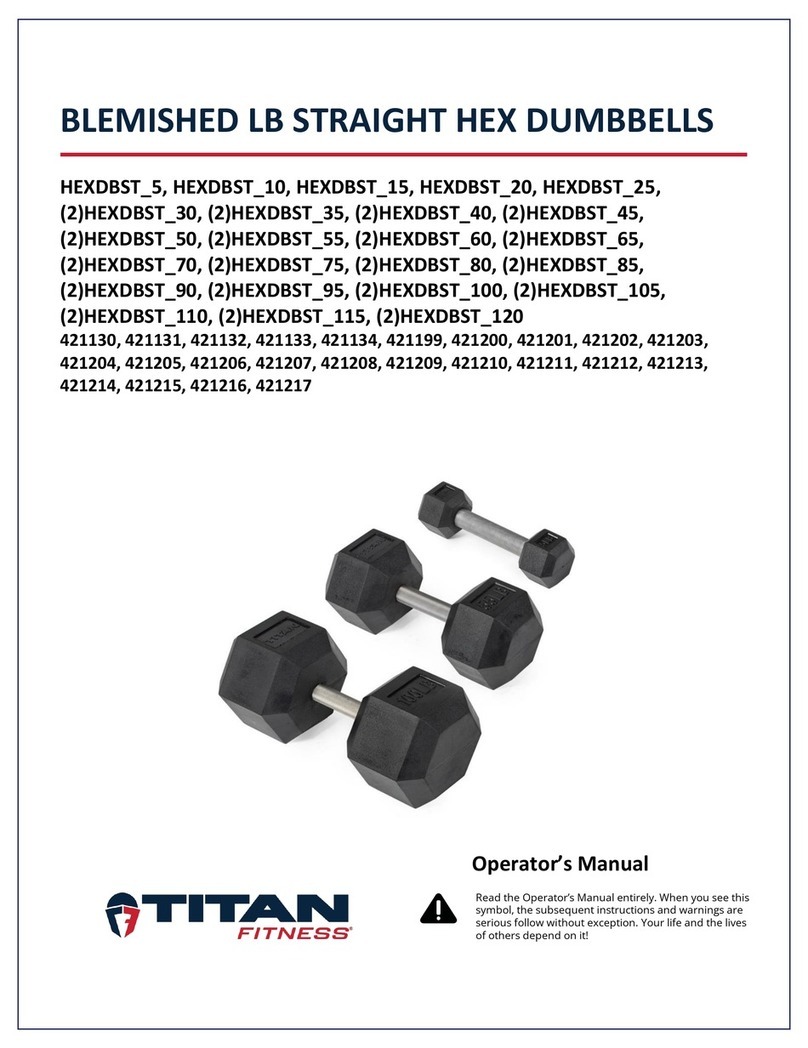
Titan Fitness HEXDBST 5 User manual

Titan Fitness

Titan Fitness HEXDBST 5 User manual

Titan Fitness CMBRCK User manual

Titan Fitness

Titan Fitness CMBRCK User manual
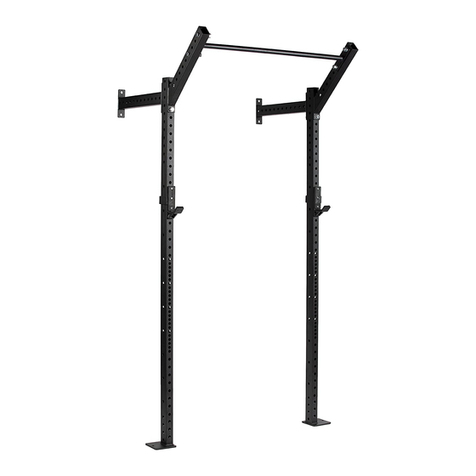
Titan Fitness SSRT3SHUP-SSRT3 User manual
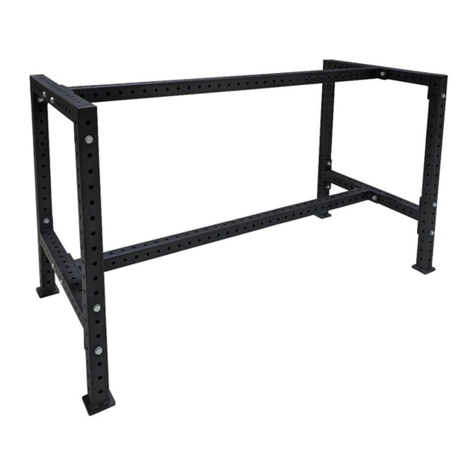
Titan Fitness

Titan Fitness SSRT3SHUP-SSRT3 User manual

Titan Fitness SWBENCH1 User manual

Titan Fitness

Titan Fitness SWBENCH1 User manual

Titan Fitness PLDIP 400899 User manual
Titan Fitness

Titan Fitness PLDIP 400899 User manual

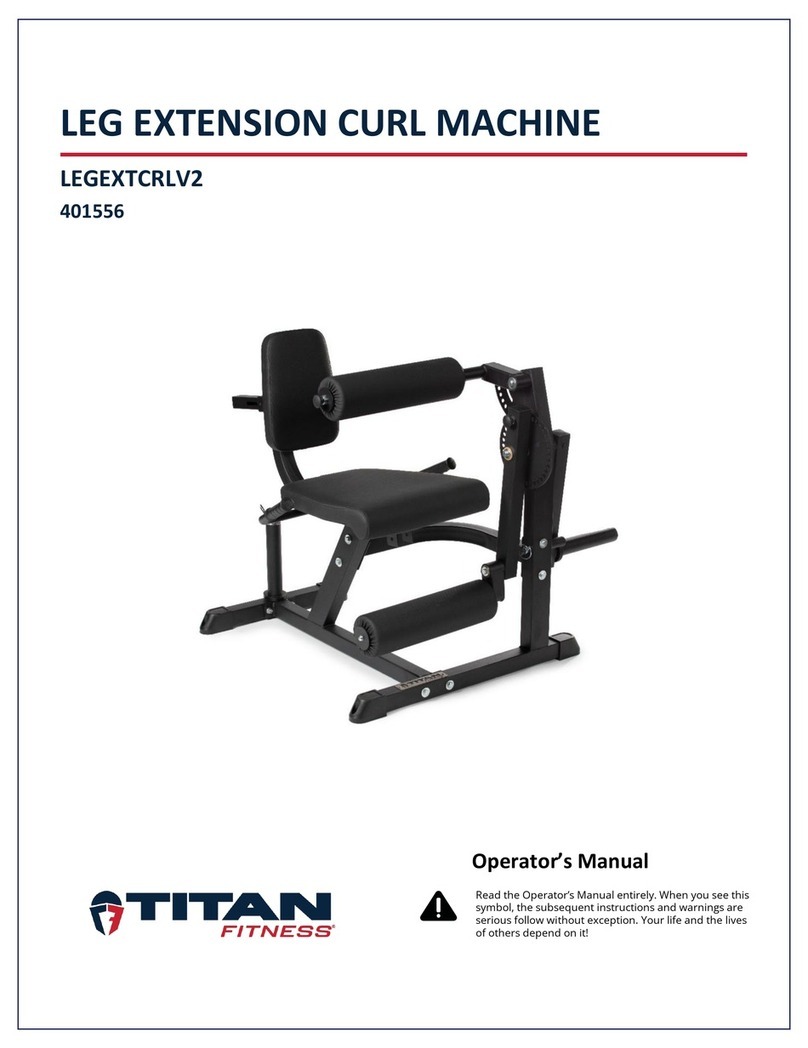
Titan Fitness LEGEXTCRLV2 User manual

Titan Fitness

Titan Fitness LEGEXTCRLV2 User manual
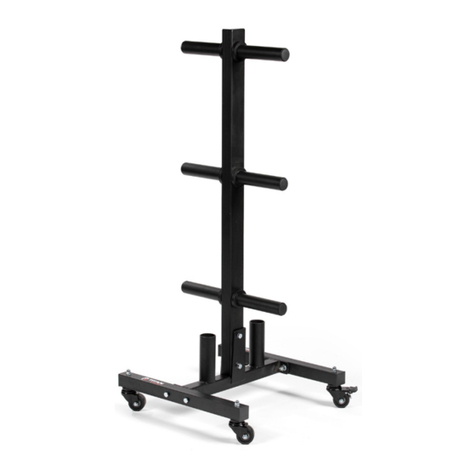
Titan Fitness PBTREEv4 User manual

Titan Fitness

Titan Fitness PBTREEv4 User manual

Titan Fitness LEGPRS1 User manual

Titan Fitness

Titan Fitness LEGPRS1 User manual
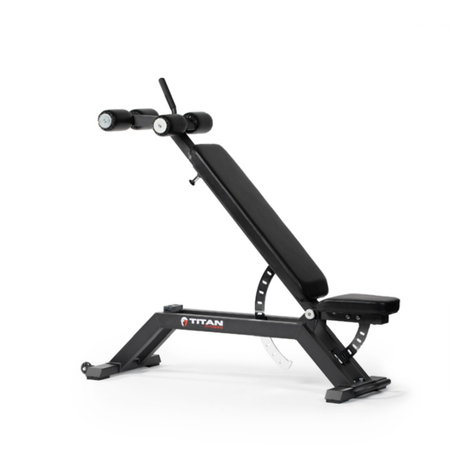
Titan Fitness DBENCH 400554 User manual
Titan Fitness

Titan Fitness DBENCH 400554 User manual

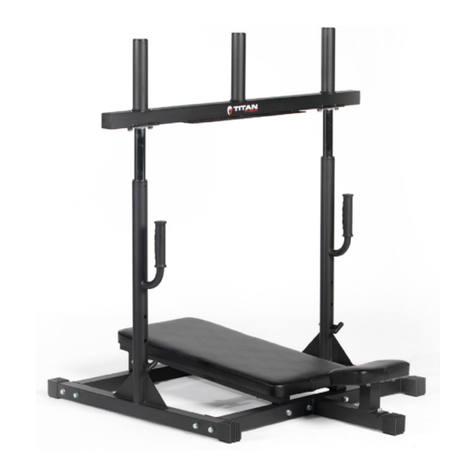
Titan Fitness VLEGPRS User manual

Titan Fitness

Titan Fitness VLEGPRS User manual

Titan Fitness KIPBARHD User manual

Titan Fitness

Titan Fitness KIPBARHD User manual

Titan Fitness AIRGYMAT10 User manual

Titan Fitness

Titan Fitness AIRGYMAT10 User manual

Titan Fitness PROBAG25 User manual

Titan Fitness

Titan Fitness PROBAG25 User manual

Titan Fitness LEGEXTCRL User manual

Titan Fitness

Titan Fitness LEGEXTCRL User manual
Titan Fitness A6 User manual

Titan Fitness

Titan Fitness A6 User manual

Titan Fitness ABBACK User manual

Titan Fitness

Titan Fitness ABBACK User manual

Titan Fitness PLCHSTPRS1 User manual

Titan Fitness

Titan Fitness PLCHSTPRS1 User manual

Titan Fitness X-3 User manual

Titan Fitness

Titan Fitness X-3 User manual

Titan Fitness LATTWR1 User manual

Titan Fitness

Titan Fitness LATTWR1 User manual

Popular Fitness Equipment manuals by other brands

ICON Health & Fitness PRO-FORM CARBON R10 user manual
ICON Health & Fitness

ICON Health & Fitness PRO-FORM CARBON R10 user manual

Christopeit Sport Delta Assembly and exercise instructions
Christopeit Sport

Christopeit Sport Delta Assembly and exercise instructions

FITBENCH PRO FBH-30 manual

FITBENCH

FITBENCH PRO FBH-30 manual

New Image FITT CUBE manual

New Image

New Image FITT CUBE manual
Taurus TF-RK2459 Assembly and operating instructions
Taurus

Taurus TF-RK2459 Assembly and operating instructions

BH FITNESS PL290 Instructions for assembly and use
BH FITNESS

BH FITNESS PL290 Instructions for assembly and use

BH FITNESS M250 Instructions for assembly and use

BH FITNESS

BH FITNESS M250 Instructions for assembly and use

Insportline MegaSpin user manual

Insportline

Insportline MegaSpin user manual

Cortex Omega TAR-10 owner's manual

Cortex

Cortex Omega TAR-10 owner's manual

TKO 846BBR-B owner's manual

TKO

TKO 846BBR-B owner's manual

Oypla 3900 user manual

Oypla

Oypla 3900 user manual

Master MAS4A111 user manual

Master

Master MAS4A111 user manual

XMark Fitness XM-9010 owner's manual

XMark Fitness

XMark Fitness XM-9010 owner's manual
Nexo N300 Commercial Squat Stand Assembly instructions
Nexo

Nexo N300 Commercial Squat Stand Assembly instructions

Domyos VA 300 operating instructions

Domyos

Domyos VA 300 operating instructions
Insportline Sunflower IN 2142 manual

Insportline

Insportline Sunflower IN 2142 manual

Sunny Health & Fitness SF-B2640 user manual
Sunny Health & Fitness

Sunny Health & Fitness SF-B2640 user manual

Bowflex MAX Trainer M9 Assembly & owners manual

Bowflex

Bowflex MAX Trainer M9 Assembly & owners manual

manuals.online logo
manuals.online logoBrands
  • About & Mission
  • Contact us
  • Privacy Policy
  • Terms and Conditions

Copyright 2025 Manuals.Online. All Rights Reserved.