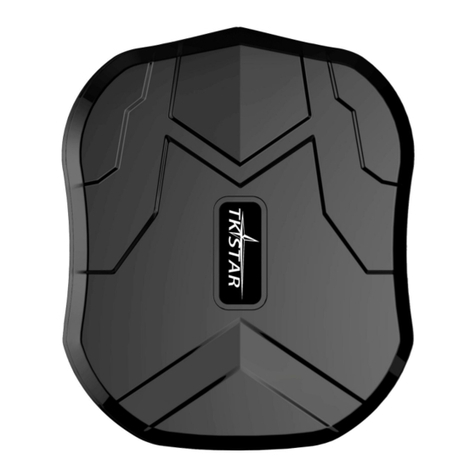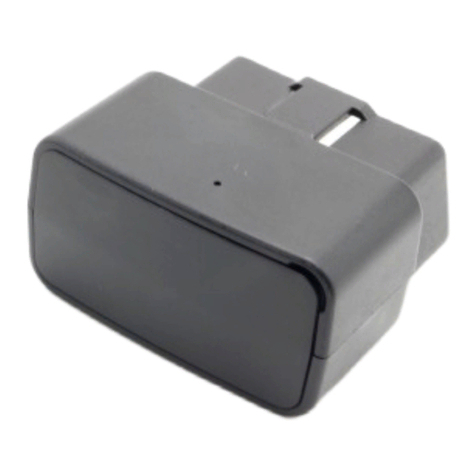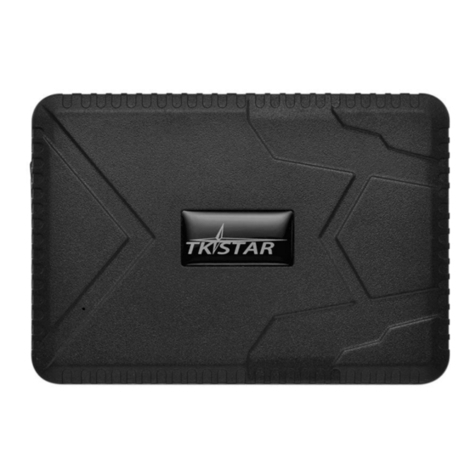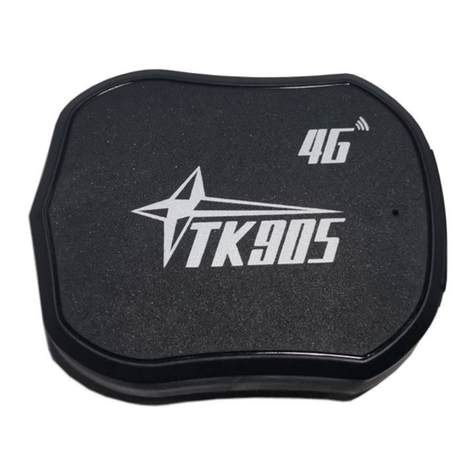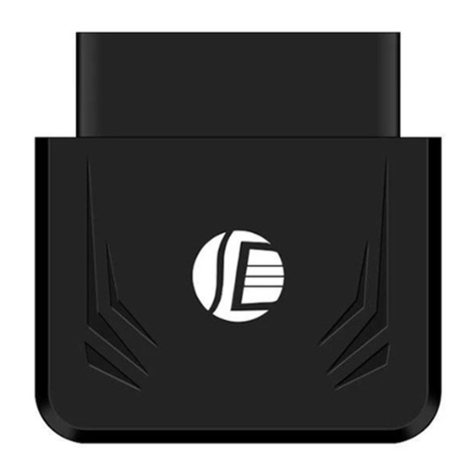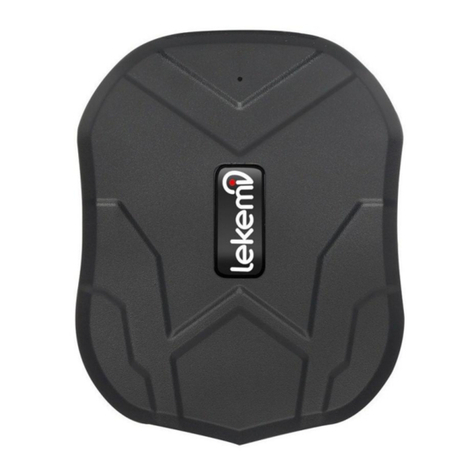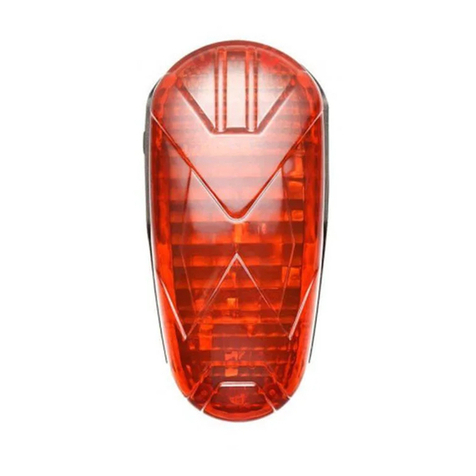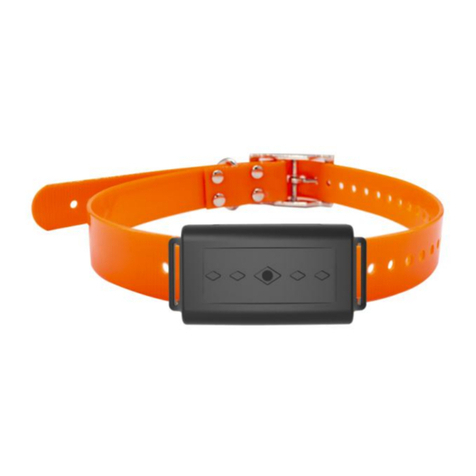
Please charge 12hours at first use.
Insert SIM card in right way. Please put the unit outside and make sure the trademark side
Confirm your SIM card have calling, send SMS, GPRS function.
Confirm your SIM card have enough balance (money).
Confirm your SIM card can show caller ID and don not use call forwarding function.
5.1 SIM card installation
Make sure that there is no call transfer and call display is on, and PIN code off. The SMS message must in Text
format, can’t be identified for PDU format.
5.1.1 Open the rear cover, remove the screws by screwdriver.
5.1.2 Forward push and open the metal piece, put the SIM card into the card slot, and press the metal piece to
its original position, push it backward.
5.2Battery and Charger
Do charge the battery to capacity in 8 -12 hours for first time. This unit adopts built-in Li-ion battery, and full
battery can standby 240 hours. After first use, the battery usually should be charged fully in 3-5 hours.
a: For it’s Li-ion battery, which contains harmful chemicals and may burst, please don’t bump, puncture it
violently and keep it off fire.
b: Please charge the battery in time to keep it working normally.
Turn on the unit outdoors by pressing the “on/off” button until the indicator is on.
Set admin number,APN and IP (details pls see below commands list)
In 10 or 40 seconds, the unit will begin to work and acquire the GSM signals as well as the GPS signals.
The indicator will keep flashing every 3 seconds when the unit has received the signals.
When this unit receives GPS signals normally, you can use it and do any setting as the instructions of this
green LED for GPRS working status
Slow flash (flash 1s after every 2s)
GSM / GPRS conversation start
Continuously in bright status
Blue LED for GPS working status
Slow flash (flash 1s after every 2s)
Continuously in bright status
Red LED for power charging status
Full battery or charged full
