manuals.online logo
Brands
  1. Home
  2. •
  3. Brands
  4. •
  5. TMG
  6. •
  7. Lawn And Garden Equipment
  8. •
  9. TMG TMG-LPG20 User manual

TMG TMG-LPG20 User manual

►
www.tmgindustrial.com P0 /11 Toll Free:1-877-761-2819
Main specifications
Overall assembled size : W4.88 x L7.5x H3.05 (m) / 16 x 24 x 10 (ft)
Front door : W3.6 x H2.0 (m) / 11.8 x 6.56 (ft)
Side door: W0.9 x H2.0 (m) / 2.95 x 5.56 (ft)
Prior to assembly
Please read the instructions carefully before installation. It is very important to
follow your local safety regulations and industry standards during installation.
Regulations may include but are not limited to:
-Safety helmets, protective eyewear, and clothing
-Safety harnesses for all elevated workers
-Proper ladder, cage, and safety operation
Check all components and parts before installation. All parts are marked with a part number,
please refer to the parts list to make sure you have all parts.
Choose a day with low or no wind to install, assembly is hard in heavy wind. Do not make
any alterations to the structure. Do not hang any weights on the frame during installation,
including parts. We are not responsible for any
Main Specifications:
Assembly size : W2.95 x L5.79 x H2.5 (m) / 10ft x 20ft x 8ft
Prior to assembly
Main Specifications:
Assembly size : W2.95 x L5.79 x H2.5 (m) / 10ft x 20ft x 8ft
►
www.tmgindustrial.com P1 /11 Toll Free:1-877-761-2819
Main Specifications:
Assembly size : W2.95 x L5.79 x H2.5 (m) / 10ft x 20ft x 8ft
Prior to assembly
Please go through the whole instruction manual completely. It is very important to
follow your local safety regulations and industry standards during installation.
Regulations may include but are not limited to:
-
Safety helmets, protective eyewear, and clothing
-
Safety harnesses for all elevated workers
-
Proper ladder, cage, and safety operation
Check all components and parts before installation. All parts are marked with a part
number, please refer to the parts list to ensure you have all parts.
Choose a day with low or no wind to install, it is hard to assemble with heavy wind. Do
not make any alterations to the structure. Do not hang any weight on the frame during
installation, including parts. We are not responsible for any damages or injuries caused
by inappropriate installation, unauthorized modifications or extreme weather.
Check the parts list below to make sure all parts are received prior to assembly.
►
www.tmgindustrial.com P2 /11 Toll Free:1-877-761-2819
TMG-LPG20 Part List
Parts
code
Graphical
Description
Length
Qty
A1
Post
110X110mm
6
A2
Base cover
190X190mm
6
A3
Base footing plate
170X170mm
6
A4
Base footing screw
4X35mm
36
A5
Expansion bolt
M8X7mm
24
A6
Post cover
110X110mm
4
A7
Post cover screw
4X16mm
24
A8
Small cover
18X18X2
4
B1-B4
Beam B1-Beam
80X140mm
6
B5
Rubber plug
8mm
56
B6
Sliding pin
35*17mm
86
B7
Sliding pin screw
4*16mm
172
C1-C43
Blade
149.98*43.8mm
43
C44
Letters
6*8*8mm
1
D1
L shape aluminum plate
25*15mm
4
E
R-shape pin
1.8*35mm
86
►
www.tmgindustrial.com P3 /11 Toll Free:1-877-761-2819
F1
Front breakwater
65*15mm
1
F2
Front breakwater screw
4*16mm
3
G1
Rear breakwater
125*26mm
1
G2
Rear breakwater screw
4*16mm
5
H1
Hexagon spanner
3mm
5
I
Pergola remote control
2
J
Small rubber hammer
26*6*2mm
1
K
Cross head
65mm
2
L
Auger
3.4mm
1
N
Silicon sealant
120ml
1
T
Hand crank
1600mm
1
B10
Beam connection
105*35*2mm
2
A9
Aluminium tube
80*30*1mm
1
►
www.tmgindustrial.com P4 /11 Toll Free:1-877-761-2819
Step 1:Install Base footing plate and Beam
Lay the post A1 flat, install base cover A2 and base footing plate A3 on all post A1, and
drilling base footing screw A4.
Install the beam, insert the ends of beam B1 into two post A1, and tighten the screws.
This step applies to the Beam B3.
.
Parts
code
Graphical
Qty
B1
1
A1
6
B3
1
A2
6
A3
6
A4
24
►
www.tmgindustrial.com P5 /11 Toll Free:1-877-761-2819
Step 2: Install Beam B2&B2-1
Connect the Beam B2 and B2-1 with Beam connection B10. Align with four holes and
install them on middle Post A1 with fixed drills.
Secure the Beam B2 and Beam B2-1 to Post A1.
Parts
code
Graphical
Qty
B10
1
B2-1
1
B2
1
►
www.tmgindustrial.com P6 /11 Toll Free:1-877-761-2819
Step 3:Install Beam B4&B4-1
Connect the Beam B4 and B4-1 with Beam connection B10. Align with four holes and
install them on middle Post A1 with fixed drills.
Secure the Beam B4 and Beam B4-1 to Post A1.
Parts
code
Graphical
Qty
B10
1
B4-1
1
B4
1
►
www.tmgindustrial.com P7 /11 Toll Free:1-877-761-2819
Step 4: Install Aluminium tube A9.
Install Aluminum tube A9 on the two middle Post A1
Parts
code
Graphical
Qty
A9
1
►
www.tmgindustrial.com P8 /11 Toll Free:1-877-761-2819
Step 5: Install Base footing plate A3
Measuring base distance,make the parallel distances and the diagonal distances equal.
Secure the base footing plate A3 with expansion bolt A5.
Parts
code
Graphical
Qty
A5
24
►
www.tmgindustrial.com P9 /11 Toll Free:1-877-761-2819
Step 6: Install Blades C1-C43.
Install the blades C1--C43 in sequence, and drill the sliding pin screw B7 into sliding pin
B6 to fix it.
Connect all the blades with L shape aluminum D1 & D2, and plug R-shape pin E as
shown.
All screw hole plugs with small rubber plug B5.
Parts
code
Graphical
Qty
D1
4
C1-C43
43
E
42
B5
56
B7
172
B6
86
►
www.tmgindustrial.com P10 /11 Toll Free:1-877-761-2819
Step 7:Install Front breakwater F1 and Rear breakwater G1
Parts
code
Graphical
Qty
F1
1
G1
1
F2
3
G2
5
►
www.tmgindustrial.com P11 /11 Toll Free:1-877-761-2819
Step 8: Install Post cover A6
Parts
code
Graphical
Qty
A6
4
A8
4
A7
24
C44
2

Other TMG Lawn And Garden Equipment manuals

TMG TMG-TMB70 User manual

TMG

TMG TMG-TMB70 User manual

TMG TMG-SFM72 User manual

TMG

TMG TMG-SFM72 User manual

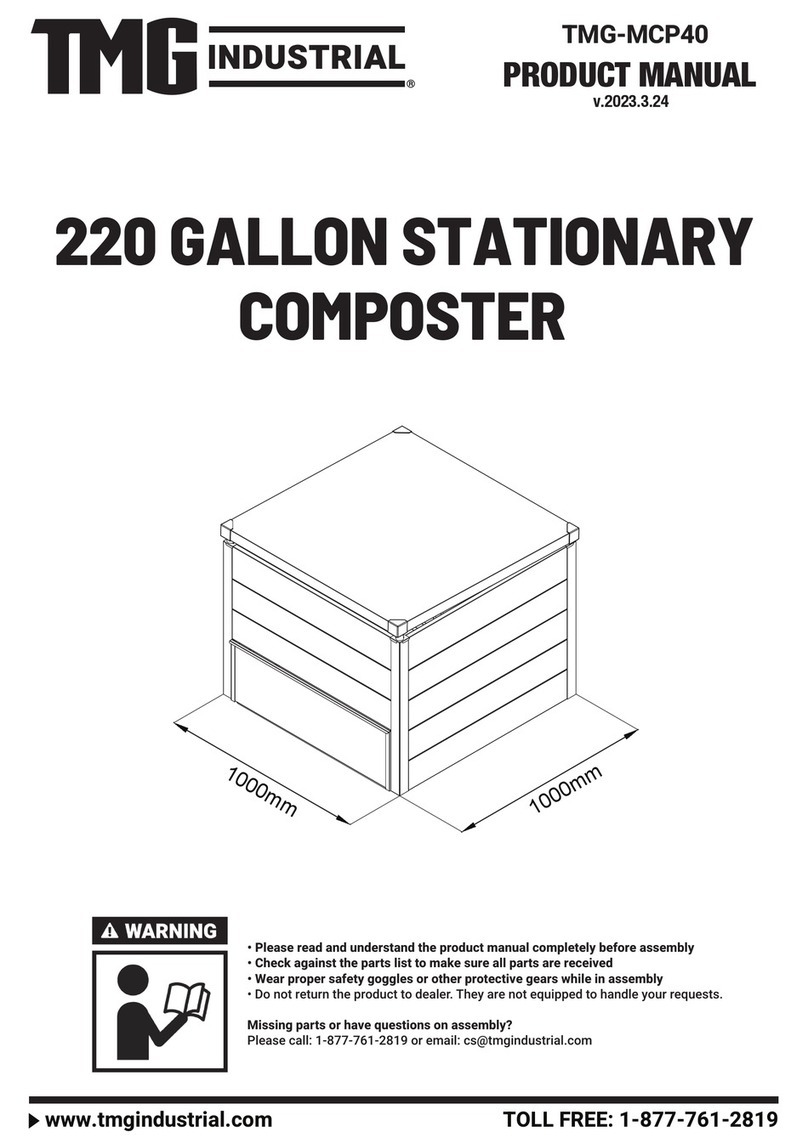
TMG TMG-MCP40 User manual

TMG

TMG TMG-MCP40 User manual

TMG TMG-EFM80 User manual

TMG

TMG TMG-EFM80 User manual

TMG TMG-TMB55 User manual

TMG

TMG TMG-TMB55 User manual

Popular Lawn And Garden Equipment manuals by other brands

Sunforce SOLAR user manual

Sunforce

Sunforce SOLAR user manual

GARDEN OF EDEN 55627 user manual

GARDEN OF EDEN

GARDEN OF EDEN 55627 user manual

Goizper Group MATABI POLMINOR instruction manual

Goizper Group

Goizper Group MATABI POLMINOR instruction manual

Rain Bird 11000 Series Operation & maintenance manual

Rain Bird

Rain Bird 11000 Series Operation & maintenance manual

Cub Cadet BB 230 brochure

Cub Cadet

Cub Cadet BB 230 brochure

EXTOL PREMIUM 8891590 Translation of the original user manual

EXTOL PREMIUM

EXTOL PREMIUM 8891590 Translation of the original user manual

Snapper 690179 installation instructions

Snapper

Snapper 690179 installation instructions

Exmark SAR481KA30 Operator's manual

Exmark

Exmark SAR481KA30 Operator's manual

Yazoo/Kees Z12 Operator's manual

Yazoo/Kees

Yazoo/Kees Z12 Operator's manual

Makita EM408MP Original instruction manual

Makita

Makita EM408MP Original instruction manual

Exmark Quest Bagger Setup instructions

Exmark

Exmark Quest Bagger Setup instructions

Manitou Systems AS960 Operator's manual

Manitou Systems

Manitou Systems AS960 Operator's manual

Vertex 1/3 HP Maintenance instructions

Vertex

Vertex 1/3 HP Maintenance instructions

GHE AeroFlo 80 manual

GHE

GHE AeroFlo 80 manual

Land Pride Post Hole Diggers HD25 Operator's manual

Land Pride

Land Pride Post Hole Diggers HD25 Operator's manual

Yazoo/Kees Z9 Commercial Collection System Z9A Operator's & parts manual

Yazoo/Kees

Yazoo/Kees Z9 Commercial Collection System Z9A Operator's & parts manual

Premier designs WindGarden 26829 Assembly instructions

Premier designs

Premier designs WindGarden 26829 Assembly instructions

Snapper 1691351 installation instructions

Snapper

Snapper 1691351 installation instructions

manuals.online logo
manuals.online logoBrands
  • About & Mission
  • Contact us
  • Privacy Policy
  • Terms and Conditions

Copyright 2025 Manuals.Online. All Rights Reserved.