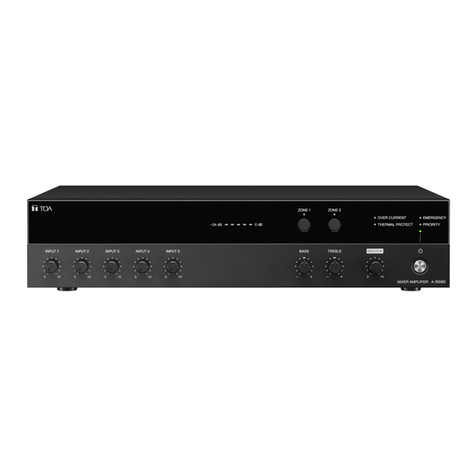
Toa P-3548D User manual

INSTRUCTION MANUAL
POWER AMPLIFIER P-3548D
Thank you for purchasing TOA’s Power Amplier.
Please carefully follow the instructions in this manual to ensure long, trouble-free use of your equipment.

2
TABLE OF CONTENTS
1. SAFETY PRECAUTIONS ............................................................................. 3
2. GENERAL DESCRIPTION .......................................................................... 5
3. FEATURES ............................................................................................................ 5
4. INSTALLATION PRECAUTIONS ............................................................. 5
5. NOMENCLATURE AND FUNCTIONS ................................................. 6
Front ............................................................................................................................. 6
Rear ............................................................................................................................. 7
6. CONNECTIONS ................................................................................................. 8
6.1. Speaker Connection ............................................................................................. 8
6.2. Speaker Line Input Connection ............................................................................ 9
6.3. Emergency Control Connection ........................................................................... 9
6.4. Remote Power ON/OFF Control Connection ..................................................... 10
6.5. Emergency Input and Control Input Terminal Connections ............................... 11
6.6. Removable Terminal Plug Connection ............................................................... 12
7. INSTALLING TO AN EQUIPMENT RACK ....................................... 13
8. CONTROL SETTINGS ................................................................................. 13
9. BLOCK DIAGRAM .......................................................................................... 14
10. SPECIFICATIONS ........................................................................................ 15
Accessories ............................................................................................................. 15
Optional products ..................................................................................................... 15

3
When Installing the Unit
• Do not expose the unit to rain or an environment
where it may be splashed by water or other liquids,
as doing so may result in re or electric shock.
• Use the unit only with the voltage specied on
the unit. Using a voltage higher than that which is
specied may result in re or electric shock.
• Do not cut, kink, otherwise damage nor modify
the power supply cord. In addition, avoid using the
power cord in close proximity to heaters, and never
place heavy objects -- including the unit itself -- on
the power cord, as doing so may result in re or
electric shock.
• Be sure to ground to the safety ground (earth)
terminal to avoid electric shock. Never ground to a
gas pipe as a catastrophic disaster may result.
• Avoid installing or mounting the unit in unstable
locations, such as on a rickety table or a slanted
surface. Doing so may result in the unit falling down,
causing personal injury and/or property damage.
• Since the unit is designed for indoor use, do not
install it outdoors. If installed outdoors, the aging of
parts causes the unit to fall off, resulting in personal
injury. Also, when it gets wet with rain, there is a
danger of electric shock.
• The terminals marked with the symbol are
hazardous live.
The external wiring to these terminals requires
installation by an instructed person.
When the Unit is in Use
• Should the following irregularity be found during
use, immediately switch off the power, disconnect
the power supply plug from the AC outlet and
contact your nearest TOA dealer. Make no further
attempt to operate the unit in this condition as this
may cause re or electric shock.
· If you detect smoke or a strange smell coming
from the unit.
· If water or any metallic object gets into the unit
· If the unit falls, or the unit case breaks
· If the power supply cord is damaged (exposure of
the core, disconnection, etc.)
· If it is malfunctioning (no tone sounds.)
• To prevent a fire or electric shock, never open nor
remove the unit case as there are high voltage
components inside the unit. Refer all servicing to
your nearest TOA dealer.
• Do not place cups, bowls, or other containers of
liquid or metallic objects on top of the unit. If they
accidentally spill into the unit, this may cause a re
or electric shock.
• Do not insert nor drop metallic objects or ammable
materials in the ventilation slots of the unit’s cover,
as this may result in re or electric shock.
• Do not touch a power supply plug during thunder
and lightning, as this may result in electric shock.
Indicates a potentially hazardous situation which,
if mishandled, could result in moderate or minor
personal injury, and/or property damage.
CAUTION
When Installing the Unit
• Never plug in nor remove the power supply plug with
wet hands, as doing so may cause electric shock.
• When unplugging the power supply cord, be sure to
grasp the power supply plug; never pull on the cord
itself. Operating the unit with a damaged power
supply cord may cause a re or electric shock.
Indicates a potentially hazardous situation which,
if mishandled, could result in death or serious
personal injury.
WARNING
1. SAFETY PRECAUTIONS
• Before installation or use, be sure to carefully read all the instructions in this section for correct and safe
operation.
• Be sure to follow all the precautionary instructions in this section, which contain important warnings and/or
cautions regarding safety.
• After reading, keep this manual handy for future reference.
Safety Symbol and Message Conventions
Safety symbols and messages described below are used in this manual to prevent bodily injury and property
damage which could result from mishandling. Before operating your product, read this manual rst and
understand the safety symbols and messages so you are thoroughly aware of the potential safety hazards.
4
• When moving the unit, be sure to remove its power
supply cord from the wall outlet. Moving the unit
with the power cord connected to the outlet may
cause damage to the power cord, resulting in re or
electric shock. When removing the power cord, be
sure to hold its plug to pull.
• Do not block the ventilation slots in the unit’s cover.
Doing so may cause heat to build up inside the
unit and result in re. Also, periodically clean the
ventilation slots of dust.
• Avoid installing the unit in humid or dusty locations,
in locations exposed to the direct sunlight, near the
heaters, or in locations generating sooty smoke
or steam as doing otherwise may result in re or
electric shock.
• To avoid electric shocks, be sure to switch off the
unit’s power when connecting speakers.
• Be sure to follow the instructions below when rack-
mounting the unit. Failure to do so may cause a re
or personal injury.
· Install the equipment rack on a stable, hard oor.
Fix it with anchor bolts or take other arrangements
to prevent it from falling down.
· When connecting the unit’s power cord to an AC
outlet, use the AC outlet with current capacity
allowable to the unit.
· Rack-mounting screws are not supplied with the
optional MB-25B Rack mounting bracket. Prepare
them that are appropriate for the equipment rack.
When the Unit is in Use
• Do not place heavy objects on the unit as this may
cause it to fall or break which may result in personal
injury and/or property damage. In addition, the
object itself may fall off and cause injury and/or
damage.
• Make sure that the volume control is set to minimum
position before power is switched on. Loud noise
produced at high volume when power is switched
on can impair hearing.
• Do not operate the unit for an extended period of
time with the sound distorting. Doing so may cause
the connected speakers to heat, resulting in a re.
Be sure to use the supplied power cord. Using any
other power cord may cause electric shock.
• Contact your TOA dealer as to the cleaning. If dust is
allowed to accumulate in the unit over a long period
of time, a re or damage to the unit may result.
• If dust accumulates on the power supply plug or
in the wall AC outlet, a re may result. Clean it
periodically. In addition, insert the plug in the wall
outlet securely.
• Switch off the power, and unplug the power supply
plug from the AC outlet for safety purposes when
cleaning or leaving the unit unused for 10 days or
more. Doing otherwise may cause a re or electric
shock.
Warning: Operation of this equipment in a residential environment could cause radio interference.
• The socket-outlet shall be installed near the equipment and the plug (disconnecting device) shall be
easily accessible.
• The apparatus shall be connected to a mains socket outlet with a protective earthing connection.

5
2. GENERAL DESCRIPTION
The P-3548D Power amplier delivers 480 W power output.
It is so designed that its power ON/OFF can be remotely controlled when used in conjunction with A-3500D
series or A-3600D series Mixer amplier (option).
It employs a PFC circuit.
The P-3548D can also be used as a stand-alone amplier.
3. FEATURES
• Two parallel inputs, one is speaker line input (–10 dB/0 dB), the other is line input.
• Master volume control and independent speaker line input volume control.
• Lightweight owing to the built-in digital power amplier unit.
• Switchable speaker output 4 – 16 Ω or 100 V line.
• Output level meter.
• Master volume control to simultaneously adjust all input levels.
• Power remote switch by contact input.
4. INSTALLATION PRECAUTIONS
• The supplied power supply cord is designed for exclusive use with the unit. Never use it with other equipment.
• Install the unit in a well-ventilated environment so that temperature inside the unit will not rise.
• When installing the unit on the desk, keep the unit over 10 cm away from objects that may obstruct air ow as
shown below.
• When installing the unit in an equipment rack, mount perforated panels. See "INSTALLING TO AN EQUIPMENT
RACK" on p. 13.
Over 10 cm
Over 10 cmOver 10 cm
P-3548D

6
5. NOMENCLATURE AND FUNCTIONS
[Front]
4
65
1
3
7
2
1. Power switch
Press this switch to turn on the power. To turn off
the power, press this switch again.
Note
Operation of the power switch is disabled while
the Power remote control input terminal (12) or
Emergency control input terminal (14) is closed.
2. Power indicator (Green)
Lights when the power is switched on and goes off
when it is switched off.
3. LED level meter (Green x 3, Orange x 1, Red x 1)
Displays the output level.
Adjust each volume control knob for an appropriate
output sound so that the red indicator does not
light.
Operating the unit while the red indicator remains
lit causes the sound quality to degrade.
4. Thermal protection indicator (Red)
Lights while the internal protection circuit is
operating.
5. Overcurrent protection indicator (Red)
Lights while the overcurrent protection circuit is
operating if overcurrent ows through the speaker
output.
6. Emergency broadcast indicator (Red)
Lights while the Emergency control input terminals
(14) are closed.
7. Master volume control
Adjusts all the volume levels simultaneously.
Rotate the knob clockwise to increase the whole
volume level and counterclockwise to decrease it.
(See "CONTROL SETTINGS" on p. 13.)

7
[Rear]
8
16
9
17 18 20
19
12 14
1510 11 13
8. AC inlet
Connect the supplied power cord to this receptacle.
Be sure to use the supplied power cord.
Using any other power cord may cause
electric shock.
9. Functional ground terminal
Noise may be generated when external equipment
is connected to the unit. In this case, connect
this terminal to the functional ground terminal of
the external equipment, and the noise may be
reduced.
Note
This terminal is not for protective ground.
10. Speaker output terminal
Removable terminal block (5.00 mm, 3 pins)
Outputs the audio signals of the power amplier
output. (See "BLOCK DIAGRAM" on p. 14.)
The specications of each output are as follows:
Rated output: 480 W
Low impedance: 4 – 16 Ω
High impedance (100 V Line): 21 Ω
Notes
• Never use the low impedance and high
impedance terminals simultaneously. Doing so
may cause damage to the unit or the peripheral
equipment.
• Never make connection to low impedance
terminal when the Impedance setting switch
(11) is set to 100 V.
Tip
To change impedance between high and low, use
the Impedance setting switch (11).
11. Impedance setting switch
Changes the speaker output impedance either to
low or high.
100 V: High impedance
4 – 16 Ω: Low impedance
Notes
• Make sure that the power is switched OFF
before changing this switch setting. Change
cannot be performed when the power is on.
• The impedance remains as it is even if you
change the switch setting when the power is
ON. However, the impedance will change when
you turn the power ON again after turning the
power OFF.
12. Power remote control input terminal
Short-circuit current: 10 mA or less, open voltage:
35 V DC or less, removable terminal block
(3.50 mm, 4 pins)
Permits the unit's power to be remotely turned ON
or OFF by way of make contacts.
For details, refer to "Remote Power ON/OFF
Control Connection" on p. 10 and "Emergency
Input and Control Input Terminal Connections" on
p. 11.
13. Power remote control output terminal
Open collector output, withstand voltage: 30 V
DC or less, current: 25 mA or less, removable
terminal block (3.50 mm, 4 pins)
An output terminal that can be used for remote
control of other equipment. Operates in
synchronization with the unit’s power ON/OFF.
When the unit’s power is on, it is activated.
CAUTION

8
* 0 dB = 1 V
14. Emergency control input terminal
Short-circuit current: 10 mA or less, open voltage:
35 V DC or less, removable terminal block
(3.50 mm, 4 pins)
Permits the unit's power to be remotely turned ON
or OFF by way of make contacts.
For details, refer to "Emergency Input and Control
Input Terminal Connections" on p. 11.
15. Emergency control output terminal
Open collector output, withstand voltage: 30 V
DC or less, current: 25 mA or less, removable
terminal block (3.50 mm, 4 pins)
An output terminal that can be used for remote
control of other equipment.
It is activated during the emergency broadcast
made from the unit.
16. Line output jacks
0 dB*, 600 Ω, unbalanced type, RCA pin jack x 2
Pre-fader signals (signals before being adjusted
with the Master volume control) are output.
17. Line input jacks
0 dB*/–20 dB* (switchable), 600 Ω, transformer
balanced, RCA pin jack x 2
Input jacks dedicated for LINE
18. Input level setting switch
Set the input sensitivity level (–20 dB or 0 dB) of
the Line input jacks (17).
19. Speaker line input volume control
Adjust the volume values of the Speaker line
input.
Rotate the knob clockwise to increase the volume
value and counterclockwise to decrease it.
20. Speaker line input terminals
40 dB* (100 V line), 65 kΩ, transformer balanced,
removable terminal block (5.00 mm, 2 pins).
The input volume can be changed with the
Speaker line input volume control (19).
Connects to 100 V line speaker output.
6. CONNECTIONS
External cable wiring must be only carried out by qualified and trained personnel.
6.1. Speaker Connection
For cable wiring to the removable terminal block, refer to p. 12.
Notes
• Never make connection to both 4 – 16 Ω (low impedance) and 100 V line
(high impedance) terminals simultaneously.
• Never make connection to 4 – 16 Ω terminal when the Impedance
setting switch is set to 100 V.
Tip
Recommended speaker cable is IV or HIV cable with thickness described
below.
Solid copper cable: ø0.32 – 2.0 mm
Stranded copper cable: 0.05 – 3.3 mm (AWG 30 – 12)
[Low impedance connection]
Speaker output terminal
P-3548D
4 – 16 Ω
[High impedance connection]
100 V line
Combined impedance : 21 Ω

9
6.2. Speaker Line Input Connection
For cable wiring to the removable terminal block, refer to p. 12.
Connect the high impedance (100 V) speaker wiring of other amplier to the Speaker line input terminals.
Other
Amplifier
Impedance: 65 kΩ
Nominal position mark
Speaker line input terminals
Speaker line input
volume control
6.3.2. Emergency control output terminal connection
Use this terminal when remotely controlling other
equipment. This terminal is activated while the emergency
broadcast is in progress from this unit.
To other equipment’s
emergency control input terminal
Control output signal specication: Open collector output (polarized), withstand voltage: 30 V DC or less,
current: 25 mA or less
6.3. Emergency Control Connection
For cable wiring to the removable terminal block, refer to "Removable Terminal Plug Connection" on p. 12.
6.3.1. Emergency control input terminal connection
Shorting the Emergency control input terminals forcibly
turns the unit’s power ON, delivering signals at the Line
output and speaker output terminals bypassing the
Master Volume Control. From other equipment’s
emergency control output terminal
Control input signal specication: Short-circuit current: 10 mA or less, open voltage: 35 V DC or less
[Volume adjustment]
First, set the Speaker line input volume control at the nominal position mark.
Then, adjust the volume with the Master volume control on the front panel while
monitoring the sound being broadcast from the speakers.
When the volume is still insufcient even if you turn the Master volume control fully
clockwise, adjust the volume by turning the Speaker line input volume control clockwise
from the nominal position mark.
When the sound is distorted even if you adjust the volume with the Master volume control,
adjust the volume by turning the Speaker line input volume control counterclockwise
from the nominal position mark.
P-3548D
Master volume control

10
6.4. Remote Power ON/OFF Control Connection
For cable wiring to the removable terminal block, refer to p. 12.
6.4.1. Remote power control input terminal connection
With the P-3548D’s power turned OFF, it can be remotely turned ON from the optional A-3500D series or
A-3600D series Mixer amplier by making the Remote IN-OUT terminal connections as shown below.
(This remote control operates only when the P-3548D’s power is turned OFF.)
P-3548D
A-3500D series
A-3600D Series
The gure represents the A-3500D series.
Control input signal specication: Short-circuit current: 10 mA or less, open voltage: 35 V DC or less
6.4.2. Remote power control output terminal connection
Use this terminal when remotely controlling other
equipment. This terminal is activated when the unit is
turned ON.
To other equipment’s
remote power control input terminal
Control output signal specication: Open collector output (polarized), withstand voltage: 30 V DC or less,
current: 25 mA or less

11
6.5. Emergency Input and Control Input Terminal Connections
For cable wiring to the removable terminal block, refer to p. 12.
While the Emergency control input terminals remain shorted, the power of all the connected A-3500D series or
A-3600D series, and P-3548Ds is turned on, and the A-3500D’s or A-3600D’s ZONE 1 and 2 speaker outputs
are enabled, allowing only Emergency input signals to go through bypassing the master volume control.
Opening the Emergency control input terminals automatically returns the muted signals to the original level.
P-3548D
A-3600D series
A-3500D series
P-3548D
The gure represents
the A-3500D series.

12
6.6. Removable Terminal Plug Connection
Step 1. Wiring the supplied removable terminal plug.
1-1. Loosen the terminal screws to insert the wire.
1-2. Tighten the terminal screws.
Ensure that the wire does not break free when
pulled. If the wire does pull free, repeat the
connection procedure from the start.
Step 2. Insert the wired terminal plug into the corresponding
terminal block in the unit’s rear panel.
Step 3. Only when the xing screw is inserted, tighten the
xing screw.
Notes
• Do not reverse Steps 1 and 2 above. Poor contact may
result if force is applied to the unit’s internal circuit board
pins while the terminal screws are being tightened.
• When detaching the terminal plug, pull it straight out. Pulling it
out at an angle may cause the terminal plug or terminal block
to break.
Slotted screwdriver
LoosensTightens
Removable terminal plug
(accessory)
Terminal screw
Fixing screw
1
3
[Recommended type of screwdriver ]
Blade width*1
*1For speaker output terminal: About 3.5 mm
For other terminals: About 2.5 mm
Tips
• Applicable cable size
For speaker output terminal For other terminals
Conductor cross-section area 0.05 − 3.3 mm20.08 − 2.0 mm2
AWG AWG 30 − 12 or equivalent AWG 28 − 14 or equivalent
Solid cable and stranded cable Shielded cable
7 mm*27 mm*2
20 mm
*2 Expose 8 mm or more when using the above
ferrule terminal, and cut off an extra conductor
protruding from the sleeve.
Note
Avoid soldering stranded or shielded
cable, as contact resistance may increase
when the cable is tightened and the
solder is crushed, possibly resulting in an
excessive rise in joint temperatures.
• When connecting 2 cables or a shielded cable to a single terminal, use a ferrule terminal with an insulation
sleeve to crimp the cables because such cable conductors could become loose.
(1) Recommended ferrule terminals for signal cables
(made by Phoenix Contact)
Model Number a l1l2
AI 0,34-8 TQ
AI 0,5-8 WH
2
Unit: mm
2.5
12.5
14
8
8
b
0.8
1.1
(2) Recommended ferrule terminals for speaker cables
(made by Phoenix Contact)
Model Number a1l1l2
AI 1,5-8 BK
AI-TWIN 2x1,5-8 BK 6.6
a2
3.6
14
162.3
8
8
a
3.4
Unit: mm
b
1.8
Crimping tool: CRIMPFOX 10S (made by Phoenix Contact)
Insulation sleeve
Contact section
Insulation sleeve
Contact section
a
l2
a1
a2
l1
l2
l1
bb
• Cable sheath to trim

13
Note
To improve ventilation, ensure that a perforated panel (panel with air openings) of 1-unit size or
greater is mounted over and under each unit, as well as on the top and at the bottom of the rack.
MB-25B
Machine screw M4 x 16
(supplied with the MB-25B)
PF-013B Perforated panel
(option)
P-3548D
P-3548D
Rack-mounting screws are not supplied with the optional MB-25B Rack
mounting bracket. Prepare them that are appropriate for the equipment
rack.
CAUTION
7. INSTALLING TO AN EQUIPMENT RACK
When installing the unit to an equipment rack, remove
the four plastic feet screwed on the unit’s base as shown
below.
When installing the unit to an equipment rack, use the
optional MB-25B Rack mounting bracket.
Plastic foot
P-3548D
8. CONTROL SETTINGS
Output levels are adjustable with individual volume controls. For music
play or announcements, adjust the corresponding volume control
so that the red indicator doesn’t light. Note that the sound quality is
downgraded when the red indicator remains lit.
To prevent the accidental change of the settings of input volume,
remove its knob after setting it to the desired position and attach the
supplied volume control covers instead.
Control knob
Volume control cover
(accessory)
P-3548D

14
9. BLOCK DIAGRAM
LINE IN
0 dB/600 Ω
–20 dB/600 Ω
AC/DC
CONVERTOR
(24 V)
DC/DC
CONVERTOR
(12 V)
PWR AMP
LEVEL METER
POWER
100 V/4 – 16 Ω
Change
Over
Current
Protect
Thermal
Protect
EMERGENCY100V/4 – 16
Change
FAN
EMERGENCY
Change
LINE OUT2
0 dB/600 Ω
LINE OUT1
0 dB/600 Ω
PWR
ON/OFF
POWER
POWER REMOTE
OUTPUT
EMERGENCY
OUTPUT
0 dB/–20 dB
100 V IN100 V
C
0 dB
0 dB
–20 dB
100 V
4 – 16 Ω
C
EMERGENCY OUT
POWER REMOTE OUT
POWER REMOTE IN
EMERGENCY IN
0 dB
0 dB
SP OUT
+24 V +12 V

15
10. SPECIFICATIONS
Power Source 220 – 240 V AC, 50/60 Hz
Rated Output 480 W
Power/Current
Consumption
601 W (rated output), 113 W (based on EN62368),
200 mA or less (when power switch is OFF)
Frequency Response 50 Hz – 20 kHz ±3 dB (1/8 rated output)
Distortion 1% or less at 1 kHz, rated power (20 kHz LPF (AUX-0025))
Signal to Noise Ratio 88 dB or more (Master volume: min)
76 dB or more (Master volume: max)
(A-weighted)
Audio Input LINE IN: 0 dB*/–20 dB* (switchable), 600 Ω, transformer balanced,
RCA pin jack x 2
SPEAKER LINE IN: 40 dB* (100 V line), 65 kΩ, transformer balanced,
removable terminal block (5.00 mm, 2 pins)
Audio Output SPEAKER OUT: Low impedance (4 – 16 Ω)/High impedance (21 Ω), removable
terminal block (5.00 mm, 3 pins)
LINE OUT: 0 dB*, 600 Ω, unbalanced, RCA pin jack x 2
Control Input POWER REMOTE IN: No-voltage make contact input, open voltage: 35 V DC
or less
short-circuit current: 10 mA or less, removable terminal
block (3.50 mm, 4 pins)
EMERGENCY IN: No-voltage make contact input, open voltage: 35 V DC
or less
short-circuit current: 10 mA or less, removable terminal
block (3.50 mm, 4 pins)
Control Output POWER REMOTE OUT: Open collector output, withstand voltage: 30 V DC or
less,
control current 25 mA or less, removable terminal
blocks (3.50 mm, 4 pins)
EMERGENCY OUT: Open collector output, withstand voltage: 30 V DC or
less,
control current 25 mA or less, removable terminal
blocks (3.50 mm, 4 pins)
Indicators Power indicator, LED level meter, Over current protection indicator, Thermal
protection indicator, Emergency broadcast indicator
Operating Temperature –10 to +40° C
Operating Humidity 85%RH or less (no condensation)
Finish Panel: ABS resin, black
Case: Surface-treated steel plate, black, paint
Dimensions 420 (w) x 96.1 (h) x 313.1 (d) mm
Weight 5 kg
* 0 dB = 1 V
Note: The design and specications are subject to change without notice for improvement.
• Accessories
Power cord (2 m) .............................................. 1
Removable terminal plug (5.00 mm, 2 pins) ..... 1
Removable terminal plug (3.50 mm, 4 pins) ..... 2
Removable terminal plug (5.00 mm, 3 pins) ..... 1
Volume control cover ........................................ 1
• Optional products
Rack mounting bracket: MB-25B
Perforated panel: PF-013B

URL: https://www.toa.jp/
133-02-00601-00
Table of contents
Other Toa Amplifier manuals

Toa
Toa P-3248D-EB 1CE User manual

Toa
Toa C-001T User manual

Toa
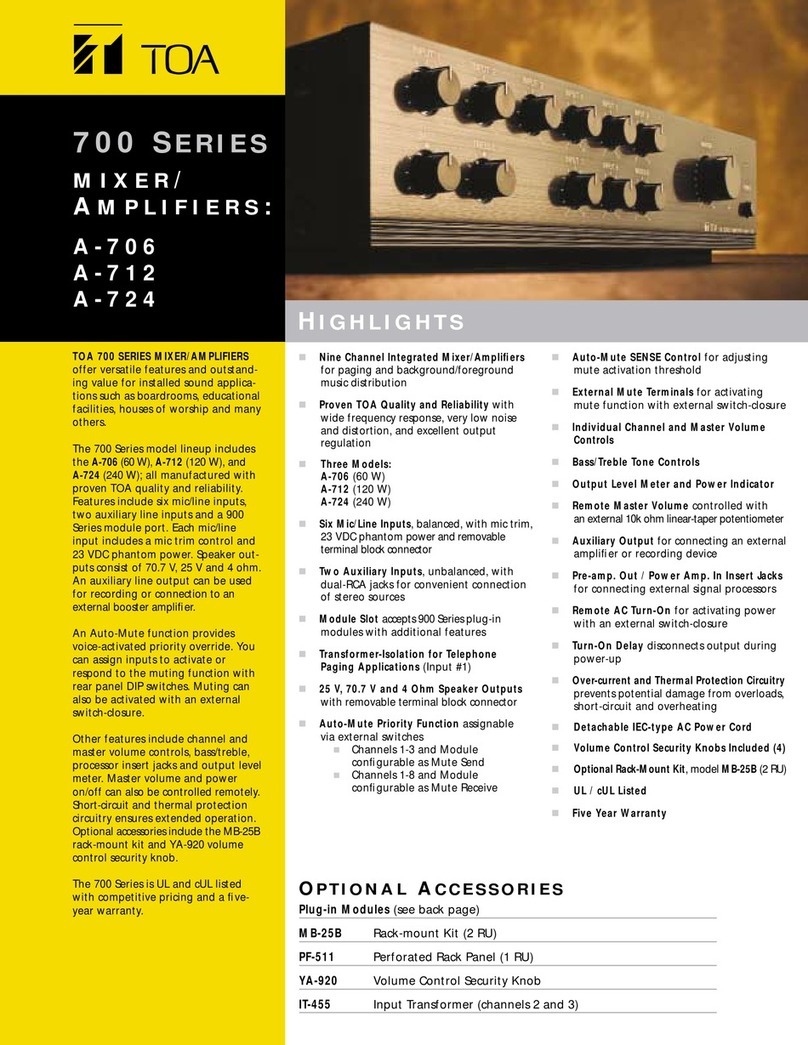
Toa A-706 User manual

Toa
Toa VX-1000MC-W User manual

Toa
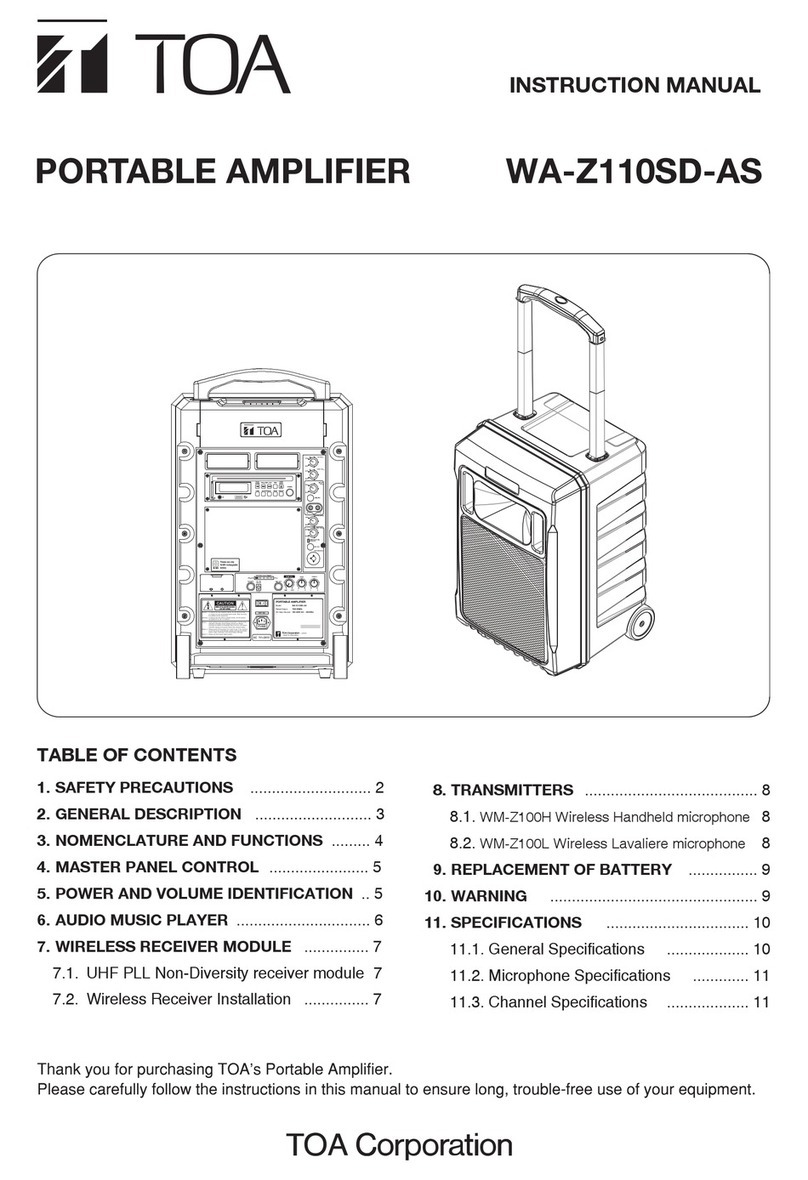
Toa P-150M Instruction Manual

Toa
Toa A-230 HV User manual

Toa
Toa DA-250F CE301 User manual

Toa
Toa SA-112 CE User manual

Toa
Toa BG-220 Operating and installation instructions

Toa
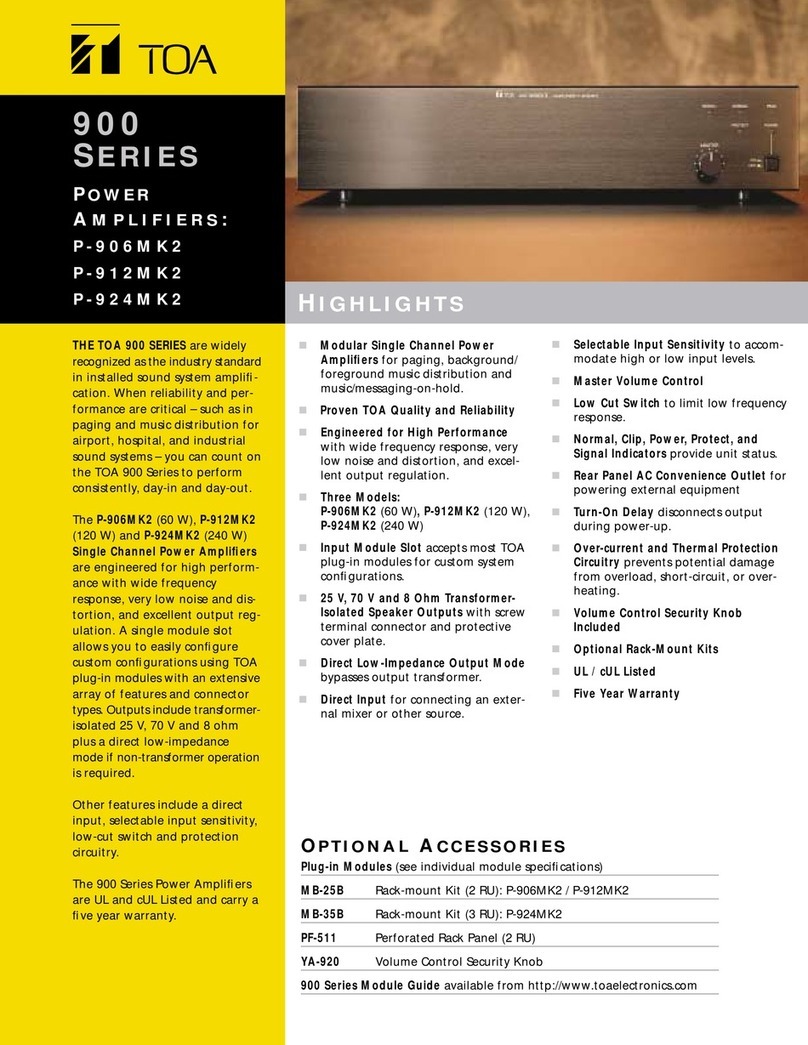
Toa P-906MK2 User manual