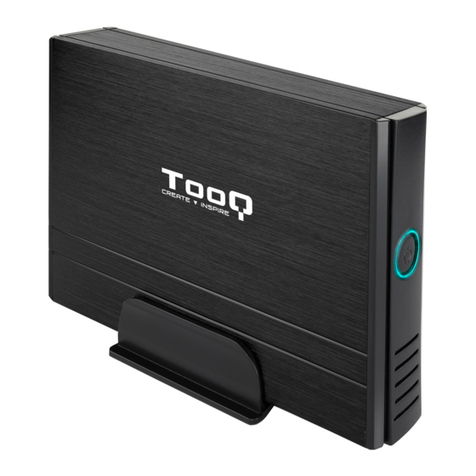
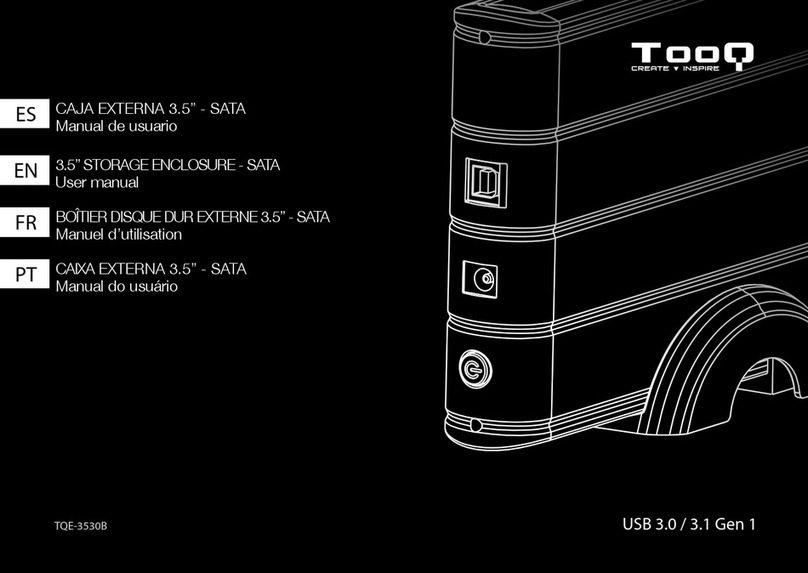
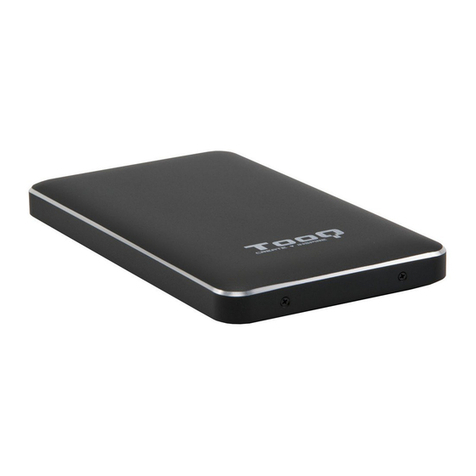
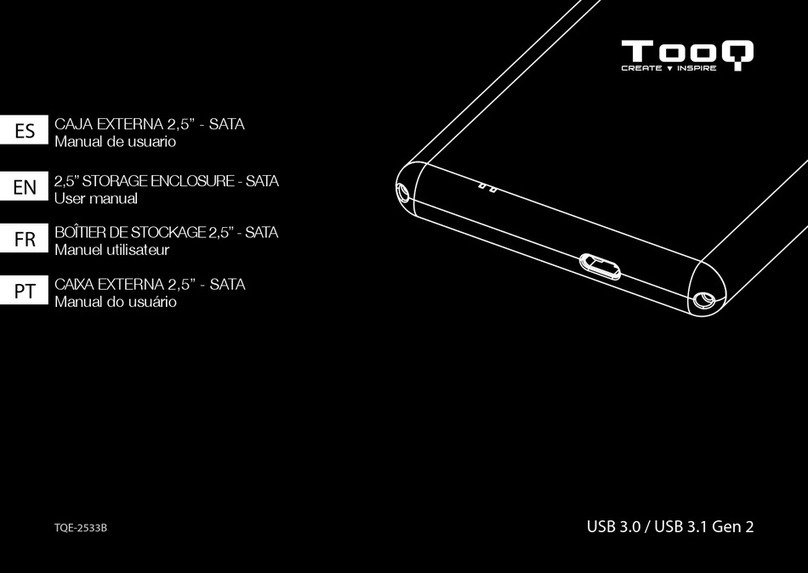
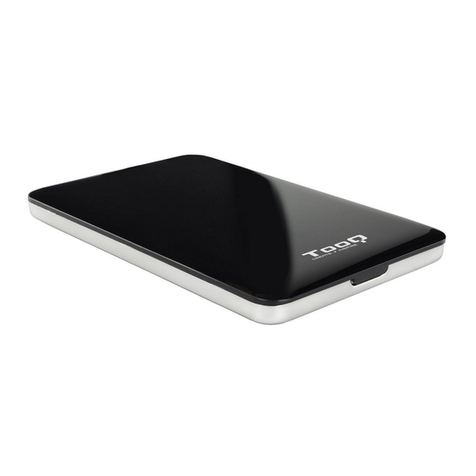
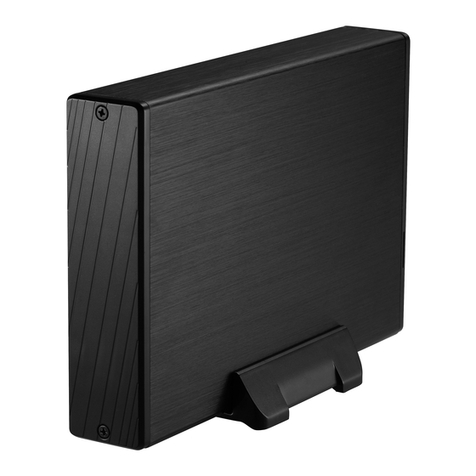
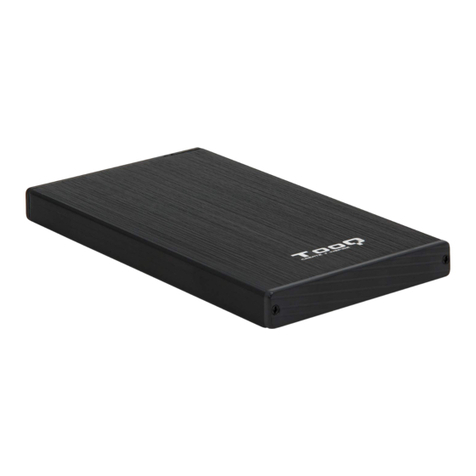
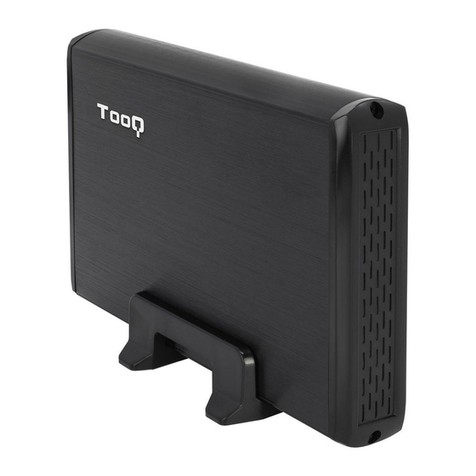
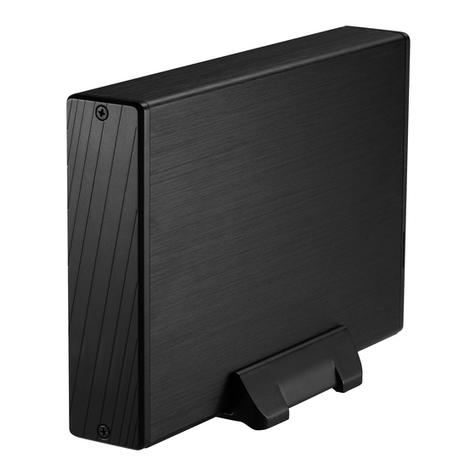
TOOQ Easydata 3.5" HDD Series User manual

ES CAJA EXTERNA USB
Manual de usuario
EN
TQE-3526B
USB EXTERNAL ENCLOSURE
User manual
Manuales disponibles en:
Manuais disponíveis en:
Manuals available at:
Manuels disponibles sur:
Handbücher auf:
Manuali disponibili su:
www.tooq.com
USB 3.0


ES


5
ES
Gracias por comprar la caja externa 3,5” de TOOQ.
Esta caja externa es “Plug & Play” (enchufar y listo), le
permite conectar su disco HDD a través de un puerto USB.
Contenido del paquete
• Caja externa para disco duro.
• Cable USB 3.0.
• Soporte para carcasa.
• Adaptador de corriente 12V.
• Manual de usuario.
• Tornillos y mini destornillador.
Por su seguridad y la satisfacción de usar este
producto, por favor, lea detenidamente este manual
de instrucciones antes de iniciar la instalación.
Características
• Interfaz USB 3.0 - Hasta 5.0 Gbps.
• Soporta disco duros SATA I, II y III.
• Enchufar y listo, sin necesidad de instalar controladores.
• Indicadores LED de encendido y lectura.
• Caja externa de aluminio.
• Alimentación: AC 100~240V, DC12V/2A.
Requisitos del sistema
• Disponer de un puerto USB.
• Windows 98/ME/2000/XP/Vista/7/8/10 o Mac OS 10.X o
superior y compilaciones de Linux como Ubuntu.
(No es necesario instalar controladores)
Por favor, utilice la pulsera antiestática o toque una
superficie de metal para liberar la electricidad estática
antes de iniciar la instalación de la caja. La placa PCB de
la carcasa es muy sensible a las descargas electrostáticas.

6
ES
Instalación del disco en la caja externa
Nota: Las imágenes son orientativas y pueden variar
dependiendo del modelo adquirido.
1. Abra la caja externa deslizando la bandeja del disco
duro hacia la dirección indicada por la flecha.
Botón encendido
Jack DC 12V/2A
Indicador LED
Puerto USB 3.0
2. Instale cuidadosamente el disco duro en la
bandeja asegurándose de que los conectores queden
perfectamente unidos.
Advertencia: no manipule los elementos de la placa (PCB),
puede dañarlos y perder la garantía.

7
ES
3. Coloque los cuatro tornillos para fijar el disco duro en
la bandeja.
4. Cierre la carcasa totalmente y coloque los tornillos para
fijar la tapa de la carcasa.
5. Conecte el conector USB tipo B del cable USB al puerto
USB de la carcasa.
6. Conecte el adaptador de corriente a la cascasa (Jack
DC).
7. Conecte el conector USB tipo A macho del cable USB
principal al puerto USB del ordenador. Si conecta el
conector tipo A a un puerto USB 2.0 ó 1.1, la velocidad se
ajusta a 480Mbps ó 12Mbps.
8. Conecte el adaptador de corriente a una toma de
corriente.
9. Encienda el dispositivo, ponga el botón de encendido
en posición “on”.

8
ES
Conexión con el PC en Windows 98/ME/2000/XP/
Vista/7/8/10 o posterior
No se necesita instalar controladores. Conecte la caja
externa al puerto USB del PC. Debe aparecer un icono en
la barra de tareas en la esquina inferior derecha que indica
nuevo dispositivo detectado. Si no aparece la letra del
disco duro en Mi PC, debería dar formato al disco duro.
Sobre formatos del sistema
Formatos del sistema de archivos de Windows:
Existen tres tipos de sistemas de archivos en Windows
en la actualidad: NTFS, FAT32 y ExFAT. Si solo va a
usar el disco en Windows utilice NTFS. Si desea crear
compatibilidad con otros sistemas operativos utilice
ExFAT ya que FAT32 tiene limitaciones de tamaño
de archivo. Use FAT32 si pretende utilizar el disco en
sistemas operativos que no son actuales. (Windows
XP o Mac OS 9.X)
Formatos de sistema de archivos en Mac:
Existen dos tipos de sistemas de archivos en Mac en la
actualidad: APFS y HFS+. Aunque es compatible con
FAT32 y ExFAT que utiliza Windows.
Si va a usar macOS a partir de High Sierra puede usar
APFS, para anteriores sistemas de Mac utilice HFS+.

9
ES
Partición del disco
Si el disco es nuevo, no será reconocido por el sistema
hasta que no le cree particiones y dé formato.
Esta operación puede realizarla en sistemas basados en:
• Windows en el “Administrador de discos”, dentro
de las herramientas de administración del sistema.
(Equipo, botón derecho, Administrar…).
• Mac en “Utilidad de discos”, dentro de las
herramientas. (Finder, Ir…).
• Ubuntuen “Utilidaddediscos”,dentro deadministración
del sistema. (Sistema, Administración…).
Información sobre la garantía
El distribuidor de TOOQ o vendedor donde usted compró la
caja externa TOOQ, y/o los accesorios originales atenderá
su reclamación y/o proveerá servicio bajo garantía.
Por favor, devuelva la caja externa a su distribuidor o
vendedor para solicitar servicio bajo garantía. Para poder
recibir servicio bajo garantía, debe presentar recibo de
compra o prueba sustitutiva comparable de compra que
lleve la fecha de compra. La caja externa deberá mostrar
también el número de serie.
La garantía no será aplicable si el tipo o número de serie
en el producto han sido alterados, borrados, quitados, o
dañados de modo ilegible.
Fuera de garantía.
• Los defectos y daños que resulten de la utilización del
producto para otro uso fuera de lo normal y habitual o
por no seguir las instrucciones de este manual de usuario.
• Los defectos o daños producidos por uso indebido,
accidente o negligencia.
• Los defectos o daños producidos por pruebas,
operaciones, mantenimiento o ajuste inadecuados, o
cualquier alteración o modificación de cualquier índole.
• Rotura o daño de la caja externa a menos que sea causado
directamente por defectos en el material o mano de obra.
• Defectos o daños debido a la humedad, alta temperatura
o derrame de líquidos.
• Toda superficie de plástico o metal y todas las partes
externas que estén rayadas debido al uso cotidiano.
• Productos alquilados temporalmente.

10
ES
F.A.Q.
¿El sistema no reconoce la unidad?
Esta caja externa no precisa de drivers adicionales para los
sistemas operativos compatibles.
Más información en la sección Requisitos del sistema.
Si el disco es nuevo, no será reconocido por el sistema
hasta que no le cree particiones y dé formato.
Más información en la sección Partición del disco.
Indicaciones del LED:
El LED verde indica que está alimentado y el LED rojo
significa acceso al disco ya sea para identificarlo o lectura
o escritura.
Especificaciones
• Conexión USB 3.0
• Velocidad de transferencia de hasta 5.0Gbps
• Compatible con discos duros de 3.5” SATA I 1,5 Gb/s,
SATA II 3 Gb/s y SATA III 6 Gb/s.
• Capacidad disco duro soportada: 2.0 TB (Sistema de
32 bits) y 3.0 TB o superior (Sistema de 64 bits)
• Velocidad de disco duro soportada: 4200RPM /
5400RPM/ 7200RPM
• Tipo de formatos soportados:
FAT32/ ExFAT/ NTFS/ eXT2/ HFS
• Sistemas operativos soportados: Windows 98 ME/2000
XP/ VISTA/Win7/8/10, Mac OS 9.X/Mac OSX/macOS
o compilaciones de Linux como Ubuntu
• Indicadores LED de funcionamiento
• Alimentación a través de adaptador de corriente
externo.
• Material: aluminio.
• Incluye soporte de plástico.
• Medidas: 206 x 120 x 30mm.
• Peso: 350g.
• Color: Negro.
• Incluye cable USB 3.0, mini destornillador, tornillos y
manual de usuario.

EN

12

EN
13
Thank you for purchasing TOOQ 3.5” External enclosure. This
external enclosure is Plug & Play, allows you to connect your
SATA disk, through a port.
Package contents
• External enclosure.
• USB 3.0 cable.
• External 12V Power Adapter.
• Plastic support.
• User manual.
• Screws and mini screwdriver.
For your safety and the satisfaction of using
this product, please read this instruction manual
carefully before starting the installation.
Features
• USB Interface 3.0 - Up to 5 Gbps.
• Supports SATA I, II and III HDD.
• Plug and play, no need to install drivers.
• LED indicates power and data access.
• Aluminium enclosure.
• Power through external power adapter.
System Requirements
• Available USB port
• Windows 98/ME/2000/XP/Vista/7/8/10 or Mac OS 9.X/
Mac OS X/macOS or Linux builds like Ubuntu (No driver
installation required)
Please use an antistatic wrist strap or touch a grounded
metal surface to release static electricity before starting
the enclosure installation.PCB. are particularly sensitive to
electrostatic discharges.

EN
14
Hardware Instalation
Note: Images are merely indicative and may vary
depending on the model.
1. Slide out HHD tray as the arrow pointed direction.
On/O button
Jack DC 12V/2A
LED Indicator
USB 3.0 port
2. Connect the hard drive with the correspondig connector
carefully and make sure the hard drive and the connector
are firmly connected.
Caution: Do not touch the chipset on the PCB. This not
only bears a high risk of accident, but also voids the
warranty.

EN
15
3. Mount the drive with the 4 screws from the bottom as
seen infollowing illustration.
4. Fasten the 2 screws on the rear panel to finish the
assembly.
5. Connect the USB type B male conector of the cable to
the USB of the case.
6. Connect the AC/DC power adapter.
7. Connect the USB type A male connector og the main
cable to the computer’s USB 3.0 PORT. If the cable is
connected to a USB 2.0 or usb 1.1 port, the transfer speed
will down to 480 Mbps or 12 Mbps.
8. Connect the power cable to the mains socket.
9. Turn on the enclosure by putting the power switch to
position “ON”.

EN
16
Connecting to the PC in Windows 2000 / XP / Vista /
7/8/10 or later
No need to install drivers. Connect the external enclosure
to the USB port on the PC. You should see a box informing
you of the new detected device. If the hard drive letter
does not appear in the file browser, you should have to
format the disk partitions.
About file system formats
Windows File System Formats:
There are three types of file systems in Windows today:
NTFS, FAT32 and ExFAT. If you are only going to use
the disk in Windows use NTFS. If you want to create
compatibility with other operating systems use ExFAT
because FAT32 has file size limitations. Use FAT32 if
you intend to use the disk in operating systems that
are not current. (Windows XP or Mac OS 9.X).
Mac File System Formats:
There are two types of file systems in Mac today: APFS
and HFS+. Although it supports FAT32 and ExFAT
Windows file systems.
If you are using macOS from High Sierra you can use
APFS, for previous Mac systems use HFS+.

EN
17
Hard Drive Partition
If the disk is new, it will not be recognized by the system
until you create partitions and format the partitions.
This operation can be performed in systems based on:
• Windows in the “Disk Administrator”, within the
system administration tools. (Equipment, right
button, Manage...).
• Mac in “Disk Utility”, inside the tools. (Finder, Go ...).
• Ubuntu in “Disk Utility”, within system administration.
(System, Administration ...).
Warranty Information
The TOOQ dealer or retailer where you purchased the
TOOQ external enclosure, and/or original accessories will
respond to your claim and/or provide warranty service.
Please return the external enclosure to your dealer or seller
for warranty service. Do not return the external enclosure
to TOOQ.
In order to receive warranty service, you must present
proof of purchase or comparable replacement proof of
purchase that carries the date of purchase. The external
enclosure must also show the serial number.
The warranty does not apply if the type or serial number
on the product has been altered, deleted, removed, or
illegibly damaged.
Out of warranty.
• Defects and damages resulting from use of the product
in other than its normal and customary manner or by not
following the instructions in this user manual.
• Defects or damages caused from misuse, accident or
negligence.
• Defects or damages caused from improper testing,
operation, maintenance or adjustment, or any alteration or
modification of any kind.
• Breakage or damage to the enclosure unless caused
directly by defects in material or workmanship.
• Defects or damage due to humidity, high temperature or
liquid spill.
• All plastic or metal surfaces and all external parts that are
scratched due to everyday use.
• Products temporarily leased.

EN
18
F.A.Q.
The system does not recognize the unit?
This external enclosure does not require additional drivers
for the supported operating systems. More information in
the system requirements section.
If the disk is new, it will not be recognized by the system
until you create partitions and format the partitions.
More information in the Partition of the disk section.
LED Indications:
The grenn LED indicates that it is powered. The red LED
means access to the disk either for identification or reading
or writing.
Specifications
• Interface USB 3.0
• Speed transfer Up to 5 Gbps
• Supports 2,5” SATA I 1,5 Gb/s, SATA II 3 Gb/s and
SATA III 6 Gb/s.
• Hard disk capacity: Above 2TB in GPT systems
supporting, and up to 2TB in all systems.
• Speed of hard disk: 4200RPM /
5400RPM/ 7200RPM
• Supported formats:
FAT32/ ExFAT/ NTFS/ eXT2/ HFS
• Operating Systems Supported: 98/ME/2000/XP
Vista/7/8/10Windows 2000/XP/Vista/7/8/10 Mac
OS 9.X/Mac OSX/macOS or Linux builds like Ubuntu.
• LED Indicators: Disk activity and power on.
• Power through external power adapter.
• Enclosure material: Aluminum.
• Sizes : 206 x 120 x 30mm.
• Weight: 350g.
• Colour: Black.
• Includs screws and mini screwdriver, USB 3.0 cable and
user manual.


©2018 by TOOQ technology, S.L.
Released in 2019/04.
AII Rights Reserved.
tooq.com
* Todas las especificaciones están sujetas a cambios sin
previo aviso. Por favor, consulte con su proveedor
para ofertas exactas. Los productos pueden no estar
disponibles en todos los mercados.
* El color del producto y las versiones del software
incluidas están sujetas a cambios sin previo aviso.
* Las marcas y nombres de productos mencionados son
marcas registradas de sus respectivas compañías.
* AII specifications are subject to change without notice.
Please check with your supplier for exact oers. Products
may not be available in all markets.
* Product color and bundled software versions are subject
to change without notice.
* Brand and product names mentioned are trademarks of
their respective companies.
This manual suits for next models
1
Table of contents
Languages:
Other TOOQ Enclosure manuals
TOOQ
TOOQ TQE-2538B User manual

TOOQ
TOOQ TQE-2527B User manual

TOOQ
TOOQ TQE-3509B User manual

TOOQ
TOOQ TQE-2202BR User manual

TOOQ
TOOQ TQE-2524B User manual

TOOQ
TOOQ TQE-2510B User manual

TOOQ
TOOQ TQE-25DES01B User manual

TOOQ
TOOQ TQE-3527B User manual

TOOQ
TOOQ TQE-2531B User manual

TOOQ
TOOQ TQE-2280B User manual

TOOQ
TOOQ TQE-3520B User manual

TOOQ
TOOQ EasyData Series User manual

TOOQ
TOOQ TQE-2529B User manual

TOOQ
TOOQ TQE-2200 User manual

TOOQ
TOOQ TQE-2522B User manual
TOOQ
TOOQ TQE-2527P User manual

TOOQ
TOOQ TQE-2599RGB User manual

TOOQ
TOOQ TQE-2530B User manual

TOOQ
TOOQ TQE-2526B User manual

TOOQ
TOOQ TQE-2550BL User manual