manuals.online logo
Brands
  1. Home
  2. •
  3. Brands
  4. •
  5. Vantec
  6. •
  7. Enclosure
  8. •
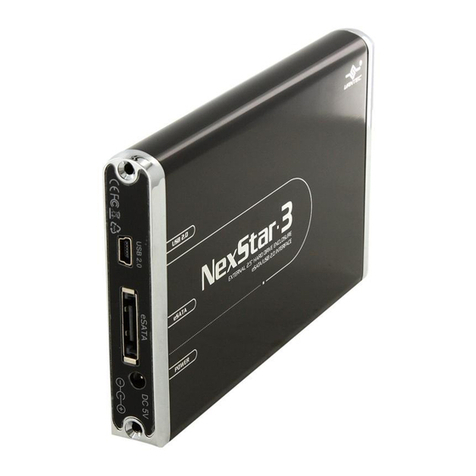
  9. Vantec NST-510S3-BK User manual

Vantec NST-510S3-BK User manual

This manual suits for next models

5

Other Vantec Enclosure manuals

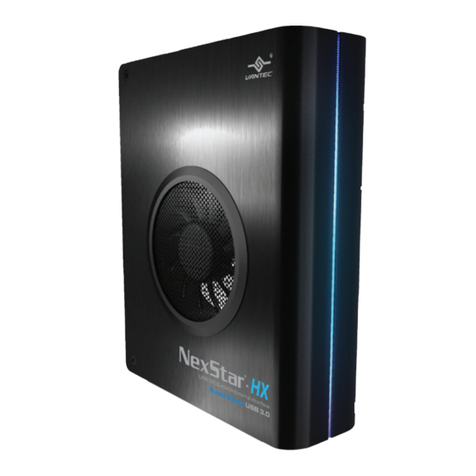
Vantec NexStar FX User manual

Vantec

Vantec NexStar FX User manual

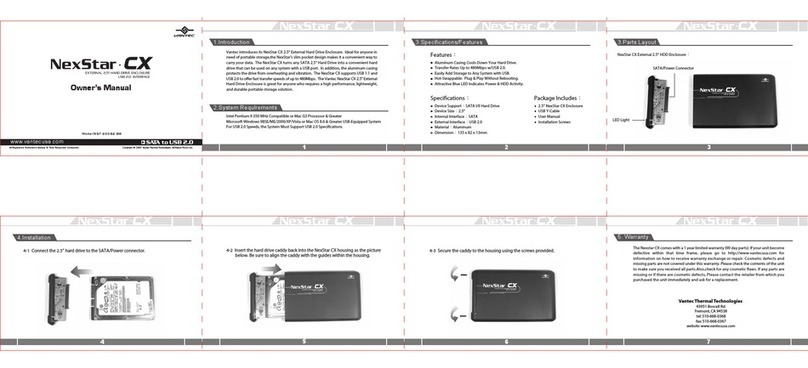
Vantec NexStar CX User manual

Vantec

Vantec NexStar CX User manual

Vantec NST- 360S2i-WH User manual

Vantec

Vantec NST- 360S2i-WH User manual

Vantec NexStar NST-266SU3 User manual

Vantec

Vantec NexStar NST-266SU3 User manual

Vantec NexStar MX NST-225MX-S3 User manual

Vantec

Vantec NexStar MX NST-225MX-S3 User manual

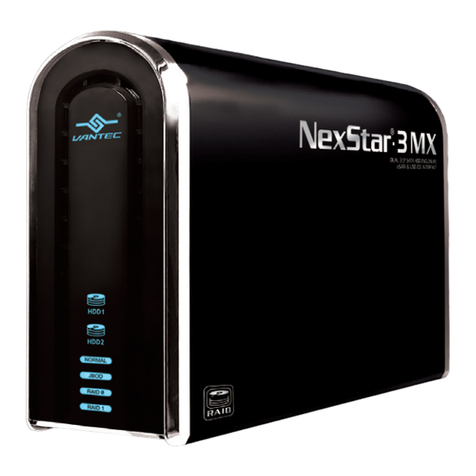
Vantec NexStar-3 MX User manual

Vantec

Vantec NexStar-3 MX User manual

Vantec NexStar Dual Bay Hard Drive Dock NST-D200SU User manual

Vantec

Vantec NexStar Dual Bay Hard Drive Dock NST-D200SU User manual

Vantec NexStar 6G User manual

Vantec

Vantec NexStar 6G User manual

Vantec NST-400MX-53 User manual

Vantec

Vantec NST-400MX-53 User manual

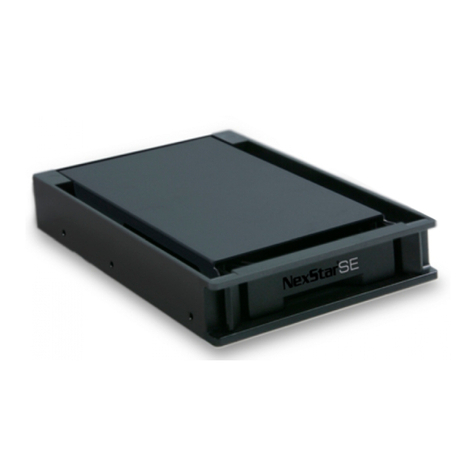
Vantec NexStar SE User manual

Vantec

Vantec NexStar SE User manual

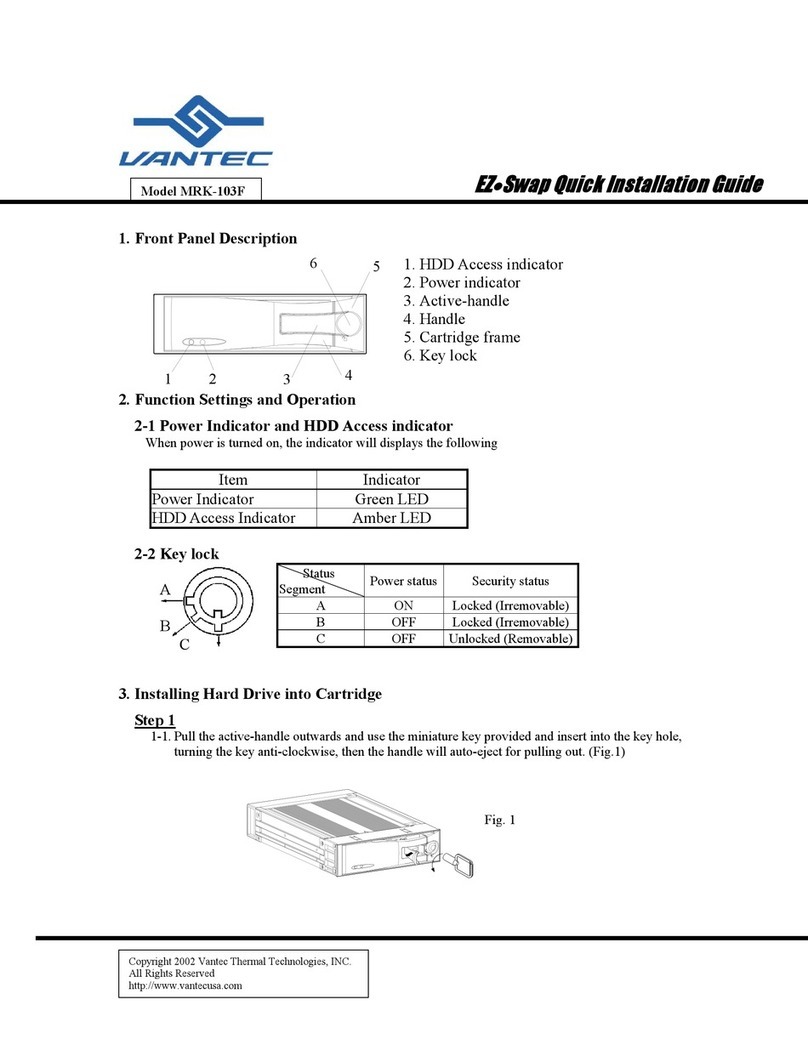
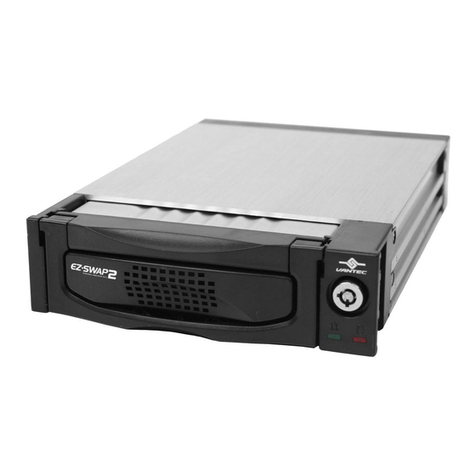
Vantec EZ-Swap MRK-103F User manual

Vantec

Vantec EZ-Swap MRK-103F User manual

Vantec NexStar 3.1 User manual

Vantec

Vantec NexStar 3.1 User manual

Vantec NexStar - HX4R User manual

Vantec

Vantec NexStar - HX4R User manual

Vantec EZ-Swap MRK-200ST-BK*C User manual

Vantec

Vantec EZ-Swap MRK-200ST-BK*C User manual

Vantec NST-210S2-BK User manual

Vantec

Vantec NST-210S2-BK User manual

Vantec NexStar FX NST-610NU-N1 User manual

Vantec

Vantec NexStar FX NST-610NU-N1 User manual

Vantec EZ SWAP MRK-M3501T User manual

Vantec

Vantec EZ SWAP MRK-M3501T User manual

Vantec Desktop PC NST-360FBSU-BK User manual

Vantec

Vantec Desktop PC NST-360FBSU-BK User manual

Vantec NexStar 3 User manual

Vantec

Vantec NexStar 3 User manual

Vantec NEXSTAR SX User manual

Vantec

Vantec NEXSTAR SX User manual

Vantec NexStar-DX User manual

Vantec

Vantec NexStar-DX User manual

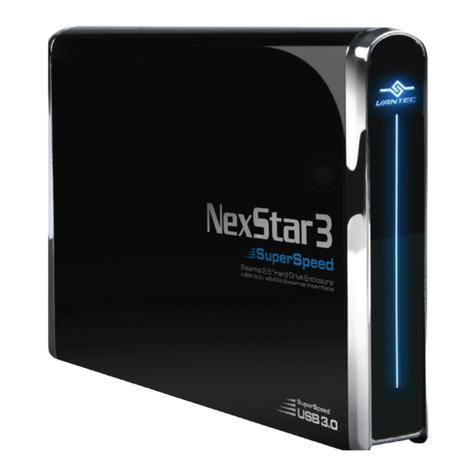
Vantec SuperSpeed NexStar 3 User manual

Vantec

Vantec SuperSpeed NexStar 3 User manual

Vantec NexStar MX User manual

Vantec

Vantec NexStar MX User manual

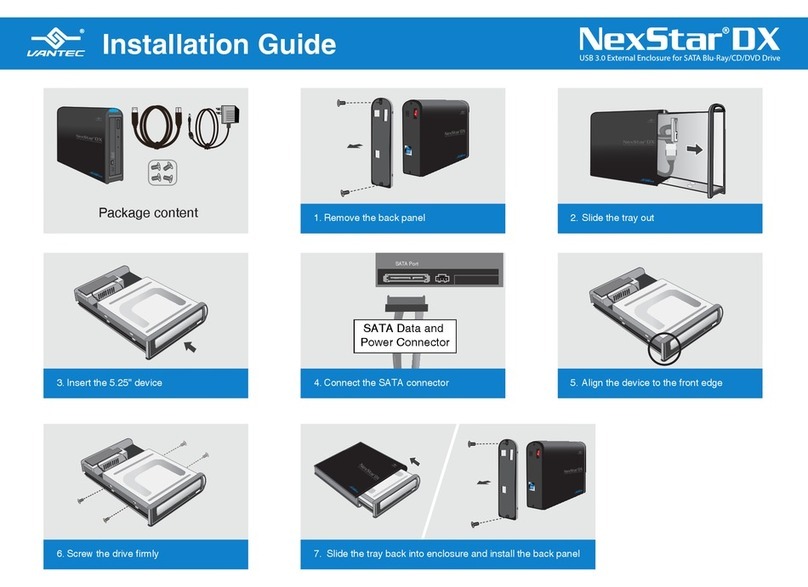
Vantec External 5.25" SATA Enclosure NexStar DX User manual

Vantec

Vantec External 5.25" SATA Enclosure NexStar DX User manual

Popular Enclosure manuals by other brands

Antec Veris Fusion Remote Max Specification sheet

Antec

Antec Veris Fusion Remote Max Specification sheet

ENERMAX iVektor.Q ECA 3371 Series user manual

ENERMAX

ENERMAX iVektor.Q ECA 3371 Series user manual

Lindy 43095 user manual

Lindy

Lindy 43095 user manual

SICK C4000 Select operating instructions

SICK

SICK C4000 Select operating instructions

Geeek A60 PLUS installation guide

Geeek

Geeek A60 PLUS installation guide

OVE SYDNEY 48 installation manual

OVE

OVE SYDNEY 48 installation manual

SilentiumPC Armis AR5 Hardware installation

SilentiumPC

SilentiumPC Armis AR5 Hardware installation

Pulsar 17/TRP80/DSPR Assembly instructions

Pulsar

Pulsar 17/TRP80/DSPR Assembly instructions

MSI MPG SEKIRA 500X quick start guide

MSI

MSI MPG SEKIRA 500X quick start guide

Antec Dark fleet DF-10 user manual

Antec

Antec Dark fleet DF-10 user manual

Peavey DS 1502 Specifications

Peavey

Peavey DS 1502 Specifications

D-Link ShareCenter Pro DNS-1550-04 user manual

D-Link

D-Link ShareCenter Pro DNS-1550-04 user manual

Rosewill RX82-U(JBOD) user manual

Rosewill

Rosewill RX82-U(JBOD) user manual

QNAP SAS JBOD CLI 1.0 user guide

QNAP

QNAP SAS JBOD CLI 1.0 user guide

GAMDIAS Talos P1 Quick installation guide

GAMDIAS

GAMDIAS Talos P1 Quick installation guide

Auvs KR615 user manual

Auvs

Auvs KR615 user manual

Antec AR300 user manual

Antec

Antec AR300 user manual

CommScope FDH 3000 user manual

CommScope

CommScope FDH 3000 user manual

manuals.online logo
manuals.online logoBrands
  • About & Mission
  • Contact us
  • Privacy Policy
  • Terms and Conditions

Copyright 2025 Manuals.Online. All Rights Reserved.

Copyright © 2015 Vantec Thermal Technologies. All Right Reserved. | All Registered Trademarks Belong To Their Respective Companies.
Model: NST-510S3-BK
Information in this document is subject to change without notice.
Reproduction of these materials in any manner whatsoever without written permission is strictly forbidden.
Printed in China
Printed on Recycled Paper.
Installation Guide
For NST-510S3-BK (9.5mm only). For NST-520S3-BK (12.7mm)see back page.
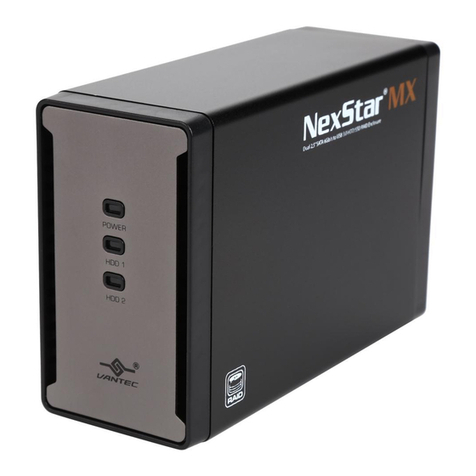
USB 3.0 Slim SATA
Optical Drive Enclosure
The Operating System will detect USB Mass storage device
connected and load the necessary drivers built into the
Operating System. No other drivers are needed.
?
8. Once the drivers are installed the Optical drive is ready for use.
OK
9.
Carefully slide out the optical drive tray.
2.
Slide the Tray with the secured optical drive into the
Aluminum housing and secure with two screws.
6.
Slide the Optical drive on the Tray until the Slim SATA interface on
the Optical drive dock completely with the Tray Slim SATA interface.
4.
If the Front Plate of your Optical Drive is using a Protruding or
Curve Front Plate, please use the provided Front Plate to replace
it. Follow the picture showing the hook to remove and replace.
3.
Flat Front Plate
Side View
Protruding or
Curve Front Plate
1) Eject the Optical Tray by inserting a
paper clip into the eject hole on the
front of the Optical drive.
2) Note the location and direction of
the hooks on the provided Flat Front
Plate, unhook each hook slowly.
3) Replace it with the provided Flat
Front Plate back onto your Optical
drive. Note the location of the 4 hooks.
Secure the Optical Drive to the Tray using the provided
small screws on both sides.
5.
Connect the USB cable to the Optical unit and your system USB port.
The Optical unit is bus powered. It will draw power from the USB port.
7.
USB 3.0 Cable USB 3.0 Port
Optional USB
Power Connection
*Optional USB Power Connection:
If your Optical Drive need more power than 1 USB 3.0
port can provide. please use the additional USB power
connection to your system, If you are not sure connect both.
Verify the package contents.
1.
USB 3.0 Cable
Front Plate
Copyright © 2015 Vantec Thermal Technologies. All Right Reserved. | All Registered Trademarks Belong To Their Respective Companies.
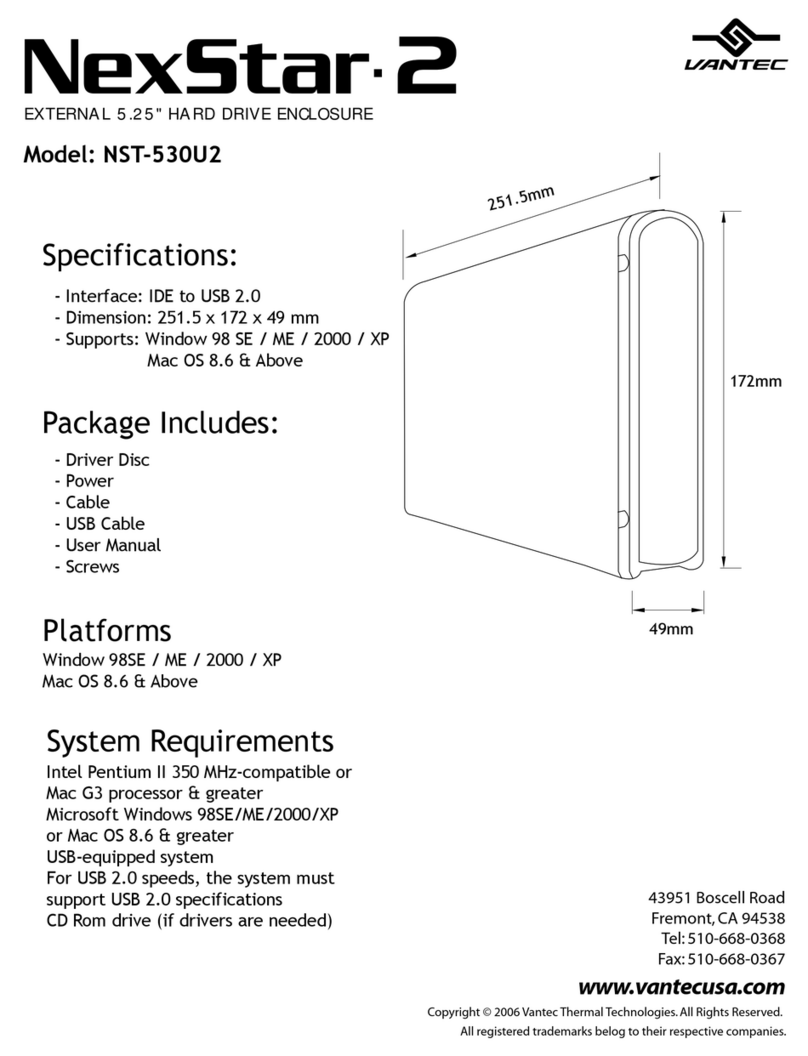
Model: NST-520S3-BK
Information in this document is subject to change without notice.
Reproduction of these materials in any manner whatsoever without written permission is strictly forbidden.
Printed in China
Printed on Recycled Paper.
Installation Guide
For NST-520S3-BK (12.7mm only). For NST-510S3-BK (9.5mm)see back page.
USB 3.0 Slim SATA
Optical Drive Enclosure
If the Front Plate of your Optical Drive is using a Protruding or Curve
Front Plate, please use the provided Front Plate oto replace it. Follow
the picture showing the hook to remove and replace.
4.
Flat Front Plate
Side View
Protruding or
Curve Front Plate
1) Eject the Optical Tray by inserting a
paper clip into the eject hole on the
front of the Optical drive.
2) Note the location and direction of
the hooks on the provided Flat Front
Plate, unhook each hook slowly.
3) Replace it with the provided Flat
Front Plate back onto your Optical
drive. Note the location of the 4 hooks.
Connect the USB cable to the Optical unit and your system
USB port. The Optical unit is bus powered. It will draw
power from the USB port.
8.
USB 3.0 Cable USB 3.0 Port
Optional USB
Power Connection
*Optional USB Power Connection:
If your Optical Drive need more power than 1 USB 3.0
port can provide. please use the additional USB power
connection to your system, If you are not sure connect both.
Verify the package contents.
1.
USB 3.0 Cable
Front Plate
The Operating System will detect USB Mass storage device
connected and load the necessary drives built into the
Operating System. No other drives are needed. Once the
drives are installed the Optical drive is ready for use.
9.
OK
?
Slide the Optical drive on the Tray until the Slim SATA interface on the
Optical drive dock completely wuth the Tray Slim SATA interface.
5. Secure the Optical Drive to the Tray using the provided
small screws on both sides.
6.
Remove the two screws holding the back plate and peel
away the back plate held by a latch shown.
2.
Slide the tray into aluminum housing and secure the back plate with
two provided screws.
7.
Slide out the Tray for mounting the Optical Drive.
3.