Tornado GLAZER 700 Manual

TORNADO INDUSTRIES
7401 W. LAWRENCE AVENUE
CHICAGO, IL 60706
(708) 867-5100 FAX (708) 867-6968
www.tornadovac.com
Tornado
Operation & Maintenance Manual
For Commercial Use Only
GLAZER™ 700/1500
MODEL NO.
98440 (115v)
98555 (230v)
For Parts List see L1943WWP
Effective 9/6/2005
L1943WW Revised 8/05 2005 Tornado Industries All rights reserved
https://harrissupplyind.com-ToOrderPartsCall608-268-8080

2
NOTES
https://harrissupplyind.com-ToOrderPartsCall608-268-8080

3
Write your machine’s serial number here:________________________
This illustrated instruction book covers:
CATALOG NO. 98440 98555
SERIES WG
SIZE 20” 20”
VOLTS 115 230/250
H.P. 1 1/2 1 1/2
CERTIFICATION ***
***
*This product conforms to ANSI/UL Standard 561 and is certified to CAN/CSA Standard C22.2 No. 10.
ALL SPECIFICATIONS SUBJECT TO CHANGE WITHOUT NOTICE.
TABLE OF CONTENTS:
Warranty 4
Safety Instructions 5
Grounding Instructions 6
Operating Instructions 7
Motor Maintenance 8
https://harrissupplyind.com-ToOrderPartsCall608-268-8080

4
Thank you for choosing Tornado products. We are proud to offer the most
complete line of commercial and industrial cleaning equipment in the industry.
Our reputation for quality, innovation and durability is unsurpassed.
* Effective January 1st, 2005. Terms subject to change without notice.
1) Windshear™ Blower-Dryer, Insulation Blowers, T191, T201, T12/1, CV 30, CV 38, CW 50, CW
100, Pro PAC Vacs, Duo-Upright Carpetkeepers™, Gas & Electric Pressure Washers, and all
chargers are warranted for 1 (one) year for both parts and labor.
2) Warranties on all riding sweepers including the ICC1, KM 100/100 R, KMR 1250, and KMR
1700 are 24 months parts/6 months labor OR 1000 hours of operation, whichever comes
first. Warranties on the 75/140 & 90/140 are 24 months parts/12 months’ labor OR 1,000
hours of operation whichever comes first.
3) All non-wear item parts purchased after warranty expiration are warranted for 90 days.
4) Warranty starts from the date of sale to the consumer or, at Tornado’s discretion, 6 months
after dealer purchased the unit from Tornado, whichever comes first.
Note: Tornado, The Latest Dirt, Floorkeeper, Carpetkeeper, Carpetrinser, Carpetrinser/Dryer,
Headmaster, Taskforce, PAC-VAC, T-Lite, Glazer, Windshear, Max-Vac, CV 30, CV 38, and
Trot-Mop are trademarks of Tornado Industries.
1-800-VACUUMS
Chicago area: (708) 867-5100
Fax: (708) 867-6968
7401 W. Lawrence Avenue
Chicago, IL 60706
https://harrissupplyind.com-ToOrderPartsCall608-268-8080

5
FOR COMMERCIAL USE
IMPORTANT SAFETY INSTRUCTIONS
When using an electrical appliance, basic precautions should always be followed including the following:
READ ALL INSTRUCTIONS BEFORE USING THIS APPLIANCE
WARNING To reduce the risk of fire, electric shock or injury:
Unplug machine when not in use. If handle switch lever is activated accidentally, high starting torque will cause machine
to move and may cause damage or injury.
Unplug machine before:
zLeaving machine unattended
zChanging pads
zAttempting any maintenance or adjustment
This equipment is equipped with a three-conductor cable and three-prong grounding type plug to fit a grounding type
receptacle. Do not break off or pull out the grounding prong on plug. Adapters are available for connecting three-prong
grounding wire or terminal extending from the adapter must be connected to a permanent ground such as to a properly
grounded electrical outlet box. If cord becomes frayed or damaged in any manner, replace. Otherwise possible electric
shock may result.
Do not put hands under base - rotating parts could cause injury. Always keep hands feet and loose fitting clothing away
from moving parts to prevent possible injuries. Use care to keep electrical supply callable from contacting moving parts,
such as floor brushes or pads.
To avoid electrical shock, use indoors only. Do not use machine in areas where flammable and/or explosive vapors or
dust are present.
Make sure voltage and frequency at the wall receptacle correspond with that indicated on name plate before plugging in
machine. A 20 amp circuit is recommended. Right or left switch levers will independently operate the motor.
Never use a device to lock the switch lever in the “ON” position.
Use only a 12 Ga. three-wire extension cable which have 3-prong grounding type plugs and 3-prong receptacles that
accept the machine’s plug.
Always operate this machine with all of the cable removed from the handle. Failure to do so will upset the precision
balance of the machine.
Do not add weight to this machine - this will upset the balance and may cause motor overload.
Pad holders and brushes must be properly maintained to insure maximum cleaning results.
zTo avoid electrical shock do not expose to rain; store indoors.
zTo avoid fire do not use with a flammable or combustible liquid to clean a floor.
zRisk of explosion. Floor sanding can result in explosive mixture of fine dust and air. Use this machine
only in a well ventilated area, free from any flame or match.
zDo not add weight.
zDo not hop the brush or pad holder onto the machine.
zDisconnect before servicing.
zDo not store with brush, pad holder or pad on floor.
zRefer to this manual for additional instructions.
SAVE THESE INSTRUCTIONS
https://harrissupplyind.com-ToOrderPartsCall608-268-8080

6
GROUNDING METHODS
GROUNDING INSTRUCTIONS
This appliance must be grounded. If it should malfunction or break down, grounding provides a path
of least resistance for electrical current to reduce the risk of electric shock. This appliance is
equipped with a cord having an equipment-grounding conductor and grounding plug. The plug must
be plugged into an appropriate outlet that is properly installed and grounded in accordance with all
local codes and ordinances.
WARNING: Improper connection of the
equipment-grounding conductor can result
in electric shock. Check with a qualified
electrician or service person if you are in
doubt as to whether the outlet is properly
grounded. Do not modify the plug provided
with the appliance; if it will not fit the outlet,
have a proper outlet installed by a qualified
electrician.
This appliance is for use on a nominal
120-volt circuit, and has a grounding plug
that looks like the plug illustrated in sketch A.
A temporary adapter that looks like the adapter
illustrated in sketches B and C may be used to
connect this plug to a 2-pole receptacle as
shown in sketch B if a properly grounded outlet
is not available. The temporary adapter should
be used only until a properly grounded outlet
(sketch A) can be installed by a qualified
electrician. The green-colored rigid ear, lug
or the like, extending from the adapter must be
connected to a permanent ground such as a
properly grounded outlet box cover. Whenever
the adapter is used, it must be held in place by
a metal screw.
Sketch A Sketch B
EXTENSION CORDS
Use only three-wire extension cords (must be 12 Ga. by 3 wire minimum for 50 ft. length or 10 Ga. by
3 wire minimum for 100 ft.) that have three-prong grounding-type plug caps and three-pole
receptacles that accept the appliance’s plug. Replace or repair damaged cords.
https://harrissupplyind.com-ToOrderPartsCall608-268-8080

7
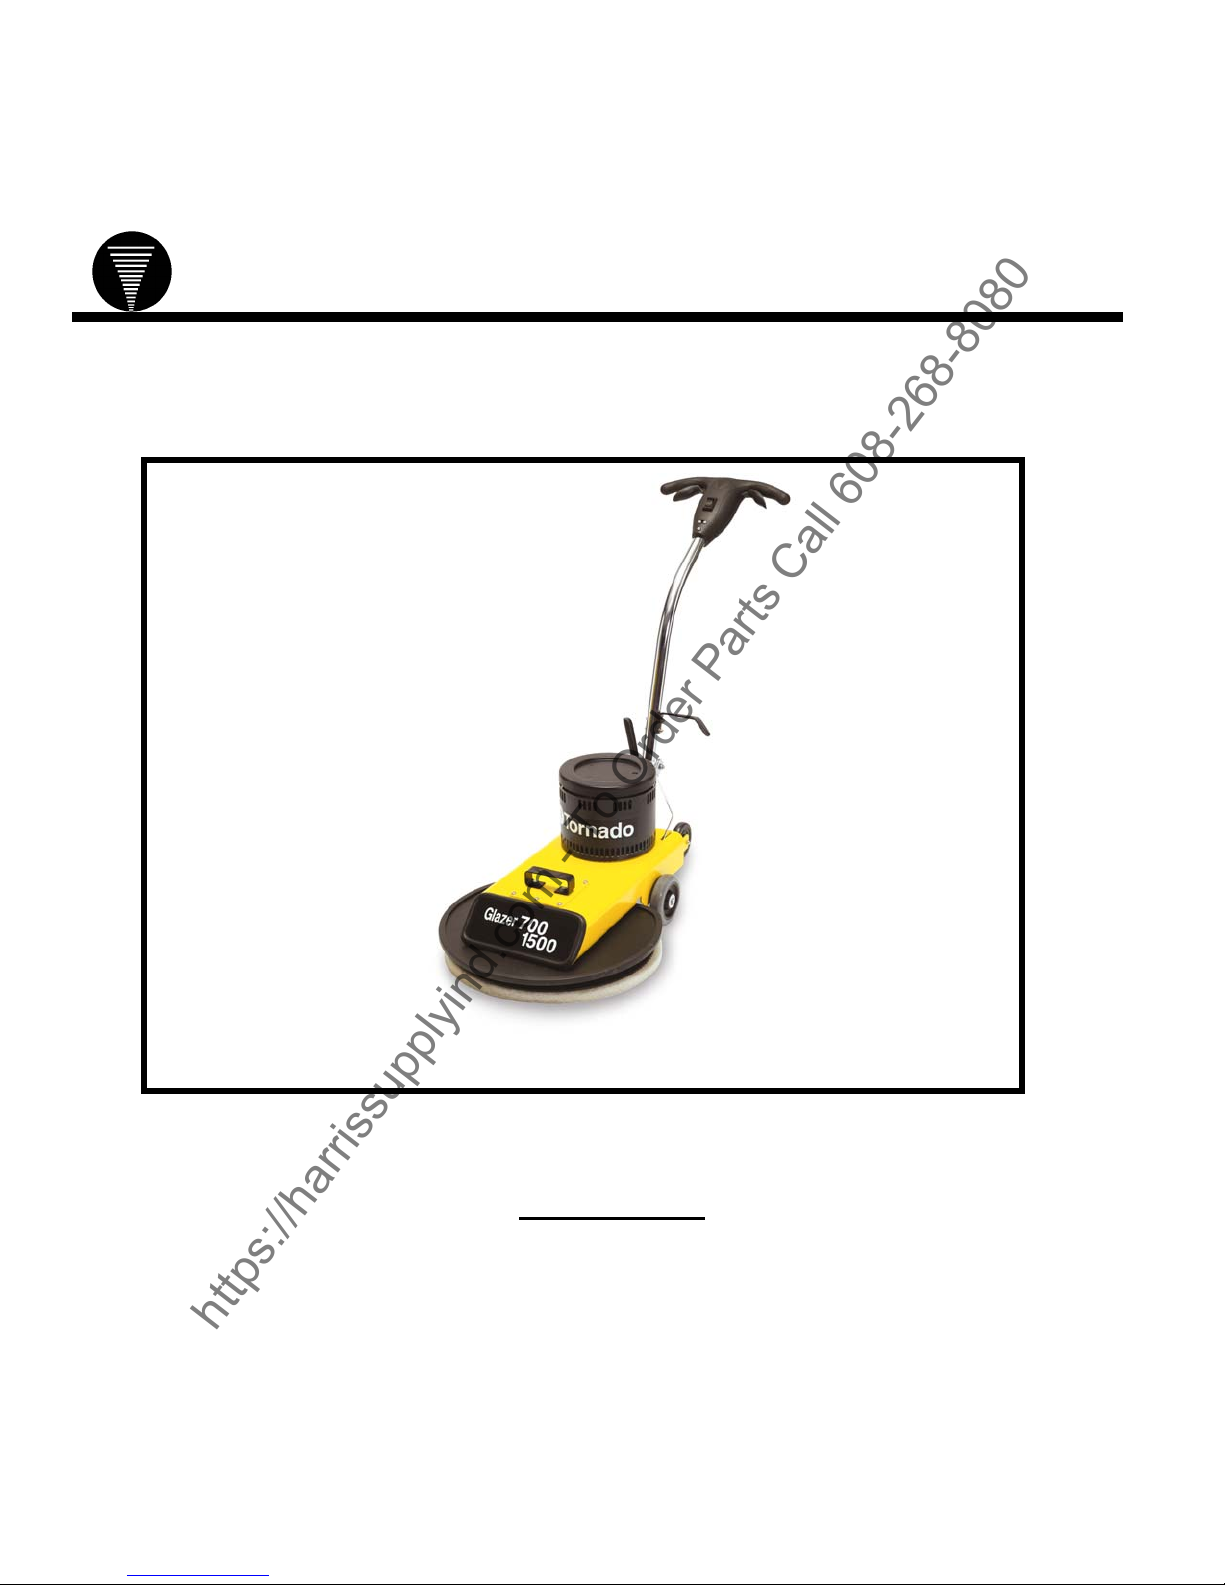
GLAZER™ 1500 INSTRUCTIONS
GENERAL INFORMATION
Your Glazer™ 700/1500 is shipped with the handle
in an inverted position. See instruction sheet
enclosed in packet for assembly.
WARNINGS
1. Unplug machine when not in use. If handle
switch lever is activated accidentally high
starting torque will cause machine to move and
may cause damage or injury. Unplug machine
before:
zLeaving machine unattended
zChanging pads
zAttempting any Maintenance or Adjustment
2. Never operate this machine unless plug is
grounded - failure to ground could cause
electrical shock.
This appliance is equipped with a three-
conductor cable and three-prong grounding
type plug to fit a grounding type receptacle. Do
not break off or pull out the grounding prong on
plug. Adapters are available for connecting
three-prong grounding type plugs to two-prong
receptacles. The grounding wire or terminal
extending from the adapter must be connected
to a permanent ground such as to a properly
grounded electrical Outlet Box. If cord
becomes frayed or damaged in any manner,
replace. Otherwise possible electric shock may
result.
3. Do not put hands under base - rotating parts
could cause injury. Always keep hands, feet
and loose fitting clothing away from moving
parts to prevent possible injures. Use care to
keep electrical supply cable from contacting
moving parts.
4. To avoid electrical shock, use indoors only. Do
not use machine in areas where flammable
and/or explosive vapors or dust are present.
5. Make sure voltage and frequency at wall
receptacle correspond with that indicated on
nameplate before plugging in machine. 20 amp
circuit recommended. Right or left switch levers
will independently operate motor.
6. Never use a device to lock the switch lever in
the “ON” position.
7. Use only 12 ga. three-wire extension cable
which have 3-prong grounding type plugs and
3-prong receptacles that accept the machine’s
plug.
8. Always operate this machine with all of the
cable removed from the handle. Failure to do
so will upset the precision balance of the
machine.
Do not add weight to this machine - this also
will upset the balance and may cause motor to
overload.
9. If the pad holder needs to be replaced, be sure
to specify a genuine TORNADO holder when
ordering to assure precision balance of your
machine.
OPERATION AND MAINTENANCE
When starting machine, grasp handles tightly to
counter act the high starting torque. After initial
start, machine is easy to control. Do not lift up on
handle, hold steady on floor. Squeeze switch lever
to start; release to stop. A circuit breaker is located
on the lower left hand side of base. Should an
overload occur, attempt to locate the cause and
rest the breaker by pressing the black button.
POLISHING
Use 3/4” to 1” thick high speed burnishing pads.
Floors should be dry mopped to remove grit. Start
at point nearest electrical outlet and walk in a
straight line as far as cable will allow. Then turn
180º away from cable and machine in a path
parallel to, and slightly overlapping the first pass.
SPRAY BUFFING
Use 3/4” to 1” thick burnishing pad. The spray buff
solution should be applied to the floor ahead of the
machine. Do not run the machine into the spray or
mist of the spray buff solution. Use the same
straight line technique described in the Polishing
section.
https://harrissupplyind.com-ToOrderPartsCall608-268-8080

8
DAMP BUFFING
Use 3/4” to 1” thick burnishing pad. Use a well
wrung out mop to apply damp buffing solution. Go
over dampened surface with machine until surface
is dry and has a high glaze.
STORING
Store with pad off the floor by tilting machine back
on the support wheels.
BELT MAINTENANCE
To change a broken or worn belt, first unplug cable.
Turn machine over, loosen (4) hex bolts so that
motor can be moved forward in slots in base.
Remove (6) screws around base handle and (2)
screws holding base handle. This will expose
access hole. Slip belt off pulleys and out through
access hole. Slip new belt in access hole and over
pulleys. Re-assemble (6) screws holding access
panel and (2) screws holding handle (be certain
holes in bearing ring are located under holes in
base handle). Pull motor back to tension the belt.
(.16 inch belt deflection when force of 2 pounds is
applied against outside of belt). Re-tighten hex
bolts. Turn machine upright.
To tighten belt, unplug cord. Turn machine over,
loosen (4) hex bolts and pull motor back to tension
the belt per above paragraph.
MOTOR MAINTENANCE
(Carbon motor brushes should be changed only by
an Authorized Service Representative.)
Check carbon brush wear every 500 hours.
Replace when brushes are 3/8” long or when
carbon brush light turns on.
To inspect carbon brushes:
1. Unplug cable.
2. Unscrew (4) screws at top of motor cover.
Remove motor cover and cover ring. Brushes (4)
are accessible inside large openings near the top of
motor.
3. Loosen screw securing brush lead, lift spring of
brush, and gently pull brush out.
4. Reverse step to reassemble making sure
screws are tight on brush wire and that leaf spring
is over end of brush.
https://harrissupplyind.com-ToOrderPartsCall608-268-8080
This manual suits for next models
8
Table of contents
Other Tornado Ultrasonic Jewelry Cleaner manuals