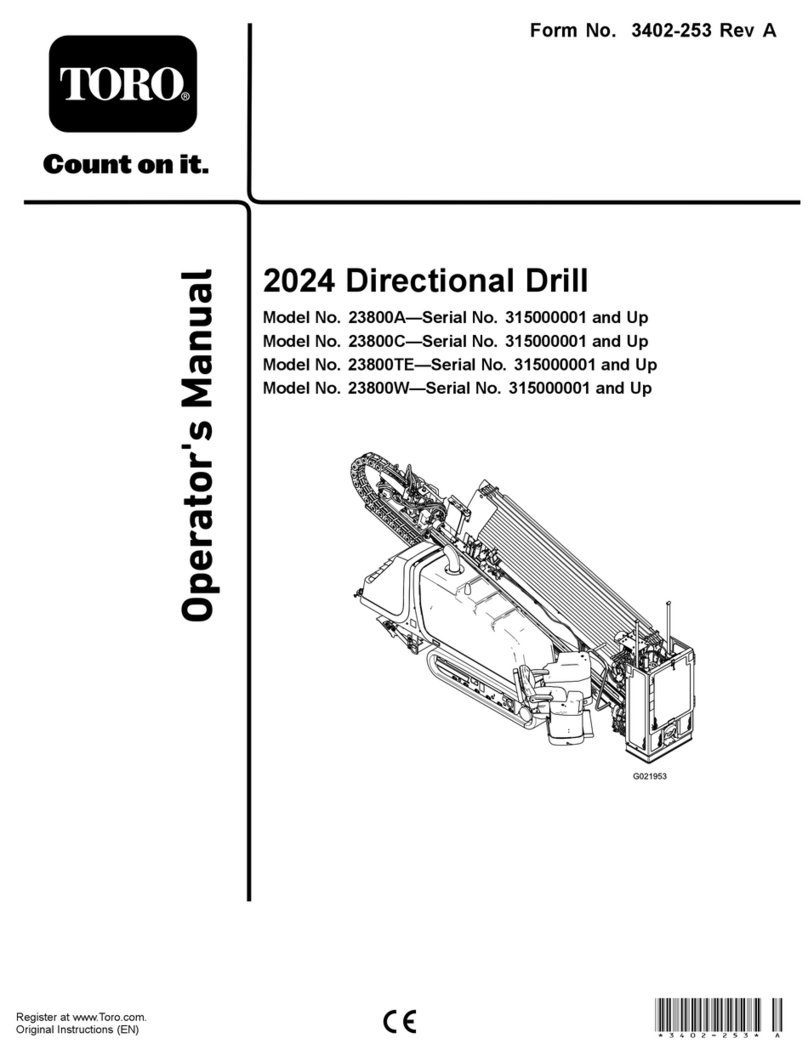
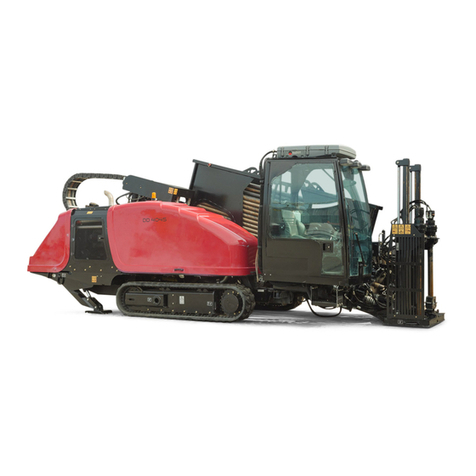
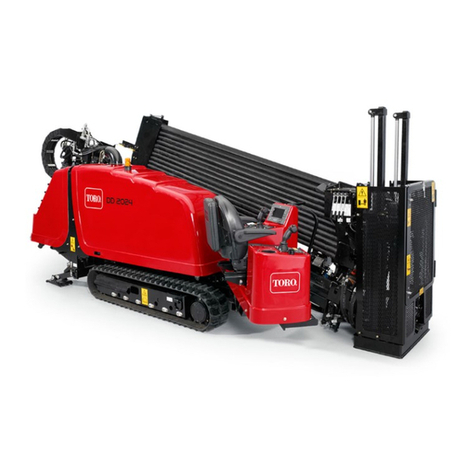
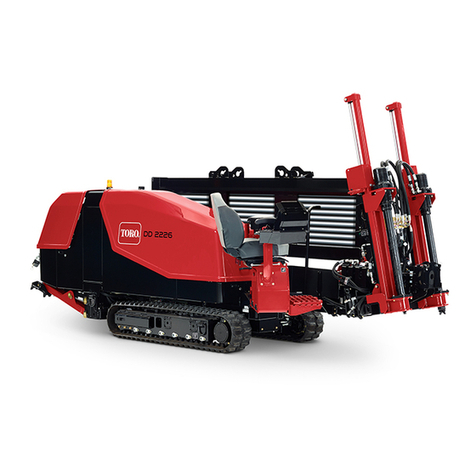
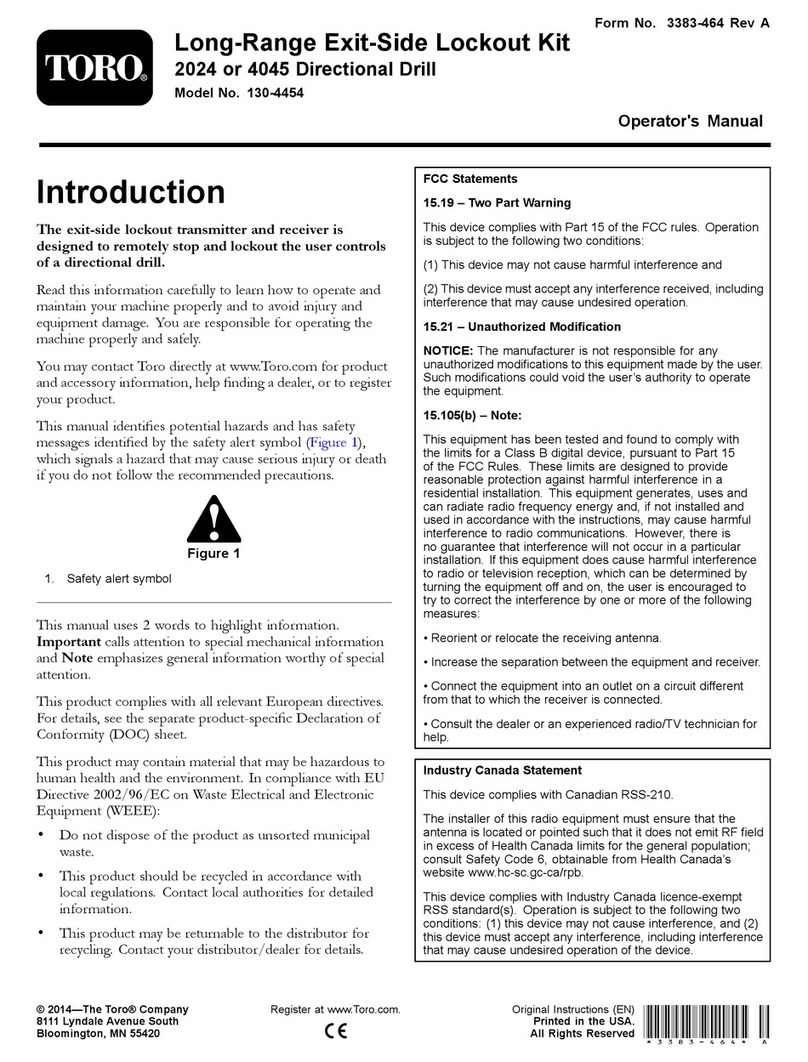
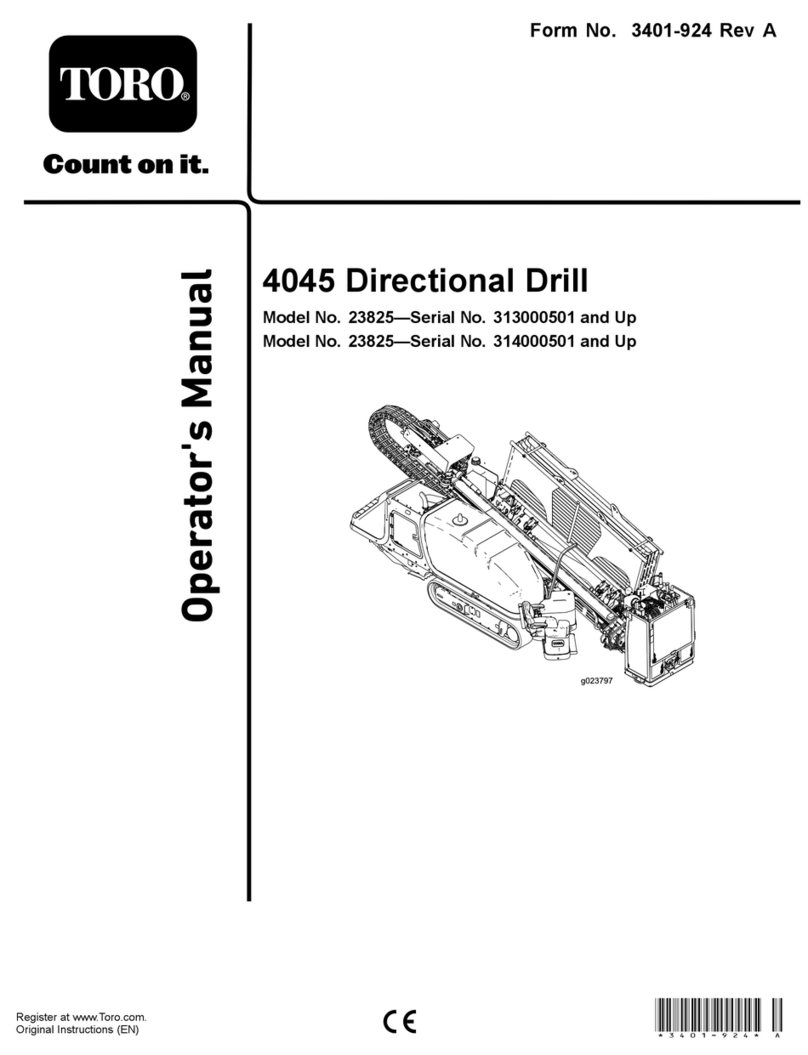
Toro 4045 User manual

FormNo.3395-934RevA
CamSensorImprovementsKit
4045DirectionalDrill
ModelNo.132-4165
InstallationInstructions
WARNING
CALIFORNIA
Proposition65Warning
ThisproductcontainsachemicalorchemicalsknowntotheStateofCaliforniato
causecancer,birthdefects,orreproductiveharm.
Safety
SafetyandInstructionalDecals
125-6184
LooseParts
Usethechartbelowtoverifythatallpartshavebeenshipped.
ProcedureDescriptionQty.Use
Thrustwasher1
Washer1
1Flangelocknut1
Installtherod-loaderspacer.
Rod-loadersensor1
Bracket1
Plate1
Flangenut2
Bolt(M6–1x16mm)2
Hexnut(M10)1
Flatwasher2
Bolt(M10–1x40mm)1
Bolt(M4x10mm)2
Nut(M4)2
2
Sensorharnessadapter1
Installtherod-loadersensor.
©2015—TheToro®Company
8111LyndaleAvenueSouth
Bloomington,MN55420
Registeratwww.T oro.com.OriginalInstructions(EN)
PrintedintheUSA
AllRightsReserved*3395-934*A

ProcedureDescriptionQty.Use
Bracket1
Bolt(M12-13/4x60mm)2
Locknut(M12)2
Hexnut(M10)1
Bolt(M4)2
Sensorassembly1
Nut(M4)2
Cotterpins2
Sensorharnessadapter1
3
Sensor-connectorclip1
Installtherodcamsensor.
4Gasket1Removingtherotarypumpsupplyand
drainorices.
Monitorcap1
5Decal1Installthecapanddecal.
1
InstallingtheRodLoader
Spacer
Partsneededforthisprocedure:
1Thrustwasher
1Washer
1Flangelocknut
Procedure
RefertolocationhighlightedinFigure1forthisprocedure.
Figure1
1.Supporttherodloaderassemblytoensurethatthe
pivotpinassemblyisabletomove.
2.Removethesensorassemblyandbracketandsetaside
thehardware(Figure2).
Figure2
3.RemovetheretainingboltandnutasshowninFigure3.
Figure3
1.Retainingnut(existing)2.Retainingbolt(existing)
4.Movetherod-loaderassemblytothesidetocreatea
gapforthewasher.
2

Important:Movetherodloaderassemblyasfar
aspossiblesothatthereisnotagapbetweenthe
rod-loaderpivotandtheloaderassembly(Figure
4).
5.Slidethepivotpinouttoallowtheinstallationforthe
washer(Figure4).
Figure4
1.Washer3.Pivotpin
2.Ensurethereisnogap
here.
6.Installthethickwasher.
Note:Ifthegapisnotlargeenoughforthethick
washer,installthethinwasher.
7.Installthepivotpin.
8.Installtheretainingboltpreviouslyremovedandthe
locknutincludedinthiskitasshowninFigure5.
Figure5
1.Flangelocknut(new)2.Retainingbolt(existing)
9.Torquetheboltto23to29N-m(17to21ft-lb).
2
InstallingtheRodLoader
Sensor
Partsneededforthisprocedure:
1Rod-loadersensor
1Bracket
1Plate
2Flangenut
2Bolt(M6–1x16mm)
1Hexnut(M10)
2Flatwasher
1Bolt(M10–1x40mm)
2Bolt(M4x10mm)
2Nut(M4)
1Sensorharnessadapter
Procedure
1.Applythread-lockingcompoundtotheboltsremoved
inStep2in1InstallingtheRodLoaderSpacer(page
2)andlooselyinstallthebracketusingtheboltsand
R-clampasshowninFigure6.
Figure6
2.Looselyinstalltheplateonthebracketusing2bolts
(M6–1x16mm)and2angenutsasshowninBox
AofFigure7.
3

Figure7
1.Flangenut7.Applythread-locking
compoundwhen
tighteningthesebolts.
2.Bolts(M6–1x16mm)8.Sensor-magnetbolt
3.Bolt(M10–10x40mm)9.Bolt(M4x10mm)
4.Flatwashers10.Sensor
5.Hexnut11.Nut(M4)
6.Pivotpin
3.Installthebolt(M10-1x40mm),2atwashers,and
thehexnut(M10)ontothebracketplateandpivotpin
asshownBoxBofFigure7.
Note:Usethewasherstocenterthebracketandplate.
4.Tightenallofthehardwarethatissecuringthebrackets
tothemachine(BoxCofFigure7).
5.Torquetheboltsto972to1198N-cm(86to106in-lb).
6.Torquethebolts(M6)to972to1198N-cm(86to106
in-lb).
7.Removethebolt(M10–1x40mm),2atwashers,and
thehexnutfromthebracketplateandpivotpin(Box
BofFigure7).
8.Installthesensormagnetboltandhexnutintothe
pivotassemblyasshowninBoxDofFigure7.
9.Installthesensorontothebracketusing2bolts(M4
x10mm)and2nuts(M4–0.7inch)asshowninBox
EofFigure7.
Note:Usethread-lockingcompoundontheboltsif
thelocknutsarenotnylonlocknuts.
10.PlacethecamassemblyintheHOMEpositionand
ensurethatthenotchinthemagneticsensorboltis
linedupwiththewiresonthesensorasshownin
Figure8.
Figure8
1.Notch
11.Ensurethatthegapbetweenthemagneticsensorbolt
andthesensoris0.12to0.24inch.
12.Securethesensortothebracketwithacabletieas
showninFigure9.
g0297 13
Figure9
13.Torquethebolts(M4)to2.2to2.7N-m(19to23ft-lb).
14.Attachthesensor-harnessadaptertotheR-clampon
thebracketandattachtheadaptertothesensoras
showninFigure9.
15.Usethesensorharnessadaptertoconnectthesensor
tothewiringharnessofthemachine.
4

3
InstallingtheRodCamSensor
Partsneededforthisprocedure:
1Bracket
2Bolt(M12-13/4x60mm)
2Locknut(M12)
1Hexnut(M10)
2Bolt(M4)
1Sensorassembly
2Nut(M4)
2Cotterpins
1Sensorharnessadapter
1Sensor-connectorclip
Procedure
RefertolocationhighlightedinFigure10forthisprocedure.
Figure10
1.Removethecotterpinsontheelevatorcylinder(Figure
11).
Note:Donotdisconnectthehydraulichoses.
Figure11
2.Placetheelevatorcylinderasidetogainaccesstothe
sensorbracket.
3.Removethesensorassemblyandbracketasshownin
BoxAofFigure12.
Figure12
1.Locknuts(M12)4.Hexnut(M10)
2.Bolts(M12-13/4x60mm)5.Flatwashers
3.Bracket6.Bolt(M10)
4.Looselyinstallthenewbracketwith2bolts(M12-1
3/4x60mm)and2locknuts(M12)asshowninBox
BofFigure12.
5

5.Installthebolt(M10-1x40mm),2atwashers,and
thehexnut(M10)ontothebracketplateandpivotpin
asshownBoxCofFigure12.
Note:Usethewasherstocenterthebracketandplate.
6.TightenthehardwareasshowninBoxDofFigure12.
7.Torquethebolts(M12)to80to100N-m(59to73
ft-lb).
8.Removethebolt(M10-1x40mm),2atwashers,and
thehexnutfromthebracketplateandpivotpin(Box
CofFigure12).
9.Installthesensor-magnetboltandhexnutintothe
pivotassemblyasshowninBoxAofFigure13.
Figure13
1.Hexnut4.Bolts(M4x10mm)
2.Sensor-magnetbolt5.Nuts(M4)
3.Cotterpins
10.Installthesensorontothebracketusing2bolts(M4x
10mm)and2nuts(M4)asshowninBoxBofFigure
13.
Note:Usethread-lockingcompoundontheboltsif
thelocknutsarenotnylonlocknuts.
11.PlacethecamassemblyintheHOMEpositionand
ensurethatthenotchinthemagneticsensorboltis
linedupwiththewiresonthesensorasshownin
Figure14.
Figure14
12.Ensurethatthegapbetweenthemagneticsensorbolt
andthesensoris0.12to0.24inches.
13.Ifyourbracketdoesnothaveahole,measurein11/14
inchfromtheedgeofthebracketasshowninFigure
15anddrilla1/4inchhole.
Figure15
1.11/4inch3.Sensor-connectorclip
2.Sensor
14.Attachthesensor-connectorcliptothesensoras
showninFigure15.
15.Plugthesensor-connectorclipintotheholeasshown
inFigure16.
6

Figure16
1.Sensor2.Sensor-harnessadapter
16.Attachthesensor-harnessadaptertothesensoras
showninFigure16.
17.Connectthesensor-harnessadaptertothewiring
harnessonthemachine.
18.SecurethewiringharnesstotheR-clampwithacable
tieasshowninFigure17.
Figure17
1.Wiringharness(existing)
19.Torquetheboltsto2.2to2.7N-m(19to23in-lb).
20.Installtheelevatorcylinderwiththe2cotterpins
includedinthiskitasshowninBoxCofFigure13.
21.Usethesensorharnessadaptertoconnectthesensor
tothemachineswiringharness.
4
RemovingtheRotaryPump
SupplyandDrainOrices
Partsneededforthisprocedure:
1Gasket
Procedure
Important:Allowtheenginetocool.
1.Placeadrainpanundertheyrotarypump
2.Capoffthecasedrainlinefromtherotarypumpto
minimizehydraulicuidloss.
Figure18
1.Boltstoberemoved2.Capoffthecasedrainline
3.Cleantheexternalsurfaceoftherotarypump.
4.Unplugthewiringharnessfromthepumpcontrol.
5.Removethe6boltsasshowninFigure18.
6.Removethecontrolfromthepumphousing.
Note:Oilwilldrainfromthecasewhenthehousing
isremoved.
7.Useneedlenoseplierstopulltheretainingclip(T40)
fromthecontrol(Figure19).
7

Figure19
1.T40,T30,andT20orices
8.Removethespring(T30)andsupplyorice(T20)from
thecontrol(Figure19).
9.Cleanthesealingsurfacesofthepumphousingand
controlhousing
10.Installthecontrolhousingontothepumpusingthe
newgasket.
Important:Thecontrollinkagepinonthecontrol
mustbeinsertedintotheswash-platelinkinthe
pump.
Note:Usepetroleumjellytohelpholdtheswash-plate
linkinplacewhilethecontrolisinstalled.
Note:Therewillberesistancewhenthefrontedge
ofthecontrolistiltedawayfromthepumphousingif
thecontrollinkagepinisinsertedintotheswash-plate
linkcorrectly.
Note:Ifthecontrollinkagepinisnotproperly
insertedintotheswash-platelink,thepumpwillnot
returntoneutralandtherotarymotorwillspinupon
enginestartup.
11.Installthe6retainingbolts;torquetheboltsto16N-m
(12lb-ft).
12.Connectthecasedrainlineandchecktheyhydraulic
uidlevel;refertotheOperator’sManualforthemachine.
13.Connectthewiringharnesstotherotarypumpcontrol.
14.Wipeupanyspilledoil.
15.Startthemachinetotesttherotarypump.
Note:Iftherotaryoutputspinswhenthemachine
isstartedbuttherotationcommandisnotgiven,the
controllinkagepinisnotproperlyinsertedintothe
swash-platelink.Removeandcapthecasedrainline
andrepeattheabovesteps.
CheckingtheNeutralAdjustment
1.Installa1000psigaugeineachofthedisplacement
controlports(M4andM5).
Figure20
1.M72port(adjustingscrew)3.M5port(displacement
controlport)
2.M90port(locknut)4.M4port(displacement
controlport)
2.Disconnecttheelectricalconnectorfromtherotary
pumpcontrol,startthemachine,andbringittohigh
idle.
3.Loosenthelocknut(M90)witha10mmand13mm
hexwrench.
4.Usinga3mmor4mminternalhexwrench,rotate
theadjustingscrew(M72)clockwiseuntilthepressure
increasesin1ofthepressuregauges.
Note:Notetheangularpositionofthewrench.
5.Rotatetheneutral-adjustingscrewcounterclockwise
untilthepressureincreasesbyanequalamountasthe
othergauge.
Note:Notethepositionofthewrench.
6.Rotatetheadjustingscrew(M72)clockwisehalfthe
distancebetweenthelocationnotedinstep(4or5).
Note:Thegaugesshouldreadthesamepressure(case
pressure),indicatingthatthecontrolisinitsNEUTRAL
position.
7.Holdtheneutral-adjustingscrewstationaryandtighten
theneutral-adjustinglocknutto7N-m(62lb-in)forthe
6mmscrewor13N-m(120lb-in)forthe8mmscrew .
8.OncetheNEUTRALpositionisset,stoptheengine,
removethegauges,andremovethegaugeports.
9.Connecttheelectricalconnectortotherotarypump
control.
8

5
InstallingtheCapandDecal
Partsneededforthisprocedure:
1Monitorcap
1Decal
Procedure
Gentlyliftthemonitorawayfromtheconsoleusinga
at-headscrewdriverinthegapsasshowninBoxAofFigure
21.
Figure21
1.Gapsbetweenthemonitorandconsolepanel
Insertthemonitorcapintotheportonthebackofthe
monitorandinstallthemonitorbackontotheconsole(Box
BofFigure21).
InstallthedecalasshowninFigure22.
Figure22
1.Decal
9

Notes:
10

Notes:
11

Other manuals for 4045
2
This manual suits for next models
1
Other Toro Drill manuals
Popular Drill manuals by other brands

EINHELL
EINHELL BT-CD 24 I operating instructions

Festool
Festool C 18 Li Original operating manual

Hitachi
Hitachi FDV 16VB2 Technical data and service manual
Ryobi
Ryobi HP62 Operator's manual

Black & Decker
Black & Decker 7264 owner's manual

Florida Pneumatic
Florida Pneumatic FP-985 General Safety Information & Replacement Parts
