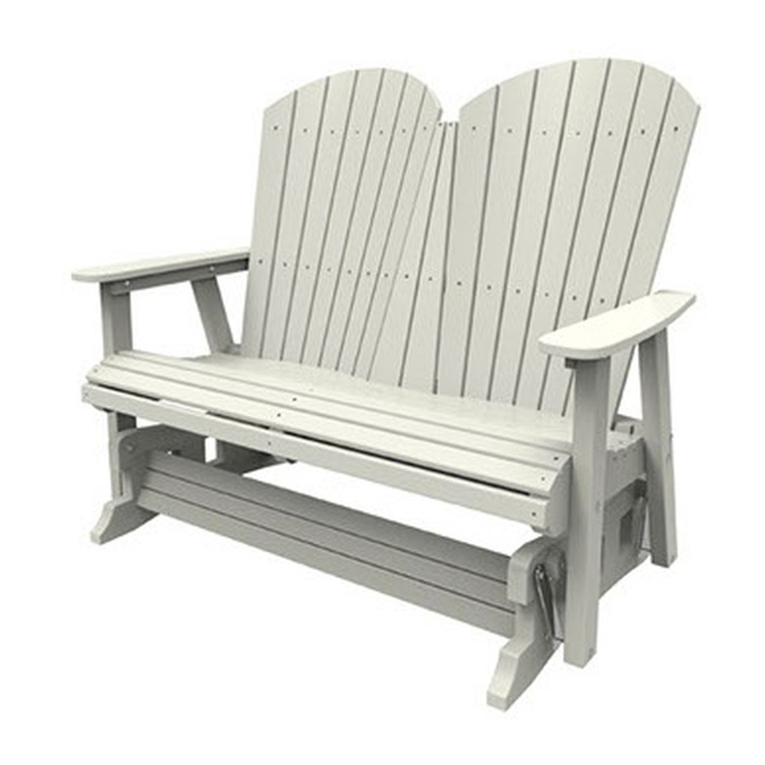
Love Seat Assembly Instructions
Note: Certain Steps may be more easily accomplished with temporary assistance from a helper to hold or steady
parts during assembly.
Locking Nuts contain a captured nylon ring and function to prevent loosening during use. This nylon ring must face
away from the head of the screw when threading on Locking Nut. Resistance will be felt when this nylon ring
engages screw threads. This resistance is normal and usually will be greater than simple finger pressure can
overcome. Finger tight means to thread the Locking Nut onto the screw until this resistance is felt.
Step 1.
Locate 2 Chair Seats, 2 Chair Backs, 8 short screws, 16 washers and 8 locking nuts. Assemble 1 Chair Seat
and Back using 4 short screws, 8 washers and 4 locking nuts. Place 1 washer on each short screw. Align the 4
mounting holes of Seat with Chair Back and insert 1 screw with washer through a mounting hole. Ensure screw
enters Chair Back from rear of Chair Back. Place another washer on short screw with locking nut and hand
tightened only. Repeat for remaining mounting holes. Fully tighten. Assemble second Chair Seat and Back.
Step 2.
Locate Center Support, 1 short screw, 1 medium screw, 4 washers and 2 locking nuts. Align, side by side the
2 previously assembled Chair Seats and Backs with Chair Backs lying flat on a smooth and level surface. Closely
align mounting holes of each Seat and insert short screw with washer through both mounting holes. Place washer
and locking nut on screw and hand tighten. (FIG. 1) Flip both Chair Backs and Seats upright—together at the
same time. Working from rear of semi completed Chair Back and Seat Assembly, place flat portion of Center
Support between each Chair Back and align mounting holes. Note: for easier assembly, allow curved mounting
area of Center Support to face down. Insert medium screw with washer through a Chair Back mounting hole,
Center Support mounting hole and opposite Chair Back mounting hole. Place washer and locking nut on screw and
tighten until slightly firm only. Center Support should move freely. (FIG. 2) Return to short screw securing both
Chair Seats and fully tighten. Carefully set Chair assembly safely aside.
Step 3.
Locate Left and Right Chair Frame/Legs, Rear crossmember, Front crossmember and 2 plastic end caps.
Fully insert a plastic end cap into straight portion of both Chair Legs. Place Rear crossmember into bent ends of
each Chair Leg and fully seat. (FIG. 3) Loosely align semi completed Chair Frame into general shape of
completed Chair. A helper may be needed for this. Locate 2 long screws, 4 washers and 2 locking nuts. Place 1
washer on each screw. Align Front Crossmember mounting hole with crossmember mounting holes located on front
of each Chair Frame. Ensure curved surface of Front crossmember mounting hole rests against inside of Chair
Frame. Fully insert long screw with washer entering from outside of Chair frame. Align Front crossmember
mounting hole over screw and place 1 washer with locking nut on screw and hand tighten. (FIG. 4) Repeat for
opposite side. Do not tighten.
Step 4.
An assistant may be helpful for this next step. Locate 5 long screws, 10 washers, 5 locking nuts and 4 plastic
spacers. Place 1 washer on each screw. Carefully place previously assembled Chair assembly into Chair frame
and allow front of Chair assembly to rest on top of Front crossmember. Working from rear of semi completed Love
Seat, loosely align a Chair Back mounting hole with corresponding rear Chair Frame mounting hole. Insert screw
with washer into Chair Frame mounting hole from outside of Love Seat and place 1 plastic spacer over screw.
Ensure curved area of plastic spacer matches with Chair Frame. Fully insert screw with washer through Chair
Frame mounting hole, plastic spacer and Chair Back mounting hole. Place 1 washer with locking nut on screw and
finger tighten. (FIG. 5) Repeat for opposite side. Fully tighten. Ensure Rear crossmember remains fully seated.
At this point, semi completed Love Seat will stand by itself.


