manuals.online logo
Brands
  1. Home
  2. •
  3. Brands
  4. •
  5. Toshiba
  6. •
  7. Air Conditioner
  8. •
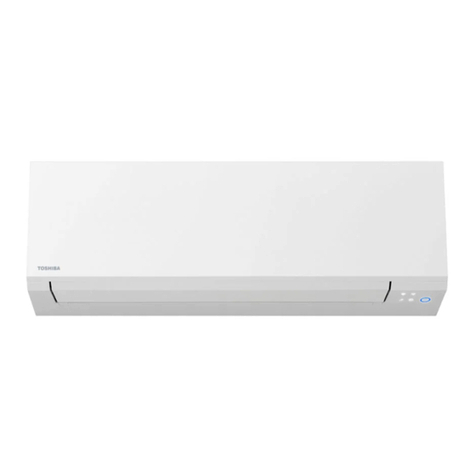
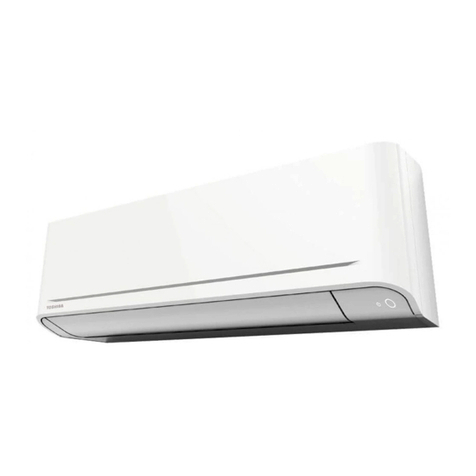
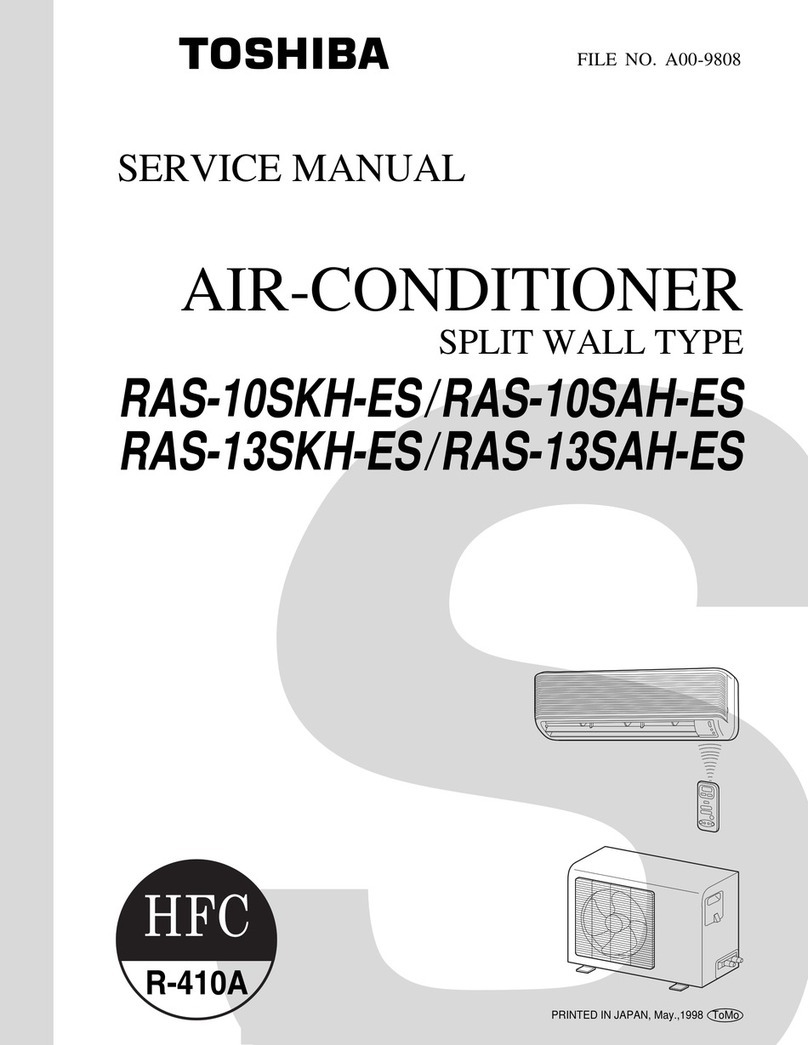
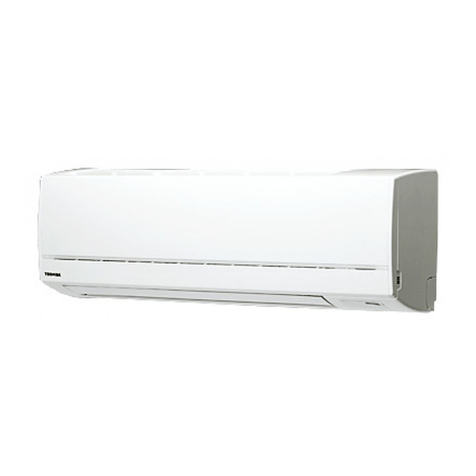
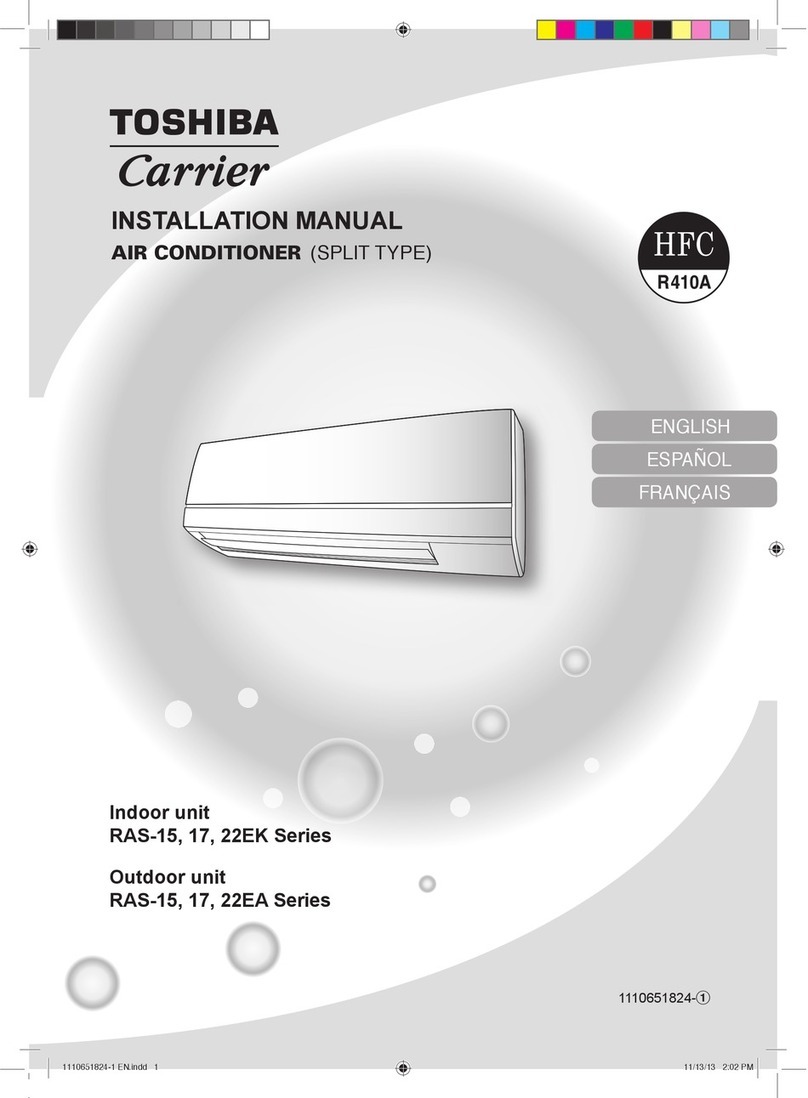
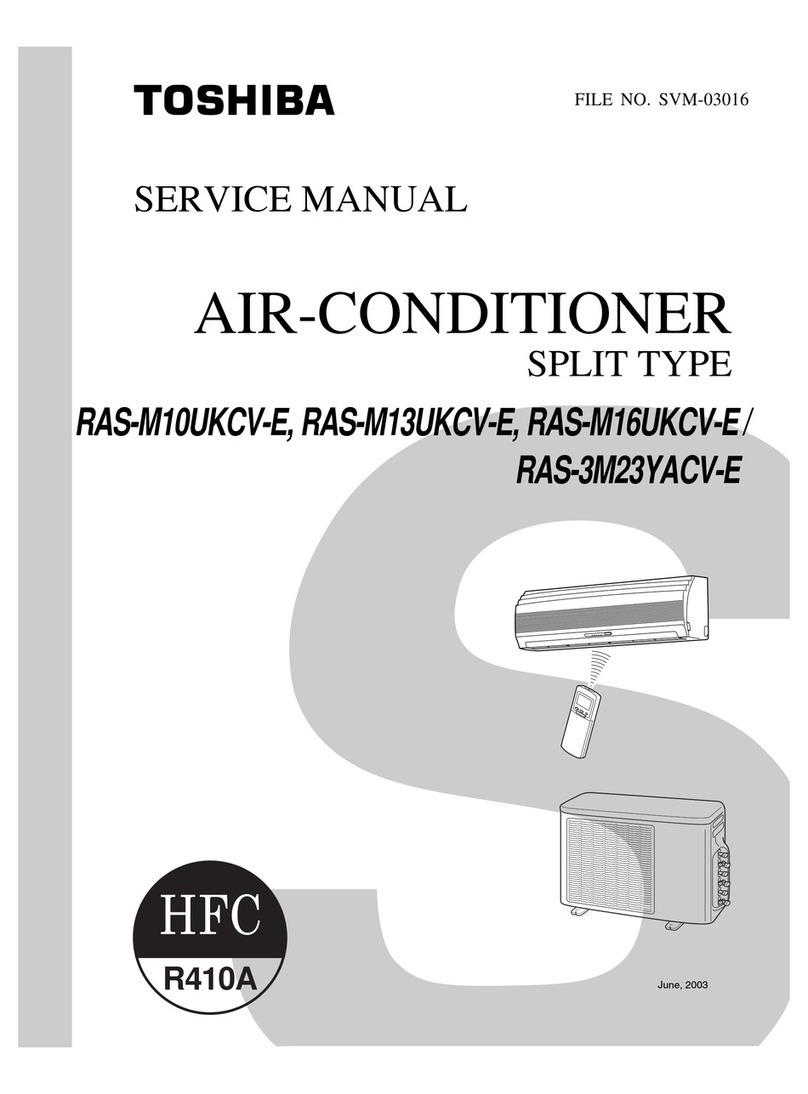
  9. Toshiba RAS-10SKP Series User manual

Toshiba RAS-10SKP Series User manual

1110250150
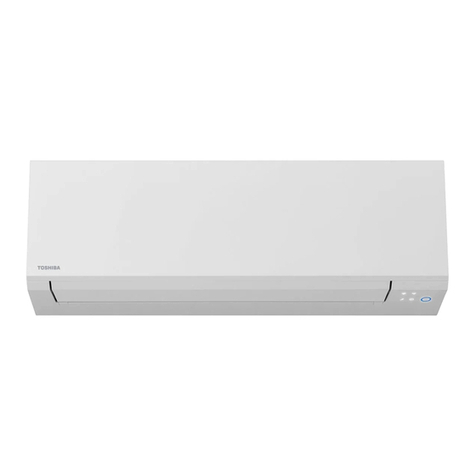
OWNER’S MANUAL
AIR CONDITIONER (SPLIT TYPE)
For general public use
Indoor unit
RAS-10, 13SKP Series
Outdoor unit
RAS-10, 13SA Series
ENGLISH
1110250150.indd 1 1/15/09 4:01:46 PM
REMOTE CONTROL
4
1 Infrared signal emitter
2 Start/Stop button
3 Mode select button (MODE)
4 Temperature button (TEMP)
5 Fan speed button (FAN)
6 Swing louver button (SWING)
7 Set louver button (FIX)
8 On timer button (ON)
9 Off timer button (OFF)
! Sleep timer button (SLEEP)
" Setup button (SET)
# Clear button (CLR)
$ Memory and Preset button (PRESET)
% One Touch button (ONE-TOUCH)
& High power button (Hi-POWER)
( Economy button (ECO)
) Quiet button (QUIET)
~ Comfort sleep button (COMFORT SLEEP)
+ Filter reset button (FILTER)
, Clock reset button (CLOCK)
- Check button (CHK)
ONE-TOUCH
5
Press the “ONE-TOUCH” button for fully automated operation that is
customised to the typical consumer preferences in your region of the world.
The customised settings control temperature air flow strength, air flow
direction and other settings to provide you alternate contact with “ONE-
TOUCH” of the button. If you prefer other settings you can select from the
many other operating functions of your Toshiba unit.
Press
ONE-TOUCH
: Start the operation.
AUTOMATIC OPERATION
6
To automatically select cooling, or fan only operation
1. Press
MODE
: Select A.
2. Press
TEMP
: Set the desired temperature.
COOLING / FAN ONLY OPERATION
7
1. Press
MODE
: Select Cool , or Fan only .
2. Press
TEMP
: Set the desired temperature.
Cooling: Min. 17oC, Fan Only: No temperature indication
3. Press
FAN
: Select AUTO, LOW , LOW+ , MED ,
MED+ , or HIGH .
DRY OPERATION
8
For dehumidification, a moderate cooling performance is controlled
automatically.
1. Press
MODE
: Select Dry .
2. Press
TEMP
: Set the desired temperature.
Hi-POWER OPERATION
9
To automatically control room temperature and airflow for faster cooling
operation (except in DRY and FAN ONLY mode)
Press
Hi-POWER
: Start and stop the operation.
ECO OPERATION
10
To automatically control room to save energy (except in DRY and FAN ONLY
mode)
Press
ECO
: Start and stop the operation.
Note: Cooling operation; the set temperature will increase automatically 1
degree/hour for 2 hours (maximum 2 degrees increase).
PRESET
ONE-TOUCH
QUIET
SWING
TIMER
ON
FILTER
CHK
CLOCK
OFF
CLR
SLEEP
SET
FIX Hi-POWER ECO
COMFORT
SLEEP
MODE
TEMP
FAN
5
4
3
~
(
&
9
,
"
#
$
%
)
-
8
7
6
+
1
2
!
1
Press
FIX
: Move the louver in
the desired vertical direction.
2
Press
SWING
: Swing the air
automatically and press again to stop.
3
For horizontal direction, adjust
manually.
DANGER
•
Do not install, repair, open or remove the cover. It may
expose you to dangerous voltages. Ask the dealer or the
specialist to do this.
•
Turning off the power supply will not prevent potential electric
shock.
•
The appliance shall be installed in accordance with national
wiring regulation.
•
Means for disconnection from the supply having a
contact separation of at least 3 mm in all poles must be
incorporated in the fixed wiring.
WARNING
•
Do not expose your body directly to cool air for a long time.
•
Do not insert your finger or any article into the air inlet/outlet.
•
When an abnormality (burning smell, etc.) occurs, stop the
air conditioner and disconnect the power supply or turn off
the breaker.
CAUTION
•
Do not wash the unit with water. It may cause an electric
shock.
•
Do not use this air conditioner for other purposes such as
preserving food, breeding animal, etc.
•
Do not step or put anything on the indoor/outdoor unit. It
may cause an injury or damage the unit.
•
Do not touch aluminium fin because it may cause an injury.
•
Before cleaning the unit, turn off the main switch or the
circuit breaker.
•
When the unit won’t be used for a long time, turn off the
main switch or the circuit breaker.
•
It is recommended that maintenance be performed by
a specialist when the unit has been operated for a long
time.
PRECAUTIONS FOR SAFETY
INDOOR UNIT DISPLAY
1 Hi POWER (Green)
2 FILTER (Orange)
3 FAN-ONLY (Orange)
4 TIMER (Yellow)
5 OPERATION (Green)
6 RESET button
1
Hi POWER FILTER FAN-ONLY TIMER OPERATION
RESET
1 2 3
4 5
6
PREPARATION BEFORE USE
2
Preparing Filters
1. Open the air inlet grille and remove the air filters.
2. Attach the filters. (see detail in the accessory sheet).
Loading Batteries
1. Remove the battery cover.
2. Insert 2 new batteries (AAA type)
following the (+) and (–) positions.
Clock Setup
1. Push CLOCK ● by tip of the pencil.
2. Press
ON
or
OFF
: adjust the time.
3. Press
SET
: Set the time.
Remote Control Reset
1. Remove the battery.
2. Press .
3. Insert the battery.
AIRFLOW DIRECTION
3
Note:
• Do not move the louver manually by others.
• The louver may automation positioning by come operation mode.
ACL
CLEANING
RESET TIMER OPERATION
3 2 1
1 OPERATION (Green)
2 TIMER/CLEANING (Yellow)
3 RESET button
Models: RAS-13SKP Series
Models: RAS-10SKP Series
1110250150.indd 2 1/15/09 4:01:56 PM
TEMPORARY OPERATION
11
In case of the misplaced or discharged remote control
• Pressing the RESET button, the unit can start or
stop without using the remote control.
• Operation mode is set on
AUTOMATIC operation, preset
temperature is 22°C and fan
operation is automatic speed.
TIMER OPERATION
12
Setting the ON Timer Setting the OFF Timer
1
Press
ON
: Set the desired ON
timer.
Press
OFF
: Set the desired OFF
timer.
2
Press
SET
: Set the timer. Press
SET
: Set the timer.
3
Press
CLR
: Cancel the timer. Press
CLR
: Cancel the timer.
• During the daily timer is activating, both arrows ( , ) are indicated.
Note:
• Keep the remote control in accessible transmission to the indoor unit;
otherwise, the time lag of up to 15 minutes will occur.
• The setting will be saved for the next same operation.
Daily timer allows the user to set both the ON & OFF timers and will be
activated on a daily basis.
Setting Daily Timer
1
Press
ON
: Set the ON timer.
3
Press
SET
.
2
Press
OFF
: Set the OFF timer.
4
Press
SET
button during the
( or )
mark flashing.
PRESET OPERATION
13
Set your preferred operation for future use. The setting will be memorized by
the unit for future operation (except airflow direction).
1. Select your preferred operation.
2. Press and hold
PRESET
for 3 seconds to memorize the setting. The P
mark displays.
3. Press
PRESET
: Operate the preset operation.
AUTO RESTART OPERATION
14
To automatically restart the conditioner after the power failure (Power of the
unit must be on.)
Setting
1. Press and hold the RESET button on the indoor unit for 3 seconds to set
the operation. (3 beep sound and OPERATION lamp blink 5 time/sec for
5 seconds)
• Do not operate ON timer and OFF timer.
2. Press and hold the RESET button on the indoor unit for 3 seconds to
cancel the operation. (3 beep sound but OPERATION lamp does not
blink)
To operate at super low fan speed for quiet operation (except in DRY mode)
Press
QUIET
: Start and stop the operation.
Note: Under certain conditions, QUIET operation may not provide
adequate cooling due to low sound features.
To save energy while sleeping, automatically control air flow and
automatically turn OFF.
Press
COMFORT
SLEEP
: Select 1, 3, 5 or 9 hrs for OFF timer operation.
Note: The cooling operation, the set temperature will increase
automatically 1 degree/hour for 2 hours (maximum 2 degrees
increase).
QUIET OPERATION
15
COMFORT SLEEP OPERATION
16
SELF CLEANING OPERATION
19
OPERATION AND PERFORMANCE
20
1. Three-minute protection feature: To prevent the unit from being
activated for 3 minutes when suddenly restarted or switched to ON.
2. Some minor cracking sound may occur when unit operating. This is
normal because the cracking sound may be caused by expansion /
contraction of plastic.
Air conditioner operating conditions
Temp.
Operation
Outdoor
Temperature Room Temperature
Cooling 15°C ~ 43°C 21°C ~ 32°C
Dry 19°C ~ 43°C 17°C ~ 32°C
The unit does not operate.
Cooling is abnormally low.
• The power main switch is turned
off.
• The circuit breaker is activated to
cut off the power supply.
• Stoppage of electric current
• ON timer is set.
• The filters are blocked with dust.
• The temperature has been set
improperly.
• The windows or doors are
opened.
• The air inlet or outlet of the
outdoor unit is blocked.
• The fan speed is too low.
• The operation mode is FAN or
DRY.
TROUBLESHOOTING (CHECK POINT)
21
REMOTE CONTROL A-B SELECTION
22
To separate using of remote control for each indoor unit in case of 2 air
conditioners are installed nearly.
Remote Control B Setup.
1. Press RESET button on the indoor unit to turn the air conditioner ON.
2. Point the remote control at the indoor unit.
3. Push and hold CHK ● button on the Remote Control by the tip of the pencil.
“00” will be shown on the display.
4. Press
MODE
during pushing CHK ●. “B” will show on the display and “00”
will disappear and the air conditioner will turn OFF. The Remote Control B is
memorized.
Note: 1. Repeat above step to reset Remote
Control to be A.
2. Remote Control A has not “A”
display.
3. Default setting of Remote Control
from factory is A.
To start the sleep timer (OFF timer) operation
Press
SLEEP
: Select 1, 3, 5 or 9 hrs for OFF timer operation.
SLEEP TIMER OPERATION
17
Firstly, turn off the circuit breaker.
Filter Reset (Some models only)
FILTER lamp lights on; the filter must be cleaned.
To turn off the lamp, push the RESET button on the indoor unit or the FILTER
button on the remote control.
Indoor Unit and Remote Control
• Clean the indoor unit and the remote control with a wet cloth when
needed.
• No benzine, thinner, polishing powder or chemically-treated duster.
MAINTENANCE
18
PRESET
ONE TOUCH
QUIET
SWING
TIMER
ON
FILTER
CHECK
CLOCK
OFF
CLR
SLEEP
SET
FIX HI POWER ECO
PAP
COMFORT
SELECT
MODE
TEMP
FAN
To protect bad smell caused by the humidity in the indoor unit.
1. If the button is pressed once during “Cool” or “Dry” mode, the fan will
continue to run for other 20 minutes, then it will turn off automatically.
This will reduce the moisture in the indoor unit.
2. To stop the unit immediately, press the 3 times within 30 seconds.
Note:
• SELF CLEANING operation is default setting from factory.
• To cancel this function, press and hold the reset button on the indoor
unit for 20 seconds.
The SELF CLEANING operation will be cancelled. (5 beep sound but
OPERATION lamp does not blink)
• Do the same to set this function again. (5 beep sound and OPERATION
lamp blink 5 time/sec for 5 seconds)
• AUTO RESTART operation will be cancelled by setting or cancellation
of SELF CLEANING operation. Set it again if necessary.
EN
1110250150.indd 3 1/15/09 4:02:04 PM
1
按
FIX
: 移動百葉片於所要的
垂直方向。
2
按
SWING
: 自動搖擺氣流 , 再按
一次以停止。
3
至於水平方向 , 則請手動調整。
危險
•
請勿安裝 , 修理 , 打開或拆卸機蓋。它將使您暴露於危險的電
壓。請委託經銷商或技術人員進行這些工作。
•
關閉電源將無法避免潛在的觸電危險。
•
必須按照國家電氣規格安裝電氣裝置。
•
切斷主電源的設備必須保有
3 mm
接觸分隔於所有極口。
警告
•
請勿讓身體長時間暴露於冷風之下。
•
請勿將手指或任何物品插入進風口 / 出風口。
•
當出現異常時 (燒焦味等) , 請停止操作空調器並斷開主電源或關
閉斷路器。
小心
•
請勿用水洗本機。否則會導致觸電。
•
請勿將空調器充作其他用途 , 如保存食物 , 飼養動物等。
•
請勿踩踏或放置物件於室内 / 室外機上。否則可能造成人員受傷
或損壞機器。
•
禁止觸摸鋁翅片 , 因為這可能引起人身傷害。
•
清洗本機前 , 請關閉主電源或電流斷路器。
•
如果長時間不使用本機 , 請關閉主電源或電流斷路器。
•
當空調機運行很長時間後 , 建議由專業人士對其進行維護。
安全措施
室内機顯示屏
1 高位電源燈 (綠色)
2 篩檢程式燈 (橙色)
3 只適用於風扇 (橙色)
4
計時器 (黃色)
5 操作燈 (綠色)
6 RESET
(重設) 鍵
1
Hi POWER FILTER FAN-ONLY TIMER OPERATION
RESET
1 2 3
4 5
6
使用前的準備工作
2
安裝過濾器
1.
打開空氣進口格柵 , 並取出空氣過濾器。
2.
安裝過濾器。 (參考附表來瞭解細節)。
安裝電池
1.
打開電池蓋。
2.
按照 (+) 和 (-) 極裝入兩節新的 (
AAA
型) 電池。
時鐘設置
1.
通過筆尖推動時鐘 ●。
2.
按
ON
或
OFF
: 調整時間。
3.
按
SET
: 設定時間。
遙控器重設
1.
卸下電池。
2.
按 。
3.
安裝電池。
風向
3
注:
• 不要讓他人用手移動百葉片。
• 通過開始操作模式可以自動設定百葉片的位置。
遙控器
4
1 紅外線信號發射器
2 啓動/停止鍵
3 模式選擇鍵 (MODE)
4 溫度鍵 (TEMP)
5 風扇速度鍵 (FAN)
6 自動移動百葉片鍵 (SWING)
7 設定百葉片鍵 (FIX)
8 開定時器鍵 (ON)
9 關定時器鍵 (OFF)
! 睡眠定時器鍵 (SLEEP)
" 預存鍵 (SET)
# 清除鍵 (CLR)
$ 存儲和預設鍵 (PRESET)
% 單觸按鈕 (ONE-TOUCH)
& 高電源鍵 (Hi-POWER)
( 經濟鍵 (ECO)
) 靜音鍵 (QUIET)
~ 安睡鍵 (COMFORT SLEEP)
+ 篩檢程式重設按鈕 (FILTER)
, 時鐘重設按鈕 (CLOCK)
- 檢查按鈕 (CHK)
單觸
5
按下單觸按鈕進行完全自動化的操作 , 它是根據所在地區用戶的典型參數選擇
定制的。定制設置控制溫度氣流強度 , 氣流方向和其他設置以便使您可以選
擇使用單觸按鈕。如果您更喜歡其他設置 , 可以從東芝設備的許多其他操作
功能中進行選擇。
按
ONE-TOUCH
: 啟動操作。
自動操作
6
自動選擇制冷 , 制暖或僅風扇操作並控制風扇速度
1.
按
MODE
: 選擇
A
。
2.
按
TEMP
: 設定溫度。
制冷 / 僅風扇操作
7
1. 按
MODE
: 選擇制冷 , 或僅風扇 。
2. 按
TEMP
: 設定所要的溫度。
制冷 : 最低 17°C , 僅風扇 : 無溫度指示
3. 按
FAN
: 選擇 AUTO (自動) , LOW (低) , LOW+ , MED (中) ,
MED+ , 或 HIGH (高)。
除濕操作
8
對於除濕 , 將被自動控制在適度的制冷運行。
1. 按
MODE
: 選擇除濕 。
2. 按
TEMP
: 設定溫度。
ACL
高電源操作
9
自動控制室內溫度和氣流以便加快製冷和操作 (除了在除濕 (DRY) 和僅風扇
(FAN ONLY) 模式以外)
按
Hi-POWER
: 啓動和停止操作。
ECO 操作
10
自動控制室內溫度來節省能量 (除了在除濕 (DRY) 和僅風扇 (FAN ONLY) 模
式以外)
按
ECO
: 啓動和停止操作。
注: 製冷操作 ; 空調機溫度在兩個小時內將會自動增加 1 度/小時 (最大增
加 2 度)。
CLEANING
RESET TIMER OPERATION
3 2 1
1 操作燈 (綠色)
2 計時器 / 清潔燈 (黃色)
3
RESET
(重設) 鍵
機型: RAS-13SKP-E
機型: RAS-07, 10SKP-E
PRESET
ONE-TOUCH
QUIET
SWING
TIMER
ON
FILTER
CHK
CLOCK
OFF
CLR
SLEEP
SET
FIX Hi-POWER ECO
COMFORT
SLEEP
MODE
TEMP
FAN
5
4
3
~
(
&
9
,
"
#
$
%
)
-
8
7
6
+
1
2
!
1110250150.indd 4 1/15/09 4:02:14 PM
臨時操作
11
定時操作
12
每日組合定時器允許使用者同時設定 ON 和 OFF 定時器 , 並每日啓動。
• 在每日定時器啓動過程中 , 兩個箭頭 ( , ) 都將顯示。
注:
• 將遙控器保持在可傳送至室内機的接收範圍内 ; 否則 , 將出現達
15
分鐘
的時滯。
• 設定將被儲存 ; 方便您下一次進行同樣的操作。
設定每日定時器
1
按
ON
: 設定開機定時器。
3
按
SET
。
2
按
OFF
: 設定關機定時器。
4
按 ( 或 ) 標誌閃爍過程中按
SET
鍵。
預設操作
13
設定日後使用的首選操作。本機將儲存設定以方便您日後操作 (氣流方向除
外)。
1.
選擇您的首選操作。
2.
按住
PRESET
達
3
秒鐘已儲存設定。 P 標誌將顯示。
3.
按
PRESET
: 進行預設操作。
自動重新啓動操作
14
電流中斷後自動重新啓動空調器 (本機的電源必須已打開。)
設定
1.
按下並保持室內機上的
RESET
(重設) 按鈕
3
秒來設置操作 (聽到
3
聲嘀
嘀響並且操作燈持續
5
秒閃爍
5
次/秒)。
• 不要操作
ON
(開) 計時器和
OFF
(關) 計時器。
2.
按下並保持室內機上的
RESET
(重設) 按鈕
3
秒來取消操作 (聽到
3
聲嘀
嘀響但是操作燈不閃爍)。
在超低風扇速度下進行靜音運行 (除濕
(DRY)
模式中除外)
按
QUIET
: 啓動和停止操作。
注: 在某些條件下 , 由於低聲響特性
QUIET
(靜音) 操作可能無法提供足
夠的製冷效果。
在睡眠時為了節省能量 , 自動控制氣流並自動關閉。
按
COMFORT
SLEEP
: 選擇
1
,
3
,
5
或
9
小時供關定時器操作。
注: 對於製冷操作 , 空調機溫度在兩個小時內將會自動增加
1
度/小時
(最大增加
2
度)。
靜音操作
15
安睡操作
16
自清潔功能
19
操作與性能
20
1
. 三分鐘保護功能 : 當本機突然重新啓動或打開時防止本機在大約
3
分鐘
内再啓動。
2.
當空調機機運行時可能會出現輕微的劈啪聲。這是正常情況 , 因為劈啪
聲可能是由塑膠的膨脹/收縮引起的。
空調器操作狀況
溫度
操作 室外溫度 室內溫度
制冷 15°C ~ 43°C 21°C ~ 32°C
除濕 19°C ~ 43°C 17°C ~ 32°C
本機不運轉。
制冷效能差。
•
主電源開關關閉。
•
電路斷路器啓動以切斷電
源。
•
電流截斷。
•
設定
ON
(開) 定時器。
•
過濾器佈滿灰塵。
•
沒有正確設定溫度。
•
門窗打開。
•
室外機組的空氣進口或出口
受阻。
•
風扇速度過低。
•
運轉模式被設定為
FAN
(風
扇) 或
DRY
(除濕)。
故障檢修 (檢查點)
21
遙控器 A-B 選擇
22
在
2
個空調機安裝得比較近的情況下對每個室內機分別使用遙控器。
遙控器 B 設置。
1.
按下室內機上的
RESET
(重設) 按鈕來打開空調機。
2.
將遙控器對準室內機。
3.
用筆尖頂推並保持遙控器上的檢查
CHK
● 按鈕。顯示幕上將顯示“
00
”。
4.
在頂推
CHK
● 期間按下模式
MODE
。顯示幕上將會顯
示“
B
”而“
00
”將會消失 , 並且空調機將會關閉。遙控器
B
是記憶式的。
注:
1. 重複以上的步驟將遙控器重設為 A。
2. 遙控器 A 不顯示“A”。
3. 出廠時 遙控器的默認設置是 A。
啓動睡眠定時期 (關定時器) 操作
按
SLEEP
: 選擇
1
,
3
,
5
或
9
小時供關定時器操作。
睡眠定時器操作
17
首先請關閉電流斷路器。
篩檢程式重設 (只適用於一些模式)
篩檢程式 (FILTER) 燈點亮 ; 必須清潔篩檢程式。
為了關掉此燈 , 按下室內機上的 RESET 按鈕或遙控器上的 FILTER 按鈕。
室内機和遙控器
• 必要時用濕布清潔室内機和遙控器。
• 請勿用苯 , 稀釋劑 , 研磨粉或化學掃。
保養
18
PRESET
ONE TOUCH
QUIET
SWING
TIMER
ON
FILTER
CHECK
CLOCK
OFF
CLR
SLEEP
SET
FIX HI POWER ECO
PAP
COMFORT
SELECT
MODE
TEMP
FAN
避免因室内機機内潮濕所引起的難聞異味。
1.
若在制冷或除濕模式過程中按一次 鍵 , 風扇將繼續運轉約
20
分鐘 ,
然後它將自動關閉。此項運行將降低室内機中的潮濕。
2.
要立刻停止本機時 , 在
30
秒鐘内按
3
次 。
注:
•
SELF CLEANING
(本機清潔) 操作是出廠時的默認設置。
•
為了取消此功能 , 按下並保持室內機上的重設按鈕
20
秒。
將會取消
SELF CLEANING
(本機清潔) 操作 (聽到
5
聲嘀嘀響但
OPERATION
(操作) 燈不閃爍)。
•
為了啟用此功能執行相同的操作 (聽到
5
聲嘀嘀響並且
OPERATION
燈持
續
5
秒鐘閃爍
5
次/秒)。
•
通過設定或取消
SELF CLEANING
(本機清潔) 操作可以取消自動重新啟動
(AUTO RESTART)
操作。如果有必要再次設定它。
若您遺失遙控器或其電池耗盡時。
•
按
RESET
鍵 , 不需用遙控器也可使本機啓動或停
止。
•
操作模式設定在
AUTOMATIC
(自動) 操作 , 預設的溫度是
22°C
, 風扇操作設為自動速率。
設定 ON 定時器 設定 OFF 定時器
1
按
ON
: 設定所要的
ON
定時器。
按
OFF
:
設定所要的
OFF
定時器。
2
按
SET
: 設定定時器。 按
SET
: 設定定時器。
3
按
CLR
: 取消定時器。 按
CLR
: 取消定時器。
CT
1110250150.indd 5 1/15/09 4:02:21 PM
Memo
1110250150.indd 6 1/15/09 4:02:22 PM
Memo
1110250150.indd 7 1/15/09 4:02:22 PM
1110250150.indd 8 1/15/09 4:02:22 PM

This manual suits for next models

3

Other Toshiba Air Conditioner manuals

Toshiba MiNi-SMMS MCY-MAP0401HT User manual

Toshiba

Toshiba MiNi-SMMS MCY-MAP0401HT User manual

Toshiba RAV-GM561DTP-A User manual

Toshiba

Toshiba RAV-GM561DTP-A User manual

Toshiba RAS-16N3KCV-T User manual

Toshiba

Toshiba RAS-16N3KCV-T User manual

Toshiba RAV-SM2804AT7 User manual

Toshiba

Toshiba RAV-SM2804AT7 User manual

Toshiba RAS-10S3KHS-EE User manual

Toshiba

Toshiba RAS-10S3KHS-EE User manual

Toshiba MCY-MHP0305HT-C User manual

Toshiba

Toshiba MCY-MHP0305HT-C User manual

Toshiba CARRIER RAV-SP180CT-UL User manual

Toshiba

Toshiba CARRIER RAV-SP180CT-UL User manual

Toshiba RAS-25N4KVRG-ND User manual

Toshiba

Toshiba RAS-25N4KVRG-ND User manual

Toshiba RAS-18UFHP-E4 User manual

Toshiba

Toshiba RAS-18UFHP-E4 User manual

Toshiba RAV-GV1601ATP-E User manual

Toshiba

Toshiba RAV-GV1601ATP-E User manual

Toshiba RAS-B22PKVSG-E User manual

Toshiba

Toshiba RAS-B22PKVSG-E User manual

Toshiba RAV-SM560KRT-E User manual

Toshiba

Toshiba RAV-SM560KRT-E User manual

Toshiba RAS-25S4KVPG-ND User manual

Toshiba

Toshiba RAS-25S4KVPG-ND User manual

Toshiba RAV-GM2241AT8-E User manual

Toshiba

Toshiba RAV-GM2241AT8-E User manual

Toshiba MMY-MAP0804HT8(Z)(ZG)-E User manual

Toshiba

Toshiba MMY-MAP0804HT8(Z)(ZG)-E User manual

Toshiba HFC R407C User manual

Toshiba

Toshiba HFC R407C User manual

Toshiba RAS-13UKHP-E2 User manual

Toshiba

Toshiba RAS-13UKHP-E2 User manual

Toshiba RAV-SM567CTP-E User manual

Toshiba

Toshiba RAV-SM567CTP-E User manual

Toshiba MMD-AP0071SH-C User manual

Toshiba

Toshiba MMD-AP0071SH-C User manual

Toshiba RAV-SM2244DTP-E User manual

Toshiba

Toshiba RAV-SM2244DTP-E User manual

Toshiba MMK-UP0051DHPL-E User manual

Toshiba

Toshiba MMK-UP0051DHPL-E User manual

Toshiba MMU-AP0091H User manual

Toshiba

Toshiba MMU-AP0091H User manual

Toshiba MMK-AP0057HP-E User manual

Toshiba

Toshiba MMK-AP0057HP-E User manual

Toshiba SP560AT-E User manual

Toshiba

Toshiba SP560AT-E User manual

Popular Air Conditioner manuals by other brands

Soleus Air KC-15U owner's manual

Soleus Air

Soleus Air KC-15U owner's manual

Honeywell CL30XC owner's manual

Honeywell

Honeywell CL30XC owner's manual

Webasto Frigo Top 25 DS Instructions for use

Webasto

Webasto Frigo Top 25 DS Instructions for use

Airwell Dakota DCI Series Service manual

Airwell

Airwell Dakota DCI Series Service manual

Haier HDU-42HT03/H Operating & installation manual

Haier

Haier HDU-42HT03/H Operating & installation manual

Sanyo CH0971 Technical & service manual

Sanyo

Sanyo CH0971 Technical & service manual

Hitachi RAK-18QXD Service manual

Hitachi

Hitachi RAK-18QXD Service manual

Technibel MCAV77C5VAB Technical data & service manual

Technibel

Technibel MCAV77C5VAB Technical data & service manual

DeLonghi EX Series Instructions for use

DeLonghi

DeLonghi EX Series Instructions for use

Kaden KSI R32 owner's manual

Kaden

Kaden KSI R32 owner's manual

GREE ELECTRIC GWH09TA-S3DNA1C Service manual

GREE ELECTRIC

GREE ELECTRIC GWH09TA-S3DNA1C Service manual

Sharp AU-1802Y Operation manual

Sharp

Sharp AU-1802Y Operation manual

Carrier ROOM AIR CONDITIONER operating manual

Carrier

Carrier ROOM AIR CONDITIONER operating manual

Ocean Breeze OBZ-10ESN owner's manual

Ocean Breeze

Ocean Breeze OBZ-10ESN owner's manual

Sharp Plasmacluster GS-XP07ER Operation manual

Sharp

Sharp Plasmacluster GS-XP07ER Operation manual

Mitsubishi Electric CITY MULTI PKFY-P-VBM-E installation manual

Mitsubishi Electric

Mitsubishi Electric CITY MULTI PKFY-P-VBM-E installation manual

Mitsubishi Electric MSZ-A09/A12YV Series installation manual

Mitsubishi Electric

Mitsubishi Electric MSZ-A09/A12YV Series installation manual

Panasonic S-22MZ1H4A operating instructions

Panasonic

Panasonic S-22MZ1H4A operating instructions

manuals.online logo
manuals.online logoBrands
  • About & Mission
  • Contact us
  • Privacy Policy
  • Terms and Conditions

Copyright 2025 Manuals.Online. All Rights Reserved.