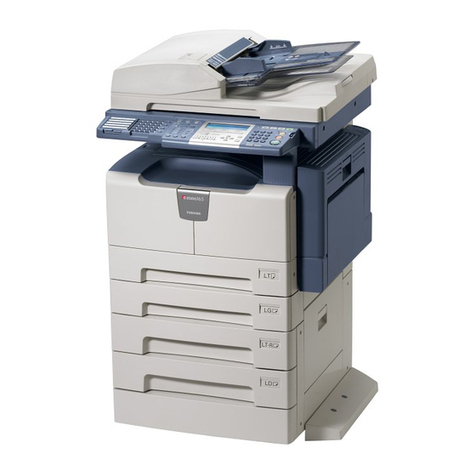
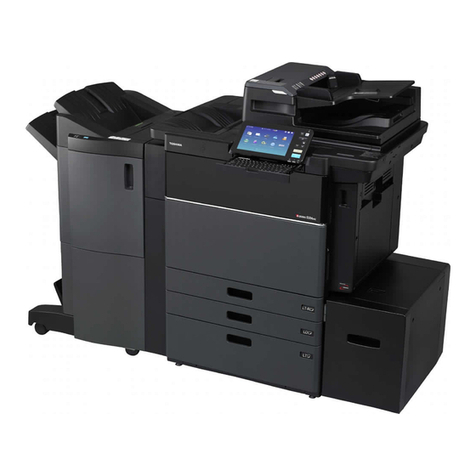
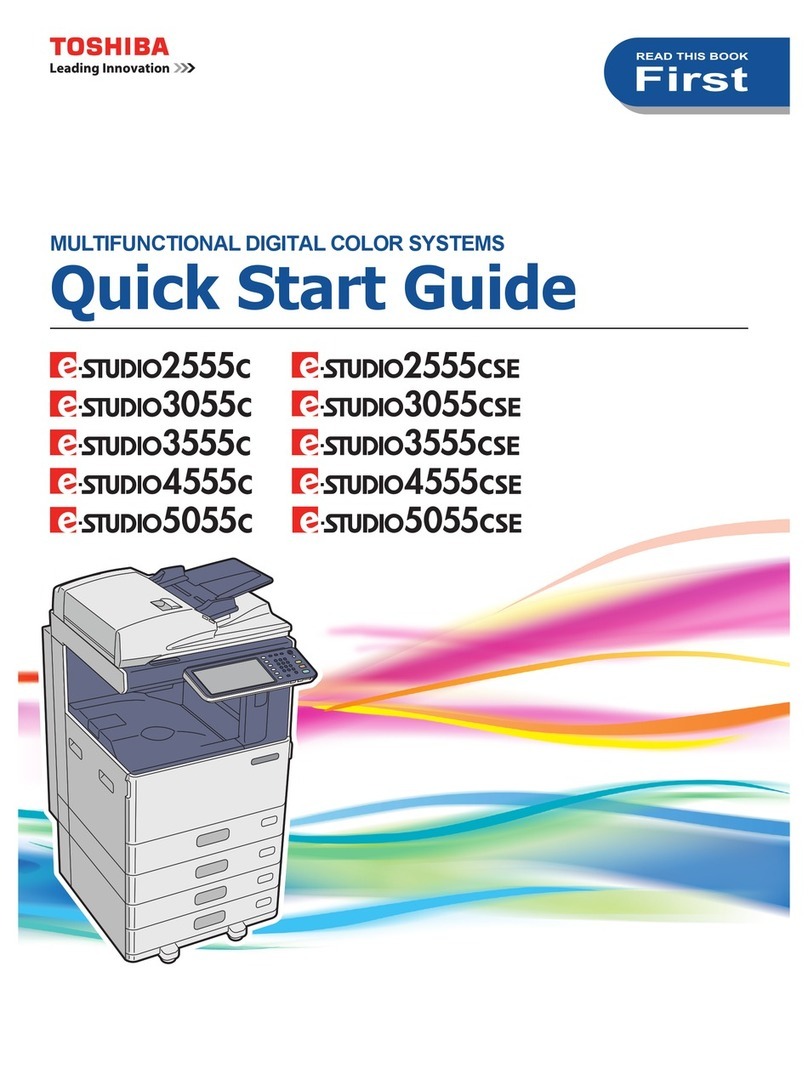
Toshiba E-STUDIO 2500C User manual
Other Toshiba All In One Printer manuals
Toshiba
Toshiba e-STUDIO GL-1010 Manual

Toshiba
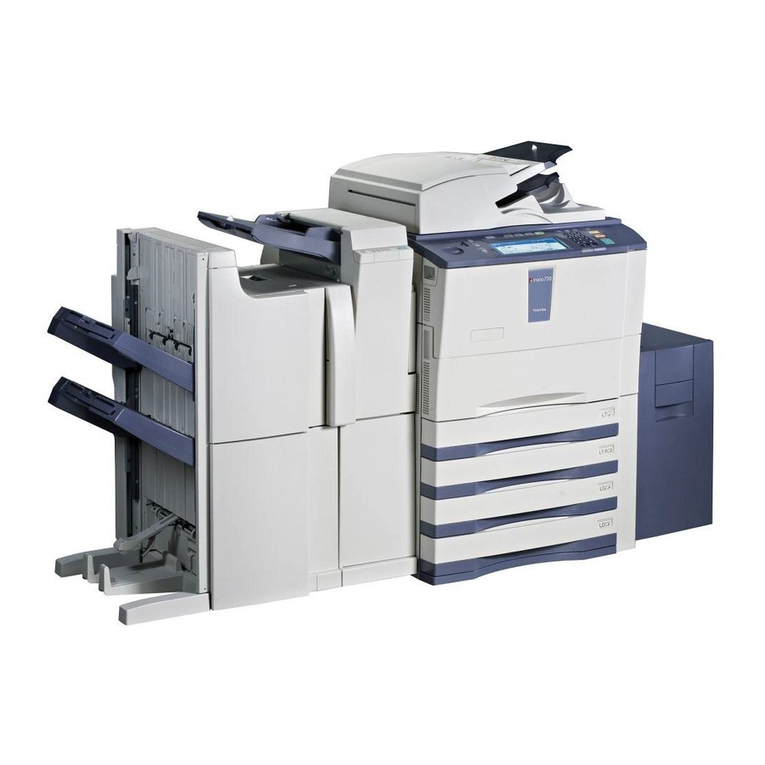
Toshiba GD-1370 Installation and maintenance instructions
Toshiba
Toshiba E-STUDIO520 Parts list manual

Toshiba
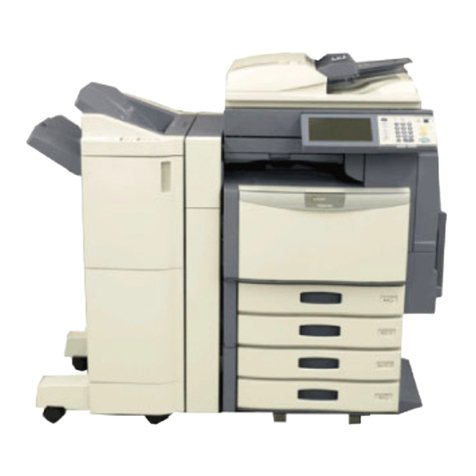
Toshiba MJ-1028 Installation and operating instructions
Toshiba
Toshiba e-studio 2330C User manual

Toshiba
Toshiba e-studio 2330C User manual

Toshiba
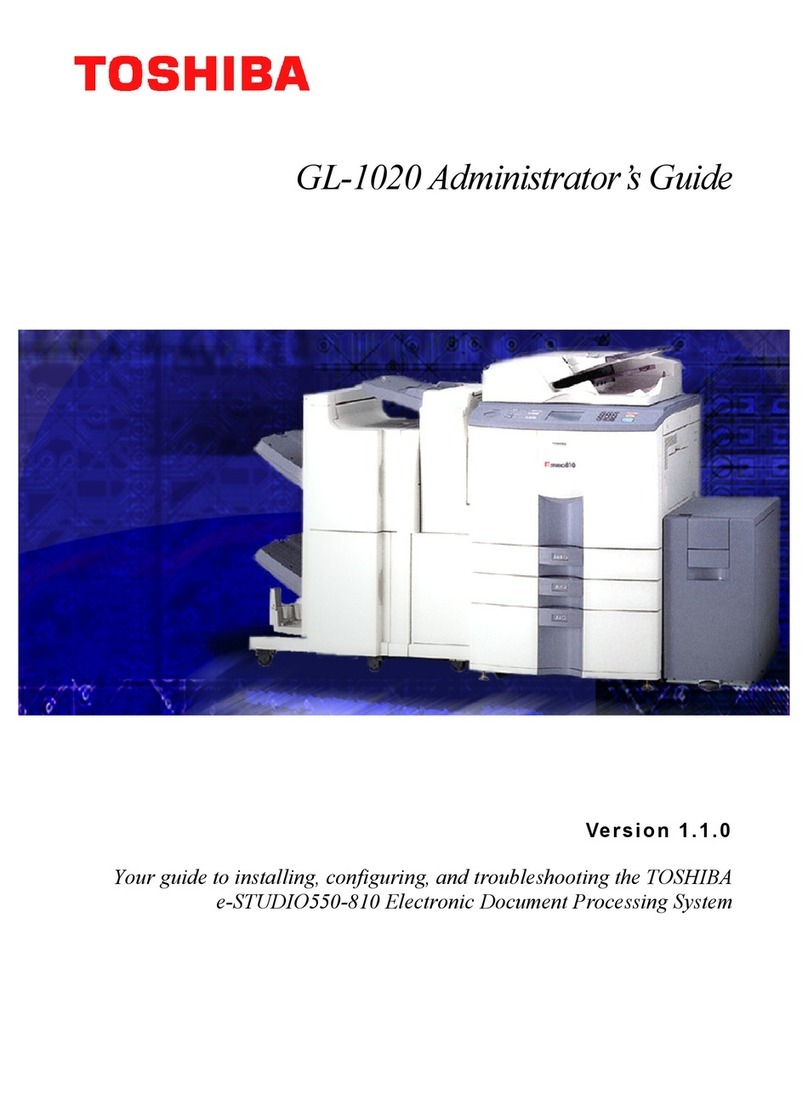
Toshiba Copier User manual
Toshiba
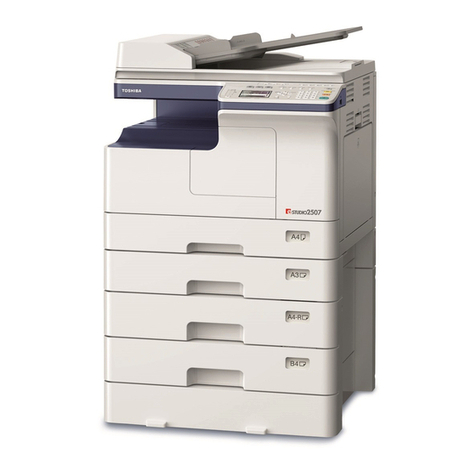
Toshiba e-STUDIO GL-1020 Service manual
Toshiba
Toshiba e-studio2505f Firmware update
Toshiba
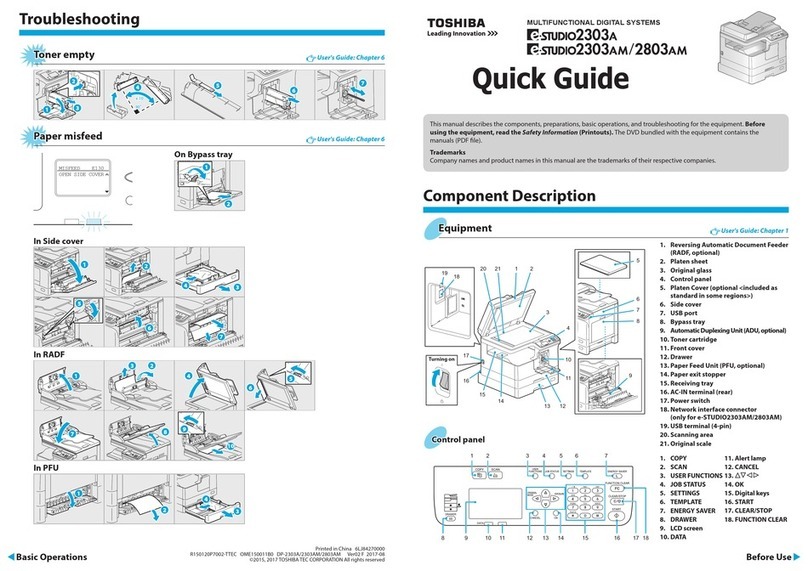
Toshiba E-STUDIO 2303A User manual
Toshiba
Toshiba e-STUDIO6520c How to use
Toshiba
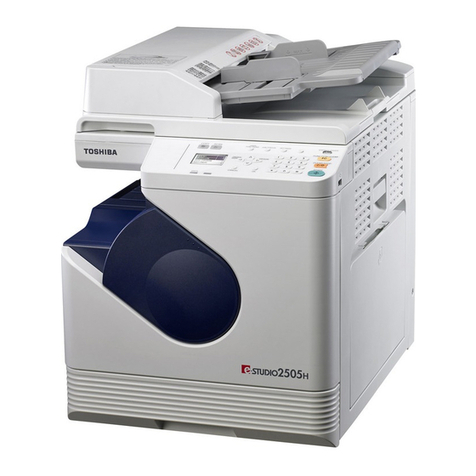
Toshiba e-Studio 2505H User manual
Toshiba
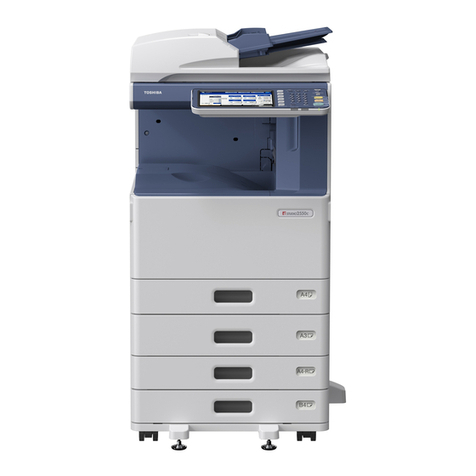
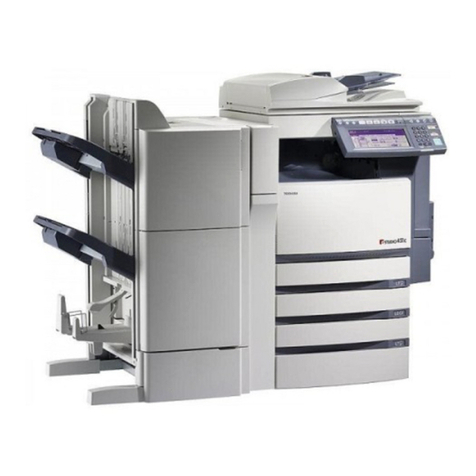
Toshiba E-studio 2050c Original instructions
Toshiba
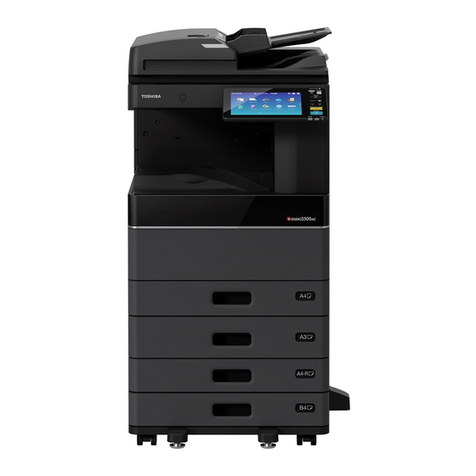
Toshiba e-STUDIO355 User manual
Toshiba
Toshiba E-STUDIO2000AC Configuration guide
Toshiba
Toshiba e-STUDIO163 How to use
Toshiba
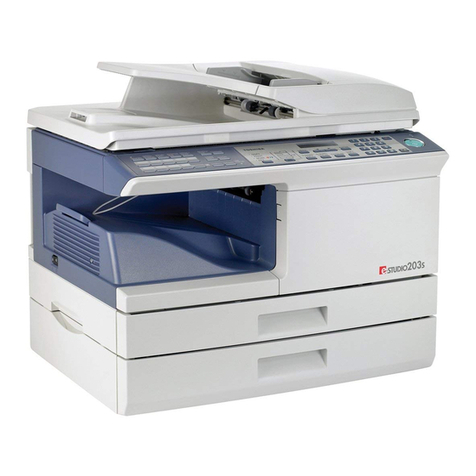
Toshiba e-STUDIO203S Setup guide
Toshiba
Toshiba e-STUDIO 165 Installation and maintenance instructions
Toshiba
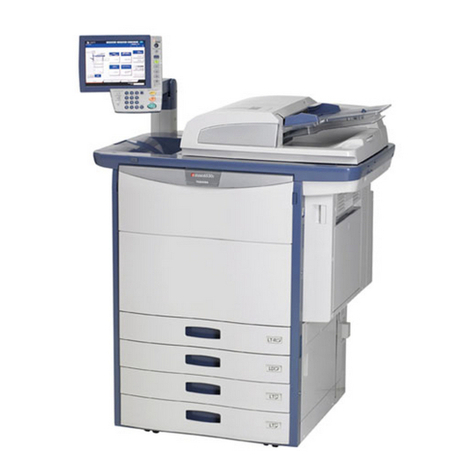
Toshiba e-studio5560c User manual
Toshiba
Toshiba e-STUDIO203 User manual

