- 1 -
Basic
Photography Playing Back/
Erasing Images Other
Applications Additional
Information
Getting Ready
For customers in the U.S.A.
FCC Statement
This device complies with Part 15 of the FCC Rules. Operation is subject to the following two conditions:
(1) This device may not cause harmful interference, and
(2) this device must accept any interference received, including interference that may cause undesired operation.
NOTE
This equipment has been tested and found to comply with the limits for a Class B digital device, pursuant to Part 15
of the FCC Rules. These limits are designed to provide reasonable protection against harmful interference in a
residential installation.
This equipment generates, uses and can radiate radio frequency energy and, if not installed and used in
accordance with the instructions, may cause harmful interference to radio communications. However, there is no
guarantee that interference will not occur in a particular installation. If this equipment does cause harmful
interference to radio or television reception, which can be determined by turning the equipment off and on, the user
is encouraged to try to correct the interference by one or more of the following measures:
• Change the direction of the radio or TV antenna.
Move the equipment or the radio or TV. For example, if the equipment is to the right of the TV, move it to the left of
the TV.
Or, move the equipment farther away from the radio or TV.
• Plug the equipment into a different outlet. Don’t plug your radio or TV into the same circuit as your equipment.
• Ensure that all expansion slots (on the back or side of the equipment) are covered.
Also, ensure that all metal retaining brackets are tightly attached to the equipment.
• If these suggestions don’t help, consult your equipment dealer or experienced radio/TV technician for help.
Attention
Downloaded From camera-usermanual.com
- 3 -
Basic
Photography Playing Back/
Erasing Images Other
Applications Additional
Information
Getting Ready
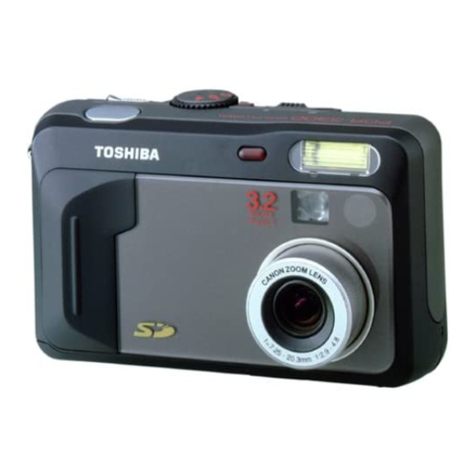
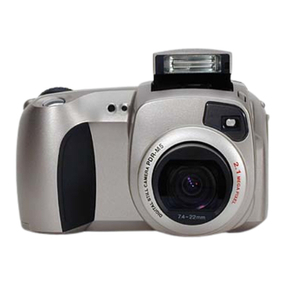
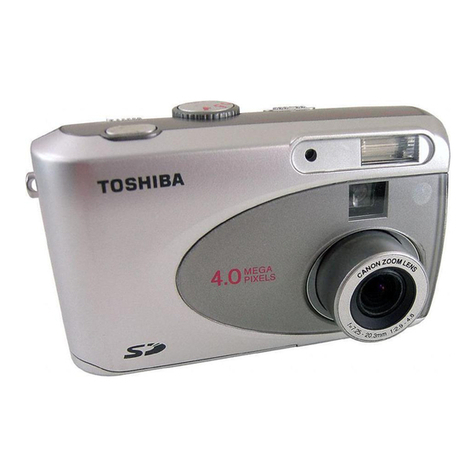
Thank you for purchasing the Toshiba PDR-M65 or PDR-M61 Digital Still Camera.
To ensure that you use this camera safely and correctly, read this Instruction Manual carefully before you start using
the camera. Once you have finished reading this Instruction Manual, keep it handy at all times.
Trademark Information
•MS-DOS, Windows, Windows 98, Windows 2000,
Windows ME are registered trademarks of the
Microsoft Corporation of the U.S. registered in the
USA and other countries.
Windows is an abbreviated term referring to the
Microsoft Windows Operating System.
•Macintosh is a trademark of Apple Computer, Inc.
•Image Expert is a registered trademark of Sierra
Imaging, Inc.
•SmartMedia is a trademark of Toshiba Corporation.
• Other companies or product names are trademarks
or registered trademarks of the respective
companies.
Before Reading This Manual
IMPORTANT
• Indicates items or details that you should observe to
prevent loss of data, malfunction and impaired
performance. Also indicates information relating to
specifications and functions.
Memo
• Indicates extra useful information.
☞Indicates another page to refer to for extra
information.
About OS Abbreviations
•Windows 98
This abbreviation stands for the Microsoft®
Windows®98 operating system.
•Windows 95
This abbreviation stands for the Microsoft®
Windows®95 operating system.
•Windows 2000
This abbreviation stands for the Microsoft®
Windows®2000 operating system.
•Windows NT
This abbreviation stands for the Microsoft®
Windows®NT Workstation 4.0 operating system.
•Windows ME
This abbreviation stands for the Microsoft®
Windows®ME operating system.
Conventions Used In This Manual
Downloaded From camera-usermanual.com
- 5 -
Basic
Photography Playing Back/
Erasing Images Other
Applications Additional
Information
Getting Ready
Contents (continued)
ISO .......................................................................60
BULB ....................................................................61
SELF TIMER ........................................................61
LCD ......................................................................61
Playing Back/Erasing Images
■Playing Back Photographed Images
(Single-Frame Playback) ..................................... 62
■Enlarging Photographed Images
(Zoom Playback).................................................. 63
■Displaying a List of Images
(Thumbnail Display).............................................64
■Auto Playback (Slideshow) ..................................65
■Reducing the Image Size (Resize) ......................66
■Compressing Images (Quality) ............................68
■Selecting the Folder to Play Back ........................ 70
■Erasing Images (Erase Frame)............................72
■Erasing All Images in a Folder (Erase All) ...........74
■Formatting the SmartMedia™ ............................. 75
■Protecting Images................................................76
Protecting an Image .............................................76
Removing the Protection ......................................78
Other Applications
■Basic Photographic Settings
(SET-UP mode)....................................................79
LANGUAGE..........................................................80
SOUND ................................................................80
TIME .....................................................................81
AUTO-OFF ...........................................................81
TV .........................................................................82
IMAGE No.............................................................82
DEFAULT ..............................................................83
■Adjusting the LCD Monitor Brightness.................84
■DISP Button and LCD Monitor Display ................85
■Taking and Playing Back
Photographs on aTV (only M65) ......................... 86
■Transferring Images to a PC ................................88
■Installing the USB driver ......................................89
■Separately Sold Accessories............................... 94
■Connecting to Other Devices...............................95
Additional Information
■Specifications ......................................................96
■Warnings and Messages Displayed
on LCD Monitor .................................................101
■Troubleshooting .................................................102
■Glossary ............................................................105
■Contact Numbers...............................................106
The name in parentheses ( ) is the function name on the PDR-M65 or PDR-M61.
Downloaded From camera-usermanual.com
- 7 -
Basic
Photography Playing Back/
Erasing Images Other
Applications Additional
Information
Getting Ready
Exemption Clauses
• Toshiba Corporation bears no responsibility in the case of
damages arising from earthquakes, fire not liable to
Toshiba Corporation, operating by third parties, other
accidents, or use under abnormal conditions including
erroneous or improper operation and other problems.
• Toshiba Corporation bears no responsibility for incidental
damages (lost profit, work interruption, corruption or loss
of the memory contents, etc.) arising from the use of or
the inability to use this unit.
• Toshiba Corporation accepts no liability whatsoever for
any damages arising from not having followed the
descriptions in this Instruction Manual.
• Toshiba Corporation accepts no liability whatsoever for
any damages arising from malfunctions arising from
combination with equipment or software that is not
related to Toshiba Corporation.
Safety Precautions (continued)
Do not heat, disassemble or throw the
batteries into fire or water.
Doing this might cause it to rupture, ignite or heat
up, resulting in fire or major injury.
Do not strike the batteries with a hammer,
or step on, drop, or subject the battery to
strong impact.
Doing so might cause it to rupture, ignite or heat
up, resulting in fire or major injury.
Downloaded From camera-usermanual.com
- 9 -
Basic
Photography Playing Back/
Erasing Images Other
Applications Additional
Information
Getting Ready
Safety Precautions (continued)
Do not disassemble, change or repair the
camera.
This might cause fire or electric shock. For
details on repair and internal inspection, consult
the store of purchase, or please contact the
technical support number.
Do not touch power orTV antenna cords
during a thunderstorm.
This might cause electric shock.
Do not use the camera while you are
walking, driving or riding a motorcycle.
This might cause you to fall over or result in a
traffic accident.
Use only the specified batteries or the
specified AC adapter.
Use of a battery or AC adapter other than
specified, might cause fire, defects or
malfunctions.
Keep the batteries out of the reach of
children.
If a child swallows a battery, this might result in
poisoning. If a child swallows a battery,
immediately consult a physician.
If battery fluid enters the eyes, immediately
rinse with fresh water and consult with a
physician to receive treatment.
If left untreated, damage to the eye could be
permanent.
Use the AC adapter only with the indicated
power supply voltage
(100 to 120V, 230V AC).
Use with any other power supply voltage might
cause fire or electric shock.
(continued)
WARNING
(continued)
WARNING
Downloaded From camera-usermanual.com

