TowMate, LLC. : 15827 Serenity Point Ln. : Rogers, AR 72756 : Phone (800) 680-4455 : Fax (479) 925-3494
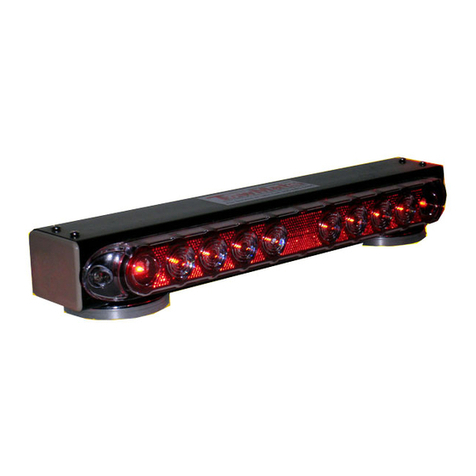
50,000 hour lamp life
Lifetime Warranty
If ever the light fails to get a signal or an LED burns out, TowMate will replace the
defective unit at no cost.
Installation Instructions:
1. Slide the included ventilation tube over the wires and securely fasten it to the nipple on
the back of the light assembly so that it will be pointing downward when installed.
2. Decide which power source you will be tapping into in order to power the light strip itself.
a. Connecting to power and ground that is switched with the ignition or the tail lights is a
simple way to power the unit utilizing existing wiring.
3. Mount the light to any surface using two screws.
4. When installing the controller, tap into any 12V+ source that is accessible from the dash
area.
5. The unit should now be fully operational.
Configuration Instructions:
1. Before activating the controller for linking, apply power to the light and wave a magnet
over it in order to cycle through the marker light modes (or no marker).
2. Determine which lights you wish to activate when a particular switch or function is
activated at the controller/switch panel.
3. Activate the selected switch or pattern on the controller/switch panel.
4. Hold the provided magnet over the end of the light module that is labeled “L” (Link) on
the circuit board within the lens itself. (“L” Will Be Visible On PLC100 Series Only)
a. The light should now come on any time the selected pattern/switch is activated from
the controller/switch panel.
5. Wave a magnet over the opposite end to cycle through the pre-programed patterns of
the light strip one at a time.
6. Repeat steps 1-4 for each light strip you wish to program. They can all activate with
different functions, all together, in pairs, or any way that suits your needs.
