FAQ (Frequently Asked Questions)
Customize the 4G LTE Router
©2017 TP-Link 7106507102 REV2.0.0
1. Make sure your computer is connected to the router (via wired or
wireless connection).
Note: If the login page does not appear, please refer to FAQ > Q1.
2. Launch a web browser and type in http://tplinkmodem.net or
http://192.168.1.1. Use admin for both username and password,
and then click Log in.
3. Go to Quick Setup and click Next.
4. Select the Timezone, and then click Next.
5. The Dial-up page shows the ISP information of the SIM card
inserted. If you have connected to the internet, click Next to
continue.
Note: The router can also be used (or congured) in Standard Wireless Router Mode for ADSL/Cable
connections. For more information, please refer to the User Guide on our ocial website:
www.tp-link.com.
6. Customize your wireless network name and password, and then
click Next.
7. Click Finish to enable the settings.
Next
Back
Wireless Radio:
Wireless Security:
Wireless Password:
Disable Security
WPA-PSK/WPA2-PSK
TP-Link_XXXX
XXXXXXXX
Wireless Network Name: (Also called the SSID)
Enable
No Change
More Advanced Wireless Settings
WPS/RESET Button
Press and hold until the Power LED starts ashing
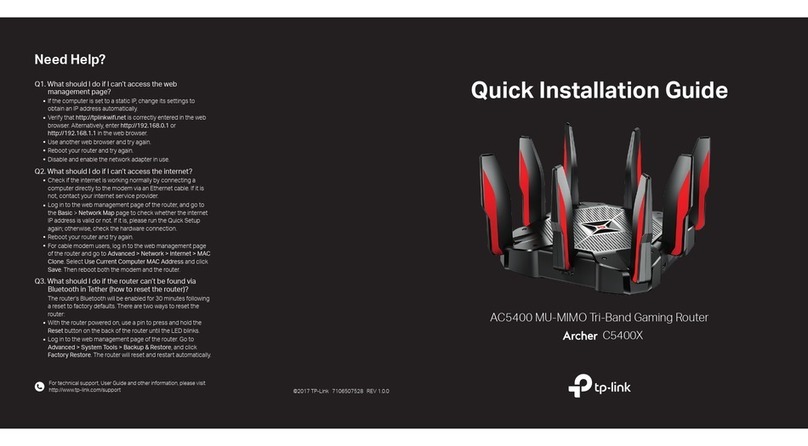
Q1. What should I do if I cannot access the web management page?
A1. If the computer is set to a static IP address, change its settings to obtain an IP address
automatically.
A2. Make sure http://tplinkmodem.net or http://192.168.1.1 is correctly entered in the web browser.
A3. Use another web browser and try again.
A4. Reboot your router and try again.
A5. Disable and enable the active network adapter in use.
Q2. What should I do if I cannot access the internet?
A1. Verify that your SIM card is an LTE, WCDMA or GSM card.
A2. Verify that your SIM card is in your internet service provider’s service area.
A3. Verify that your SIM card has sucient credit.
A4. Check the LAN connection:
Open a web browser and enter http://tplinkmodem.net or http://192.168.1.1 in the address bar.
If the login page does not appear, refer to FAQ > Q1 and then try again.
A5. Check your ISP parameters:
1) Open a web browser and log in to the web management page.
2) Go to Network > LTE Dial Up to verify the parameters (including the APN, Username and
Password) provided by your ISP are correctly entered. If the parameters are incorrect, click Create
and enter the correct parameters, then select the new prole from the Prole Name list.
A6. Check the PIN settings:
1) Open a web browser and log in to the web management page.
2) Go to Network > PIN Management to verify if PIN is required. If it is, enter the correct PIN provided by
your ISP, and click Apply.
A7. Check the Data Limit:
1) Open a web browser and log in to the web management page.
2) Go to Network > LTE Data Settings to verify if the Total/Monthly Used exceeds the Total/Monthly
Allowance. If it does, click Correct and set Total/Monthly Used to 0 (zero), or disable Data Limit.
A8. Check the Mobile Data:
1) Open a web browser and log in to the web management page.
2) Go to Network > LTE Dial Up to verify that Mobile Data is enabled. If it is not, enable it to access the
internet.
A9. Check the Data Roaming:
1) Conrm with your ISP if you are in a roaming service area. If you are, open a web browser and log in to
the web management page.
2) Go to Network > LTE Dial Up to enable Data Roaming.
Q3. How do I restore the router to its factory default settings?
A1. With the router powered on, press and hold the
WPS/RESET button on the rear panel of the router
until the Power LED starts ashing, then release
the button. Wait while the router resets.
A2. Log in to the web management page of the router,
and go to System Tools > Factory Defaults, click
Restore and wait until the reset process is complete.
Q4. What should I do if I forget my web management page password?
A. Refer to FAQ > Q3 to reset the router, and then use admin (all lower case) for both username
and password to log in.
Q5. What should I do if I forget my wireless network password?
A1. The default Wireless Password is printed on the product label of the router.
A2. If the default Wireless Password has been changed, log in to the router's web management
page and go to Wireless > Wireless Security to retrieve or reset your password.
http://tplinkmodem.net
admin
admin
Log in
For technical support and other information, please visit
http://www.tp-link.com/support, or simply scan the QR code.
LED Indicators
LED Status Indication
(Wireless)
(WPS)
(LAN)
(Internet)
(Power)
On
Flashing
O
On
O
On
O
On
O
On
O
On/O
Flashing
On
O
The system has started up successfully.
The system is starting up or rmware is being upgraded. Do not
disconnect or power o your modem router.
Power is o.
The router is connected to the internet.
There is no internet connection.
The router is connected to the 4G network.
The router is disconnected from the 4G network.
The wireless function is enabled.
The wireless function is disabled.
At least one LAN port is connected to a powered-on device.
No LAN port is connected to a powered-on device.
This light remains on for 5 minutes when a WPS connection is
established, then turns o.
WPS connection is in progress. This may take up to 2 minutes.
Indicates the signal strength received from the mobile internet
network. More lit bars indicate a better signal strength.
There is no mobile internet signal.
(4G)
(Signal
Strength)
