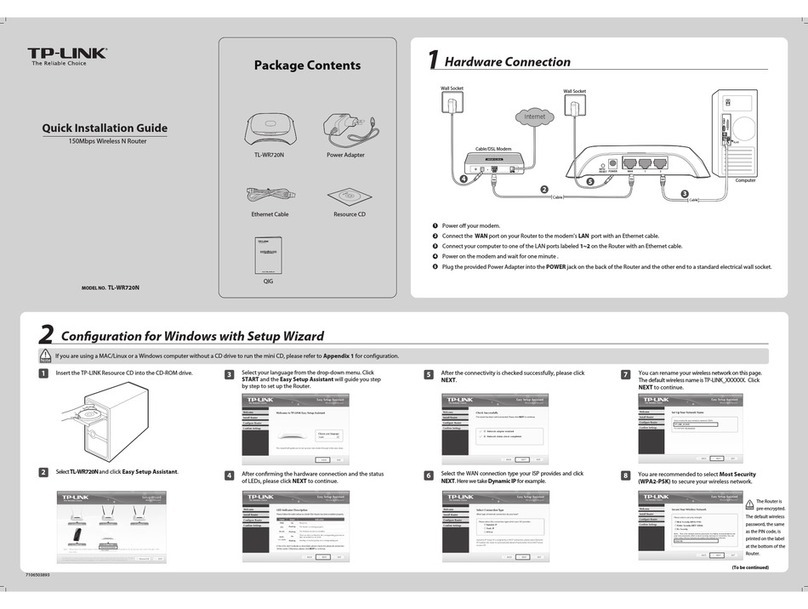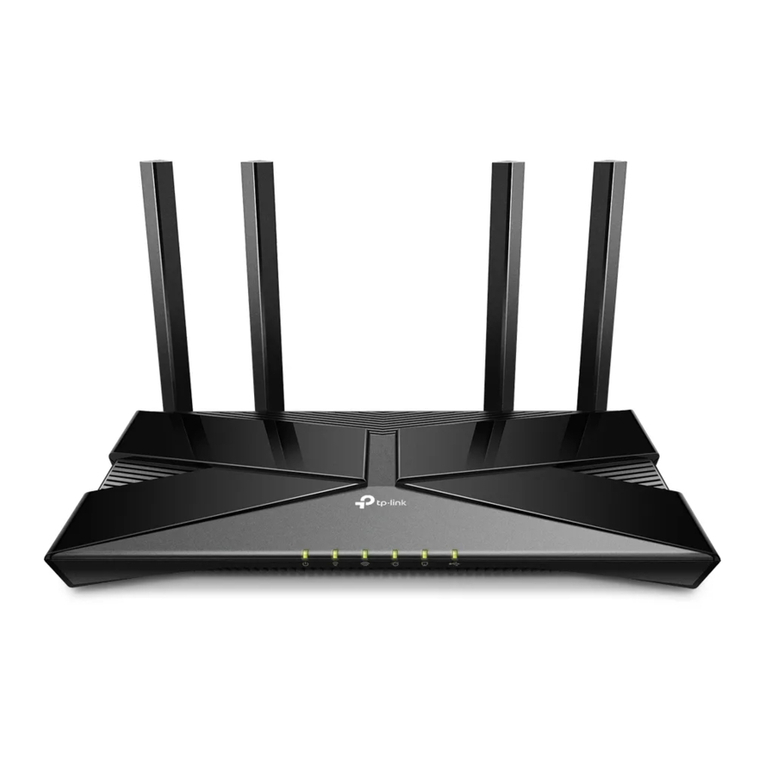
Power Adapter
Ethernet Cable
Modem
Modem Router
VDSL LAN4/WAN LAN3 LAN2 LAN1 USB WiFi ON/OFF POWER
WPS/
RESET
Configure the Modem Router2
d. Go to Operation Mode and select Wireless Router Mode. After
rebooting, go to Network > WAN Settings and click Add New to nish
the setup.
If you already have a modem or your internet comes directly from an
Ethernet wall outlet, you can switch to Wireless Router mode. Follow the
steps below to nish the setup.
Already have a modem?
a. Connect the hardware and wait about 1 minute for the router to start up.
b. Connect your device to the router’s LAN4/WAN port via an Ethernet
cable or connect wirelessly.
Note: If the login page does not appear, please refer to FAQ > Q1.
c. Launch a web browser and type in http://tplinkmodem.net or
192.168.1.1. Use admin (all lowercase) for both username and password
to log in.
Note: The SSID (network name) and Wireless Password are on the product label.
http://tplinkmodem.net
2. Congure Via the Web Browser
a. Connect your device to the router using an Ethernet cable or wirelessly.
Note: The SSID (network name) and Wireless Password are on the product
label.
Note: If the login page does not appear, please refer to FAQ > Q1.
b. Launch a web browser and type in http://tplinkmodem.net or 192.168.1.1.
Use admin (all lowercase) for both username and password to log in.
c. Click Next to start Quick Setup and follow the step-by-step instructions
to set up an internet connection.
admin
admin
Login
http://tplinkmodem.net
1. Before You Start
You'll usually need an internet service username and password,
given to you by your internet service provider (ISP) when you first
signed up with them. If you are unsure, please check with your ISP.
Find the product label at the bottom of your router. The router's
default SSID (network name) and Wireless Password are printed on
the product label.
Wireless Password/PIN:XXXXXXXX
SSID: TP-Link_XXXX
FAQ (Frequently Asked Questions)
©2019 TP-Link 7106508344 REV3.0.0
Q1. What should I do if I cannot access the web management page?
A1. If the computer is set to a static IP address, change its settings to obtain an IP
address automatically.
A2. Make sure http://tplinkmodem.net or http://192.168.1.1 is correctly entered in
the web browser.
A3. Use another web browser and try again.
A4. Reboot your modem router and try again.
A5. Disable then enable the network adapter in use.
Q2. What should I do if I cannot access the internet?
A1. Make sure all telephone and Ethernet cables are correctly and securely
connected to the modem router.
A2. Try to log in to the web management page of the modem router using the default
address at http://tplinkmodem.net or http://192.168.1.1. If you cannot, change
your computer settings to obtain an IP address automatically from the modem
router. If you can, try the steps below.
A3. Ask your internet service provider for the VPI/VCI (or VLAN ID), connection type,
internet service username and password, and make sure all are correctly entered
into your router's management page.
A4. Restore the modem router to its factory default settings and reconfigure it by following
the instructions in this guide.
A5. Please contact our Technical Support if the problem persists.
Q3. How do I restore the modem router to its factory default settings?
A1. With the modem router powered on, press and hold the WPS/RESET button on the
modem router until all the LEDs turn on momentarily , then release the button.
A2. Log in to the web management page of the modem router. Go to System Tools >
Factory Defaults and click Restore. The modem router will restore and reboot
automatically.
Q4. What should I do if I forget my password?
For the web management page:
Refer to FAQ > Q3 to resset the modem router and then use admin (all lowercase) for
both username and password to log in.
For the Wi-Fi network:
A1. The default Wireless Password/PIN can be found on the product label at the bottom of
the modem router.
A2. If the default wireless password has been changed, log in to the web management
page and go to Wireless > Wireless Security to retrieve or reset your password.
Q5. What should I do if the DSL LED does not turn solid on?
A1. Check your cables and make sure they are all plugged in correctly, including the
telephone lines and power adapter.
A2. Restore your modem router to its factory default settings.
A3. Remove the DSL splitter, directly connect the modem router to the phone jack and
follow this guide to reconfigure the modem router.
A4. Contact your ISP (internet service provider) to check the status of your DSL line.
A5. If the problem persists, contact our Technical Support.
Button Explanation
DESCRIPTIONBUTTON
Press and hold for 1 second to enable the WPS function.
Press and hold this button until all LEDs turn on to reset the
modem router to its factory default settings.
WPS/RESET
Press for about 1 second to turn on or o the wireless
function of the modem router.
WiFi
For technical support, the user guide and other information, please
visit https://www.tp-link.com/support, or simply scan the QR code.
Safety Information
· Keep the device away from water, fire, humidity or hot environments.
· Do not attempt to disassemble, repair, or modify the device.
· Do not use damaged charger or USB cable to charge the device.
· Do not use any other chargers than those recommended.
· Do not use the device where wireless devices are not allowed.
· Adapter shall be installed near the equipment and shall be easily accessible.
Ethernet Cable

