TPC Mirage 2.0 Hydraulic User manual

! ! !
1!
www.tpcdental.com!
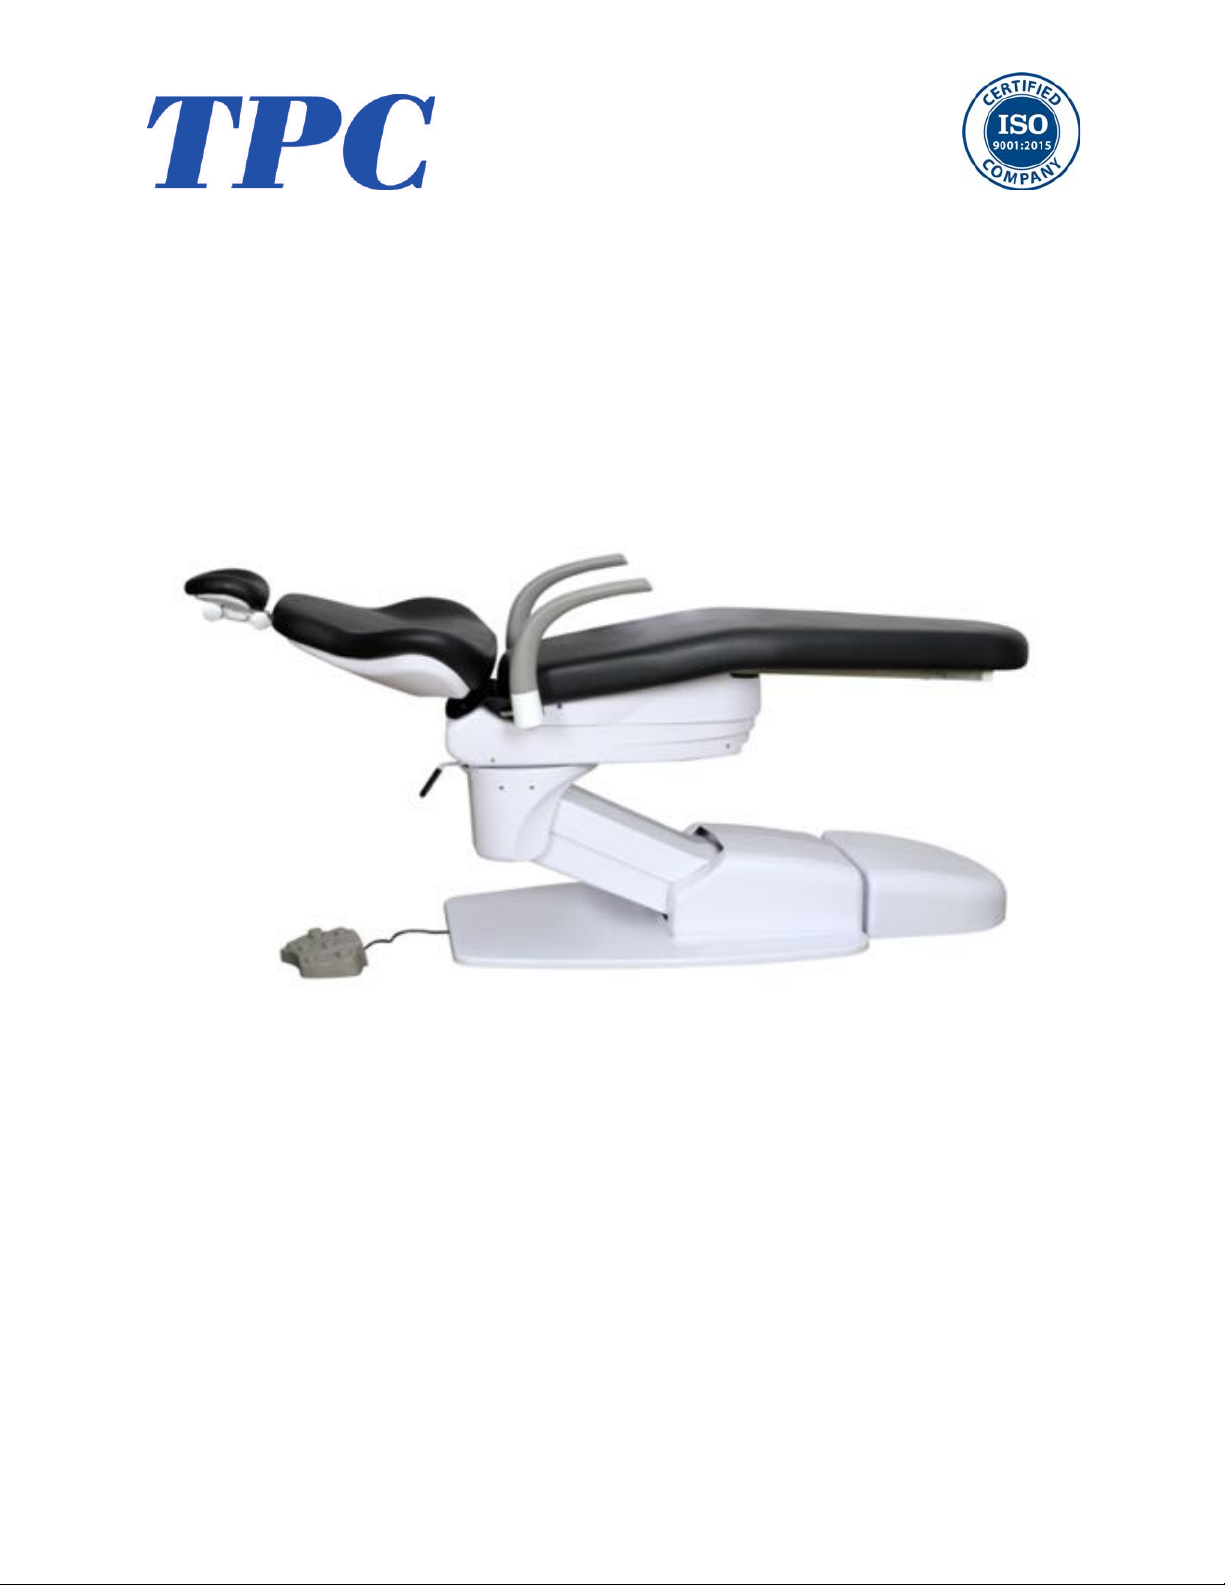
Mirage'2.0'Hydraulic''
Patient'Chair'
!
Installation,!Operation!&!User!Manual!!
TPC
851 S. Lawson St.
City Of Industry, CA 91748
P626-810-4337 Fax 626-810-4245

! ! !
2!
www.tpcdental.com!
Table&on&Contents:&&&&&&&&&Page&
GENERAL'INFORMATION''''''& 3&
&Installation&and&coordination&&&&&5&
&Installing&dental&chair&upholstery&& & & 7&
Overview&of&controls&&&&&&&11&
Calibrating&Chair&Motors&&&&&&13&
CLEANING'&'DISINFECTING'GUIDE''''14&
Warranty''''''''''& 15&
TROUBLE'SHOOTING'GUIDE'''''16&
&
&
&
&
&
&
&
&

! ! !
3!
www.tpcdental.com!
GENERAL'INFORMATION'
!
!!! !!!!!!!!!!!
!
!!!!!!!
!
!
! !
!
!
!!!!!
!
!
The$dental$chair$is$marked$
with$a$product$identification$
label$including$manufacture,$
serial$number$and$date$of$
manufacture.$This$label$is$
located$on$the$left$side$cover$
of$the$dental$chair.$$
!
The$dental$chair$is$marked$with$a$
Risk$Class$symbol.$This$label$is$
located$on$the$left$side$cover$
of$the$dental$chair.$$
$
The$dental$chair$is$marked$with$a$
main$electrical$grounding$point$
symbol.$This$label$is$located$on$
the$base$of$the$chair.$$

! ! !
4!
www.tpcdental.com!
!
!
!
!
!
!
&
&
Transportation&/&Storage&Information&
• Do!not!store!the!dental!chair!in!temperatures!exceeding!130!degrees.!!
• Do!not!store!the!dental!chair!on!its!side.!Always!store!upright!on!pallet.!
• Do!not!stack!more!than!5!packaged!chairs!at!a!time!on!top!of!each!other.!!
• Use!approved!pallet!jack!or!forklift!to!move!the!dental!chair.!!
• Do!not!attempt!to!move!stacked!dental!chairs.!!
• Only!store!the!dental!chair!in!dry!cool!place.!!
!
The$dental$chair$is$marked$with$a$
main$electrical$grounding$point$
symbol.$This$label$is$located$on$
the$front$$left$side$of$the$dental$
chair$steel$base$frame,$under$the$
plastic$cover.$$
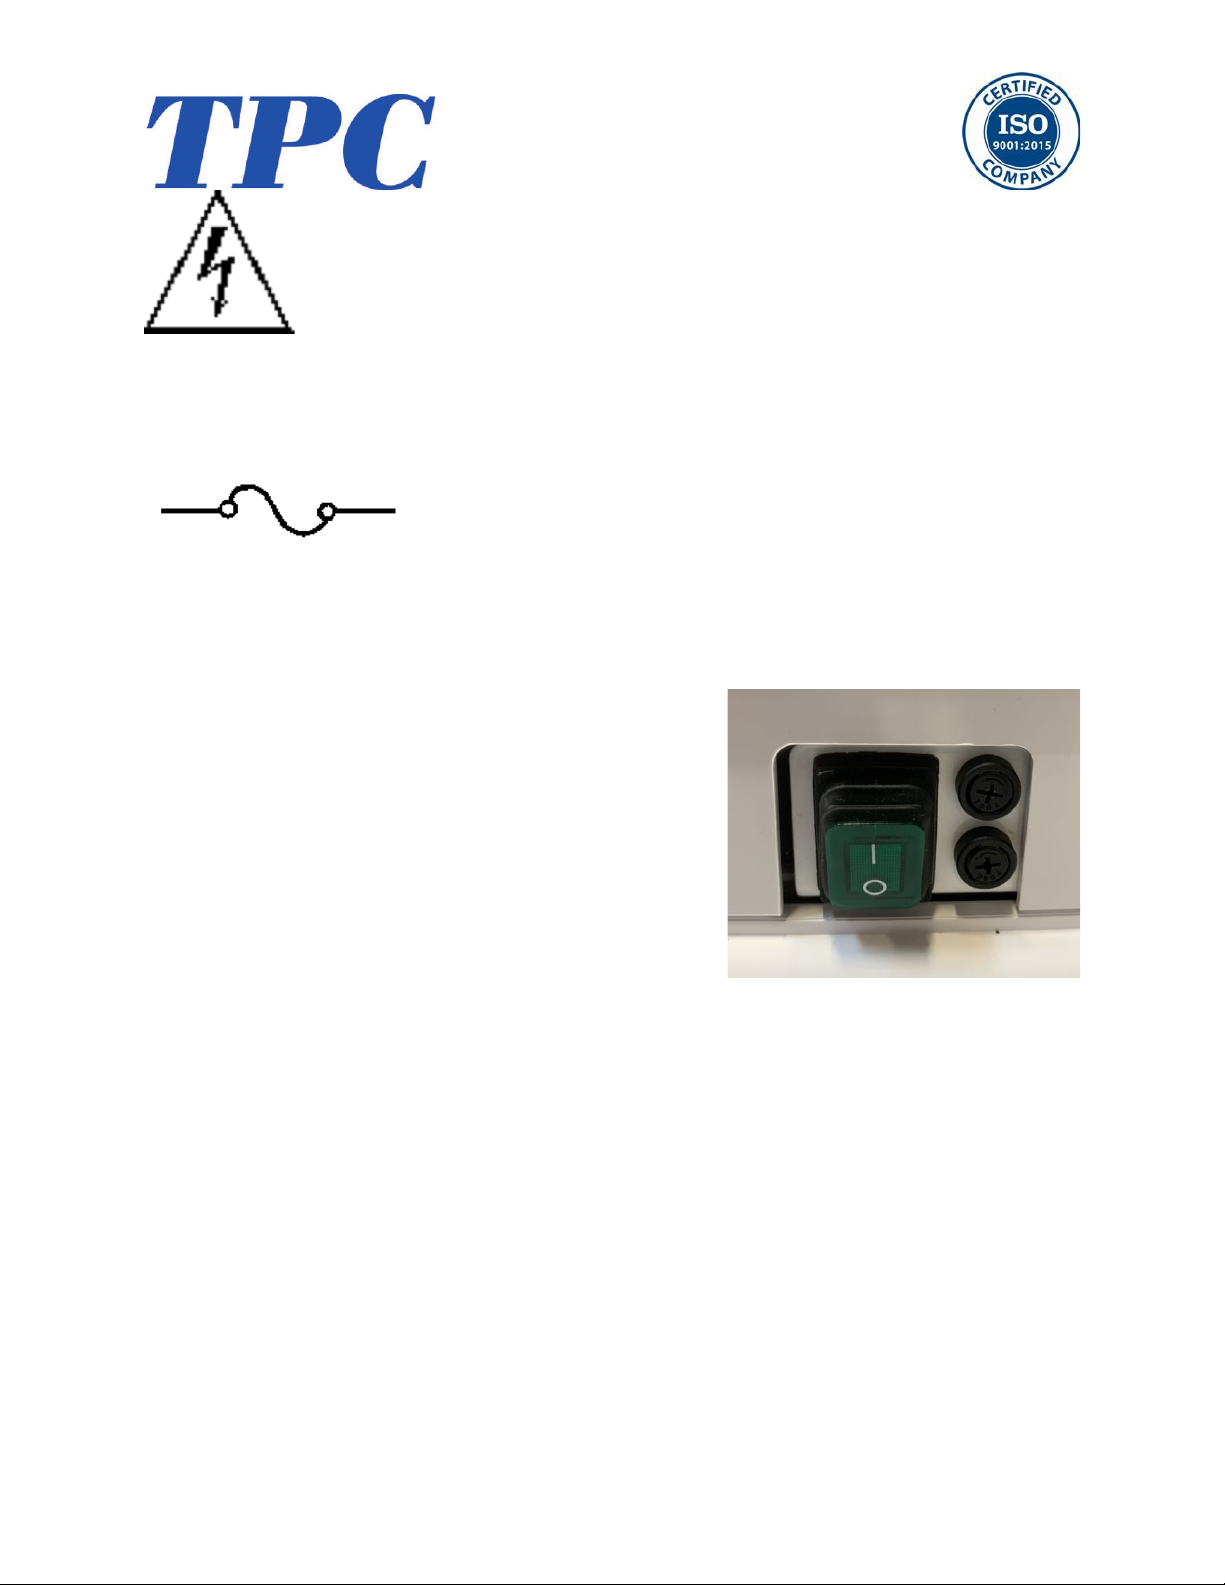
The$fuse$is$a$10-amp$Fuse,5x20mm$$
The$dental$chair$is$marked$with$a$
fuse$label$symbol.$This$label$is$
located$under$the$pump$cover$on$
the$front$left$side$of$the$chair$
frame.$$
!

! ! !
5!
www.tpcdental.com!
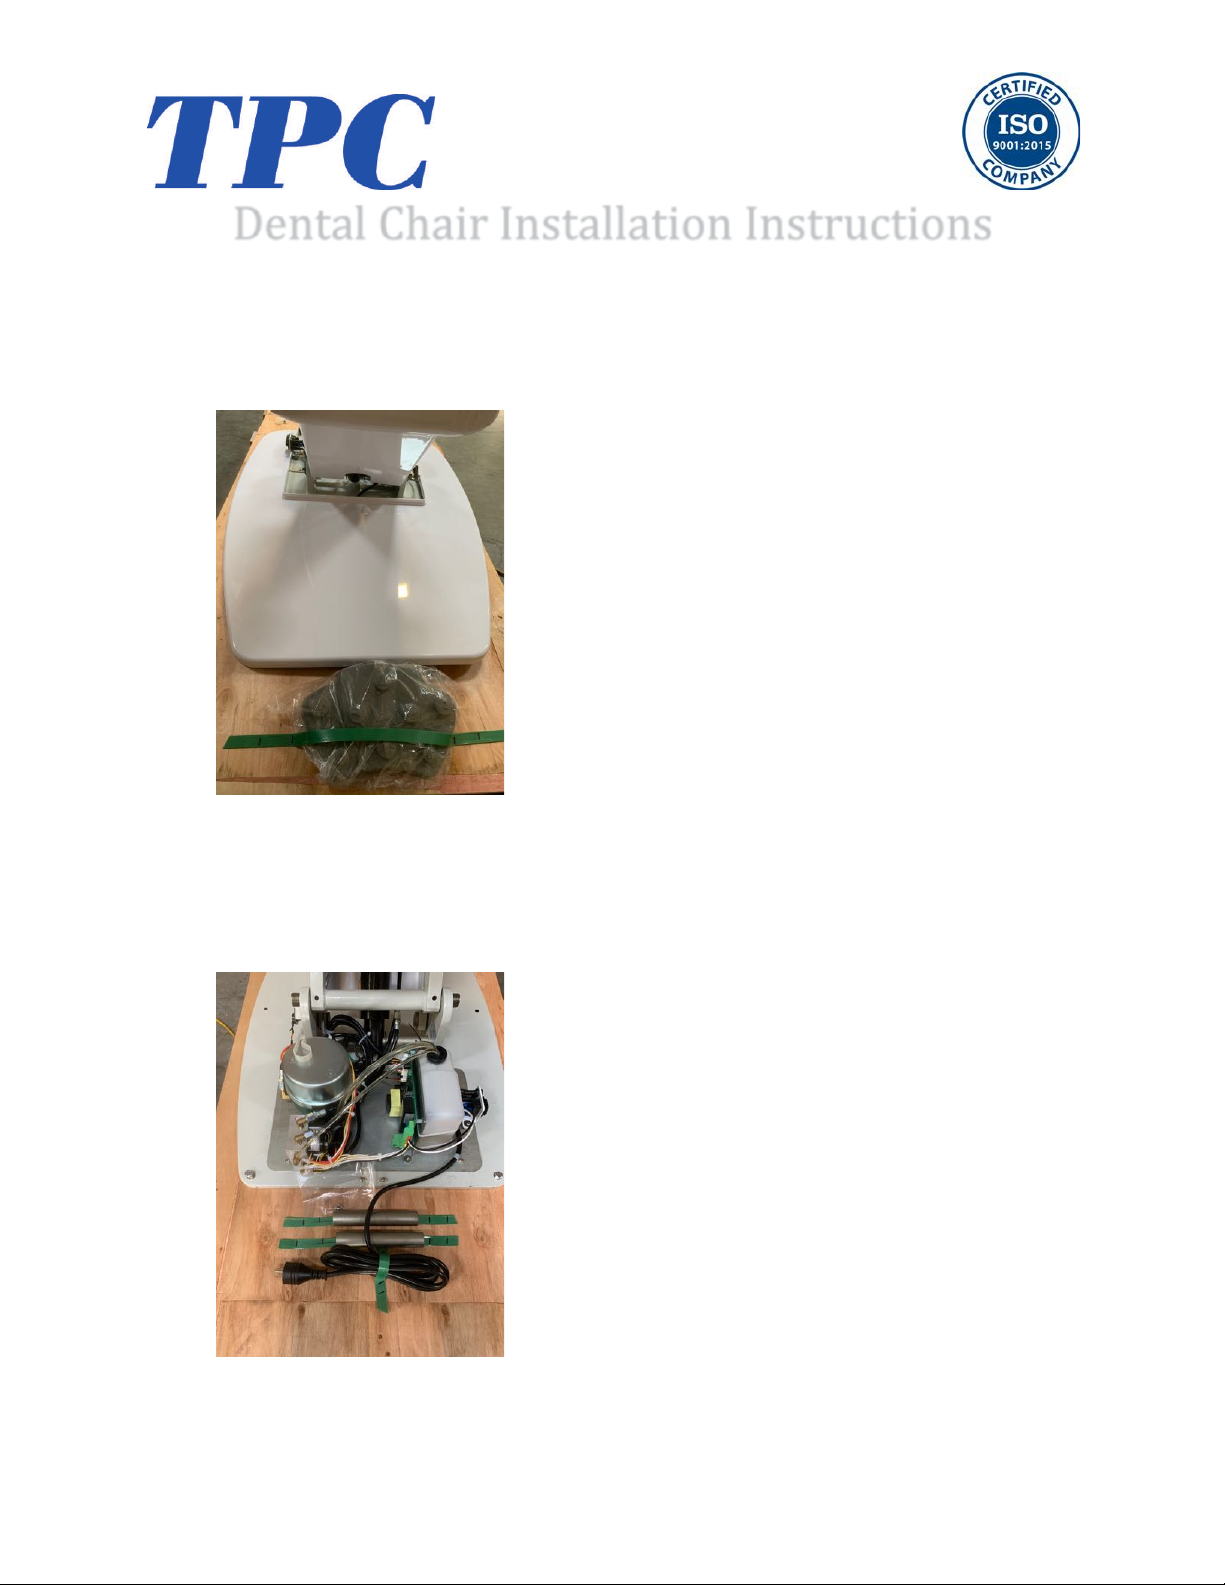
Dental'Chair'Installation'Instructions'
!" #$%&'$()*$(+,-.)/0(0&'$1.(21&%()*$(3-.$(&2()*$(4$5)-,(0*-/1"(
6,/4$()*$(3-07(0&'$1(.)1-/8*)(3-07()&(1$%&'$(/)(21&%()*$(0*-/1(
3-.$"((
((((
(
9" #$%&'$()*$(:(.*/++/58(3&,).()*-)(.$0;1$()*$(0*-/1()&()*$(+-,,$)"(
<=&(-1$(;+(21&5)(-54()=&(-1$()&=-14.()*$(3-07(&2()*$(0*-/1"((
(
(((
(

! ! !
6!
www.tpcdental.com!
>" #$%&'$()*$(,/2)(*-54,$.(21&%()*$(+-,,$)"(?5.)-,,(&5()*$()*1$-4$4(
*;3(&5($-0*(./4$(&2()*$(0*-/1"(<*$.$(-1$(8&/58()&(3$(;.$4(-.(-(
,/2)(+&/5)"(@&A5&)(;.$()*$(0*-/1(-1%1$.)(-.(,/2)(+&/5)."((
(
:" B2)$1()*$(0*-/1(/.(+,-0$4(/5()*$(/5.)-,,-)/&5(,&0-)/&5C(?5.)-,,()*$(
,$'$,/58(,;8.(/5()*$(*&,$.()*-)(=$1$(;.$4()&(.$0;1$()*$(0*-/1()&(
)*$(+-,,$)"(<*$.$(=/,,(3$(;.$4()&(,$'$,()*$(0*-/1(3-.$(/5()*$(
$'$5)()*$(2,&&1(/.(5&)(,$'$,"((
( ( (
(
(
(
(
(

! ! !
7!
www.tpcdental.com!
D" #$%&'$()*$(,/2)(*-54,$.(21&%()*$(3-071$.)(%&;5)(3E(1$%&'/58(
)*$()=&(!:%%(3&,)."((
(
(
F" 6$0;1$()*$(3-071$.)(.;++&1)()&(%&;5)/58(*;3(;./58()*$(G:H(
F%%(B,,$5(3&,)."(I&;(4&5J)(5$$4()&(1$%&'$()*$(+,-.)/0(0&'$1"(
K$5),E(.,/4$()*$(3-071$.)(*;3(3$)=$$5()*$(+,-)$(-54()*$(+,-.)/0(
0&'$1"((
(((
(
(
(
(
(
(

! ! !
8!
www.tpcdental.com!
Installing'Dental'Chair'Upholstery
!!
'
1. Open!the!bolt!package!included!in!your!upholstery!box.!!
2. Locate!the!nuts!and!bolts!shown!in!figure!1.!!
3. Attach!the!nuts!to!the!bolts!and!place!them!in!the!backrest!frame!as!shown!in!figure!2.!
Adjust!the!nut!so!that!the!head!of!the!bolt!and!the!back!of!the!nut!can!slide!up!and!down!
with!little!resistance!in!the!back!rest!frame.!!
4. Once!the!space!is!adjusted!remove!the!bolts!with!the!nuts!still!attached!and!try!to!keep!the!
spacing!the!same.!!
5. Place!the!bolts!into!the!backrest!as!shown!in!figure!3!!
6. Slide!the!upholstery!into!the!backrest!bracket.!Press!gently!on!the!backrest!upholstery!side!
so!that!all!four!bolts!align!properly.!!Once!aligned!apply!pressure!to!the!top!of!the!
upholstery!and!lock!it!into!place.!Figure!4!!
!
!
!
!
!
!
!
!
!
!
!
!
!
!
!
!
!
!
!
!
Figure!1!
Figure!3!
Figure!2!
Figure!4!

! ! !
9!
www.tpcdental.com!
7. Take!the!seat!cushion!out!and!place!it!upholstery!side!down.!!
8. Locate!the!rivet!insert!holes!to!mount!the!seat!cushion!hardware.!!
9. Use!the!Allen!screws,!lock!washers!and!washers!shown!in!figure!1!to!attach!the!s-bracket!
shown!in!figure!2!to!the!upholstery!
10. Mount!the!s!bracket!as!shown!in!figure!3.!!
11. Attach!the!two!supplied!Allen!screws!to!the!chair!seat!cushion!frame!shown!in!figure!3.!
!
!
!
!
!
!
!
!
!
!
!
!
!
!
!
!
!
!
! !!
!
!
!
!
Incorrect:!Mounting!the!S-bracket!
this!way!will!damage!the!upholstery!
frame.!Damage!will!occur.!Notice!
that!the!bracket!is!hanging!over!the!
upholstery.!
Correct:!Notice!that!the!S-bracket!is!
flush!with!the!end!of!the!upholstery.!!
Figure!1!
Figure!2!
Figure!3!

! ! !
10!
www.tpcdental.com!
!
12. Insert!the!chair!seat!cushion!into!the!seat!pan!bracket!notch!shown!in!figure!1.!!You!will!
notice!that!the!seat!pan!is!notched!so!that!the!bracket!can!slide!into!place!and!not!move!
from!left!to!right.!!!!
13. locate!the!Allen!screws,!lock!washer!and!washers!shown!in!figure!2!
14. Once!the!bracket!is!securely!in!place!you!may!fasten!the!toe!of!the!upholstery!to!the!frame!
as!shown!in!figure!3.!
15. Attach!the!headrest!upholstery!to!the!headrest!stem!as!shown!in!figure!4.!Be!sure!to!use!the!
counter!sunken!Phillip!head!screws!shown!in!figure!3.!Don’t!over!tighten!the!screws.!!
!
!
!
!
!
!
!
!
!
!
!
!
!
!
!
!
!
!
!
!
Figure!1!
Figure!1.1!
!
Figure!3!
Figure!2!

! ! !
11!
www.tpcdental.com!
(
!" L,-0$()*$(+,-.)/0(0&'$1(&'$1()*$(*$-41$.)(0;.*/&5"((
( (
9" B))-0*()*$(*$-41$.)(0;.*/&5()&()*$(*$-41$.)(.)$%(;./58(>(
G9"DMMH(B,,$5(.01$=."(N-8(GOH(
(
(
(
(
(
(
(
(

! ! !
12!
www.tpcdental.com!
Overview!of!foot!control!operations!!
1. Seat Height Adjustments
- To!raise,!press!down!on!upper!area!of!the!foot!control.!
- To!lower,!press!down!on!the!lower!area!of!the!foot!control.!
!
2. Backrest Adjustments
- To!raise,!press!down!on!right!side!of!the!foot!control.!
- To!recline,!press!down!on!left!side!of!foot!control.!
!
3. Preset Operation
- Manually!move!the!chair!to!the!desired!position.!Press!and!hold!the!pre-set!switch!(#1,!or!
#2)!on!the!foot!control!to!program.!After!5!seconds!you!will!hear!a!confirmation!beep.!!
!
4. Automatic Return
Momentarily press 0 switch on foot control to activate chair to return to normal position.
5. LP Last position
By pressing the (LP) last position button the chair backrest will travel to the last position.
!
!
!
!
!
!
Chair!Base!up!!
Preset!1!
Preset!2!
Chair!Base!Down!
Back!Up!
Back!Down
Down!
Auto!Return!!
Last!position!(backrest)!

! ! !
13!
www.tpcdental.com!
Cuspidor!Cup!Fill!!
Cuspidor!Bowl!
Rinse!!
Overview!of!optional!touchpad!controls!!
!
! ! ! !! ! !
!
!
!
!
!
!
$
Chair!Base!down!
Chair!Base!up!!
Chair!back!down!
Chair!Back!
UP!!
Preset!1,2!and!3!
Last!Position!!
Auto!Return!!
Light!On!/!Off!
Light!On!/!Off!!

! ! !
14!
www.tpcdental.com!
Safety$Plate!
A safety plate is provided under the cantilever cover to stop motion of chair when object is
accidentally caught underneath.
Armrest$Rotation!
Either armrest can be rotated outward by grasping the end portion of armrest, pulling upward and
turning.
Headrest$Adjustments$
Height!of!headrest!can!be!adjusted!simply!by!pulling!headrest!up!or!down!due!to!friction!mount!
incorporated!in!backrest.!!Angle!of!articulating!headrest!can!be!changed!by!releasing!slide!bar!on!
headrest!stem$

! ! !
15!
www.tpcdental.com!
Motion!Limit!Controls!
Function
The Mirage Hydraulic Patient Chair does not use conventional mechanical or mercury limit
switches. Motion of the chair base and backrest move variable resistances (potentiometers)
making it possible for the control circuitry to continuously know the exact position of the base and
backrest, not only when they hit the end of their travel. Adjustments for all four actions (seat raise/
lower, backrest raise/recline) are located on the control PCB.
Adjustment
To set a specific limit for the mirage operatory chair, perform the following instructions. Remove the
pump cover from the chair. Locate the slider switch labeled S1. The switch is located on the lower left
corner of the main PCB board. This will put the chair into service mode. Use the touch pad or foot control
to move the chair to the desired position. See below for detailed instructions on setting each limit. A
diagram of the PCB board is on the following page.
Seat Lower Limit
Using the manual controls, set seat height to the position where the lower limit is set. Press Lift DO on the
main PCB board to program. Reset the Slide Switch on PCB to the “off” position. Use the touch pad or foot
control to move the chair up, and then use the lift down on the touch pad or foot control to verify that the
new limit is set.
Seat Height Limit
Using the manual controls raise the seat height fully. At the physical top of travel, the motor will
continue to run, but upward motion will stop (oil bypass channel has opened in cylinder). Lower
the seat height slightly from this point and press LIFT UP button on Control PCB. Reset the Slide
Switch on PCB board to the “off” position. Then use the touch pad or foot control to lower the
chair, raise the chair and verify the desired height limit is set.
Backrest Recline Limit
Using the manual controls, Recline the backrest fully. Raise the backrest slightly from this point
and press the BACK DN button on the main PCB board. Reset the Slide Switch on PCB board to
the “off” position. Then raise the back rest and then lower it to verify the desired setting is set.
Backrest Up Limit
Using the manual controls, raise the backrest fully. Then lower the backrest slightly from this point. Press
the backup button on the main PCB board. Reset the Slide Switch on PCB board to the “off” position.
Then use the foot control disc to lower the backrest. Raise the backrest to verify the desired height limit is
set.

! ! !
16!
www.tpcdental.com!
&
Main&PCB&Board&
&
Auto!Limit!Function:!!
The!Mirage!2.0!dental!chair!PCB!can!perform!an!auto!limit!function.!To!perform!this!procedure!slide!
“S6”!to!the!“ON”!position!by!sliding!it!down.!!
Verify!there!are!no!obstructions!around!the!dental!chair.!This!includes!the!delivery!unit!arms!and!
operatory!light.!!
Press!and!hold!“S2”!(Back!UP)!button.!When!this!button!is!initially!pressed!the!board!will!tone.!
Keep!this!button!held!in!for!5!seconds.!When!you!hear!the!second!beep!the!chair!will!begin!to!move!
in!its!own.!You!may!release!the!button!when!the!chair!begins!to!move.!!
The!chair!will!go!through!two!complete!cycles!of!movement.!The!first!cycle!is!the!maximum!travel!
of!the!chair.!The!second!cycle!will!deduct!about!10%!of!the!first!measured!movement!from!cycle!1.!!
Once!this!procedure!is!complete!the!chair!will!sit!in!an!exit!position!with!the!base!down!and!the!
backrest!up.!The!board!will!continue!to!beep!when!this!procedure!is!complete.!Slide!“S6”!to!the!off!
position.!!
During!this!process!if!the!chair!short!travels,!this!indicates!that!there!is!a!problem!reading!the!
resistance!of!the!potentiometers!to!the!main!PCB.!Or!the!safety!plate!is!being!engaged.!!You!will!
need!to!check!the!potentiometer!set!screws!for!the!backrest!and!seat!base!and!try!the!process!
again.!You!can!disconnect!the!safety!plate!from!the!main!PCB!board!during!this!process!and!re!
connect!when!complete!if!necessary.!!
S6!

! ! !
17!
www.tpcdental.com!
Wiring&schematic&&
&
!
!
!
!

! ! !
18!
www.tpcdental.com!
Operating Speed Controls
Operating speeds are preset at factory but can be changed if desired.
• TV1 = Base up flow control
• TV2 = Base down Flow Control
• TV3 = Back up flow control
• TV4 = Back down flow control
When adjusting the flow control valves counterclockwise turns will open / increase flow.
Turning the valve clockwise will close the valve and decrease the flow.
Don’t open or close a flow control valve completely. Its best to adjust in quarter turn rotations
only.
'
'
'

! ! !
19!
www.tpcdental.com!
'
Main'Power'Switch'and'fuse'location
'
When!the!main!power!switch!it!illuminated!the!power!is!
“ON”.!If!the!switch!is!not!illuminating!and!is!in!the!UP!
position!“On”!Check!the!two!10!Amp!fuses!to!the!right!of!the!
switch.!Disconnect!the!main!power!cord!when!checking!the!
fuses.!These!fuses!are!10Amp!250v!5X20mm!glass!fuses.!
Replace!if!necessary.!If!a!fuse!blows!immediately,!this!
indicates!there!is!a!short!in!the!wiring.!Contact!a!service!
technician!or!call!TPC!technical!support.!!

! ! !
20!
www.tpcdental.com!
Mirage 2.0 Patient Chair – Care and Maintenance
No maintenance is required except normal care and cleaning.
Clean vinyl upholstery and plastic components with mild soap and water.
Barrier covers should be used on chairs for asepsis.
Surface disinfecting chemical will eventually cause some discoloring of upholstery.
Suggested Disinfectant Application
Clean dirt and stains with mild soap and water.
Moisten an applicator with disinfectant; mildly wipe the material with the disinfectant.
Do not allow the disinfectant to soak in or dry on the surface; wipe off with soap and water.
PLEASE KEEP LIQUIDS AWAY FROM ELECTRICAL CONNECTIONS!
Most electrical control switches ARE NOT hermetically sealed.
When a switch gets wet, it can self-activate, or perhaps short out and damage other system
components. Keep switches dry. Avoid costly equipment damage or failure. Avoid downtime by
following these guidelines:
Please DO NOT spray disinfectants directly at or into electrical switches and controls.
Spray these solutions onto a cloth and wipe down the control surfaces. Be careful not to saturate
the cloth.
• Any action not recommended by the manufacture may cause risk of injury or shock!
FOR ADDITIONAL INFORMATION CONTACT YOUR TPC DEALER
Table of contents
Other TPC Medical Equipment manuals
Popular Medical Equipment manuals by other brands

Pressalit Care
Pressalit Care R8400 Mounting instruction

ENHANCED VISION
ENHANCED VISION Nemo user manual

Derungs
Derungs Dmed VISIANO 20 Installation and operating instruction

COOK Medical
COOK Medical Soehendra SLH-1 Instructions for use

Orliman
Orliman PAD FIX SP110 manual

Respironics
Respironics REMstar user manual

Shenzhen Roundwhale Technology Co., LTD.
Shenzhen Roundwhale Technology Co., LTD. R-C1 instruction manual

Ossur
Ossur REBOUND Instructions for use

Syneron
Syneron Candela VelaShape III System user manual

Holtek
Holtek BMH08004 Operation guide

Air Liquide
Air Liquide MONNAL T60 ADVANCED user manual

Enthermics
Enthermics EC770L Operator's manual