Traco SuperSealer SS-13 User manual

REVIEW ENCLOSED INSTRUCTIONS CAREFULLY
BEFORE USING THE SUPER SEALER™
620 S. 1325 W., OREM UT 84058 • US TOLL FREE: (800) 284-9727 • METRO (801) 225-8040
OWNER’S GUIDE
™
SuperSealer
SHRINK WRAP SYSTEM
SERIAL NUMBER:
______________
PURCHASE DATE:
_______________
PURCHASED FROM:
__________________
DEALER PH NUMBER:
__________________
03080101SSMANPDF
FREE
Maintenance Kit
See Warranty
Card
c
ABC Office
142 West Flint Meadow Drive Tel: +1 (800) 658-8788
Kaysville, Utah 84037 Fax: +1 (801) 927-3037
www.abcoffice.com [email protected]

!Always wear eye protection and protective work gloves at
WARNINGS for SuperSealer system all times.
(sealer & heatgun): !When servicing, use only identical replacement parts.
!Know your work environment. Make sure work area is clean !Never use the sealer or heatgun near anything that is or
and dry before using the sealer. This is an electrical could be considered combustible or flammable materials or
appliance and can be a potential shock or fire hazard, gases. Always check your work area carefully; materials or
especially if operated near refuse or in a wet environment. gases that may ignite may not be readily apparent and could
result in property damage and personal injury.
!Never operate the machine barefoot. Doing so greatly
increases your risk of electrical shock. !Never use the sealer or heatgun after recently pumping
gasoline or using any other combustible gas or liquid; fumes
!The SuperSealer system should only be connected to a or residue may still be on your skin or in your clothing.
standard 115 volt 15 amp wall receptacle. No other form of
wiring is safe or advisable. Unplug the system after use for
additional safety precaution. WARNINGS specific to the sealer (in
!To reduce the risk of fire or electric shock, do not expose to addition to system warnings):
rain or moisture. Store indoors.
!A live heating element is located on the underside of the
!Stay alert! Always pay attention to the work at hand and use arm under the Teflon tape. Use caution during
common sense when operating this and all tools. Do not operation. DO NOT TOUCH THE ELEMENT.
operate the sealer when you are tired or taking medication or
drugs that may make you drowsy. !Turn sealer off and disconnect (unplug) the sealer when
not in use. Avoid unintentional starting. A sealer that is
!If the sealer or heatgun stops working during operation, fails plugged in and left on could start and burn if the arm
to operate when turned on, or otherwise ceases to function came down due to a broken spring or if something falls
properly, turn switch to the off position, disconnect from the on the arm.
power supply and call a qualified service technician.
!If arm spring breaks, turn sealer off, disconnect from the
!Never attempt any repairs on the sealer or heatgun. A power supply immediately and call a qualified service
qualified service technician must do all repairs. The parts technician.
supplied in your maintenance parts kit are for maintenance
of the machine to keep it in good operating condition and !Only use the AC outlet on side of machine with
may be an exception to this rule. accessories intended for that purpose and rated to the
capacity listed by the outlet. Specifically; an industrial
!Inspect power cords periodically and if damaged or heatgun.
defective, have repaired by a qualified service technician.
Extension cords are not recommended, however if one is !Only use fuse of capacity listed by the fuse holder.
used it must be a U.L. listed three-wire extension cord with a
three-prong grounding plug and a rated capacity of 1800
watts or greater (14 gauge or heavier for up to 25 ft. and 12
gauge if cord is longer). Inspect cord carefully before using INSTRUCTIONS:
and never use a cord that shows any sign of damage or
defect.
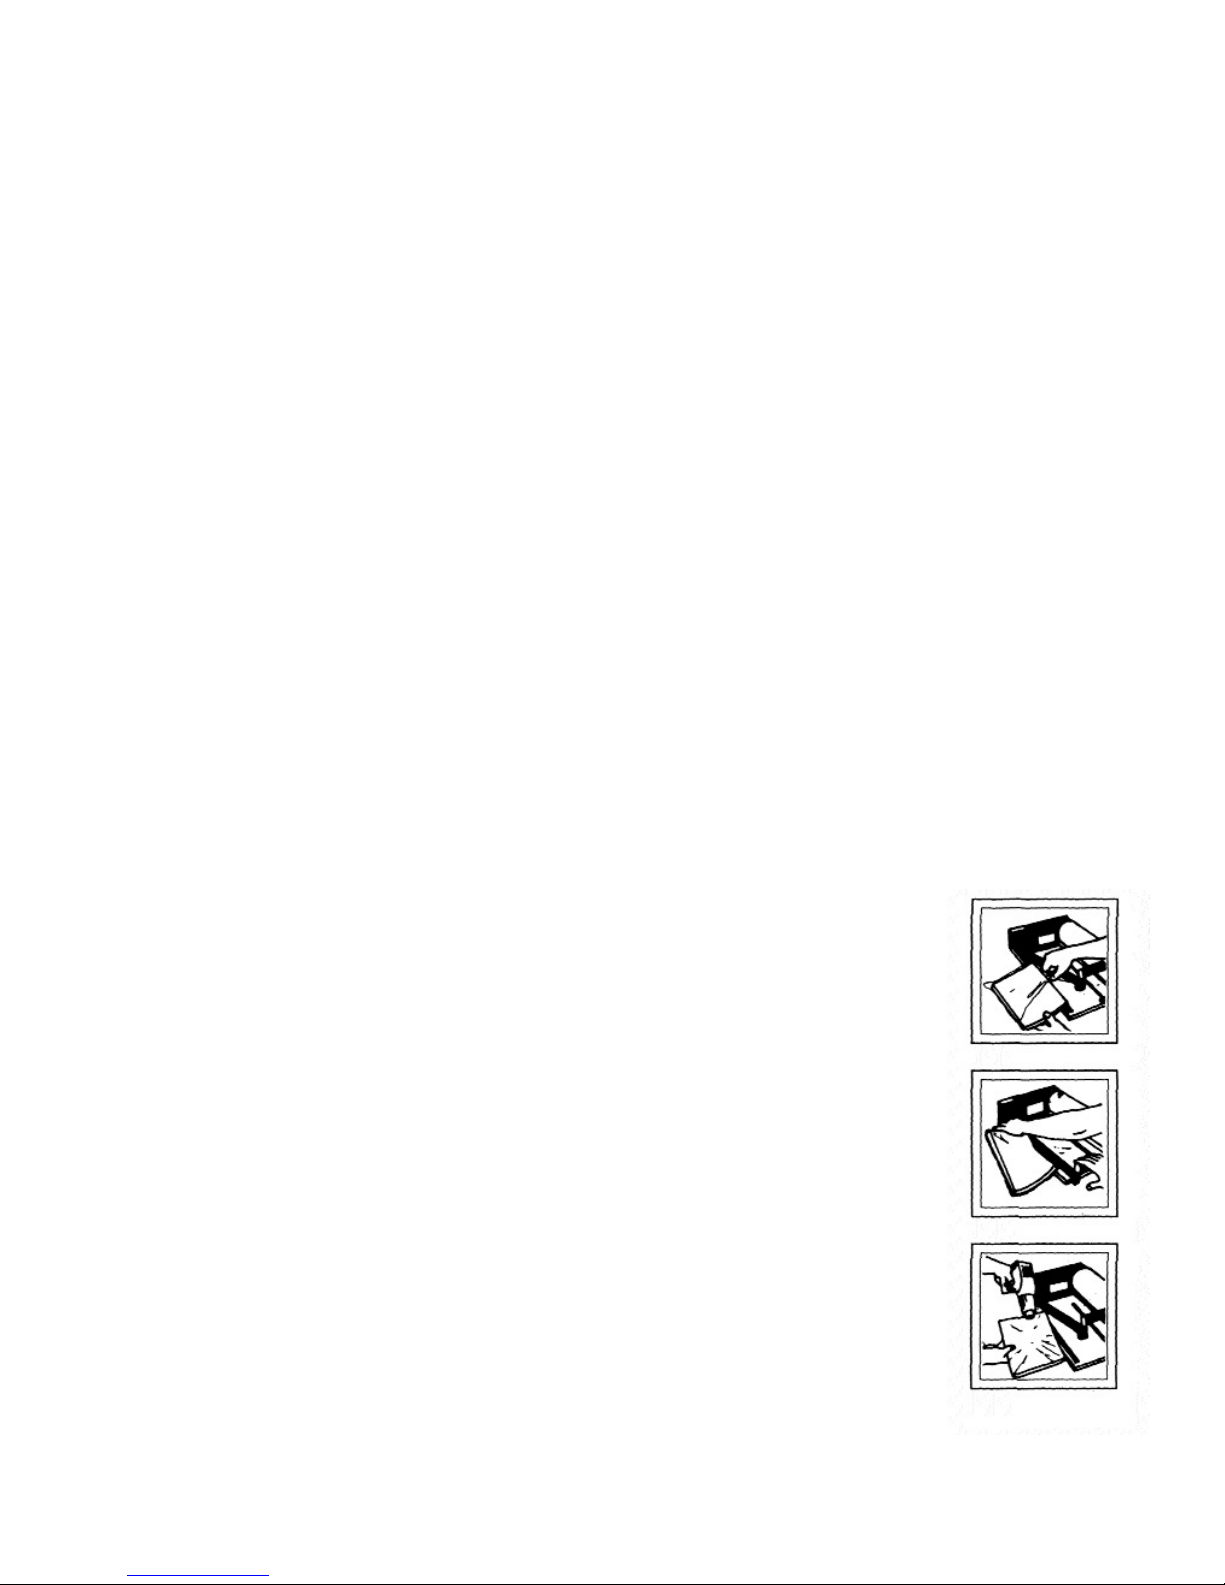
!Never use anything abrasive to clean the heating element.
!Never yank the cord from an electrical outlet or use it to tie (i.e., steel wool, emery cloth or board, etc.) These can
down the arm or for any other purpose other than that for damage the wire & cause premature breakage.
which it was intended.
!To clean the heating wire - first remove the pad from the
!Guard against electric shock by preventing contact with channel under the arm. Then pull the arm down and allow
grounded surfaces or other appliances. the residue to burn off the arm. Wipe anything still clinging to
the arm off with a piece of cardboard. After the wire has
!Keep children and visitors away from the work area and the cooled & is visibly clean, cover with a new piece of 3 mil
sealer and its accessories. Teflon tape. NOTE: Teflon tape over the wire is only required
!Keep work area well lighted. when using PVC Shrink film or Polyethylene to prevent build-
up on wire and excessive smoking. When using Polyolefin
!Always store sealer in a safe place, out of the reach of type films it is not required or suggested. The 10 mil Teflon
children. tape on the sealing pad is always required for every
!Never try to seal anything other than plastic shrink films application.
intended for use on this sealer.
!To clean other exterior parts of the sealer, any non-
!Never use the sealer after partial failure. flammable spray cleaner will suffice.
!Maintain proper footing and balance at all times. !Cleaning the internal sealer parts is not suggested or
advised.
!Do not wear loose-fitting clothing or jewelry. Wear non-skid
footwear and a protective hair covering to contain long hair. !If Teflon tape appears to be burned, worn or damaged,
replace with a new piece of tape.
SEALER CLEANING
Safety Instructions
Before using your new Traco SuperSealer, please take a few minutes to carefully read all the instructions. Pay
close attention to safety guidelines and warnings included for your protection.
SAVE THESE INSTRUCTIONS FOR FUTURE REFERENCE.
03080101SSMANPDF
SUPERSEALER™ SHRINK WRAP SYSTEM OPERATING INSTRUCTIONS
1. Plug power cord into 110 VAC 15A wall outlet.
2. Turn power on by depressing rocker switch. No warm-up time is required.
3. Plug the heat gun into AC outlet on left hand side of box.
4. Separate film and place around spreader bar. (If model is equipped with the optional perf roller, first
load film between the perf wheel and plate, then around the spreader bar.)
5. Pull film to desired length on left hand side of sealing arm and sealing pad. Open film and insert
package. Roll excess film back onto roll so that package is approximately even with edge of sealing pad.
6. Holding package in left hand bring the sealing arm down firmly onto the film and pad. With the arm in
the down position, gently pull package away in a tearing motion from the pad until package is completely
separated from pad. (When using the Deluxe Machine with timer, adjust dial to proper setting and bring the
arm down until LED indicator turns off. Release arm and your cut and seal is now complete.) IF THE
CUTTING AND SEALING PROCESS TAKES LONGER THAN 3 TO 5 SECONDS, YOU ARE USING THE
MACHINE INCORRECTLY AND YOU SHOULD CALL YOUR LOCAL REPRESENTATIVE FOR
ASSISTANCE. Turn package counter clockwise and repeat procedure to cut and seal the remaining edge
of the film. (If model comes with the optional cutter blade located on the sealing arm, first position the
blade to the middle of the film you are cutting. Next bring the sealing arm firmly down so the blade
punctures the film, then slide the blade from side to side. With the arm still in the down position, gently pull
package away from the pad.)
7. To shrink film around the product: adjust heat gun to desired temperature. Holding gun approximately
12” from product begin to shrink film around the seams first and then toward the middle in a circular motion
until package has a glass-like appearance.
DO NOT HOLD GUN IN THE SAME POSITION FOR MORE THAN A FEW SECONDS. THIS WILL
CAUSE THE FILM TO BURN RATHER THAN TO SHRINK.
WARNING: Heat gun should not be left on when air intake vents are blocked or for a prolonged period of
time to prevent overheating! Make certain that switch is in the off position to ensure that both the blower
and heating element are shut off, or heat damage may occur.
03080101SSMANPDF
!For the first few uses of a new heatgun there may be !Nozzle gets extremely hot. Do not touch the nozzle or
some smoking due to manufacturing oils being burnt place near combustibles.
off inside the gun. The smoke should disappear in
!When storing the heatgun, allow it to cool completely (i.e.,
less than a minute. check the nozzle), and unplug it for storage.
!The nozzle will turn dark over time due to high heat.
!This is a heat gun, not a hair dryer. Heat gun intensity and
This is normal & does not effect the performance or extreme heat, even at the lowest settings, can burn hair
shorten the life of the heatgun. and skin.
!The heatgun is supplied with a thermal cut-off switch
!Never obstruct the hot airflow by blocking or covering the
located internally near the heating element to prevent air outlet at the nozzle or the intake at back end of the
overheating. This safety device is to prevent the heatgun, and keep both ends free of dirt and debris.
heatgun from overheating and causing internal
damage to its components. If your heatgun shuts off !Never direct the hot airflow toward people or animals.
during use, or fails to operate when turned to low or
!Never touch the nozzle to any surface when running the
high position, be sure to turn it off, unplug it from the gun or shortly after running it (while it is still hot).
outlet and call a qualified service technician for
assistance. You may only need to wait for it to cool !Turn the switch off and disconnect the heatgun when not
down (normally several minutes) and then turn it back in use. Avoid unintentional starting.
on to use it again. However, never leave the heatgun
!Although there can be other uses for heatguns, only use
unattended while it is on; especially with the switch this one for the purpose of shrinking plastic films (shrink
turned on or after it has experienced partial failure. wrap). Any other attempted use is at your own risk.
!When you are finished using the heatgun, stand it on
!Keep the heatgun moving constantly. Lingering or pausing
its convenient stand with the nozzle pointing up. This in one spot could burn or melt the shrink film and/or your
method is the best and safest way to allow it to cool product.
after use and is the only way recommended by Traco
Mfg. Inc. for cooling the heatgun between uses. Avoid
laying the heatgun on its side. Do not point the Heatgun cleaning instructions:
heatgun in a downward position when cooling! This Use only a damp cloth to wipe the heat gun clean. Never use
may cause residual heat to rise back into the heatgun turpentine, paint thinner, gasoline, or similar substances to
and damage internal compnents and cause the clean the gun.
heatgun to malfunction.
WARNINGS specific to the heatgun (in addition to system warnings):
MODEL NUMBER SS-13 SS-18 SS-24 SS-32 SS-40
Applications Video Cassettes; Printing, Computer Printing; Art/Frame Art/Frame
Computer Software; Software;Manuals; General packaging; Gift Baskets Gift Baskets
CDs/Tapes CDs/Tapes Damaged Package Posters; Retail Posters; Retail
Books/Magazines Hardwares Recovery Packaging Packaging
Length of Sealing Area 13” 18” 24” 32” 40”
Maximum Film Width 13” 18” 24” 32” 40”
Maximum Film Weight 100LBS 100LBS 100LBS 100LBS 100LBS
Film Core Diameter 1-7/8” & 3” 1-7/8” & 3” 1-7/8” & 3” 1-7/8” & 3” 1-7/8” & 3”
Power Supply (Primary) 110VAC* 110VAC* 110VAC* 110VAC* 110VAC*
Voltage (Secondary)(Deluxe) 14VAC 20VAC 30VAC 38VAC 38VAC
Amperage 3amps 5amps 5amps 8amps 8amps
Cycles 50/60hz. 1 phase 50/60hz. 1 phase 50/60hz. 1 phase 50/60hz. 1 phase 50/60hz. 1 phase
HEAT GUN 110 A/C - 60hz. - 1100 watts -- Temperature range: 50º F. to 1100º F. Weight: 2LB.
* 220 VAC also available upon request.
ON OFF SWITCH
RA901VB-BIV
TIMER
TD-100
POWER CORD
6550-8
FUSE HOLDER
342-828
FUSE HOLDER
342-828
COVER
1340 CO
TRANSFORMER*
INNER BRKT
1340-1B
ARMSPRING
E-5109
OUTER BRKT
1340 OB
ROLLER*
SPREADER BRACKET
1340 SB KNOB
75 KN
THREADED STUD
95412A542
ARM*
PHENOLIC ASSEMBLY*
NICHROME WIRE*
TEFLON TAPE
TT10-RL
SEALING PAD*
C-CHANNEL*
INSULATOR*
BASE*
GROUND WIRE
* PART NUMBER SPECIFIC TO MACHINE SIZE
SPECIFICATIONS
CHASSIS
1340-CH
A C OUTLET
AC-PREP
03080101SSMANPDF
TROUBLE SHOOTING / RECOMMENDATIONS
Symptom: Centerfold shrink film will not separate or open.
Recommendation: If shrink film appears to be single sheet, place a strip of tape on top of the film and on the bottom and pull
apart to initially separate.
Symptom: Film appears to smoke or is sticking to wire when seal is made.
Recommendation: This can mean one of several things:
1. With PP or PO film, wire must be kept clean by removing sealing pad
and depressing arm until wire burns clean all film residue. No Teflon tape
required on arm.
2. PVC film will smoke when seal is made. Teflon tape over the heating
element will prevent the film from smoking and will occasionally need to
be replaced. For Teflon tape or other parts, call the service number.
Symptom: Burning holes in shrink film with the heat gun.
Recommendation: If gun is set on high temperature and held in the same spot for
more than a few seconds, the film will burn. Gun should be continually moving in a
circular spiral motion from the outside edges of the package first, and to the middle
of the package last.
Symptom: Arm is not properly cutting and sealing shrink film.
Recommendation:
1. On/Off switch may not be turned on.
2. Timer on Deluxe Model may not be set properly.
3. Arm may not be in complete contact with pad. (Gentle Pressure).
4. Excessive pressure applied to sealing arm.
5. Wire may need cleaning.
Symptom: Setting timer properly on the Deluxe Model.
Recommendation: Timer should be set to allow the minimal amount of time necessary to cut and seal the film. The setting
will vary according to type of film in use. Setting timer too high will burn the film. PVC film will require a lower setting than
most other films. Timer may need to be adjusted to lower setting as machine is used in a continuous or rapid manner.
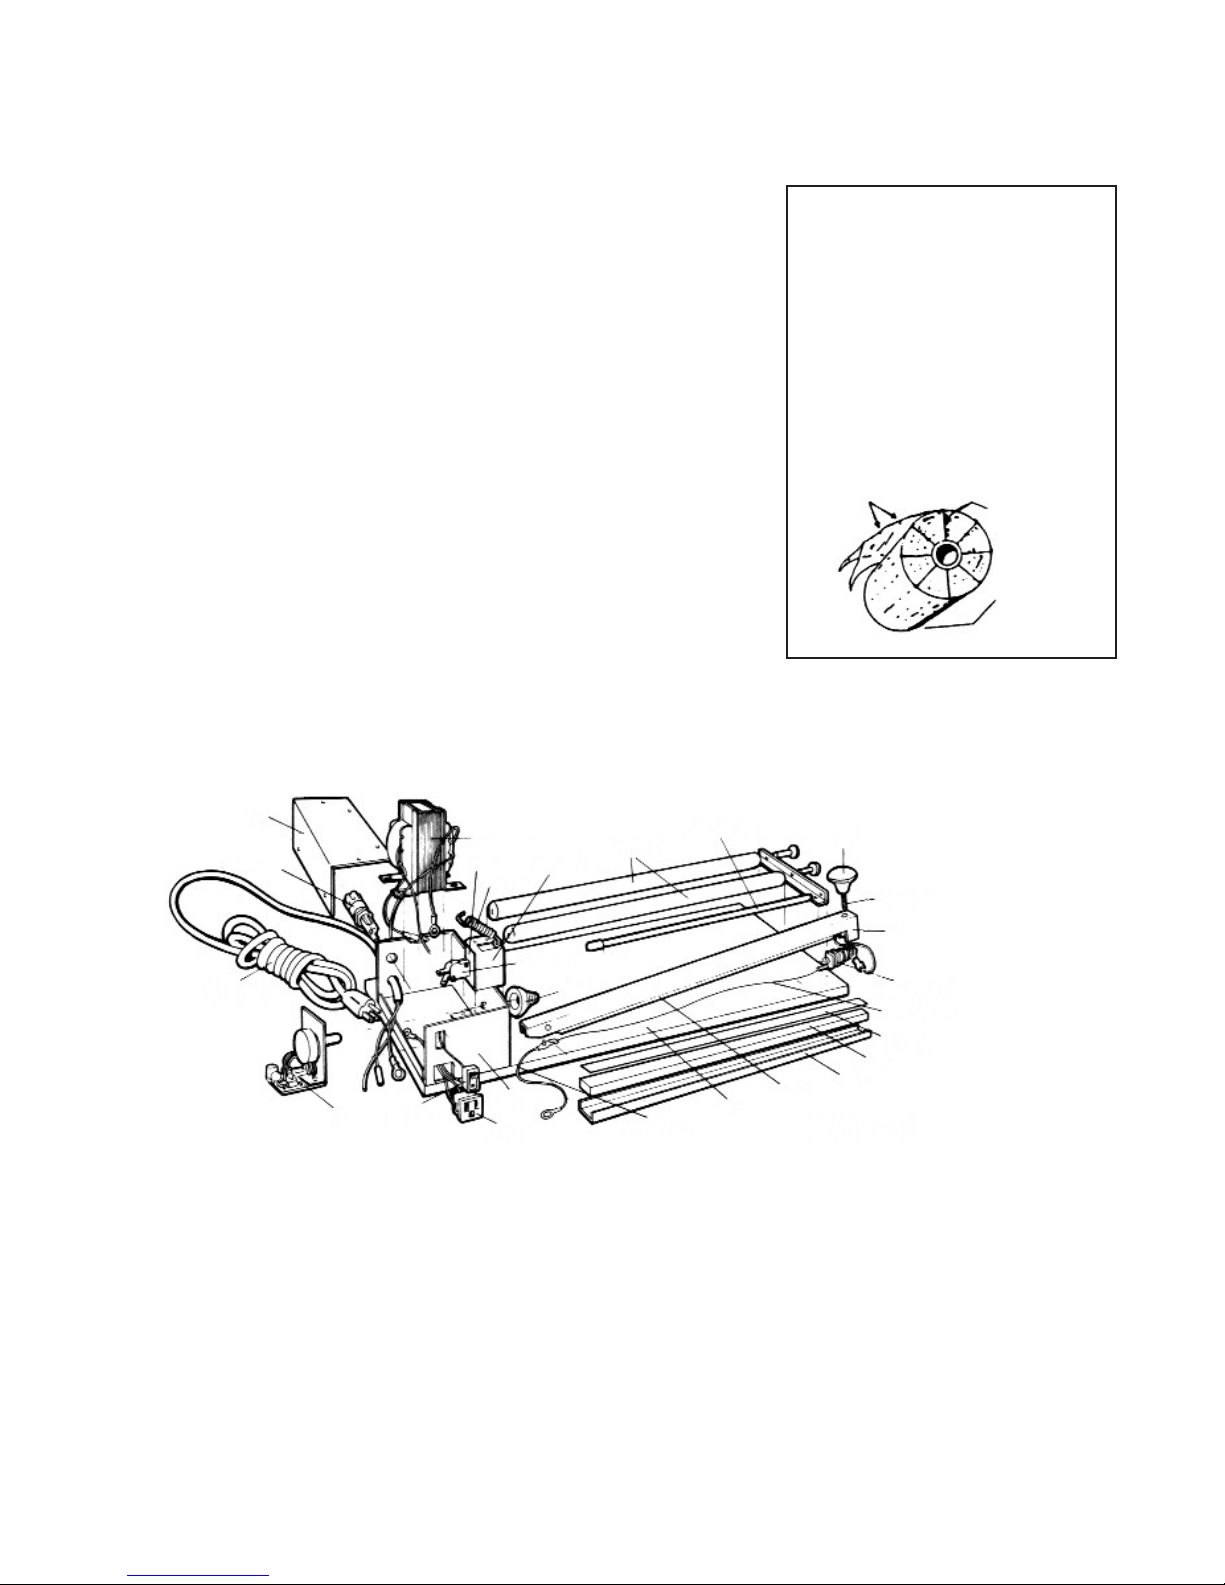
The air inside the package expands as the
film is heated. The quickest way to vent the
film is to cut what amounts to an asterisk (*)
into the closed end of the centerfold. The
smaller your package, the more lines you
should cut to make sure every package has
at least one vent hole. This will prevent
package from ballooning.
Cut Slits 1/16” deep
Closed end
of centerfold
Open end
of centerfold
Venting Your Shrink Package
LIMITED EQUIPMENT WARRANTY
Every Shrink Packaging System is thoroughly inspected
and tested before leaving the factory warehouse. If any
trouble should develop during warranty period, return the
complete system prepaid to Traco Manufacturing, Inc. If
after inspection, the unit is found to have defective
workmanship or material, all due repairs will be made
free-of-charge and the system will be returned freight
prepaid.
This warranty does not apply when: repairs or
attempted repairs have been made by non-factory
personnel; repairs are required due to normal wear; the
system has been abused or involved in an accident; the
unit has been overloaded beyond its rated capacity; the
system has been used with improper accessories; or the
system has been used after partial failure.
Installation and operation of the equipment must comply
with all applicable electrical and safety standards and is
the sole responsibility of the purchaser.
NO OTHER WARRANTY, WRITTEN OR VERBAL IS
AUTHORIZED
Parts not covered under the warranty due to normal
wear: Teflon Tape; Sponge Rubber Sealing Pad;
Nichrome Wires; Arm Springs.
Length of Warranty - 2 Years (1 year warranty on heat
gun).
03080101SSMANPDF
If you encounter any questions you feel are not addressed in this
us know. We are always anxious to hear from our customers.
Return Warranty Card for FREE Maintenance Kit!
Warranty Valid Only If Returned Within 10 Days of Purchase, one kit per customer.*
SERIAL NUMBER:
______________
Company Name:________________________________________________________
Address: ________________________________________________________________________
City:_______________________________ State:____________________ Zip:______________
From whom did you purchase the Traco SuperSealer™?___________________________________
________________________________________________________________________________
Your Type of Business or Business Category:____________________________________________
Products You Are Packaging:_________________________________________________________
What Influenced Your Purchase of the Traco SuperSealer™?
q Distributor q Magazine Ad q Trade Show q Other _____________________
qTraco Website qPackExpo.com qProduct Literature _____________________________
PURCHASE DATE:
_______________
*Upon receipt of completed warranty
card, you will be sent a SuperSealer™
Maintenance Kit, free of charge.
Cut & Mail to Traco: P.O. BOX 1065, OREM UT 84059
FREE
KIT!
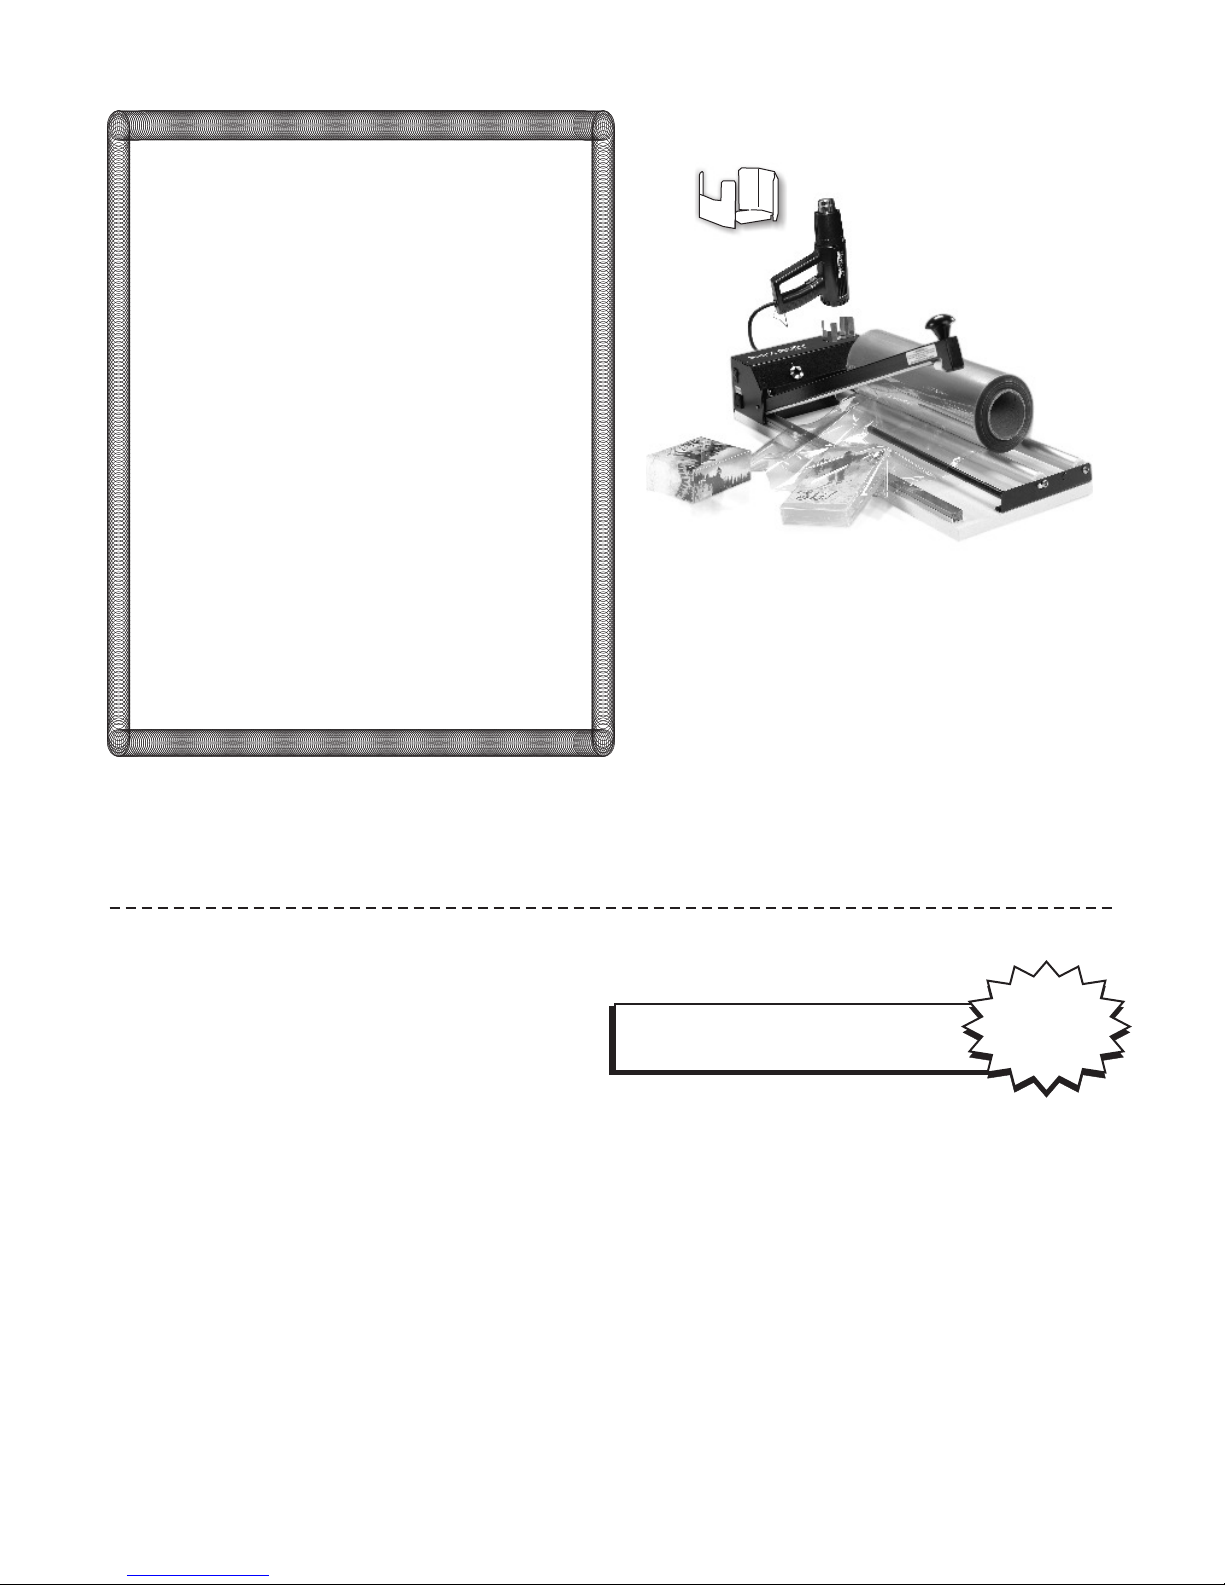
NEW!
Heat Gun Stand
More Info: (800) 284-9727 or
tracopackaging.com/stand.pdf
• Industrial-strength heat gun storage accessory
• One-piece, heat-resistant metal
• Built to last the life of your SuperSealer™
This manual suits for next models
4
Table of contents
Other Traco Food Saver manuals


