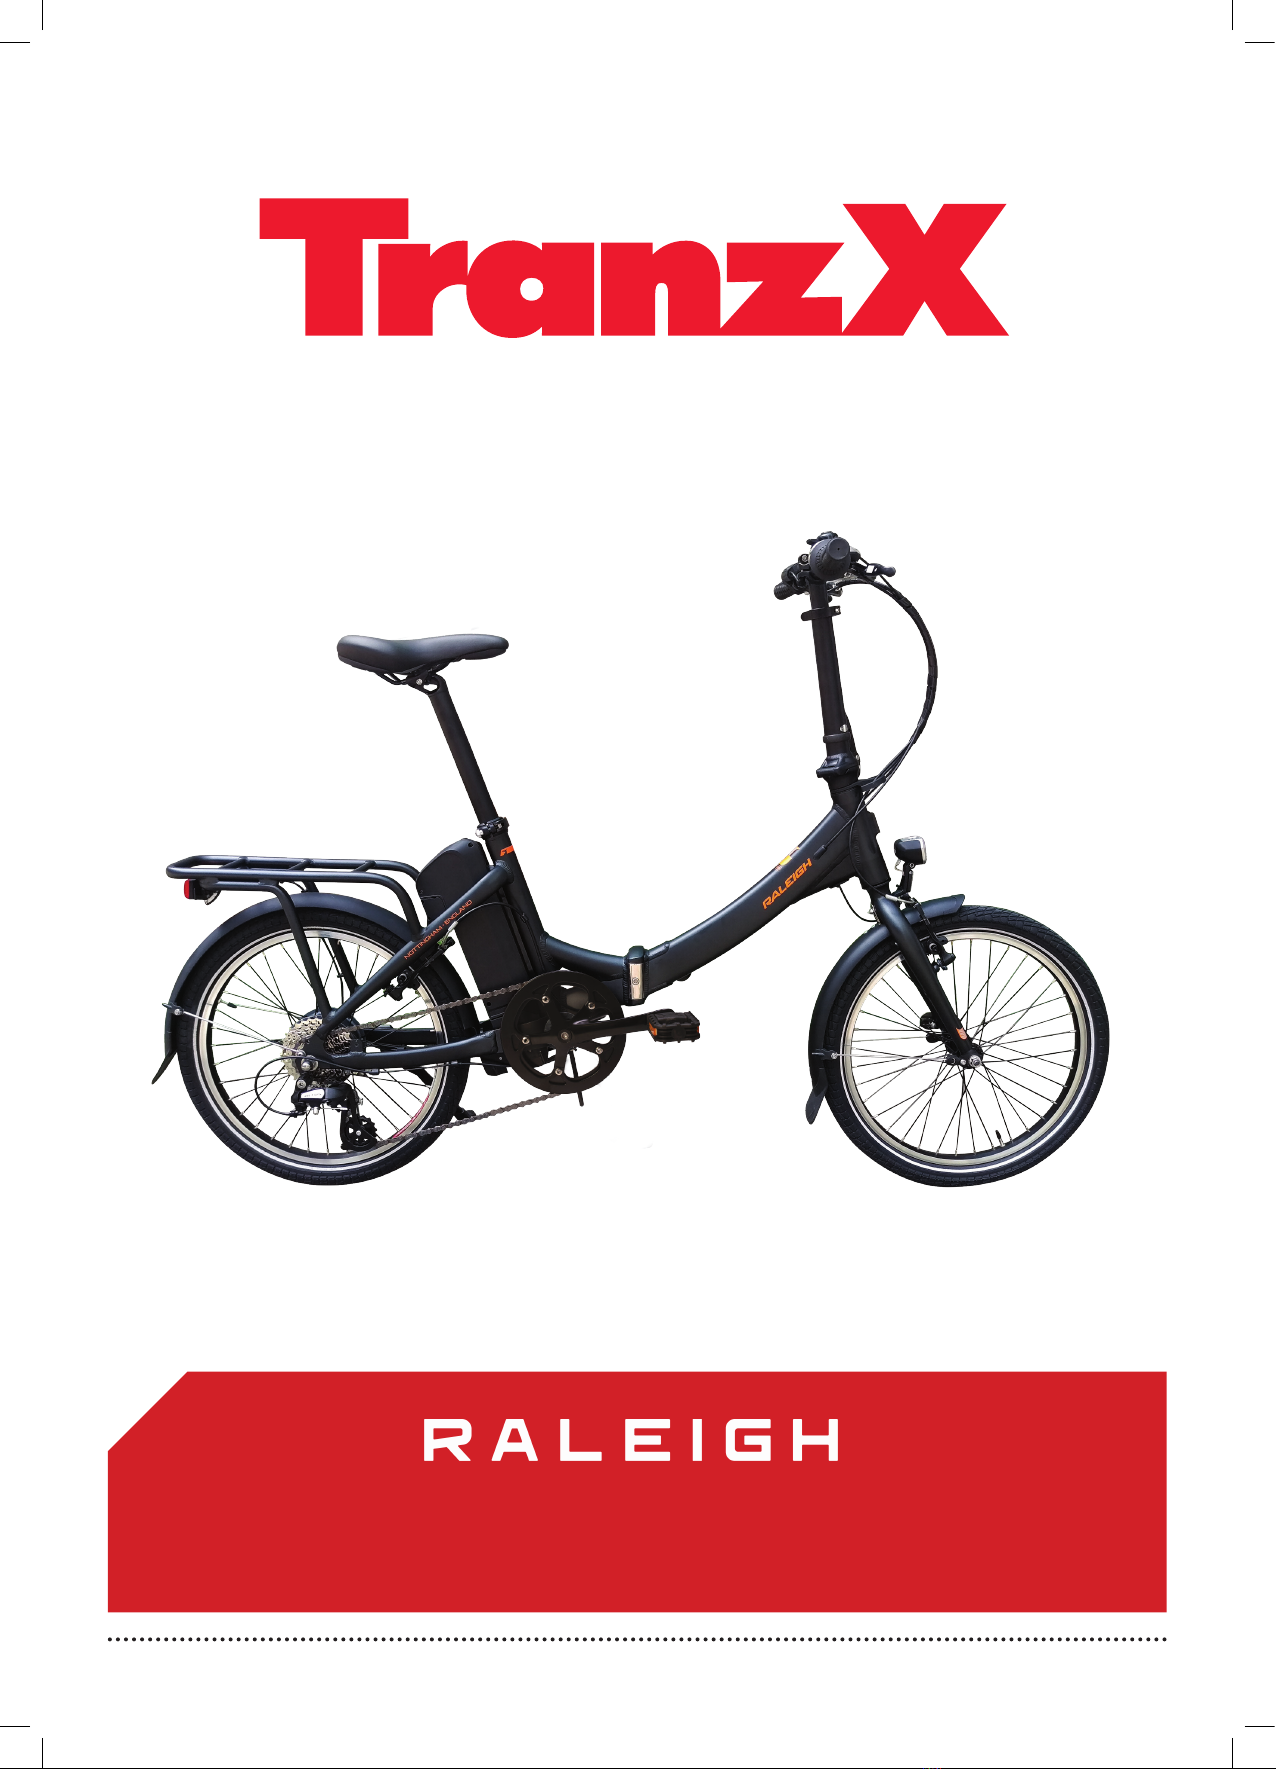
TranzX Raleigh User manual
1
Folding instructions and
Electrical System Technical Manual
Stoweway E-Bike
2
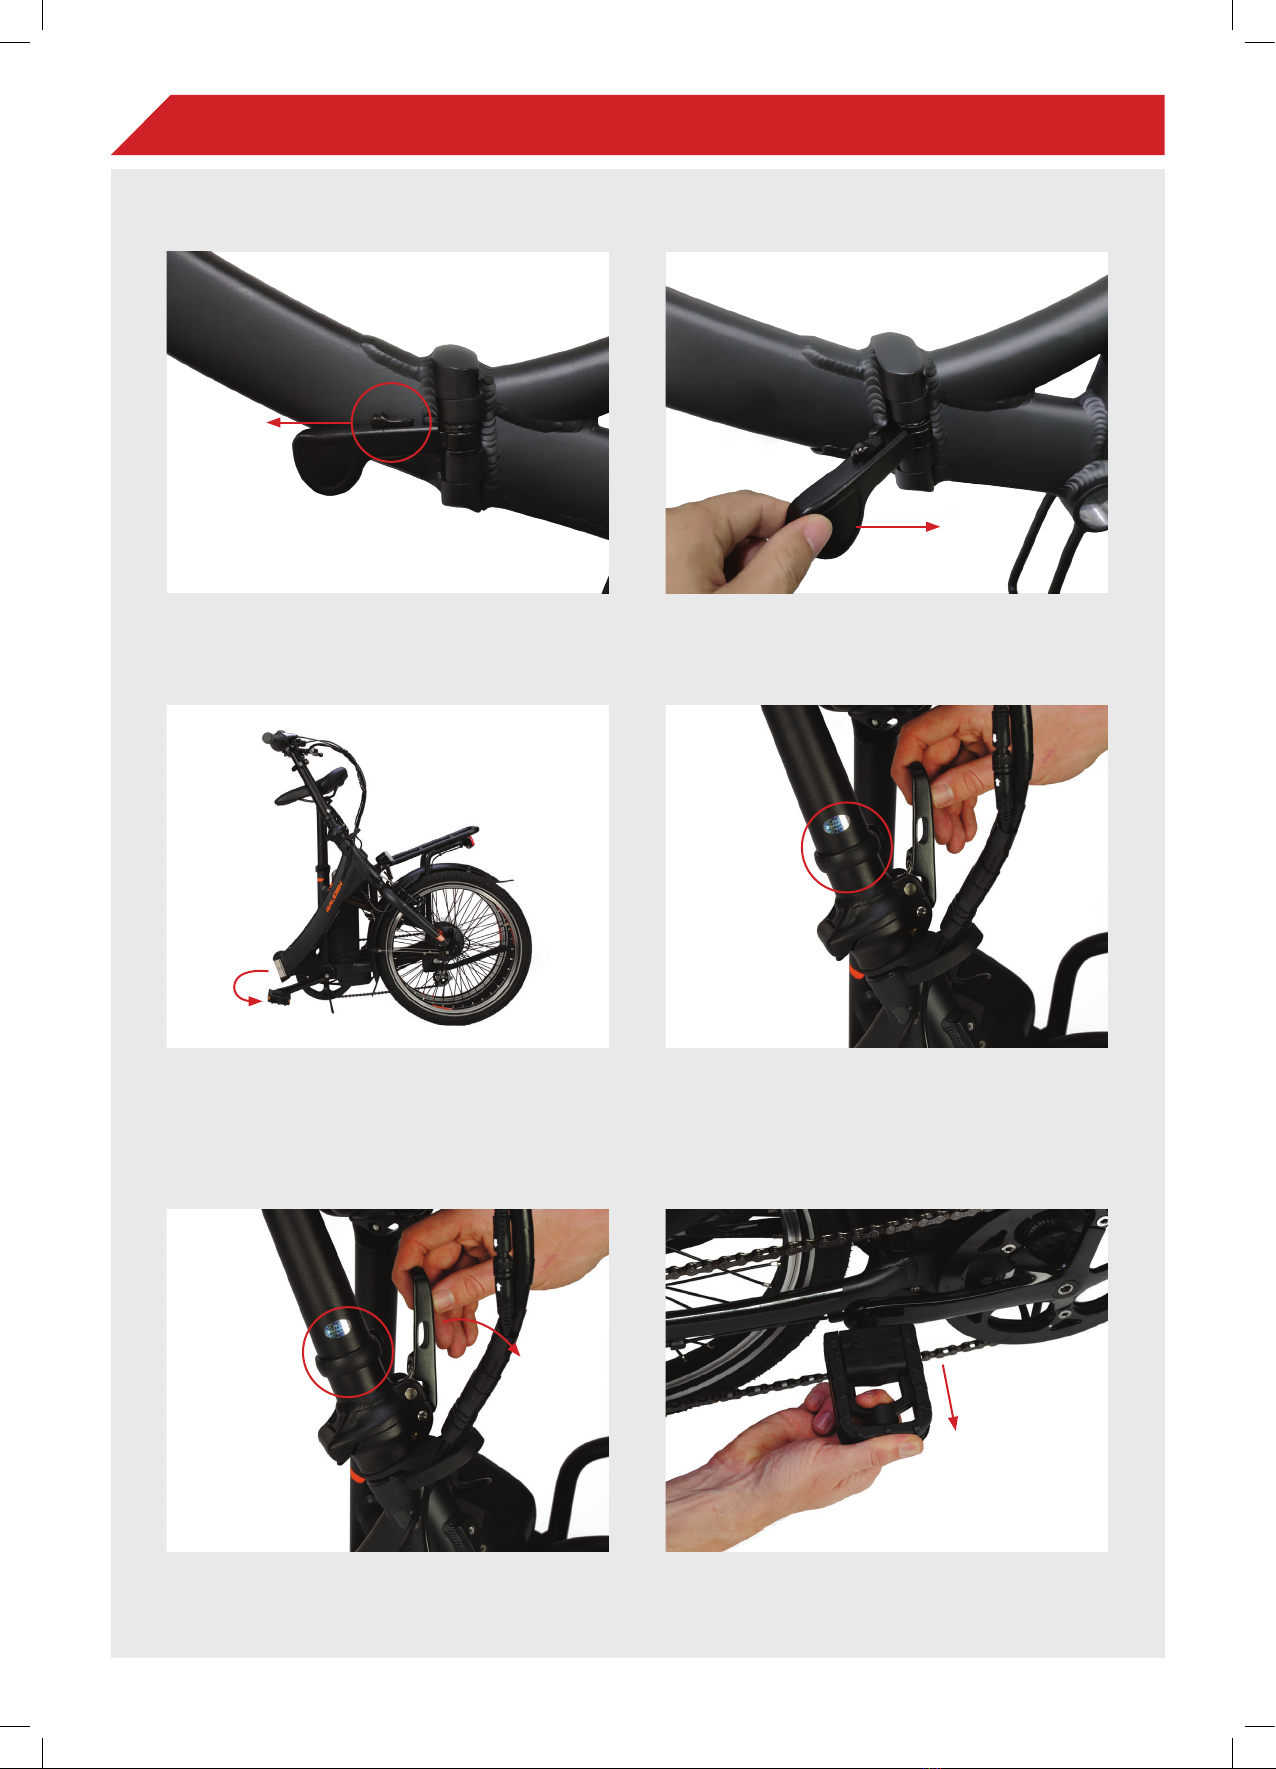
Step 1
Hold the catch and slide to the left
Step 2
Move the lever away from the frame
Step 3
Fold the frame
Step 5
Pull down the lever & fold handlebar down
Step 6
To fold pedal hold down the centre
1FOLDING AND ADJUSTMENT INSTRUCTIONS
Step 4
SAFETY
CATCH
Fold handlebar by rotating the safety catch
Important: When folding into the riding position ensure
that the safety catch fully engages into the slot in the
clamp lever
SAFETY
CATCH

3
Step 7
Fold back against the frame
Step 8
To finish folding operation loosen seat post
clamp & push the seat post down to the floor
It is possible to rotate the handlebar into the desired
position by pulling up the top clamp, re-positioning
and pressing it fully down. Recommended riding
position is with the brake levers pointing down 15°
from the horizontal.
Important: Before each ride
Always check that the handlebar is fully tightened
and cannot rotate. The tightness of the clamp can
be adjusted with the clamp screw underneath.
HANDLEBAR ADJUSTMENT

4
Step 1 Step 2
To lock push down the lever firmly against the frame Clamp adjustment
If the clamp feels loose and is too easy to push
down the tightness can be adjusted by tightening
the screw on the opposite side of the frame using a
6mm Allen and turning clockwise.
IMPORTANT MAIN FRAME CLAMP SAFETY INSTRUCTIONS
2CHARGE BATTERY BEFORE USE
Refer to battery information
Before each ride please check that all folding sections including the frame and
handlebar have been properly locked. Do NOT jump the bike.
WARNING!

5
3
4REMOVING AND FITTING THE BATTERY
Please note: For your own safety, make sure to always cut o electricity by
removing the battery BEFORE you start working on electric bicycles!
DISPLAY OPERATION INSTRUCTIONS
1On / O
2Decrease assistance
3Increase assistance
4Light sensor to automatically
switch on / o the lights
5Assistance level
6Battery capacity
7Mini USB port for programming
8Walk Assist - Press down the +
button for more than 3 seconds
3
4
12
5
6
7
Insert the key and turn clockwise and slide the
battery out. To fit, slide back in and ensure the
bottom fits into the controller.

6
5BATTERY CHARGING & OPERATION
ATTENTION!
Only use the original charger. Use of another battery charger will void your warranty and may cause damage to the
battery, the electrical system of the bike or in the worst case cause a fire. Make sure that the voltage specifications
match with your local electricity network.
Please charge the battery before first use until the green LED lights up
Charger safety instructions
- Always charge the battery with an original charger and do not
use the charger for any other devices.
- Always charge the battery in a ventilated room.
- Disconnect the charger from the mains when it is not used.
- Avoid contact with water and moisture.
- Inspect the charger, cable and plug for damage before every
use.
- Do not touch with wet hands.
- Do not use the charger on flammable surfaces .
- Keep the charger away from children.
- Do not open the charger.
- Do not use the charger in direct sunlight and only charge
between 0°C and 50°C.
6.8Ah 8.8Ah 11Ah 13Ah 14.5Ah
CH02/CH05 charger (2A) ±3.5 h ±5.2 h ±6.5 h ±7.7 h ±8.6 h
CH03 charger (4A) ±3.6 h ±4.5 h ±5,3 h ±5.9 h
Charging time
The charging time varies depending on battery capacity
and battery charger.
The table below contains some indicative figures.
Connect the charger to the charging socket.
The red light indicates that the battery
isconnected and charging.
The green light indicates that the battery
isfully charged.
Charging procedures
- A short press of the switch button turns the battery and
system on. After 5 seconds the LED lights turn o but the
system is still operational.
- A long press of the button for more than 3 seconds turns
the power o.
- After 12 hours without input, the battery power will totally
turn o (no matter if the battery is on or out of the bike)
NOTE: The LED light show 5 bars, each bar
indicate 20% capacity.
Switch Button LED

7
7TRANZX ELECTRICAL / ELECTRONIC COMPONENT WARRANTY
Electric drive system, display, electric wiring, battery, motor, controller
and sensors
All electric system components and battery - 24 months warranty from the first date of purchase.
Repaired parts - 6 months starting from the day of repair (or remaining time of original warranty period).
Warranty period for replaced parts: A replacement part assumes the remaining warranty of the original part.
Frame, Fork and all other none electrical parts - please refer to the Raleigh bicycle owners guide.
This guarantee does not cover normal wear and tear, alteration, accident, misuse, improper maintenance, or
neglect such as corrosion due to storage outdoors or damp conditions or commercial use (e.g. hiring).
Warranty will also be refused in case of improper storage of batteries which should be charged
at least once per 90 days and stored in a dry room between 0 and + 45 degrees Celsius.
Any attempt to open or dismantle these parts will void their warranty.
Removal of the barcode will void the warranty.
6ELEMENTS THAT INFLUENCE THE RIDING RANGE
The battery
• Properly charged and maintained batteries will yield the highest range.
• The capacity of lithium-Ionen batteries drops significantly at temperatures below 10°C.
The ebike
• Riding in a lower support mode increases the range.
• A properly maintained bicycle will yield a higher range.
• Properly inflated tyres have less rolling resistance and enable a higher range.
The rider
• The stronger the rider pedals, the higher the range.
• A lower rider weight leads to a higher range.
The environment
• The flatter the terrain, the higher the range.
• The smoother the terrain, the higher the range.
• Riding with a tailwind will increase the range, riding with headwind will decrease the range.
Locks and keys - important notes
Write down your key number(s) and file it together with your bike invoice and other important documents.
In case of loss of the keys please contact your authorised bicycledealer and provide him with the name of
the lock manufacturer and the number of the key.
For AXA keys you can directly order them at: http//keyservice.axa-stenman.com/

REAR LUGGAGE CARRIER INSTRUCTIONS
Please carefully read and note the following advice and essential information when using the luggage
carrier.
•Do not exceed the maximum load capacity as indicated on the carrier.
•This carrier is not suitable for the attachment of a child seat.
•Do not modify the carrier in any way from the original design.
•The carrier is not designed for pulling a trailer.
•When the carrier is loaded take more care as the bicycle may behave differently particularly with
regards to steering and braking.
•Ensure that when fitting luggage it is evenly distributed between both sides of the carrier.
•When fitting any luggage ensure that any manufacturer’s instructions are adhered to and it is secure
and does not interfere in any way with the operation of the bike and especially secure any loose
straps.
•Ensure that when fitting luggage it does not obscure any lights or reflectors.
8
Carrier Model No.: CA512 fully integrated with the frame.
Dong Guan Hong Lin Industrial Co., Ltd.
NO. 10~11, Song Bai Road,
South China Industrial Area LiaoBu Town,
DongGuan City,
GuangDong Province,
China
•The maximum load for the luggage carrier is 15Kg.
•Maximum compatible wheel size for the carrier is 20”
•This carrier conforms to ISO11243: 2016
8
Table of contents
Other TranzX Bicycle Accessories manuals


Popular Bicycle Accessories manuals by other brands


Giant
Giant ENERGYPAK PLUS 200 Installation & user manual

Bosch
Bosch KALKHOFF PERFORMANCE CX Original user guide

minnid
minnid e.carry operating instructions

CICLOSPORT
CICLOSPORT Ciclo navic 50 instruction manual

TLI Elektronik
TLI Elektronik VOLspeed Yamaha PW-X operating instructions

Cannondale
Cannondale Headshok Silk Road 1999 owner's manual