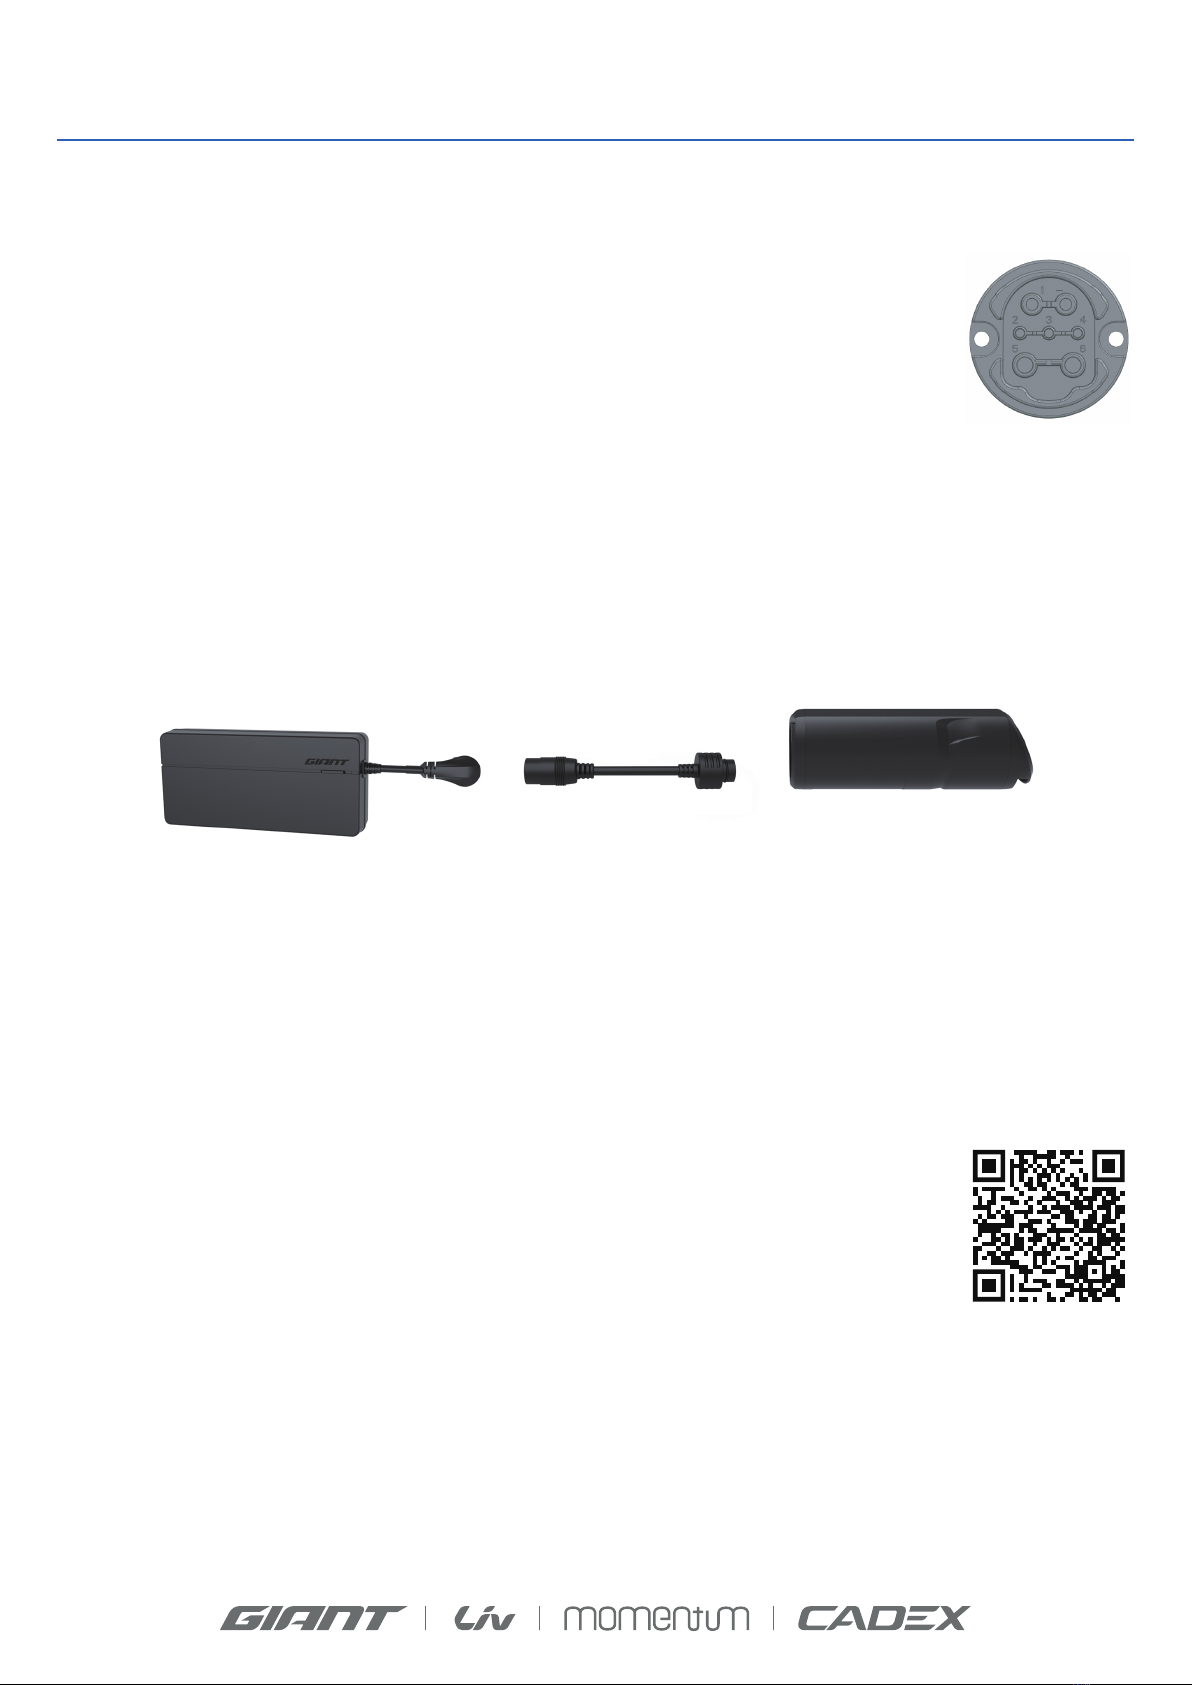
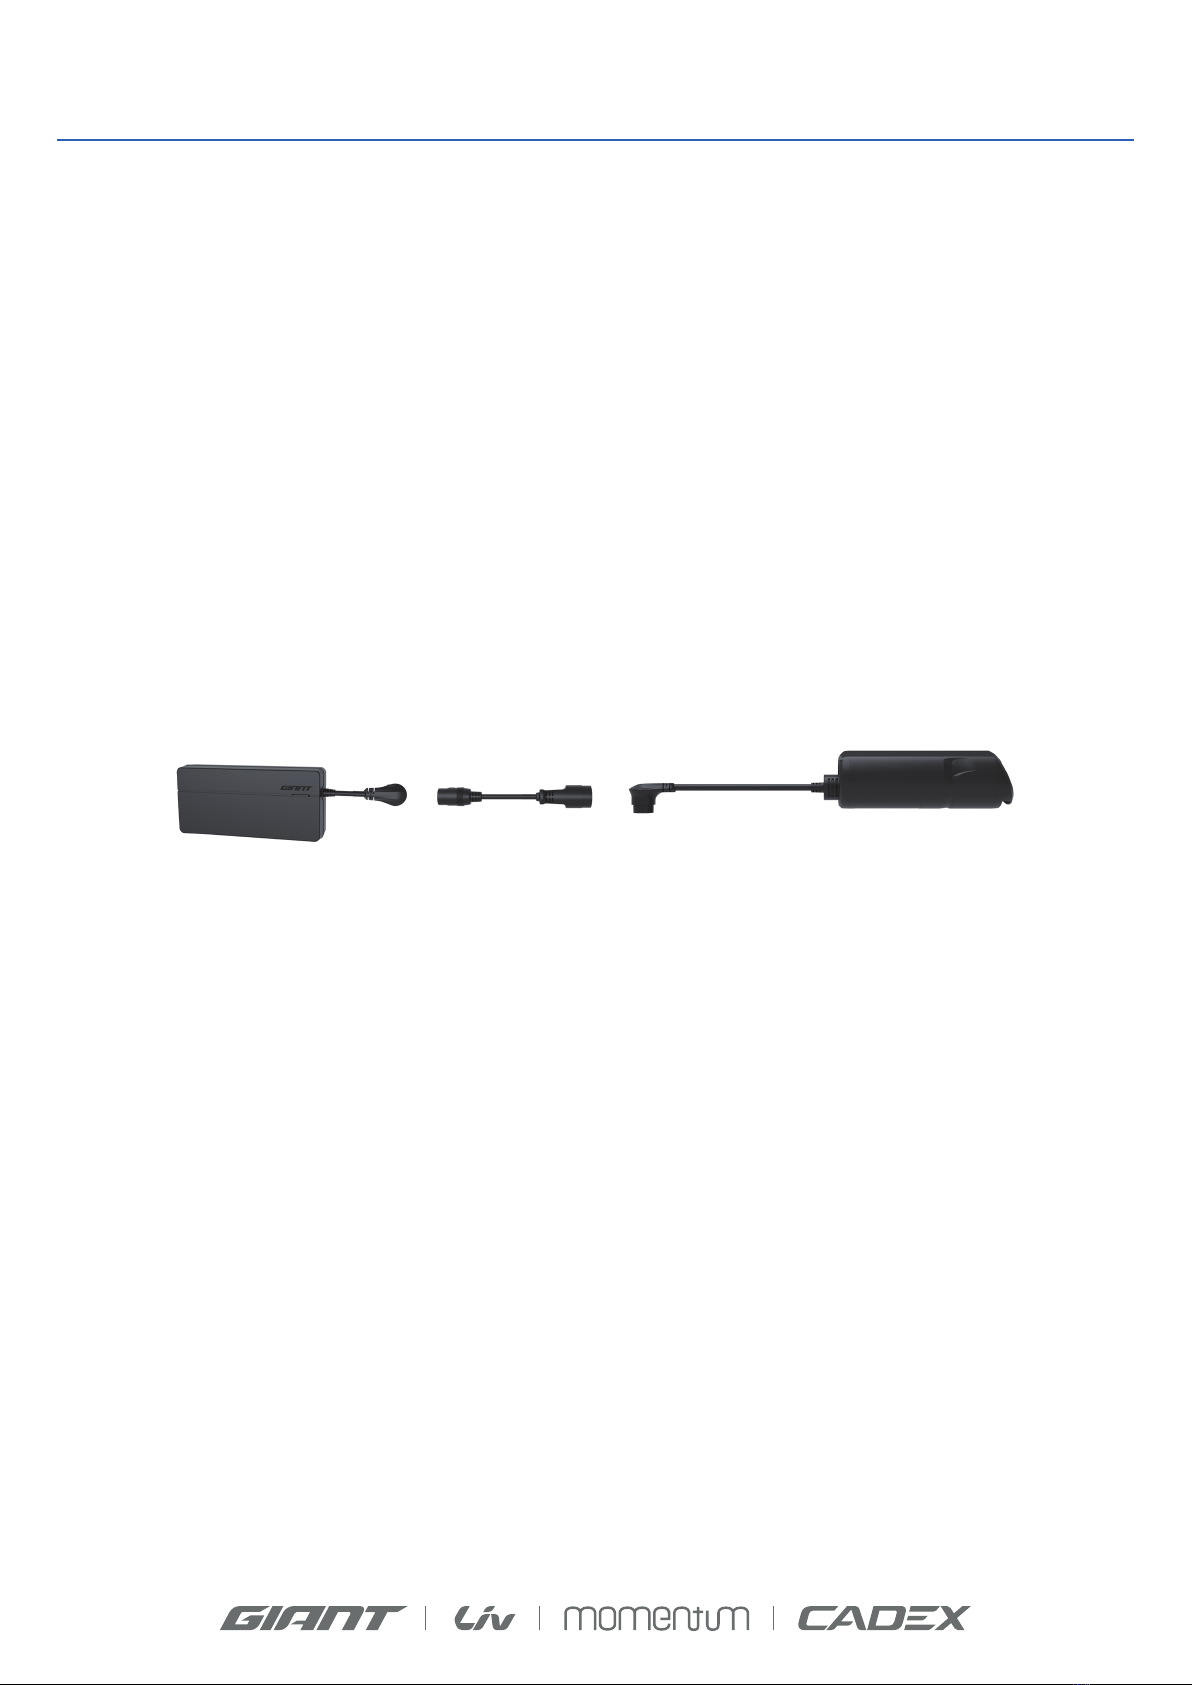
Giant ENERGYPAK PLUS 200 Instruction Manual

ENERGYPAK PLUS 200
INSTALLATION & USER MANUAL
1 / 6
1. CONTENTS
Due to UN transportation regulations, the EnergyPak Plus 200 battery (A) is packaged separately from the EnergyPak Plus
200 mounting kit (B). Both packages (A+B) are necessary to mount and use the EnergyPak Plus 200 on a compatible Giant/
Liv E-Bike.
The complete set of battery and mounting kit includes the following items:
A - EnergyPak Plus Package:
I. 1x EnergyPak Plus 200 Battery
B - Mounting kit Package:
II. 1x Battery cage
III. 1x Connector cable
IV. 1x Charger adapter cable
V. 1x fixed strap
VI. 1x Cable holder
VII. 1x Cable strap
2. SPECIFICATIONS
Type: Lithium-Ion Operating temp. (charge): 0° C ~ 45° C
Voltage: 36 V Operating temp. (discharge): -20° C ~ 60° C
Capacity: 5560 mAh Storage temp. (short term): -20° C ~ 50° C
Dimensions: 217 mm * 75 mm * 72 mm Storage temp. (long term): less than 3 months: -20~40°C;
Weight: less than 1 year: -20~20°C
IV.
VI. VII.
V.
II.
III.
1.1kg
I.

ENERGYPAK PLUS 200
INSTALLATION & USER MANUAL
2 / 6
3. COMPATIBILITY
The EnergyPak Plus 200 is compatible only with specific Giant or Liv bikes of model year 2020 or later.
These specific bikes are equipped with a 7 pin charge socket, an EnergyPak Smart battery and a frame
with water bottle holes on down tube for the EnergyPak Plus 200 Mounting Kit. Always consult your
local Giant dealer if more information and advice on compatibility, installation and usage is needed.
4. CHARGING THE ENERGYPAK PLUS 200
The EnergyPak Plus 200 will arrive from the factory in a hibernate state. It must be activated first, by connecting it to the
charger.
It is recommended to fully charge the EnergyPak Plus 200 before the first use. To charge the EnergyPak Plus 200, use the
original Giant Smart Charger that was supplied with the bike and the charger adapter cable (IV.) provided in the mounting
kit.
During charging, the LED indicator on the EnergyPak Plus 200 will light up in a sequence from left to right. Each LED
represents a section of 20% of the total capacity. When a section is full, the LED will light up constant and remaining LED
will continue the sequence until all LEDs light up constant, indicating that the EnergyPak is fully charged.
Charging time:
0 – 60%: 2:10 h
0 – 100%: 4:10 h
5. SAFETY, STORAGE AND TRANSPORTATION
The same rules regarding safety, storage and transportation that apply to your Giant or Liv E-bike and
EnergyPak Smart, also apply to the EnergyPak Plus 200. Please refer to your e-bike’s user manual and
make sure you have read and understood all information. If you don’t have access to your e-bike’s
manual, ask your dealer for a paper copy or download a digital copy of the e-bike manual via QR code.

ENERGYPAK PLUS 200
INSTALLATION & USER MANUAL
3 / 6
With everything properly installed, the EnergyPak Plus 200 is ready for use.
STEP 6
Install the connector cable (III.) between the battery port and connector on E-bike. Check the
cable does not interfere with the crank rotation.
If the cable interfere the crank rotation, you can use the cable holder (VI.) or cable strap (VII.)
to firmly fix the cable on down tube.
STEP 5
Secure the fixed strap (V.) around the EnergyPak Plus 200 and make sure battery stay in
place.
STEP 4
6. HOW TO INSTALL THE ENERGYPAK PLUS 200
It is strongly advised to have the EnergyPak Plus 200 and Mounting kit installed at your Giant dealer by a skilled mechanic.
Use only the original parts and hardware supplied in the mounting kit.
Gently slide the backside of the EnergyPak Plus 200 onto the lower pillar of the battery cage
until it can’t go further.
STEP 3
Install the battery cage with the original Hex4 bolts, and tighten both bolts to 5-6 Nm. Double
check if the battery cage is firmly secured on the frame.
STEP 2
Remove any installed bottle cage, bolts or other accessory from the bottle cage mounts on
down tube.
STEP 1

ENERGYPAK PLUS 200
INSTALLATION & USER MANUAL
4 / 6
7. THE ENERGYPAK PLUS 200 OPERATION
Before you turn on the EnergyPak Plus 200, please update your Smart Gateway to the latest version via APP or consulting
your local Giant dealer.
Make sure the EnergyPak Plus 200 is properly installed and connected to the E-bike.
When the EnergyPak Plus 200 (B) is empty, the system will switch back to the main battery
(A). The main battery will deliver power for a short time, until the assistance is finally switched
off and the battery indicator on the RideControl starts blinking.
STEP 4
When the main battery (A) is almost empty, the system will switch to the EnergyPak Plus 200
(B) automatically.
STEP 3
Push the button on the top of the EnergyPak Plus 200.
The LED indicator next to the button will show the charge level of the EnergyPak Plus 200.
The EnergyPak Plus 200 is now connected to the system.
The battery indicator of the RideControl display/LEDs will show charge level of both batteries
combined.
STEP 2
Switch on the bike with the RideControl on/off button.
The battery indicator of the RideControl display will show charge level of the main battery.
STEP 1
8. TYPE C PORT
The EnergyPak Plus 200 can also function as a powerbank to charge your device. Use the type
C port in well ventilated areas and dry conditions only. Always make sure the type C port cover
is fully closed during riding with the EnergyPak Plus 200.
HOW TO USE THE USB PORT:
1. Pull and lift the type C port cover to expose the type C port.
2. Connect your device with a compatible type C cable.
3. When finished, remove the device and cable from the EnergyPak Plus 200.
4. Close the type C port cover.

ENERGYPAK PLUS 200
INSTALLATION & USER MANUAL
5 / 6
9. FREQUENTLY ASKED QUESTIONS
Q1: Can E-bike battery and the EnergyPak Plus 200 be charged at the same time?
A1: No. The charger can only charge a single battery at a time.
Q2: Can I use the EnergyPak Plus 200 without the main battery?
A2: No. The E-bike can be switched on, but the motor can’t draw power from the EnergyPak Plus 200 without the main battery
present.
Q3: How many times can I charge my EnergyPak Plus?
A3: As many and often as necessary. However, all batteries degrade over time, and will eventually wear out. The rate at which
the battery capacity will degrade depends on various circumstances, like age, workload, temperature and the number of (dis)
charges.
Q4: How does display show battery level?
A4: The display will show the total level of both EnergyPaks combined.
Q5: How does display show remaining range of the battery?
A5: The display shows the remaining range of both EnergyPaks combined.
Q6: Can the charger adapter for EnergyPak Plus 250 be applied to EnergyPak Plus 200?
A6: Yes, the EnergyPak Plus 200 can share the same adapter by connecting it onto its connector cable. Please refer to the
image.
Q7: Can I turn on the EnergyPak Plus 200 after main battery has already drained?
A7: No. We recommend you to turn on the EnergyPak Plus 200 in the first beginning while cycling. When the main battery is
almost empty, the system will switch to the EnergyPak Plus 200 automatically.
Q8: Can I use my original water bottle cage to install the EnergyPak Plus 200?
A8: No. Please use the parts and hardware supplied in the mounting kit.
Q9: Can I install the EnergyPak Plus 200 on the other position besides downtube?
A9: Yes. The EnergyPak Plus 200 can be installed on the down tube and seat tube. Please check the cable routing before you
ride, and avoid excessive stretching and folding the cable. Besides, the EnergyPak Plus 200 should not be mounted on any
other position to ensure the security.
10. DISPOSAL
According to directive 2006/66/EC of the European Parliament, defective or used batteries, battery packs or single cells
must be collected separately and disposed of in an environmentally friendly manner.
Used cells and batteries are recyclable economic goods. In accordance with the marking showing a crossed-out waste bin,
these batteries may not be disposed of as domestic waste.
NOTICE:
- Used batteries must be treated as hazardous waste.
- Batteries must be disposed of in accordance with the relevant national environmental protection regulations.
- Return batteries to a recycling facility, or an authorized Giant dealer.
- In case of uncertainty, please contact Giant customer service department.

ENERGYPAK PLUS 200
INSTALLATION & USER MANUAL
6 / 6
11. WARRENTY
Giant warrants for the original owner of the EnergyPak Plus 200 (incl. mounting kit) to be free from defects in material and
workmanship for the period of two years from the date of purchase, for 60% of the battery’s original nominal capacity at a
maximum of 250 charges.
This warranty applies only when the EnergyPak Plus 200 is purchased new from an Authorized Giant Dealer.
LIMITED REMEDY
Unless otherwise provided, the sole remedy under the above warranty, or any implied warranty, is limited to the replacement
of defective parts with those of equal or greater value at the sole discretion of Giant. This warranty extends from the date of
purchase, applies only to the original owner, and is not transferable.
In no event shall Giant be responsible for any direct, incidental or consequential damages, including, without limitation,
damages for personal injury, property dam- age, or economic losses, whether based on contract, warranty, negligence,
product liability, or any other theory.
Giant makes no other warranties, express or implied. All implied warranties, including the warranties of merchantability and
fitness for a particular purpose are limited in duration to that of the express warranties stated above.
Any claim against this warranty must be made through an Authorized Giant Dealer or distributor. The purchase receipt or
other proof of the date of purchase is required before a warranty claim may be processed.
Claims made outside the country of purchase may be subject to fees and additional restrictions. Warranty duration and
detail may differ by country. This warranty gives you specific legal rights, and you may also have other rights which may
vary from place to place. THIS WARRANTY DOES NOT AFFECT YOUR STATUTORY RIGHTS.
EXCLUSIONS
- Normal wear and tear on parts in situations where there are no assembly or material defects.
- Bicycles serviced by other than an Authorized Giant dealer.
- Modifications from the original condition.
- Use of the bicycle for abnormal, competition and/or commercial activities or for purposes other than those for which
the bicycle was designed.
- Damage caused by failing to follow the owner’s manual.
- Paint finish and decal damage resulting from taking part in competitions, jumping, downhill and/ or training for such
activities or events or as a result of exposing the bike to, or riding the bike in, severe conditions or climates.
- Labour charges for part replacement or changeover.
- Except as is provided by this warranty and subject to all additional warranties, Giant and its employees and agents
shall not be liable for any loss or damage whatsoever (including incidental and consequential loss or damage caused
by negligence or default) arising from or concerning any Giant bicycle.
12.CAUTIONS
- Do not open or disassemble, short-circuit, crush, drop or dispose in fire or liquid.
- Do not charge this battery with any other type of charger than the one provided originally with this bicycle.
- Do not charge and store in damp environment.
- Do not charge this battery below 0°C or above 40°C.
- There is risk of fire or explosion if the battery is not treated according to these safety cautions.
- Dispose of used batteries according to local ordinance and/or regulations.
- Charging conditions: Step charging 2.7A 36V 1.3A 42V.
Table of contents
Other Giant Bicycle Accessories manuals

Giant
Giant Axact 9 Manual

Giant
Giant EnergyPak Smart 250 User manual

Giant
Giant AXACT 13W User manual

Giant
Giant NEOSTRACK User manual

Giant
Giant Axact 9/11 User manual

Giant
Giant CONTINUUM User manual

Giant
Giant Crest 34 User manual

Giant
Giant power pro User manual

Giant
Giant continuum sync Datasheet

Giant
Giant HELMETS User manual

Giant
Giant Power Pro V3 User manual

Giant
Giant CONTACT SL SWITCH User manual

Giant
Giant RideControl Plus User manual

Giant
Giant NEOS GPS User manual

Giant
Giant Liv User manual

Giant
Giant CONTINUUM WIRELESS User manual

Giant
Giant MY20 User manual

Giant
Giant Axavt 13w User manual

Giant
Giant Power Halo User manual

Giant
Giant MY21 TCR Advance User manual