AVVERTENZE
W
1. Loosen the pinch bolt, then remove the axle and install the front wheel
into the fork dropouts, slide the axle through the drive side dropout and hub.
2.Use a 5mm hex wrench to torque the axle clockwise to 9÷13 Nm
3.Compress the fork a few times to ensure the lower leg settled in it’s
lowest friction configuration
4.Tighten the pinch bolt on the drive side dropout to 5÷6 Nm
COMPLETE USER MANUAL
service interval
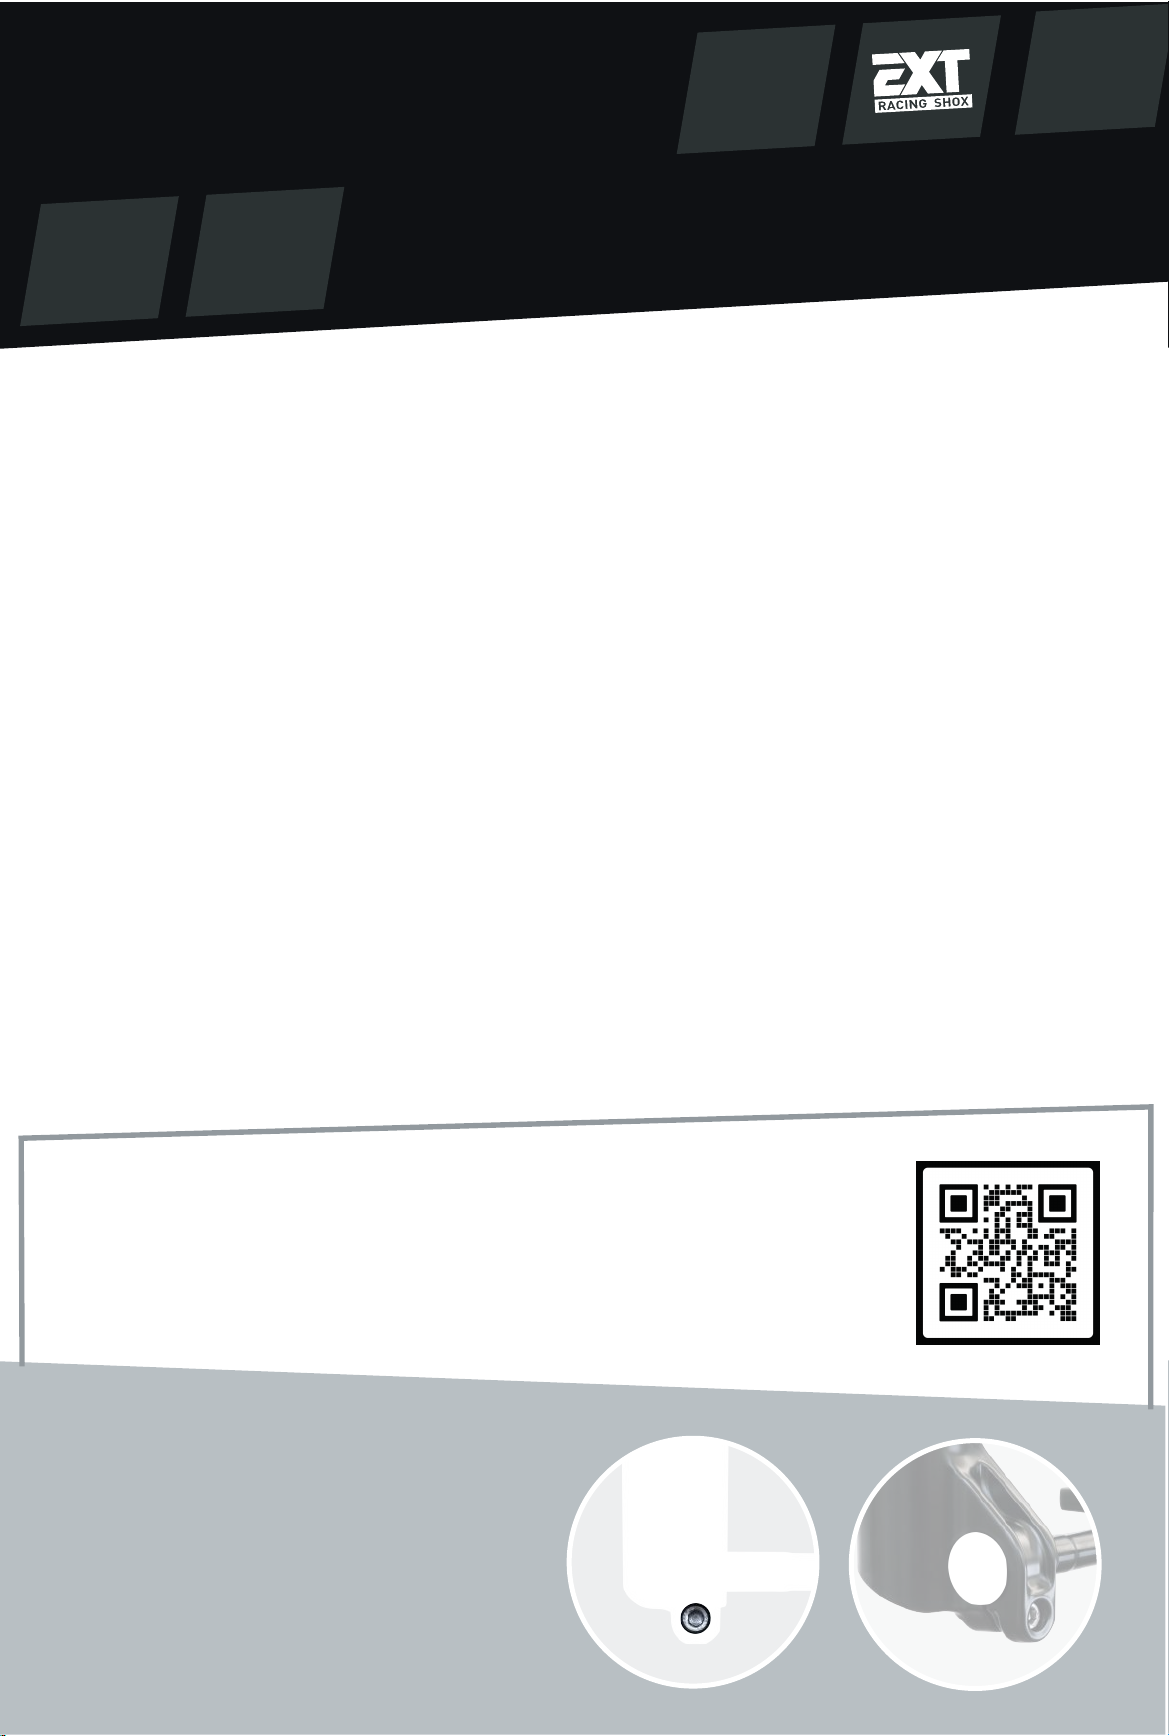
Scan the QR code to download the complete user
manual.
If you can’t download it, please visit the ERA V2S
page on our website.
Every 50 hours riding or 6 months
Every 100 hours riding or 1 year
AMATORIAL USE
RACING USE
INTERVALLI MANUTENZIONE
Ogni 50 ore di utilizzoo6mesi
Ogni 100 ore di utilizzoo1anno
MANUALE UTENTE COMPLETO
Scansiona il codice QR per scaricare il manuale
utente completo.
Se non riesci a scaricarlo visita la pagina prodotto
di ERA V2S sul nostro sito.
ERA V2S fork is specifically designed for Enduro/All Mountain use. This
product is developed and designed for bike industry and must be installed
on related vehicles, including pedal assisted motorized cycles that produce
a maximum of 250 Watt of power. DO NOT USE this fork on throttle-equip-
ped motorized cycles or any vehicle carrying more than one rider.
Any such unhautorized use may result in failure of the suspension, which
may cause a crash and result in property damage, SERIOUS INJURY or
DEATH and void warranty.
▶
▶
▶
▶
▶
▶
▶
▶
▶
▶
▶
Do not modify any part of the fork, all components are precisely designed
as they are.
Always use EXT Racing Shox parts. Use of other parts or self built ones
void warranty and could cause a structural failure.
ERA V2S fork contains pressurized gas. Do not open, service or modify
this product.
External visual inspection may reveal cracks or defect, if you notice them
please refer immediately to an EXT service point or EXT directly.
Following the scheduled inspection allows you to have a functional and
safe fork
If your riding weight is more than 90kg/188lbs inspection must be more
frequent.
The product warranty shall apply if product has been operated and
maintainted in accordance with reccomendations in the user manual
(downloadable from the link below)
An improperly installed fork can be extremely dangerous, We recommend
to have it installed by a qualified mechanic.
Read and ensure you have understood the information in the user manual
or other technical documents related to this product before using it.
Do not exceed 200 psi/14 bar
INSTALLAZIONE RUOTA
1. Allenta la vite di ritenuta, rimuovi il perno, installa la ruota anteriore nei
dropout della forcella, inserisci il perno ruota
2.Usa una chiave da 5 mm per avvitare il perno in senso orario a 9÷13 Nm
3.Comprimi la forcella un paio di volte per assicurarti che i lower si
assestino nella configurazione di minor attrito
4.Serra la vite di ritenuta a 5÷6 Nm
wheel installation
▶
▶
▶
▶
▶
▶
▶
▶
▶
▶
▶
La forcella Era V2S è specificatamente progettata per un utilizzo
Enduro/All Mountain. Il prodotto è progettato e sviluppato per il mercato
della bici e deve essere installato sui relativi prodotti, compresi i cicli con
pedalata assistita che producono un massimo di 250 W di potenza.
NON USARE la forcella su cicli motorizzati dotati di controllo al
manubrio/acceleratore, o su veicoli che possono portare 2 o più persone.
Ogni utilizzo non autorizzato può portare alla rottura del prodotto, a
incidenti e provocare danni a persone e/o cose, gravi infortuni o
addirittura morte.
Non modificare alcuna parte della forcella, tutti i componenti sono
progettati esattamente come sono.
Utilizzare sempre parti di ricambio originali EXT Racing Shox. L’uso di parti
non originali invalida la garanzia.
La forcella EXT ERA V2S contiene gas in pressione. Non aprire, non fare
manutenzione e non modificare il prodotto. Se necessario, contattare un
Service point autorizzato.
L’ispezione visiva esterna può rivelare crepe/cricche o difetti, se li noti
contatta immediatamente un punto di assistenza EXT o EXT direttamente.
Rispettare i tempi di ispezione programmata permette di disporre di una
forcella funzionale e sicura.
Se il tuo peso è superiore a 90 kg l’ispezione deve essere più frequente.
L’utilizzo e/o il mantenimento non conforme a quanto indicato nel manuale
utente (scaricabile dal link sottostante) comporterà l’annullamento della
garanzia.
Una forcella installata in modo errato può essere estremamente
pericolosa. Si consiglia di farla installare da un meccanico qualificato.
Leggere ed assicurarsi di comprendere le informazioni contenute in questo
manuale ed altri documenti tecnici relativi al prodotto prima di utilizzarlo.
Non gonfiare oltre i 200 psi/14 bar


