manuals.online logo
Brands
  1. Home
  2. •
  3. Brands
  4. •
  5. Travis Industries
  6. •
  7. Flashlight
  8. •
  9. Travis Industries Tempest User manual

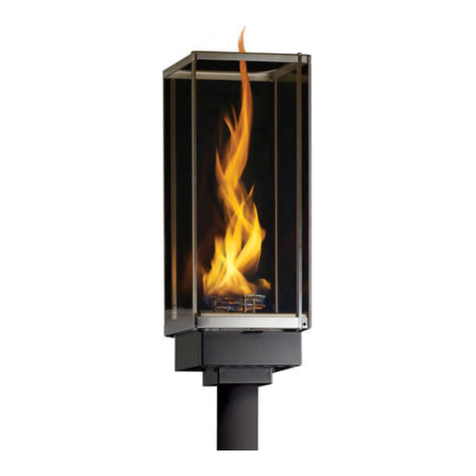
Travis Industries Tempest User manual

Page 1 of 2 100-01251_000 - 10/10/12 © Travis Industries, Inc.
Packing List
•Table Top Torch
•
Stainless-Steel Fuel Can
•Snuffer (flame extinguisher)
•
Instruction Sheet
SAFETY WARNINGS
•Keep away from children and pets.
•Always burn in a well ventilated area.
•Hot glass will cause burns. Do not touch glass until cooled. Never allow children to touch glass.
•Do not use flammable liquids, only use gelled ethanol based fuels. Never add anything to the fuel gel.
•Always follow fuel manufacturer’s handling instructions
•Use the included “Flame Snuffer” to extinguish the flame. Do not blow on flame or use liquid to extinguish.
•Do not re-fill single-use, pre-packaged fuel can (unless specified from manufacturer).
•Carefully light gel with a fireplace or grill type lighter (“lighter wand”). Do not light from top of torch.
•Never leave a burning Tempest™ Table-Top Torch unattended.
•Never burn Tempest™ Table-Top Torch on or near anything that can catch fire.
•Do not transport the torch while burning. Allow torch to cool completely before moving or re-fueling.
•Tempest™ Table-Top Torch may be hot, handle with care.
•Do not place your hand, face or other body part above the torch. This area becomes hot and may cause burns.
•Do not remove fuel can until torch has fully cooled. Never pour fuel into open flame. Do not re-fuel in dark area.
•Never spray any scents, perfumes, or other flammable materials near the open flame.
Fuel
This torch may be used with one of the following fuels:
(1) Use the included stainless steel re-usable container with:
Forrest Paint gelled fuel (part # 80M002B24) - see www.forrestpaint.com or your dealer.
(2) Forrest Paint gelled fuel in a can (part # 80M002 ) - see www.forrestpaint.com or your dealer.
Do not use any other fuel in this torch - see www.tempesttorch.com for updated details on fuel availability.
Cleaning
We recommend cleaning the glass surface with glass cleaner and a soft cloth. The steel surfaces may be cleaned
with a mild cleaning solution and soft cloth.
Preserving the Appearance of Your Torch
This torch is made of stainless steel and powder-coated materials to insure a durable finish indoors or outdoors.
When not in use, store the torch in a protected location to maintain its appearance.
WARNING
HOT GLASS WILL
CAUSE BURNS
DO NOT TOUCH GLASS
UNTIL COOLED
NEVER ALLOW CHILDREN
TO TOUCH GLASS
DO NOT USE FLAMMABLE LIQUIDS, ONLY USE GELLED
ETHANOL BASED FUELS
ALWAYS FOLLOW FUEL MANUFACTURER’S HANDLING
INSTRUCTIONS
NEVER BLOW DIRECTLY ON THE FUEL, ALWAYS USE THE
‘FLAME SNUFFER’ PROVIDED TO EXTINGUISH THE FLAME
Page 2 of 2 100-01251_000 - 10/10/12 © Travis Industries, Inc.
5 EASY STEPS FOR COMPLETE OPERATION
Place the fuel can into the fuel can
holder. Be careful not to spill the fuel.
CAUTION: REMOVE PAPER LABEL
FROM FUEL CAN BEFORE PLACING
INTO HOLDER (if applicable).
Once the fuel can holder is locked into
place the flame will automatically spiral
upwards. Close the front loading door.
DO NOT CARRY OR MOVE TORCH
WHILE BURNING.
This torch may be used with one of the following fuels:
(1) Use the included stainless steel re-usable container
with OzoFire™ Formula 4 or Forrest Paint
80M002B24 gelled ethanol based fuel.
(2) Forrest Paint gelled fuel in a can (part # 80M002).
To load fuel can, open the fuel loading door
using both hands. Press and hold down the
silver acorn nut on either side of the fuel can
holder with one hand while you slide the fuel
can holder tray out of the base with the
other hand.
Push the spring loaded fuel can holder down
and in half way. Light the fuel with a lighter
wand (not supplied). Once lit, push the fuel
can holder all the way into the torch base.
NOTE: When lighting a partial can of fuel a
“lighter wand” comes in handy. Always
open the fuel loading door when re-lighting.
The flame snuffer tool is stored in the torch
base. Position the tool vertically so it slides
between the glass panels. Turn the tool
sideways to cover and extinguish the flame.
Replace the flame snuffer tool to the torch
base after use.
“Lighter Wand”
(not supplied)

Other manuals for Tempest

2

Other Travis Industries Flashlight manuals

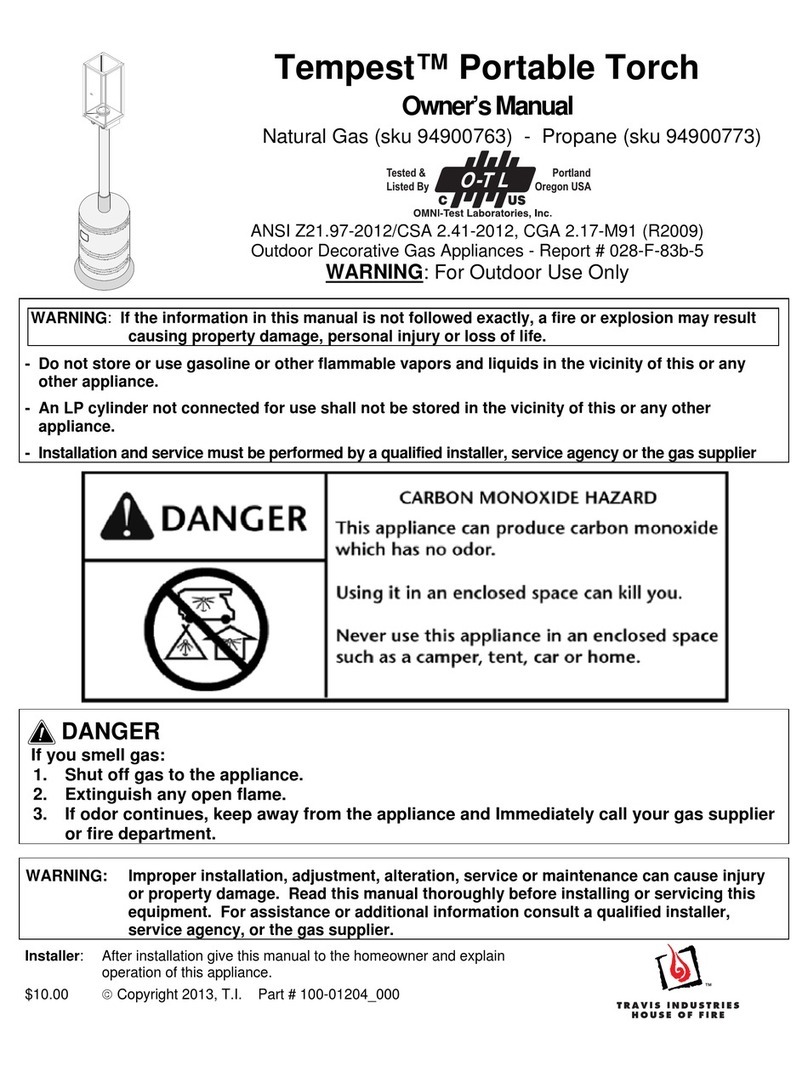
Travis Industries Tempest Portable Torch User manual

Travis Industries

Travis Industries Tempest Portable Torch User manual

Travis Industries Tempest Portable Torch User manual

Travis Industries

Travis Industries Tempest Portable Torch User manual

Popular Flashlight manuals by other brands

Nitecore TM12K user manual

Nitecore

Nitecore TM12K user manual

Beta 1834RR Instructions for use

Beta

Beta 1834RR Instructions for use

Silva EXCEED 2 Series quick guide

Silva

Silva EXCEED 2 Series quick guide

Skil 2897 Operating and troubleshooting guide

Skil

Skil 2897 Operating and troubleshooting guide

Jula 948-002 User instructions

Jula

Jula 948-002 User instructions

HQ TORCH-L-CAMP03 manual

HQ

HQ TORCH-L-CAMP03 manual

Planet Bike DUAL BLAZE 1500 quick start guide

Planet Bike

Planet Bike DUAL BLAZE 1500 quick start guide

ESAB W-17 instructions

ESAB

ESAB W-17 instructions

Astro Pneumatic 50SLMAX quick start guide

Astro Pneumatic

Astro Pneumatic 50SLMAX quick start guide

Fenix TK25 operating instructions

Fenix

Fenix TK25 operating instructions

Pelican NEMO 2010 LED user manual

Pelican

Pelican NEMO 2010 LED user manual

Victorinox LED FLASHLIGHT user manual

Victorinox

Victorinox LED FLASHLIGHT user manual

NightSearcher EXPLORER XM-L user manual

NightSearcher

NightSearcher EXPLORER XM-L user manual

Browning ALPHA ELITE instructions

Browning

Browning ALPHA ELITE instructions

Nitecore MH12SE user manual

Nitecore

Nitecore MH12SE user manual

Cateye HL-EL461RC instruction manual

Cateye

Cateye HL-EL461RC instruction manual

Panasonic YT-30TSW operating instructions

Panasonic

Panasonic YT-30TSW operating instructions

Sysmax ef1 manual

Sysmax

Sysmax ef1 manual

manuals.online logo
manuals.online logoBrands
  • About & Mission
  • Contact us
  • Privacy Policy
  • Terms and Conditions

Copyright 2025 Manuals.Online. All Rights Reserved.