2
INTRODUCTION:
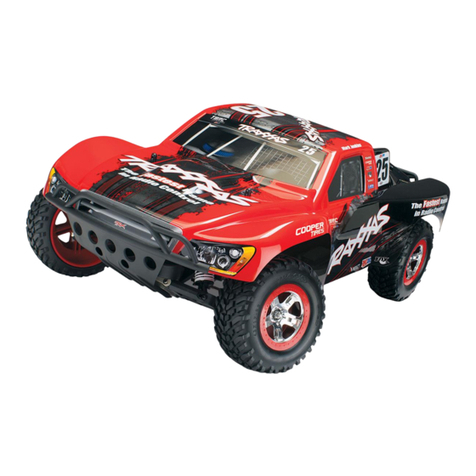
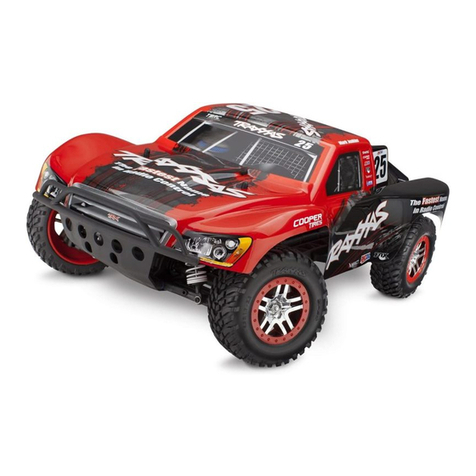
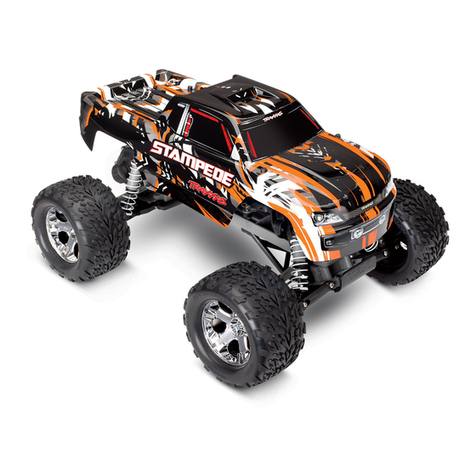
Thank you for purchasing a Traxxas product. The Rustler and Bandit
deliver pro-level racing technology and performance. The transmission
is a quiet and efficient 3-gear design complete with ball bearings.
The planetary gear differential provides proven durability and low-
maintenance operation. A slipper clutch is included to prevent tire spin.
The four-wheel independent suspension uses oil-filled shocks on the front
and rear for extreme amounts of suspension travel and bump absorption.
The shocks are fully adjustable so the model will have superb control over
rough terrain.
This manual details the assembly of both the Rustler and the Bandit. If you
purchased a model that is Ready-To-Run, this manual will aid you in
disassembling and rebuilding the model during normal maintenance and
repair procedures. This manual will also acquaint you with the model’s
many different components and its mechanical operation.
Look over the manuals and examine the model carefully before opening
any of the parts bags included in the kit. If for some reason you think the
model is not what you wanted, then do not continue any further. Your
hobby dealer absolutely cannot accept a model for return or exchange
which has been run or contains open bags. Please read the separate
Operating Instructions manual before attempting to drive your
new model.
If you have any questions about your Rustler or Bandit, call Traxxas’
technical support department at 1-888-TRAXXAS (U.S.A. residents only,
outside U.S.A. call 972-265-8000). Technical support is available Monday
through Friday, from 8:30am to 9:00pm central time. We hope that you
will enjoy your new Traxxas model. Technical assistance is also available
thru our website at www.Traxxas.com 24 hours a day. E-mail Traxxas at
ASSEMBLY HINTS:
Toassemble thiskit, you’llneed alarge flatworking areawhere youwill
haveplenty ofroom tobuild. Besure it’ssomeplace whereyou canleave
yourwork spreadout andnot inthe waywhen youwant totake abreak
fromthe assembly.Allow yourselfplenty oftime tobuild thiskit, assembly
timeis goingto varywith eachindividual. Experiencedbuilders mayonly
need4-5 hoursto assemblethis kit,while othersmay spendan entire
weekendon it.You shouldfeel comfortablewith takingas muchtime as
youneed toproperly buildand set-upyour model.The race,after all,is on
thetrack, notthe workbench.
Ifyou’ve beenexploring thecontents ofyour kitbox, you’venoticed many
bagsof smallparts. Openonly onebag ata time.To keepthe parts
organized,use smallpaper platesor severallarge plasticplates with
partitionsto containthe parts.Label thepaper platesand thenpour the
contentsof thebags ontothem. Thisputs theparts outin theopen where
youcan findthem easily.The platesalso preventsmall partsfrom rolling
offthe table.
While it is possible to assemble your kit just by following the pictures,
pleaseread thetext nexttoeach photo.The textcontainsimportant
informationsuch asscrew sizesandpart numbers.Also, payattentionto
the“NOTE” whichfollows somesteps.
Beforeyou attemptto runyour newly-builtmodel, pleaseread allof the
instructionsand precautionsincluded inthe operatinginstruction manual.
Remember,as youassemble yourTraxxas model,you arenot alone.If you
haveany questionsor runinto difficulties,call theTraxxas’ technicalsup-
portdepartment at1-888-TRAXXAS(872-9927).CustomersoutsideU.S.A
call972-265-8000. Technicalsupport isavailable Mondaythrough Friday,
from8:30am to9:00pm centraltime.
TOOLS YOU WILL NEED:
Some of the tools which you may need in the maintenance and repair of
your model have been provided for you, they include:
Wrenches, 4-way wrench, hex wrenches (1.5mm & 2.0mm)
u-joint assembly tool
Below is a list of other tools and supplies you may need for maintenance
and repair of your model:
Philips screwdrivers, #1 & #2
Flat blade screwdriver (.25 inches wide)
Small, flat-blade, jeweler’s screwdriver
Pliers, locking (such as Vise Grips) & needle nose
Hobby knife
Superglue (such as “Zap” brand)
Paper plates and Shop rags or paper towels
Tape, masking and electrical
Machine oil such as “3 in 1” Oil™
Paint and other chemicals needed to finish the body are not included.
These items can be purchased from your hobby dealer. There is a section
in the operating instruction manual which provides tips for painting and
detailing the body. Instructions on installing the wing on the Bandit are
also included in the operating instruction manual.
RADIO SYSTEM INSTRUCTIONS:
The radio system is not provided in the unassembled kit. Towards the end
of the assembly process, there are photos demonstrating a typical, two-
channel, radio system installation. Before you begin installing your radio
system, it is necessary to locate the center (neutral) position of the
steering and throttle servos. Connect the steering servo to the channel 1
terminal and the throttle servo to the channel 2 terminal in the receiver.
Connect the thin red and black wires from the mechanical speed control
to the “batt” terminal in the receiver.
Place fresh “AA” batteries in the transmitter and turn the power switch on.
Turn the throttle and steering trim adjustments on the transmitter to the
center “0” position. Plug a freshly-charged battery pack into the speed
control. The servos will jump to their center position. Now, unplug the
battery pack and turn off the transmitter. Disconnect all of the radio
components and set them aside. Be careful not to move the servo shafts
when installing the servos into your model.
IMPORTANT:On the Traxxas mechanical speed control, the red wire is
positive and the black wire is negative. Your mechanical speed control is
compatible with Futaba and most other brands of radio equipment.
However, some brands of receivers have reversed positive and negative
input terminals. If you connect the Traxxas speed control to one of these
receivers without changing the wiring, the receiver will be severely
damaged. Pay particular attention to the wiring when using
Airtronics/Sanwa and some Novak brand receivers.
Complete instructions for operating the Traxxas TQ radio system are
included in the operating instruction manual. However, you will need to
follow the instructions that came with your particular radio system.
WARRANTY STATEMENT:
Every effort has been made in component design and material selection
to make your model as durable as possible and still maintain a weight
consistent with good handling.
Because this model is intended for high-speed operation under severe
conditions, no warranties are expressed nor implied relating to the
longevity of the parts.
If you find that a part has a defect in materials or workmanship, please
return it to us BEFORE IT IS USED, and we will gladly replace it.
Damage caused by excessive force, abuse, neglect or failure to adhere
to the precautions outlined in the literature contained with your model
will void the warranty.
HARDWARE DESCRIPTION:
The drawings that follow are provided to help you identify the many
different sizes and types of hardware that are used in the assembly of
this model. Note the difference between the length measurements of
the roundhead and countersunk screws. A ruler is provided at the
bottom of each page to measure the length of the screws in millimeters.
