5English
5. Internet Access Directly Under
Cable/ ADSL Modem
The following set-up information is designed to help you set-up your gateway to
connect to the Internet. The set-up is different depending upon the type of
Internet Connection you have with your ISP (Fixed IP, PPPoE, DHCP). If you're
not sure what type of connection you have, please contact your Internet
Service Provider and collect the required information. Below is a table that
outlines the basic data you will require from your ISP.
Connection Type Data required
Fixed IP (Static)
Fixed IP Address, Subnet Mask, Default
Gateway and Primary DNS (Secondary
DNS is optional).
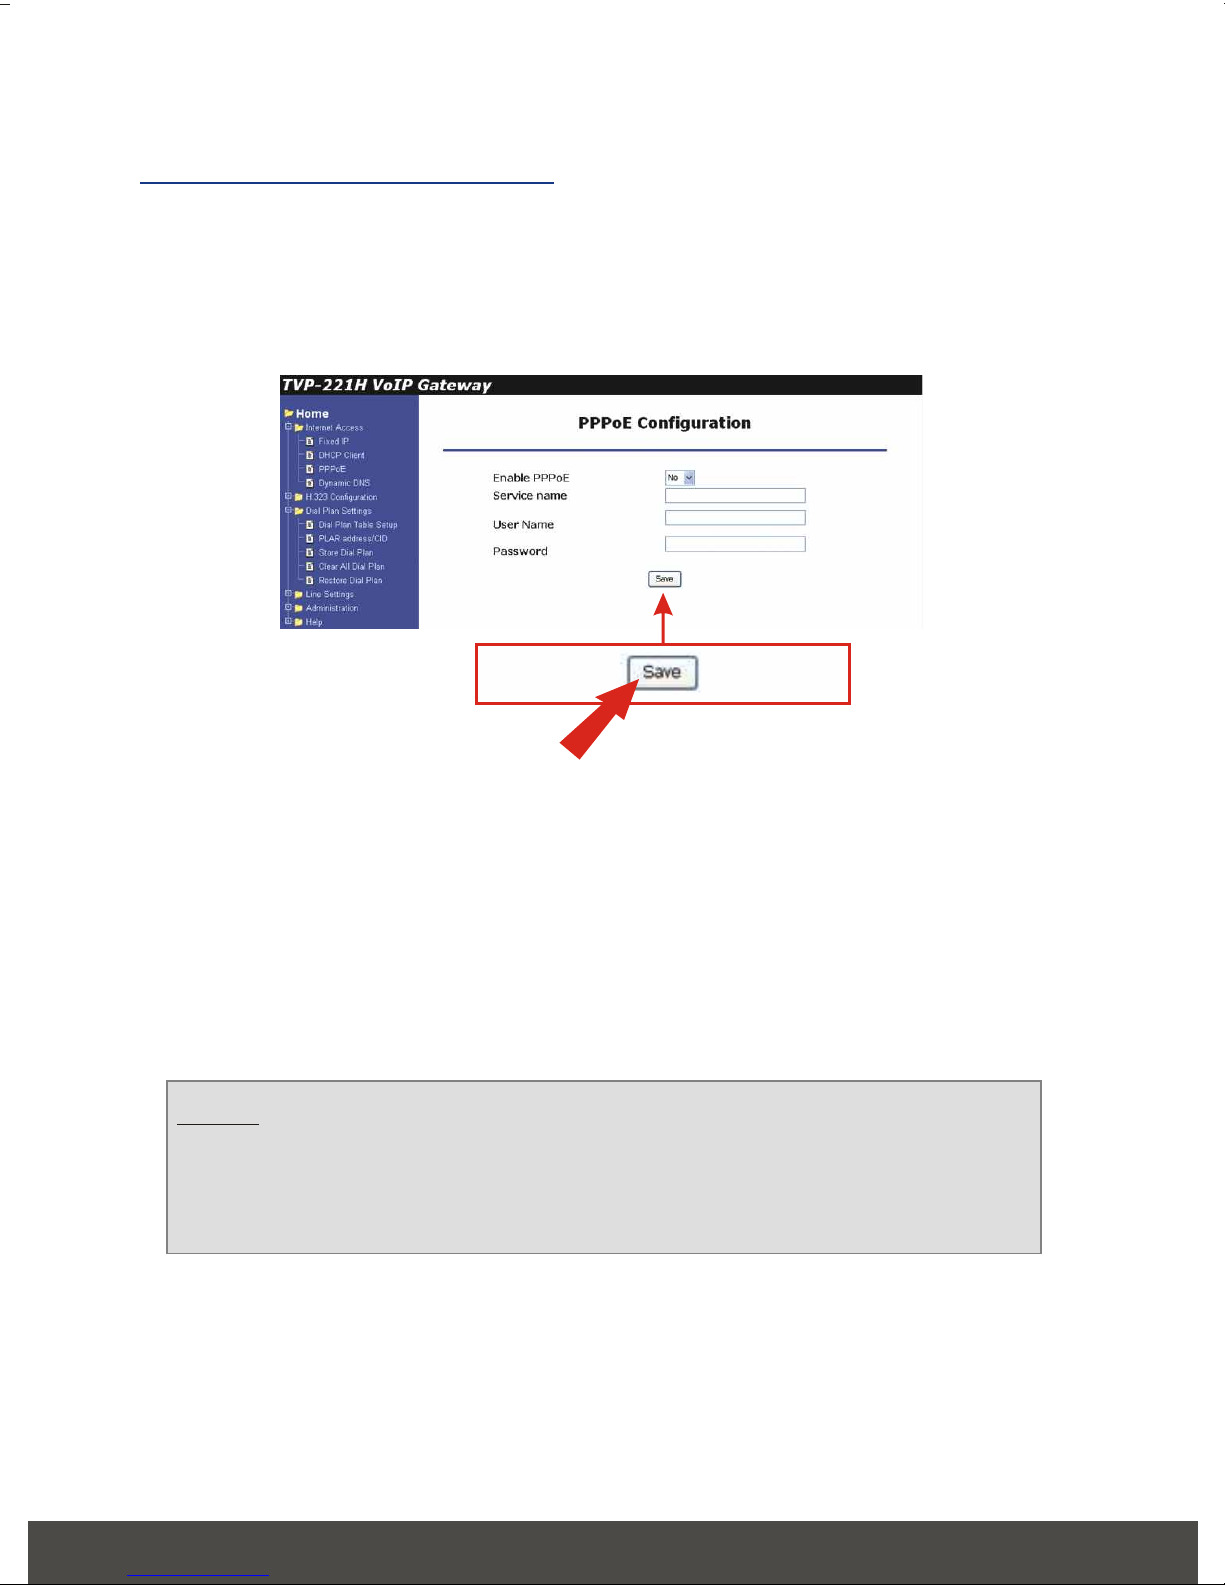
PPPoE Login name and password (Service Name
is optional)
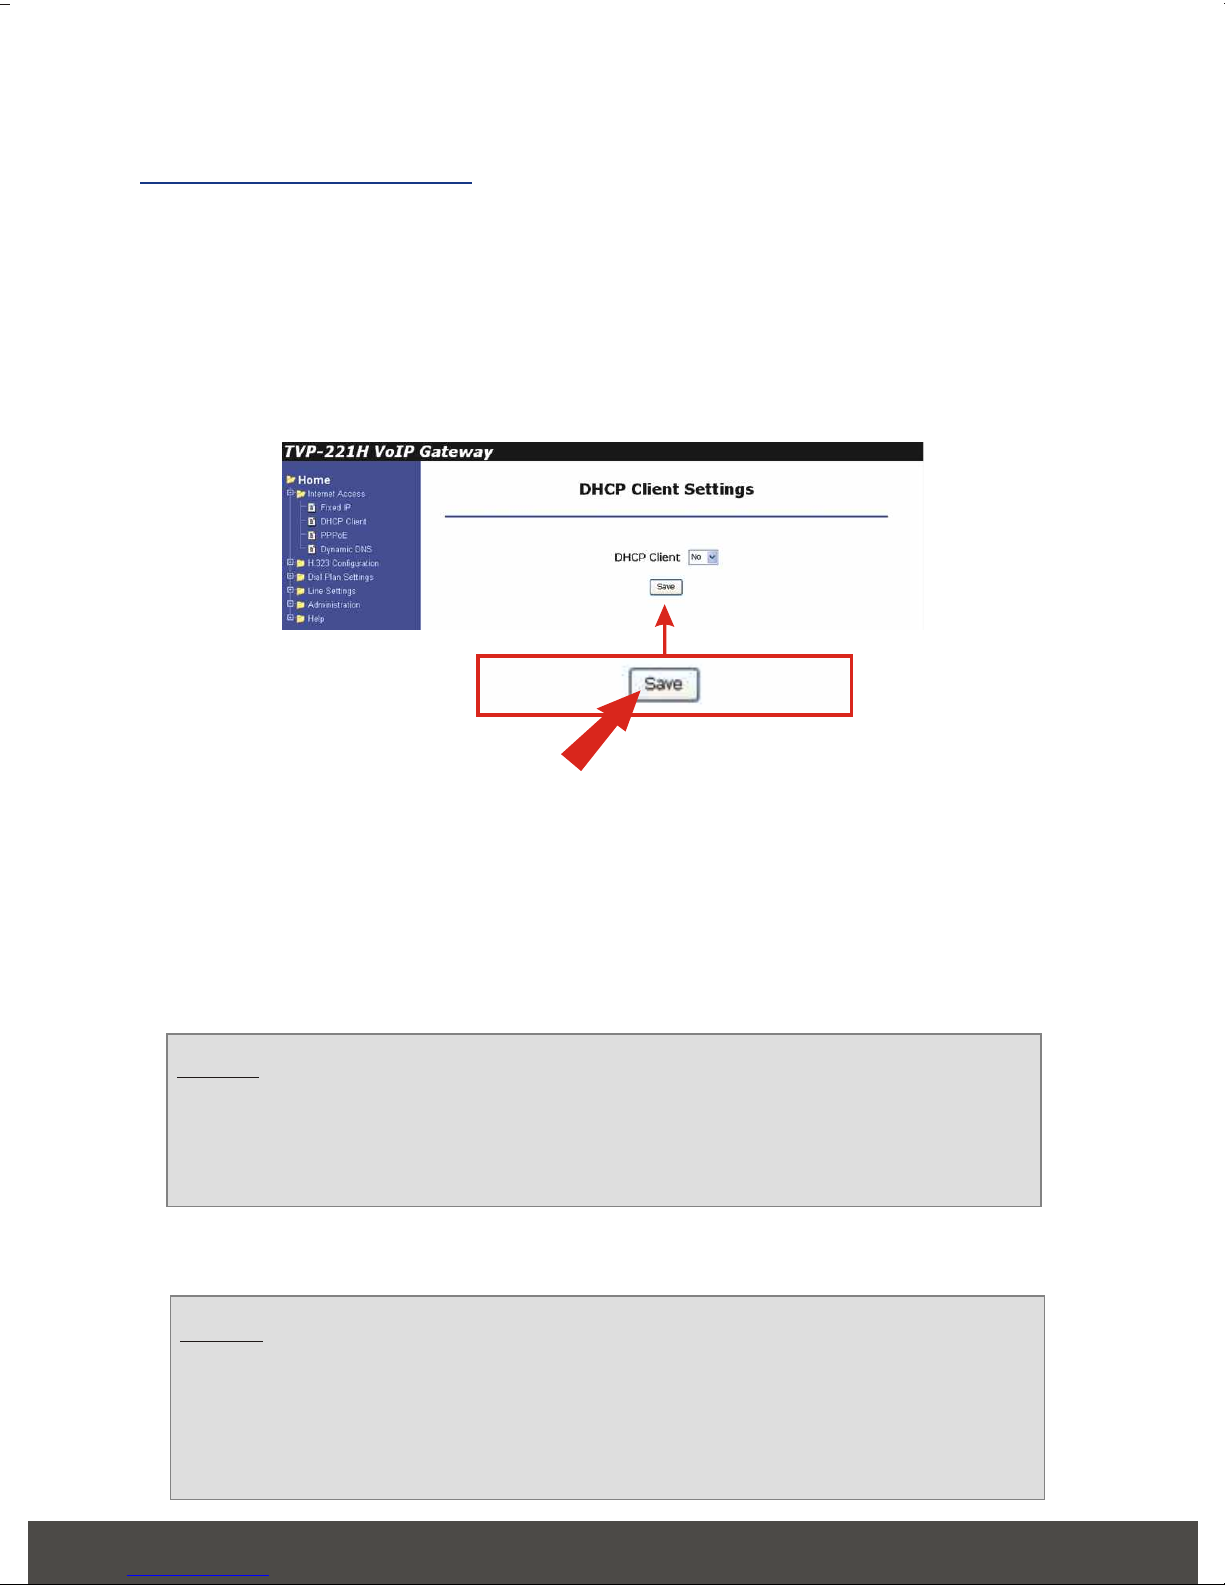
DHCP
Usually, none. If your ISP requires Hostname,
Domain name, or MAC (physical) address,
please contact Trendware.
After setting up Internet Access you will be able to Remotely Manage
the Gateway using the WAN IP. By default the Web Access and Telnet
Access management are enabled. Both of these methods provide
access over the Internet so they do pose a potential security risk. It is
recommended that once configuration is complete, Telnet access is
disabled for security reasons. It is also recommended that the
administration password is updated. In the event that you should forget
the password see section 7 Connection through Console.