4
DPL 2210 ITALIANO
Le tre possibili modalità di funzionamento sono:
FOTO: mostra una anteprima di 6 immagini. Con i tasti NEXT o PREV è
possibile selezionare un'immagine (l'immagine verrà mostrata con una
cornice gialla) o spostarsi alla pagina successiva per visionare
ulteriori immagini memorizzate. Premendo una volta il tasto
PLAY/PAUSE verrà mostrata l'immagine selezionata, premendolo
nuovamente si attiverà la funzione Slideshow.
This product will play automatically once insert card, when playing,
press ENTER key can pause the playing, press ENTER again
return back to play mode; press EXIT key can return to photo
browsing mode, press EXIT key again can return to the main menu.
Press EXIT key again will go to USB/SD Card mode.
Desired photo, press ENTER key to pause the browsing,
press again ENTER key to play.
2.5.2 Photo
9screen image preview, press SETUP can pop up delete file
sub-menu, you can delete the file you want to delete. 6 screen
image preview, select a picture after press ENTER key to
full-screen preview image, press SETUP can pop up setup menu,
You can set image display mode: save picture /rotate/zoom
operation, Save picture can save the picture to the built-in
memory(if can’t copy pictures to the built-in memory, please format
memory first),after full-screen preview, press ENTER again it will
slide show.
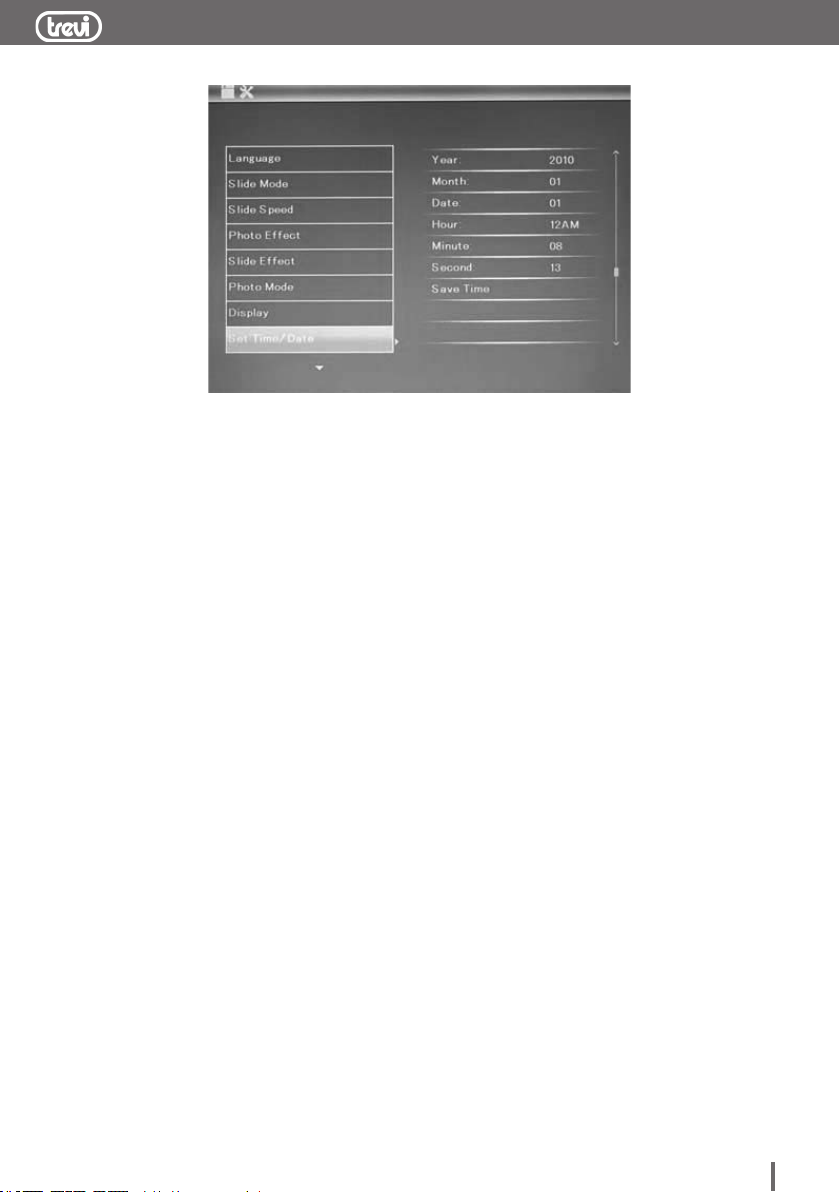
2.5.3 Clock and calendar display
enter to selection mode , select calendar to display the clock and
calendar
5
FILE: mostra il contenuto della memoria selezionata. Con i tasti NEXT o
PREV è possibile selezionare le cartelle o i le. Premere il tasto
PLAY/PAUSE per visualizzare il contenuto della cartella. Premere il
tasto MENU per cancellare il le selezionato. Premere il tasto
PLAY/PAUSE per confermare la cancellazione.
CALENDARIO: mostra in maniera permanente la data e l'ora corrente, attivando
sulla sinistra del display lo Slideshow delle immagini memorizzate sul
supporto di memoria.
This product will play automatically once insert card, when playing,
press ENTER key can pause the playing, press ENTER again
return back to play mode; press EXIT key can return to photo
browsing mode, press EXIT key again can return to the main menu.
Press EXIT key again will go to USB/SD Card mode.
Desired photo, press ENTER key to pause the browsing,
press again ENTER key to play.
2.5.2 Photo
9screen image preview, press SETUP can pop up delete file
sub-menu, you can delete the file you want to delete. 6 screen
image preview, select a picture after press ENTER key to
full-screen preview image, press SETUP can pop up setup menu,
You can set image display mode: save picture /rotate/zoom
operation, Save picture can save the picture to the built-in
memory(if can’t copy pictures to the built-in memory, please format
memory first),after full-screen preview, press ENTER again it will
slide show.
2.5.3 Clock and calendar display
enter to selection mode , select calendar to display the clock and
calendar
5