manuals.online logo
Brands
  1. Home
  2. •
  3. Brands
  4. •
  5. Tri-Tronics
  6. •
  7. Accessories
  8. •
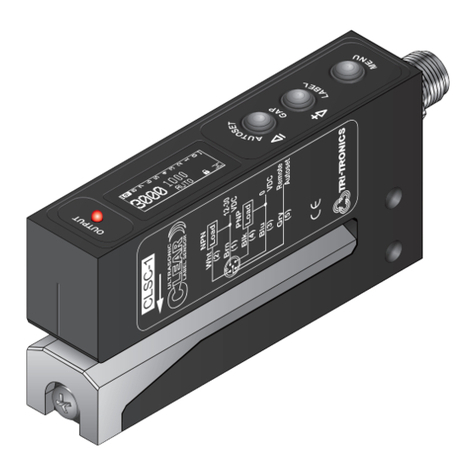
  9. Tri-Tronics CLSC-1M8LEX185 User manual

Tri-Tronics CLSC-1M8LEX185 User manual

Installation Manual
P.O. BOX 25135, TAMPA, FL 33622-5135
813-886-4000 / 800-237-0946
ttco.com / [email protected]
MULTI-FUNCTION OUTPUT INDICATOR
1. Illuminates when when outputs are ON.
Note: Flashes when short circuit is detected.
2. Rapid flash indicates AUTOSET start
(wait two seconds to complete).
3. Single flash during manual adjust.
AUTOSET/GAP

_BUTTON
1. Push and Hold with gap in view for two
seconds for AUTOSET.
2. Tap for UP to lower threshold.
AUTOSET/LABEL

+BUTTON
1. Push and Hold with label in view after GAP
AUTOSET on rare occasions when labels
have multiple layers.
2. Tap DOWN to increase threshold.
LT/DK Toggle
Light / Dark output toggle (inverts output).
2. Setup Instructions
Once the Gap is in view, press and hold the
AUTOSET/GAP button for two seconds. This
will result in a stable setup most every time.
If you have any false triggers, put the Label
in view, push and hold the AUTOSET/LABEL
button for two seconds. This two-point setup
will create a new threshold setting resulting
in a more consistent signal span between
web and label.
Note: Manual adjust by tapping arrows.
1. Position Label
Align Label to Arrow (above)
Place the label web so that it is
centered on the arrow. The arrow is
where the transducers are aligned.
Align Gap to Line (right top)
Place label gap in center of the
sensor using the alignment line as
shown on right. When viewing from
the top of the sensor, use the output
LED to center label gap.
Gentle Tension (right bottom)
Place label webbing so that it slides
along the bottom of the sensor gap
plate. This will ensure a more
consistent setup and performance.
CLSC-1M8LEX185
800-237-0946 • ttco.com 070-0630 Rev. 1
Brown (1)
Black (4)
White (2)
Blue (3)
LOAD
LOAD
Pos
NPN
(Sink)
PNP
(Source)
Neg
30 VDC
12 To
CLSC-1M8LE Wiring
M8LE Male
Connector
1 - Positive
2 - NPN
3 - Negative
4 - PNP
4
3
2
1
"851.0
]mm0.4[
"0
63.
0
]
mm1.9
[
"
7
67.2
]
mm
3.07
[
"76
7.0
]m
m5
.91[
"31
1
.3
]
mm
1
.97[
"398.3
]
m
m
9.89[
S
O
U
A
T
E
A
G
P
A
L
B
E
L
T
/
L
D
TUPTUO
"181.
4
]
m
m02.6
01[
"0
5
8
.
0
]
m
m6
.
1
2
[
"449.1
]mm4.94[
"850.2
]mm3.25[
"676.0
]mm2.71[
"011.1
]mm2.82[
"274.0
]mm0.21[
"0
6
3
.0
]mm1.9[
gni
t
n
u
o
M
23
-
6
X
2
"
05
1.
0
,se
l
o
H
pe
e
D]
m
m8.3[
K
T
SUPPLY VOLTAGE
• 12 to 30 VDC
• Polarity Protected
Note: For use in Class 2 Circuits
CURRENT REQUIREMENTS
• 95mA @ 12 VDC, 45mA @ 30 VDC
DIGITAL OUTPUTS
• (1) NPN and (1) PNP open collector
output 150mA Max; <2V Residual
Voltage
• All outputs are continuously short circuit
protected
DIAGNOSTIC INDICATOR
• Illuminates when when outputs are ON.
Note: Flashes when short circuit is
detected.
• Rapid flash indicates AUTOSET start
(wait two seconds to complete).
• Single flash during manual adjust.
PUSHBUTTON CONTROL
• Three (3) push button controls
• Gap (for Gap AUTOSET)
• Label (for multi-layered labels)
• LT/DK= Light / Dark toggle
HYSTERESIS
• Dynamic – adjusted by AUTOSET
RESPONSE TIME
• 200μs
REPEATABILITY
• 125μs
AMBIENT TEMPERATURE
• 4°C to 50°C (39°F to 122°F)
RUGGED CONSTRUCTION
• Chemical resistant, high impact
Aluminum housing
• Waterproof ratings: IP65
• Conforms to heavy industry grade CE
requirements
THRESHOLD SET
• 1-Point, 2-Point.
THRESHOLD ADJUST
• Manual Adjust
CONNECTOR
• M8 4-Pin
Specifications
RoHS Compliant
Product subject to change without notice
Connections and Dimensions Ultrasonic Clear Label Sensor X185

Other Tri-Tronics Accessories manuals

Tri-Tronics M8 User manual

Tri-Tronics

Tri-Tronics M8 User manual

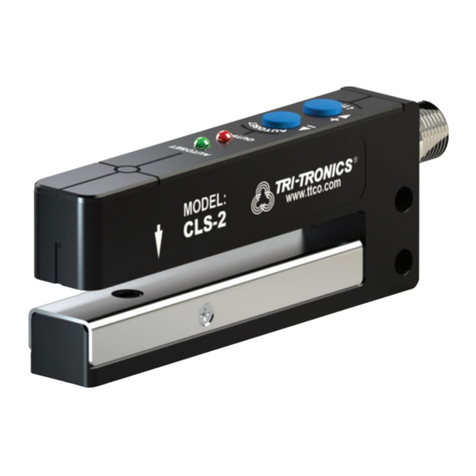
Tri-Tronics CLS-2 User manual

Tri-Tronics

Tri-Tronics CLS-2 User manual

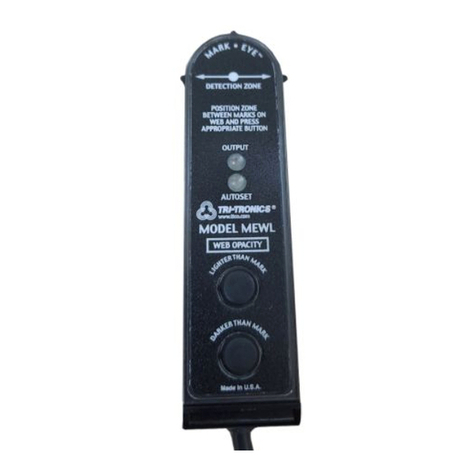
Tri-Tronics Mark-Eye MEWL Manual

Tri-Tronics

Tri-Tronics Mark-Eye MEWL Manual

Tri-Tronics Ultrasonic Clear Label Sensor User manual

Tri-Tronics

Tri-Tronics Ultrasonic Clear Label Sensor User manual

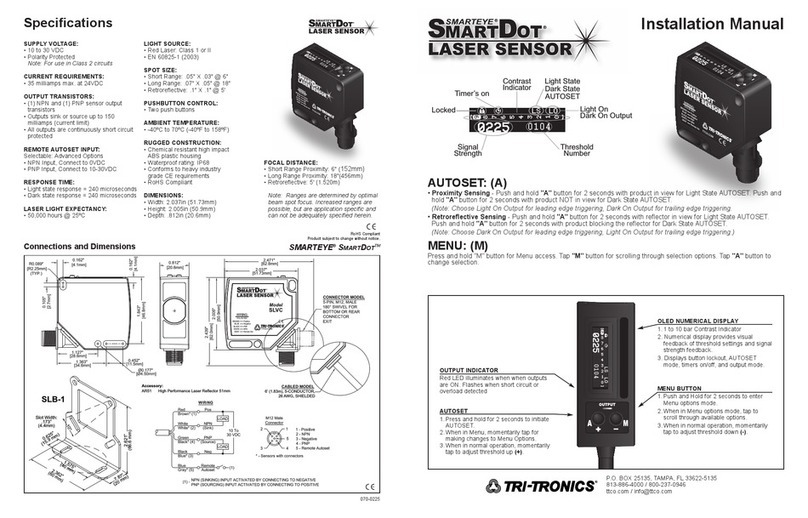
Tri-Tronics SMARTEYE SmartDot Service manual

Tri-Tronics

Tri-Tronics SMARTEYE SmartDot Service manual

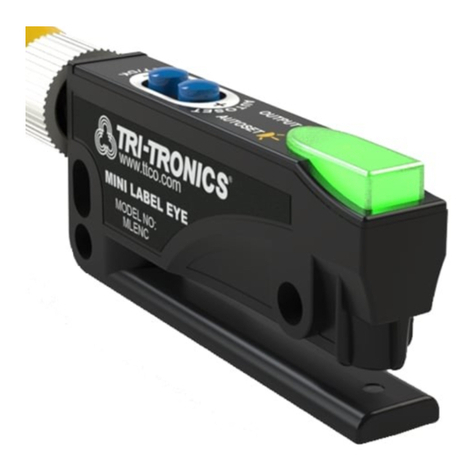
Tri-Tronics Mini Label Eye User manual

Tri-Tronics

Tri-Tronics Mini Label Eye User manual

Popular Accessories manuals by other brands

Monq R Experience Guide

Monq

Monq R Experience Guide

Waterpik Waterflosser WF-02 instruction manual

Waterpik

Waterpik Waterflosser WF-02 instruction manual

OZTENT Foxwing 270 Awning Installation & user manual

OZTENT

OZTENT Foxwing 270 Awning Installation & user manual

AVE 45383 Description

AVE

AVE 45383 Description

BOXY Fancy Brick manual

BOXY

BOXY Fancy Brick manual

Campbell CWB100 instruction manual

Campbell

Campbell CWB100 instruction manual

Orion Equatorial Mount 9233 instruction manual

Orion

Orion Equatorial Mount 9233 instruction manual

Novation nio 2/4 user guide

Novation

Novation nio 2/4 user guide

Ednet 31898 manual

Ednet

Ednet 31898 manual

MONARCH INSTRUMENT ROLS quick start guide

MONARCH INSTRUMENT

MONARCH INSTRUMENT ROLS quick start guide

Kopp INFRAcontrol R 180 UP IP40 manual

Kopp

Kopp INFRAcontrol R 180 UP IP40 manual

iNels RFSC-61 manual

iNels

iNels RFSC-61 manual

Nexen AIR CHAMP LSCC-32 user manual

Nexen

Nexen AIR CHAMP LSCC-32 user manual

Honeywell H7625B installation instructions

Honeywell

Honeywell H7625B installation instructions

POWERMOD BPCPAP12V-KT Operation manual

POWERMOD

POWERMOD BPCPAP12V-KT Operation manual

Lifetime Elite 51546 Owner's manual with assembly instructions

Lifetime

Lifetime Elite 51546 Owner's manual with assembly instructions

Rosslare AY-Bx660 Series installation manual

Rosslare

Rosslare AY-Bx660 Series installation manual

Vega VEGAPULS 61 operating instructions

Vega

Vega VEGAPULS 61 operating instructions

manuals.online logo
manuals.online logoBrands
  • About & Mission
  • Contact us
  • Privacy Policy
  • Terms and Conditions

Copyright 2025 Manuals.Online. All Rights Reserved.