manuals.online logo
Brands
  1. Home
  2. •
  3. Brands
  4. •
  5. Triangle Engineering of Arkansas
  6. •
  7. Fan
  8. •
  9. Triangle Engineering of Arkansas Master Breeze AMB2421 User manual

Triangle Engineering of Arkansas Master Breeze AMB2421 User manual

Read and SaveThese Instructions
ASSEMBLY INSTRUCTIONS
FOR
MODELS AMB2421 and AMB3021
Adjustable Pedestal Fan
TM
TRIANGLE ENGINEERING
OF ARKANSAS, INC.
E-mail: [email protected] • Website: www.trianglefans.com
1101 N. Redmond Rd. • Jacksonville, Arkansas 72076
(501) 982-7558 • 1-800-255-9014 • Fax (501) 982-5691
WARNING: To reduce the risk of fire or electric shock,
DO NOT use this fan with any solid state speed control devise.
WARNING: To reduce the risk of electric shock,
DO NOT expose to water or rain.
CAUTION: Plug cord into 115 volt outlet and operate fan on low
speed to insure smooth operation before operating fan on high speed.
Specifications subject to change without notice. ©1996 Triangle Engineering of Arkansas, Inc. / Made in U.S.A. / 11/02
®
UL®
UL
Listed
Fan 232NC
ASSEMBLY INSTRUCTIONS
STEP 1. Remove all parts from the containers and verify that
all items are complete.You should have the following parts:
1 - Base
1 - Pedestal (Tube Assembly) with cord set
1 - Motor
1 - Rear Blade Guard
1 - Front Blade Guard Cover
1 - Fan Blade
1 - HARDWARE KIT consisting of:
1-knob
1-
1
⁄
4
" washer
1-
1
⁄
2
" dia. hex head bolt with nut
1-
1
⁄
4
" dia. carriage bolt (round head)
8 flat washers and 4 hex head lock nuts
locking handle
STEP 2. Insert the electrical cord through the center hole of the base
and pull through. Place pedestal (2) into the base making sure the
pedestal has “bottomed out” (Fig. 1). Insert cord through grommeted
hole in the base and pull cord through (Fig. 3).
STEP 3. Place one flat washer on each motor stud, place rear guard (4)
on studs. Place one each of the remaining flat washers on each stud,
place one hex head lock nut on each stud and tighten.
STEP 4. Install fan blade (6) on motor shaft, secure with set screw on
fan blade hub. NOTE: Make certain the set screw is aligned to flat part
of motor shaft, and blade hub is flush with the motor shaft end. Insure
set screw is on motor side of blade.
STEP 5. Install front blade guard cover (5) by engaging bottom hooks
over outside of rear blade guard (4). By depressing outside ring of rear
blade guard, remaining hooks on front blade guard cover can be
engaged.
STEP 6. Attach motor (3) to top of pedestal using hex head bolt (9) with
nut.Tighten nut only enough to allow motor to tilt with slight effort. Insert
carriage bolt (10) and attach washer and knob (7) (Fig. 1).
12
11
10
9
8
7
6
5
4
3
2
1
4REAR BLADE
GUARD
NOTE:
Insure
set
screw
is on
motor
side of
bladel
FIG. 2
REAR BLADE
GUARD COVER
5
FAN BLADE
6
FLAT WASHERS
HEX HEAD
LOCK NUTS
11
FIG. 3
BASE BOTTOM VIEW
FIG. 1
BASE
1
PEDESTAL
with CORD SET
2
LOCKING
HANDLE
12
CARRIAGE
BOLT
10
MOTOR
3
HEX HEAD BOLT
with NUT
9
KNOB
7
WASHER
8
OWNER’S
MANUAL
Keep for
future reference
TM
TRIANGLE ENGINEERING OF ARKANSAS, INC.
LIMITED THREEYEAR WARRANTY
Do not return product to original place of purchase
Triangle Engineering of Arkansas, Inc. (Manufacturer) warrants, from
the date of purchase, to the original purchaser only, that the product man-
ufactured by Manufacturer is free from defects in material and workman-
ship for a period of THREE (3) YEARS. Motors, capacitors, v-belts and
switches are excluded from this warranty, but shall have a limited one year
warranty from date of purchase to the original purchaser.
If a failure of the product occurs, contact the Manufacturer at:
1-800-255-9014
and give the model number of the product, the purchase date, and a
description of the problem to the customer service agent.
Once the problem is diagnosed, and proof of purchase date is verified,
Manufacturer will have the option of shipping the necessary repair part(s) to
the Customer, freight prepaid or having the product returned to Manufacturer
for repair or replacement. If the product is returned to the Manufacturer,
Customer is responsible for prepayment of all inbound freight charges. Upon
repair or replacement, which shall be at the discretion of Manufacturer, the
Manufacturer will prepay all outbound freight charges for the return of the
product to the customer. However, if Manufacturer finds product to be in oper-
ating condition and no problems are diagnosed, product will be returned to
customer freight collect.
This limited warranty does not cover labor to replace warrantied parts or
motors, nor does it cover failure of the installer to provide adequate ventilation
to meet exhaust requirements, damage resulting from accident, misuse or
abuse, lack of proper maintenance, improper installation, affixing of any parts
or attachments not authorized by Manufacturer, or loss of parts. In no event
shall Manufacturer be liable for any special, incidental, or consequential dam-
ages; which may result from any defect in material or workmanship or from
the breach of any express or implied warranty.
This warranty gives you specific legal rights, and you may also have
other rights which vary from state to state.
Specifications subject to change without notice. ©1996 Triangle Engineering of Arkansas, Inc.
Made in U.S.A.


This manual suits for next models

1

Other Triangle Engineering of Arkansas Fan manuals

Triangle Engineering of Arkansas Heat BUSTER CMB Series User manual

Triangle Engineering of Arkansas

Triangle Engineering of Arkansas Heat BUSTER CMB Series User manual

Triangle Engineering of Arkansas PC 3021 Direct Drive Portable Coolers User manual

Triangle Engineering of Arkansas

Triangle Engineering of Arkansas PC 3021 Direct Drive Portable Coolers User manual

Triangle Engineering of Arkansas Heat Buster SEB Series User manual

Triangle Engineering of Arkansas

Triangle Engineering of Arkansas Heat Buster SEB Series User manual

Popular Fan manuals by other brands

Unold WINDMASCHINE Speed 86756 Instructions for use

Unold

Unold WINDMASCHINE Speed 86756 Instructions for use

Viking Range RDIPR101R manual

Viking Range

Viking Range RDIPR101R manual

Viessmann Vitovent 300-W Installation and service instructions

Viessmann

Viessmann Vitovent 300-W Installation and service instructions

Sycamore Ceiling fan instruction manual

Sycamore

Sycamore Ceiling fan instruction manual

Lasko M16900 Important instructions & operating manual

Lasko

Lasko M16900 Important instructions & operating manual

Matsui MF222SL Instruction book

Matsui

Matsui MF222SL Instruction book

Turbovex CA350 User manual and installation guide

Turbovex

Turbovex CA350 User manual and installation guide

Teesa TSA8022 owner's manual

Teesa

Teesa TSA8022 owner's manual

Greenheck SP Series Installation, operation and maintenance manual

Greenheck

Greenheck SP Series Installation, operation and maintenance manual

Tecnosystemi IN LINEA 30360150 user manual

Tecnosystemi

Tecnosystemi IN LINEA 30360150 user manual

Platinum FD-30M instruction manual

Platinum

Platinum FD-30M instruction manual

aerauliqa THS Series Specific Manual

aerauliqa

aerauliqa THS Series Specific Manual

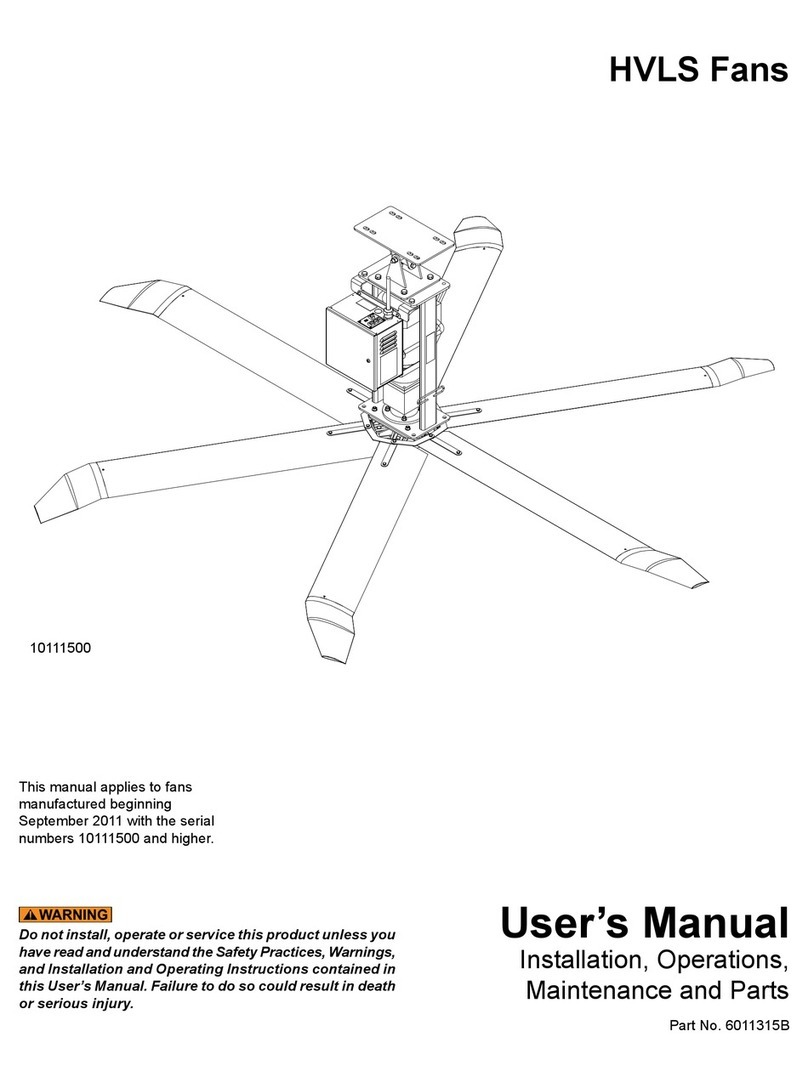
4Front Engineered Solutions HVLS user manual

4Front Engineered Solutions

4Front Engineered Solutions HVLS user manual

ALKOVA Koko 3B instruction manual

ALKOVA

ALKOVA Koko 3B instruction manual

CFM 167193 Brochure & specs

CFM

CFM 167193 Brochure & specs

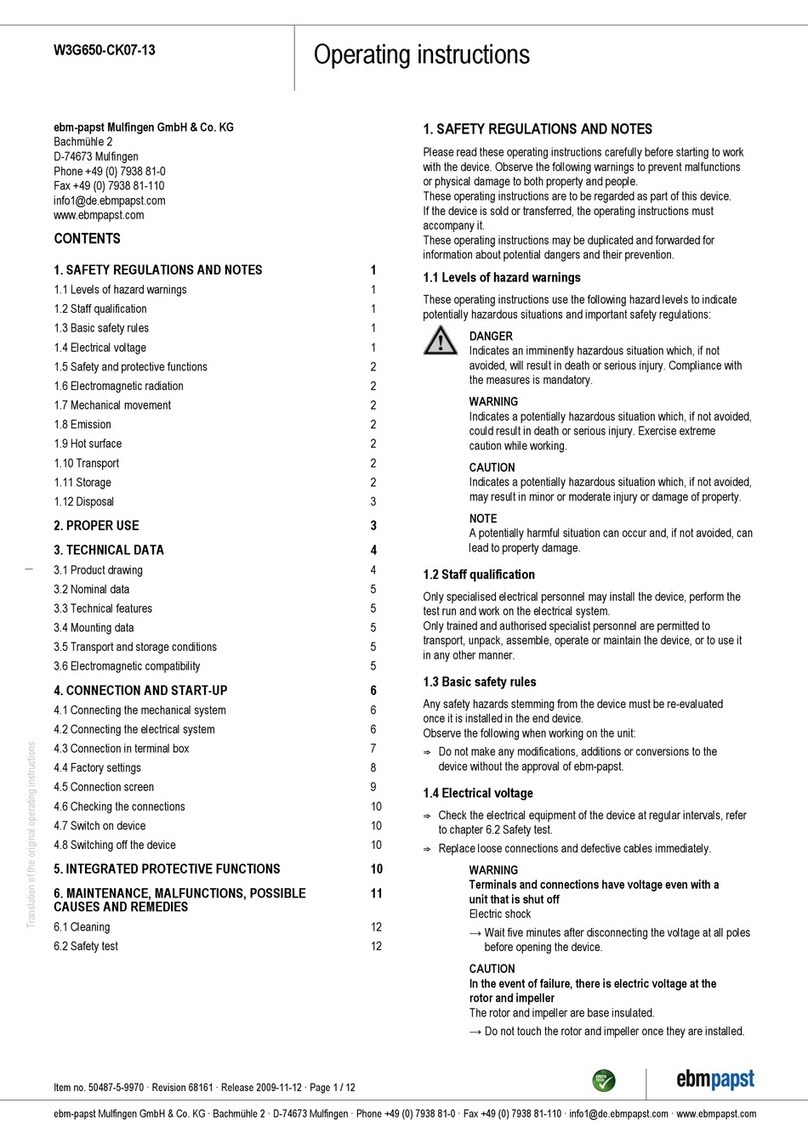
Ebmpapst W3G650-CK07-13 operating instructions

Ebmpapst

Ebmpapst W3G650-CK07-13 operating instructions

Sencor SFN 5040BL user manual

Sencor

Sencor SFN 5040BL user manual

Westinghouse 73040 instruction manual

Westinghouse

Westinghouse 73040 instruction manual

manuals.online logo
manuals.online logoBrands
  • About & Mission
  • Contact us
  • Privacy Policy
  • Terms and Conditions

Copyright 2025 Manuals.Online. All Rights Reserved.